
Welcome to 2023, Friends and Fellow Bakers! What a time to be alive! My new year is off to a quiet start (in a good way) and I am happy to be getting back into things here at Baking Summit. Longtime readers may recall my commentary about the severely Eurocentric nature of seasons 1 – 4 of GCBS. Surely we can see bakes from other parts of the world! At last, here we are with this gem from Hong Kong: Bō Luó Bāo aka Pineapple Buns (recipe here), featured on Season 5 Bread Week of GCBS.
Bō Luó Bāo is a sweet roll and a staple of Hong Kong streets and tea houses. The bakery credited with inventing them has been in business for over 70 years and the pineapple bun is so common in Hong Kong, it was declared part of Hong Kong’s official cultural heritage in 2014. The buns get their name from the characteristic crispy yellow craquelin baked on top, which [arguably] resembles a pineapple. The buns don’t actually contain any pineapple at all which might seem a bit misleading but I kind of like the idea of naming something for how it looks instead of how it tastes.
As an advanced breadmaker, I usually find the GCBS bread challenges a bit boring to do. The best breads in existence generally take a minimum of 24h to make. Nothing they come up with on GCBS in a 12 or even 14h shoot is going to approach doing bread justice. These pineapples are a welcome exception. I have long been curious about the tangzhong bread method, made recently famous in North America by the weirdness popularity of Japanese milk bread on tiktok. I am not sure if the authentic recipe for this bake is tangzhong method, but I suspect it is and so is this version.
Tangzhong method is used in a number of East Asian bread recipes and has been adapted many times over into Western variations with great success. This method is what gives East Asian breads that distinct quality that is so hard to explain. Tanzhong milk breads are like Wonderbread’s fantastically hotter and more educated cousins. They are sweeter, softer, and lighter: a one of a kind texture best described as “pillowy.” Bread made with this method is usually served as sandwiches or snack rolls. The cooked bread has an obvious rapid and vertical rise, which can be emphasized by cooking in high-sided pans to create a puffed and skinny slicing loaf. It’s snacky and indulgent but it can also handle the demands of a sandwich without turning into a chewing and crust navigation festival.
The tangzhong method takes a small portion of the flour and liquid (and the liquid is often milk) and cooks it briefly into a paste on the stove before adding the cooled paste into the larger batch of dough. It then proceeds with a standard direct dough method, usually enriched with more milk ingredients including condensed milk.
I tried to do a bit of research about the science behind tangzhong. I couldn’t find anything that went into the level of detail I was looking for but it seems like this process “pre gelatinizes” some of the flour, which enables it to absorb more moisture prior to baking. This results in a softer overall crumb and a higher rise as the additional water content creates more steam inside the dough. In versions of this method where milk is the liquid used to make the tangzhong, the additional lactose also adds sweetness, softness, and shelf life to the final bake. This version also includes sweetened condensed milk which brings even more sugar in, making this a very soft roll with a good few days of edibility.
The other noteworthy aspect of this bake is the characteristic craquelin topping. The crisp, rough appearance of the craquelin is where the resemblance to pineapple comes in. The analogy is a bit easier to follow with the addition of a little smidge of yellow food colouring in the craquelin creates a bit of contrast with the bread.
I have no major comments about this bake. The tangzhong method is quite straightforward and would be easy to incorporate into any existing direct dough recipe. I think I will try modifying the bolbaki recipe I am so fond of and see how that turns out. These buns are sweet and satisfying, and very easy to make.
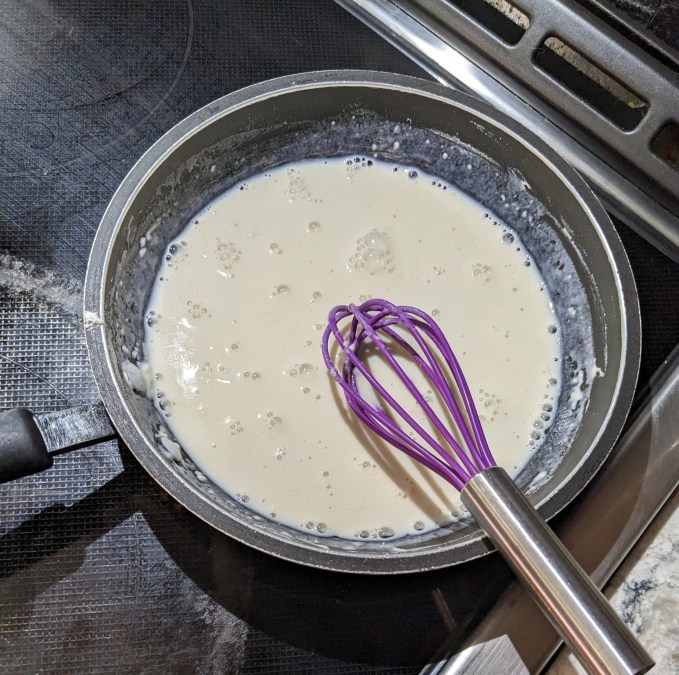
Step 1: Tangzhong
2 tablespoons of flour are mixed with ½ cup of milk then whisked on the stove over medium heat. Whisking constantly, the milk heats up and the mixture thickens. Once it has cooked to a thick paste, the hot tanzhong is put over an ice bath to cool before being added to the final dough. It is important the tangzhong is fully cooled before adding it to the dough. If it is added hot, it will shock or even kill the yeast and the dough will not rise properly. Note: the ice bath was definitely just a timesaver for the show, I am confident this would still work if it was left to cool at room temperature or in the fridge. The important thing is just that it isn’t hot enough to murder your yeast and it isn’t cold enough to slow your proof down too much. I would suggest cool this to body temperature but not cooler than room temperature (in other words, ideal temp is 18 – 35C).


Step 2: Bread Dough
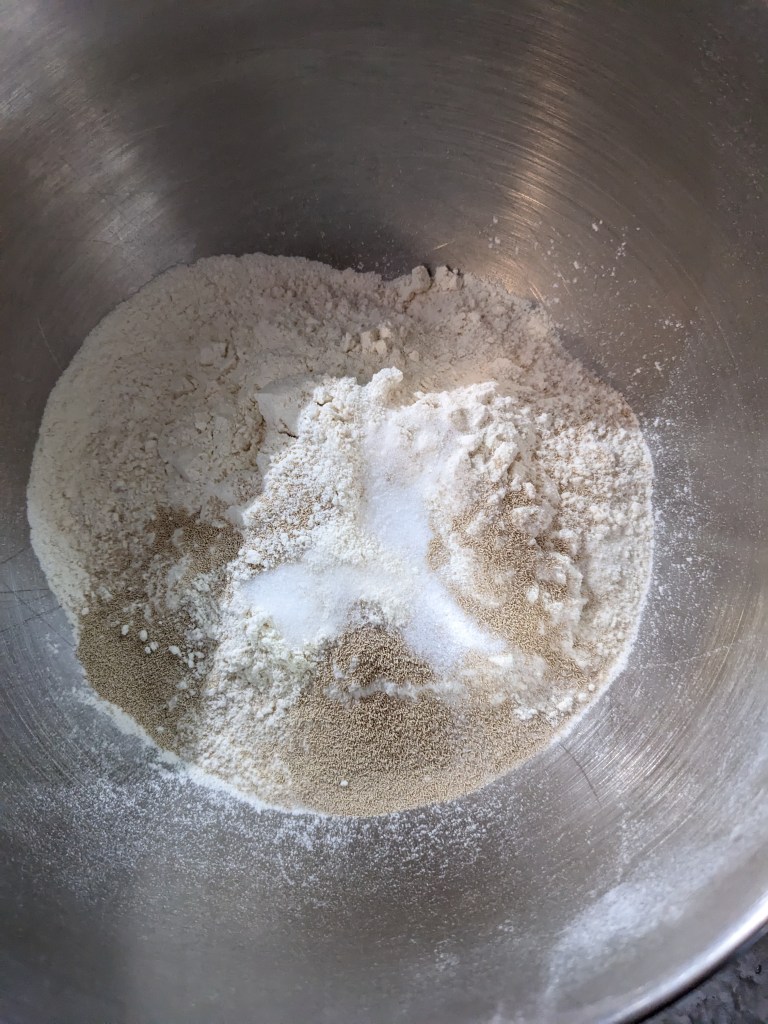
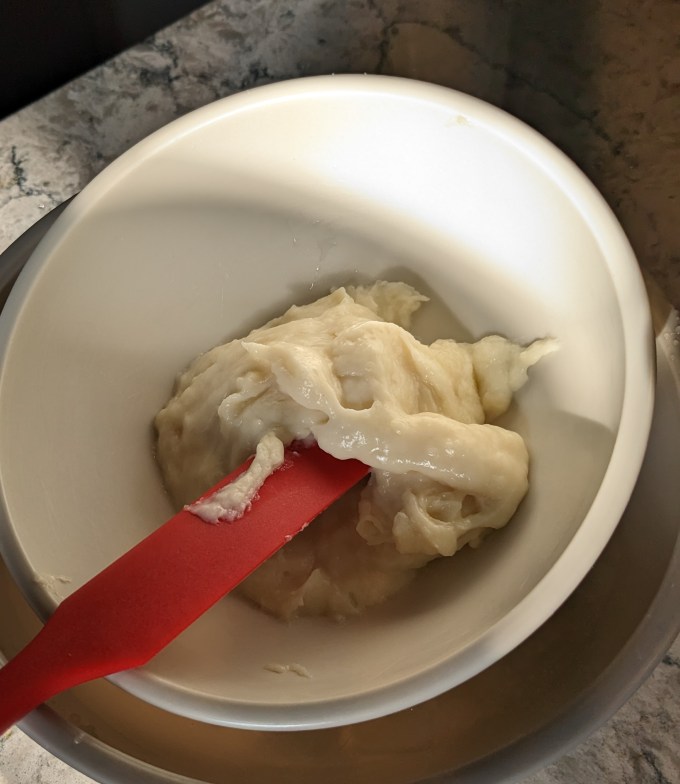
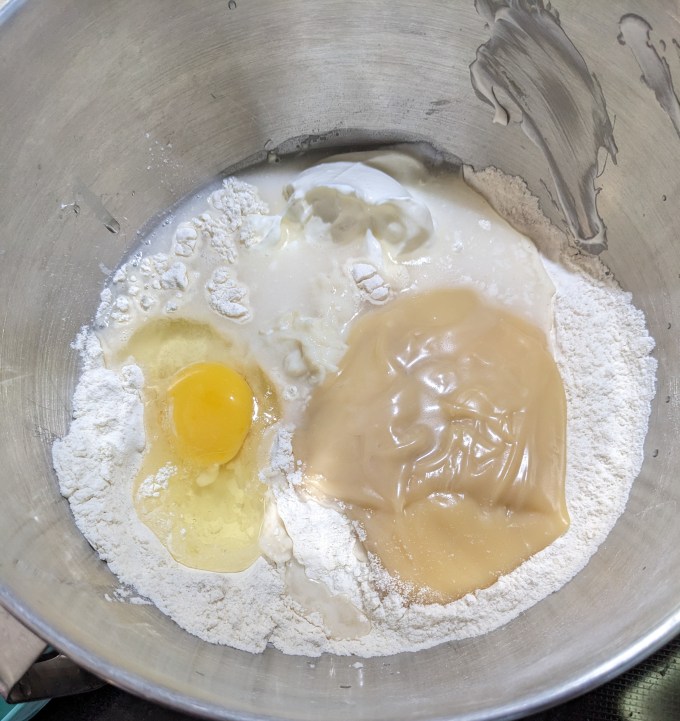
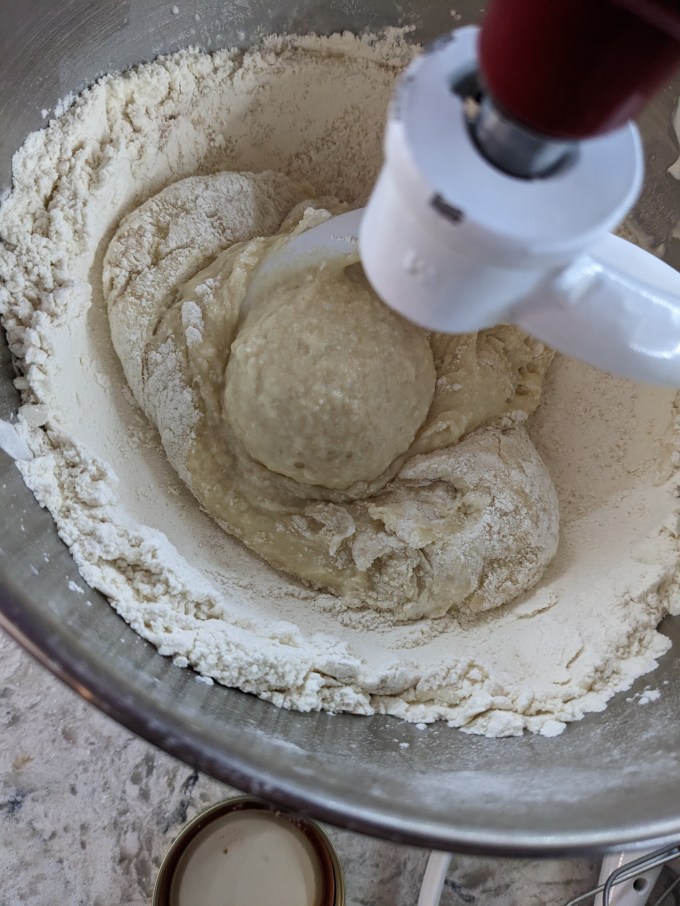
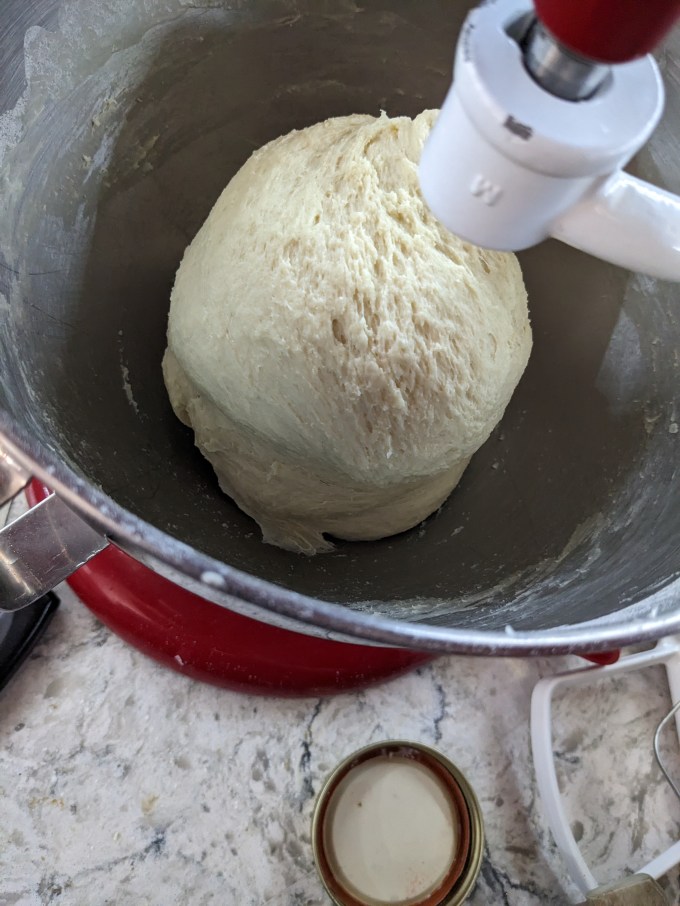
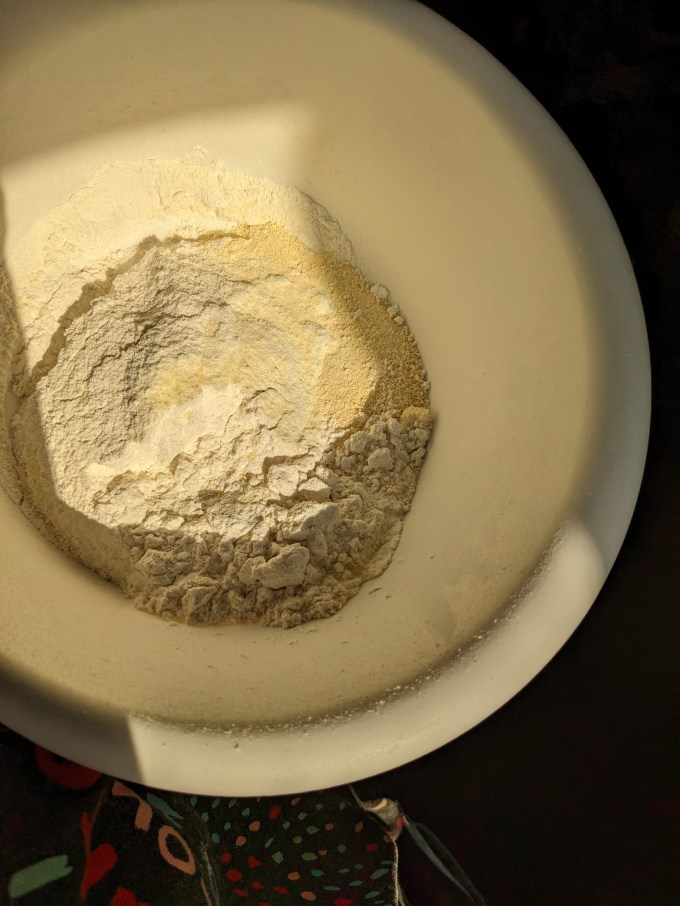
This is an enriched direct dough. The dry ingredients (flour, salt, yeast, milk powder) are combined and then the wet ingredients (cream, water, sweetened condensed milk, and the cooled tangzhong) are added. Once the dough is fully incorporated, softened butter is added slowly until fully combined. Then the dough is kneaded until it passes the windowpane test.


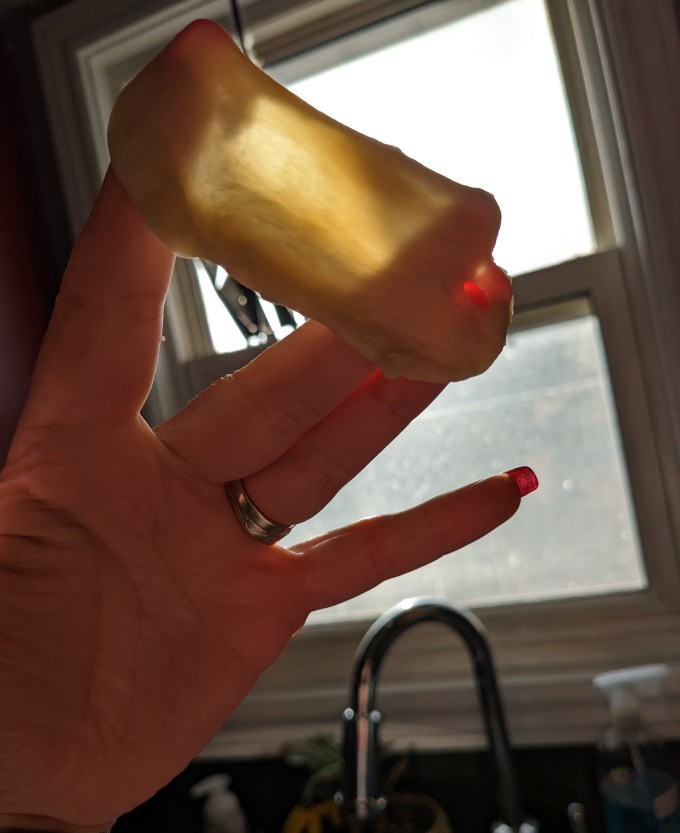
The windowpane test is a simple measure of when a bread dough has been kneaded enough. The windowpane test is where a sample of the dough is gently stretched to see how thin it will go before it tears. If enough gluten has been developed through kneading, you should be able to see the light through the stretched dough without it tearing.
The recipe called to incorporate the butter manually and finish kneading on the bench, but I could not be bothered with that nonsense. Instead I went with my usual kneading intervals using my machine: 5 min knead, 5 min rest, repeat until passing windowpane test. It’s a vibe.
I only had oat-based sweetened condensed milk on hand so I used that instead of dairy based and everything turned out fine. I was confident because in a bread recipe, the milk ingredients aren’t needed for leavening. It is only in recipes that call for baking soda or powder that you have to be careful about milk substitution. If chemical leavening is used with dairy in a recipe, the lactic acid in the milk is what activates the soda or powder causing the release of gas that makes the baked good rise in the oven. If you want to substitute a plant based milk into a recipe with chemical leavening, you have to account for the missing acid you are omitting with the dairy milk. Options are to add a splash of vinegar or lemon juice or a bit of cream of tartar.
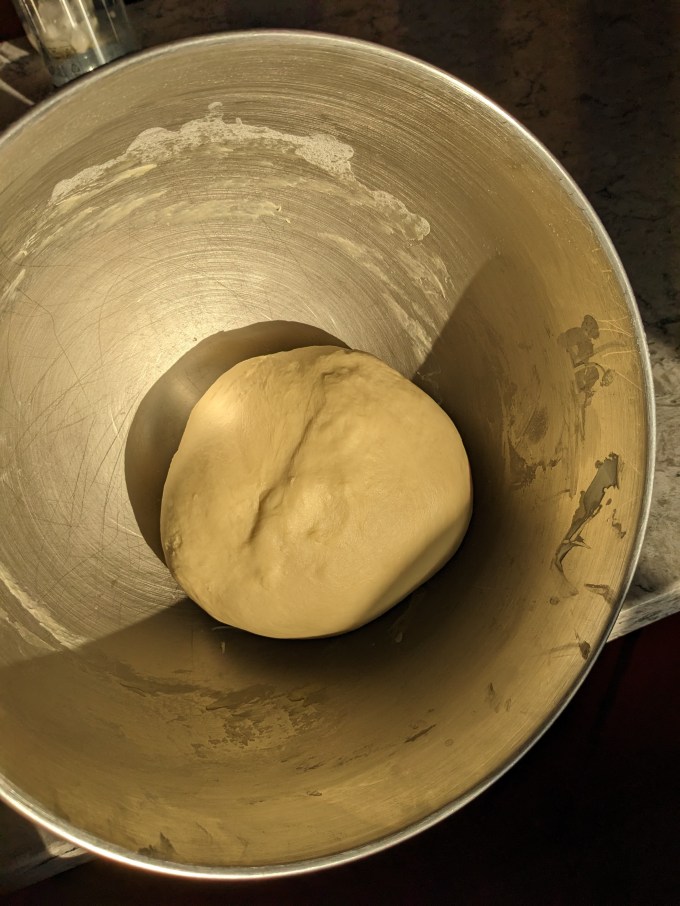
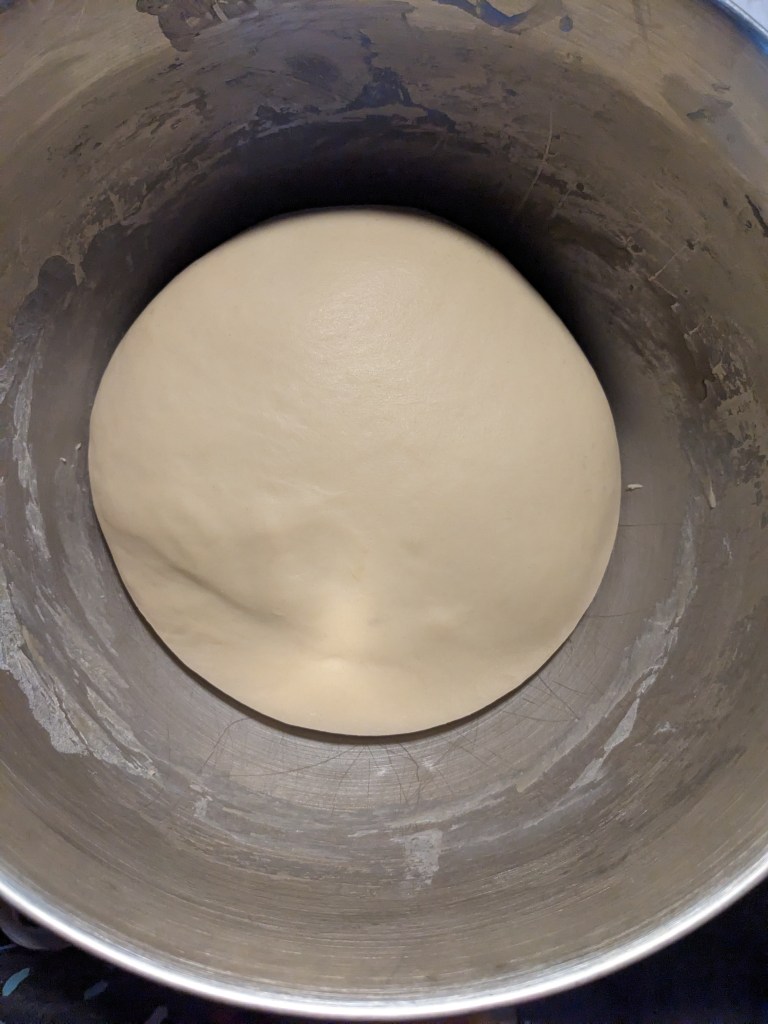
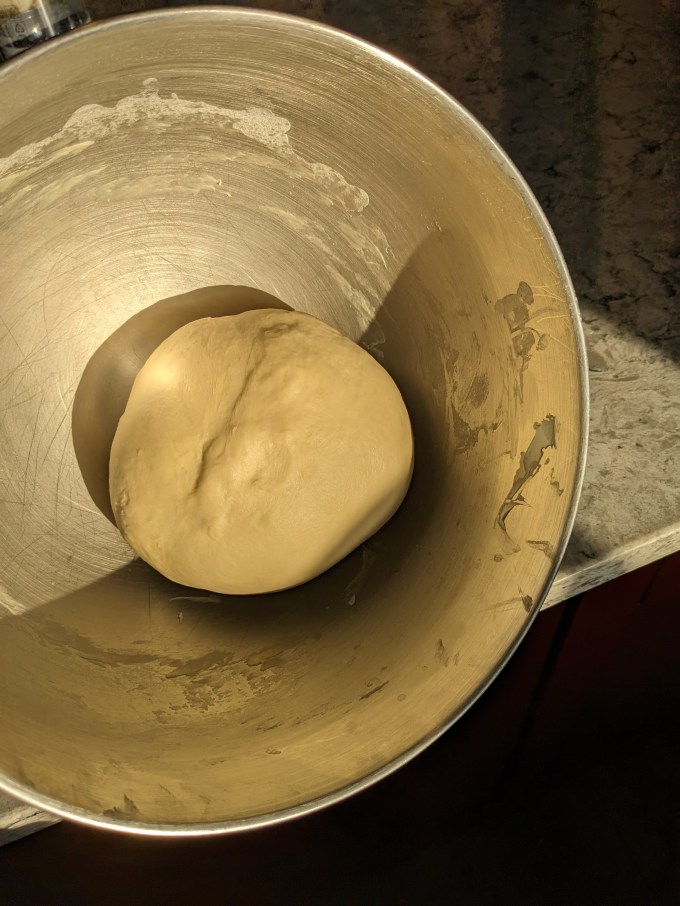
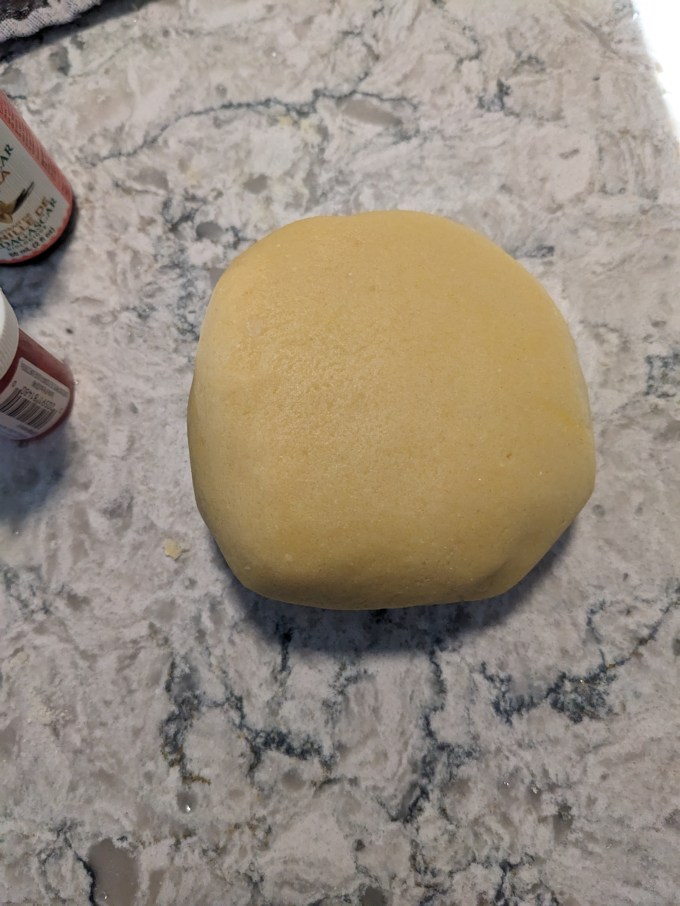
Once the dough is mixed, it is time for first proof.
Step 3: Craquelin
This craquelin method is similar to those I have done on Eurpoean bakes. This version has a little bit of baking powder in it which builds a little bit of height in the oven. For some reason this recipe calls to blend granulated sugar in the food processor to make superfine sugar for this step. I did as the recipe called but I don’t think this step is really necessary. I also wasn’t working with vanilla beans and I didn’t have yellow powdered food colouring on hand. To substitute I just added vanilla extract and a tiny amount of yellow gel food colouring. Usually if powdered food colouring is called for it is to keep the water content down so I was very mindful about adding the gel colour, but everything turned out fine. I also used butter instead of vegetable shortening so clearly I was playing very fast and loose with this whole situation, but once again: EVERYTHING TURNED OUT FINE.

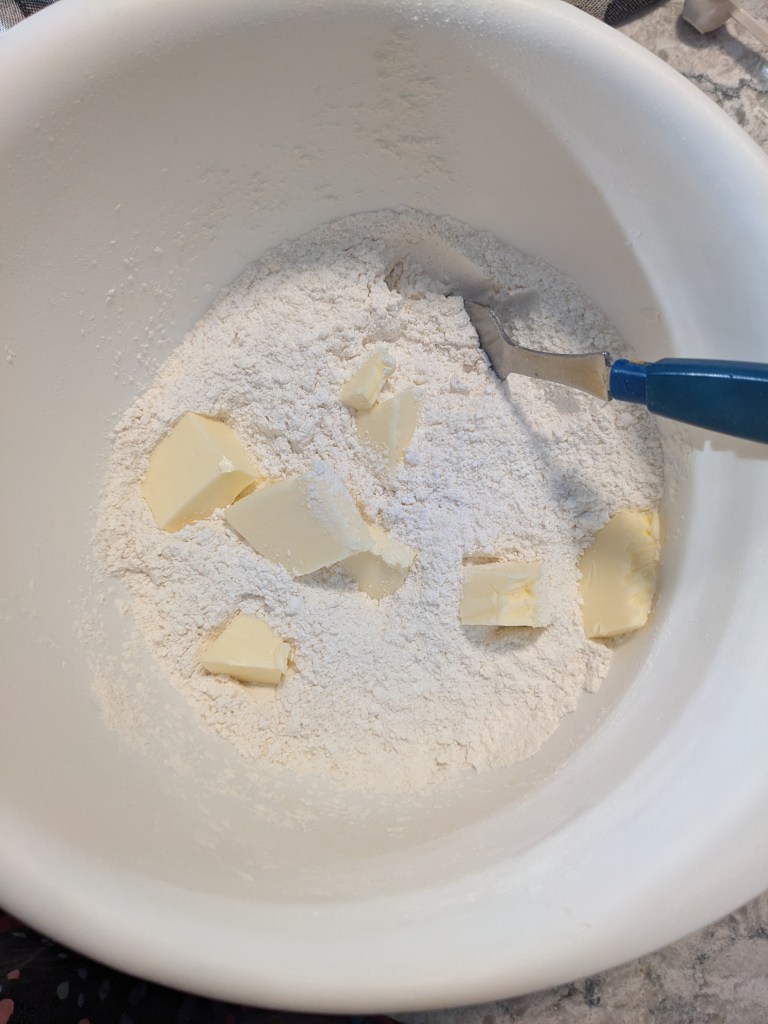
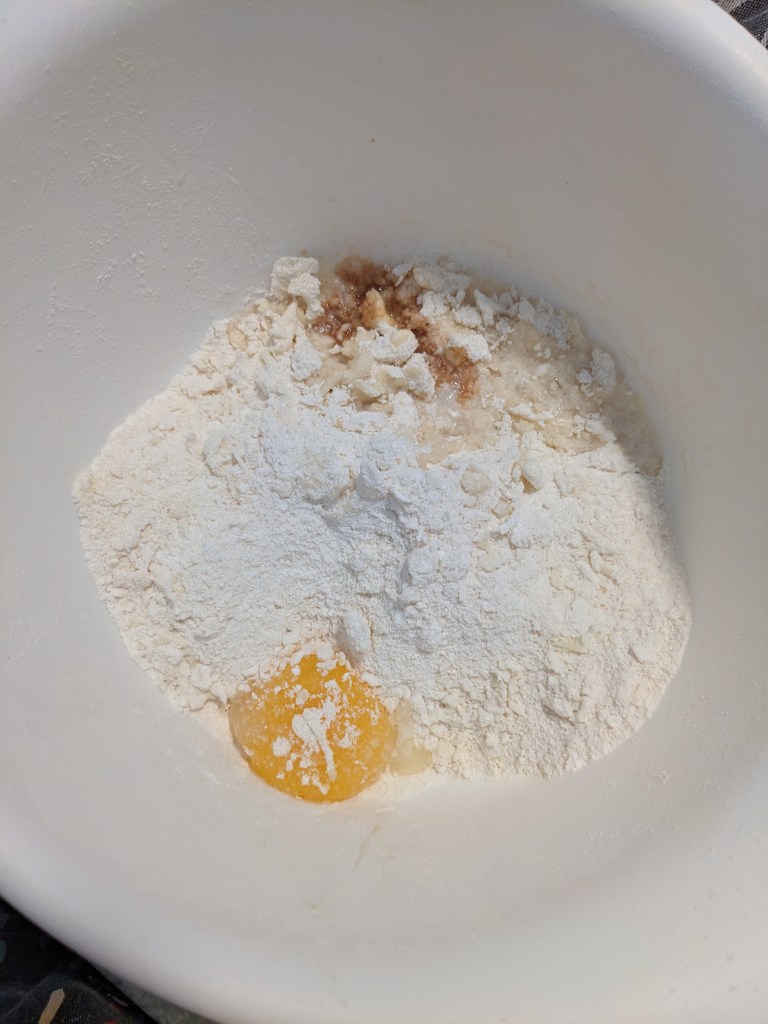
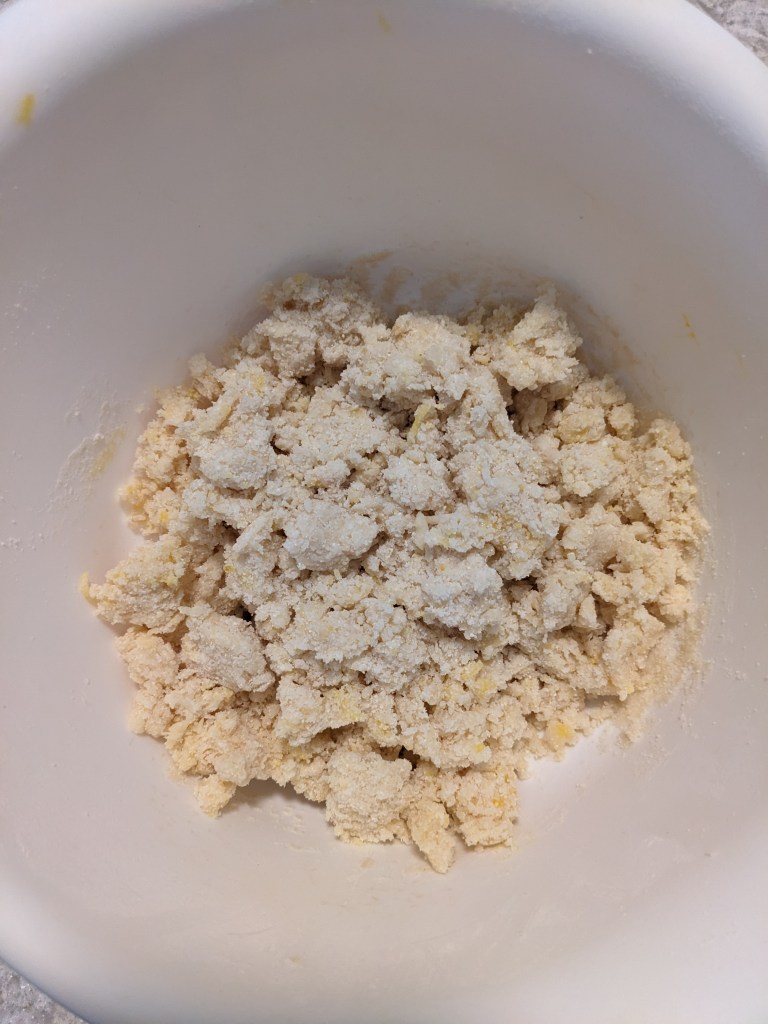
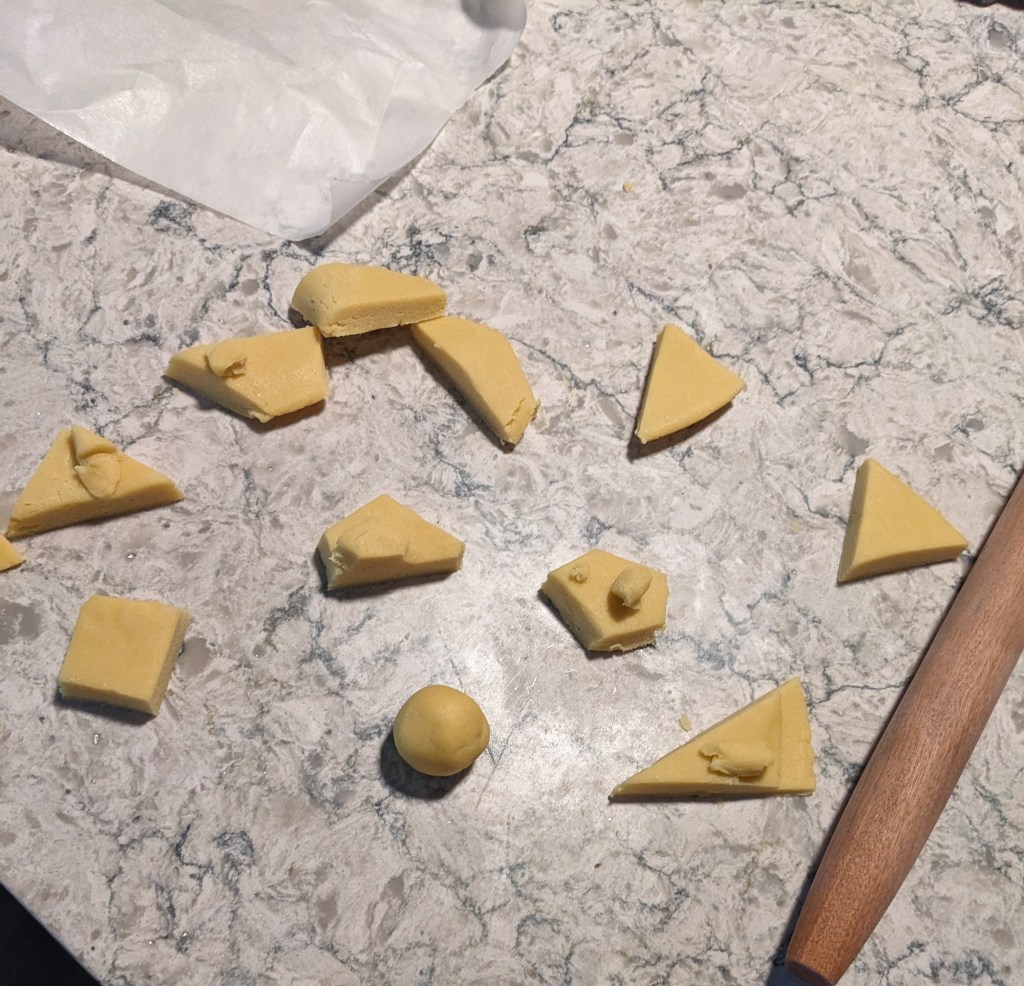
Anyway the method here is you take the sugar then add the dry ingredients and mix til combined. Then the fat is cut in and in my case this is when I added the gel colour and vanilla extract. The whole mixture is quickly worked on the bench until it comes together in a dough. The dough is wrapped and left to chill for 20 minutes.
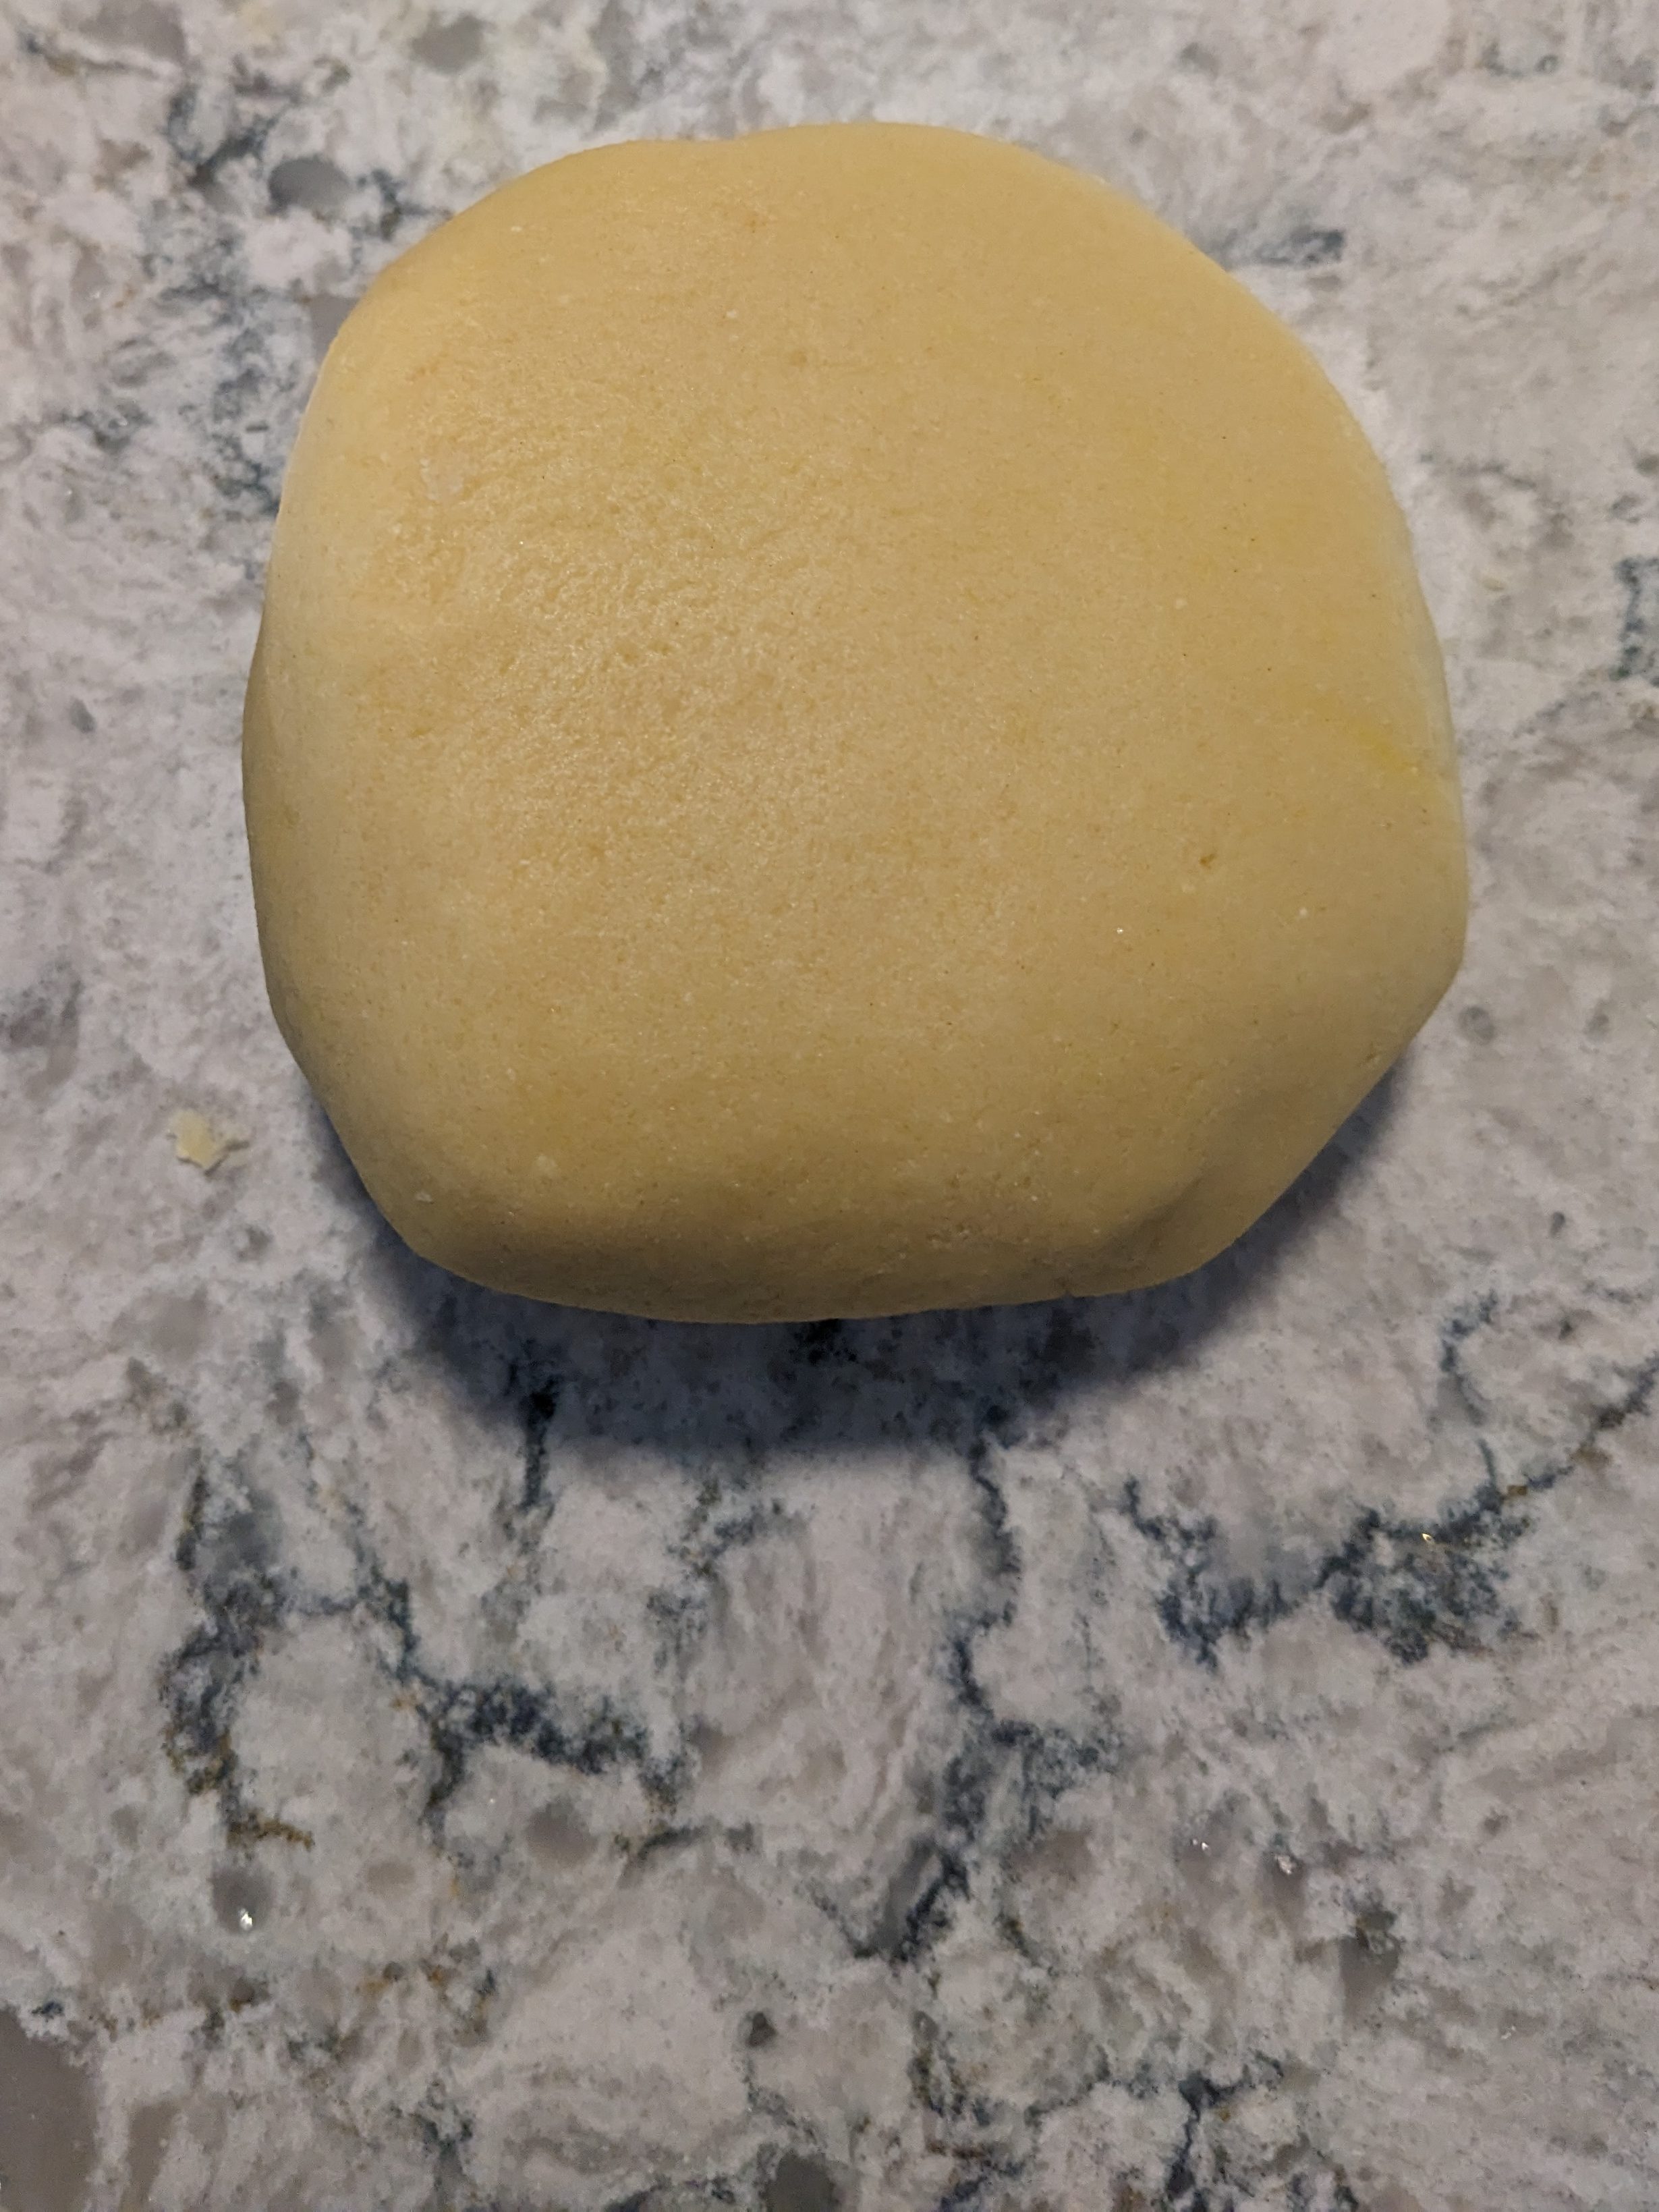
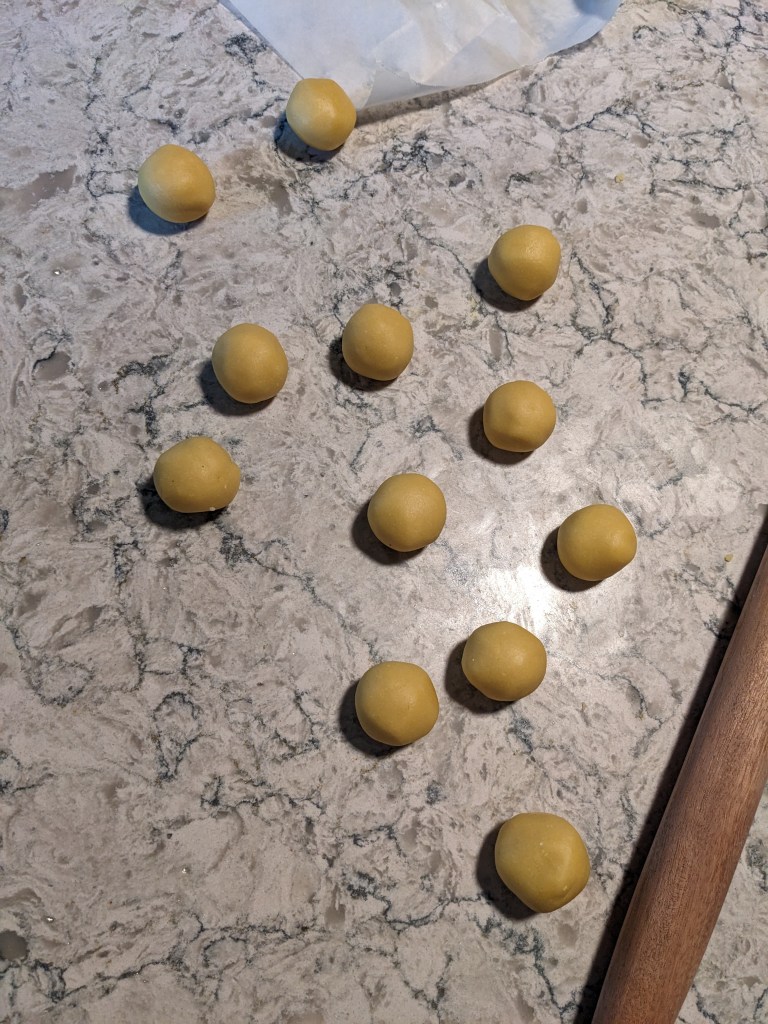
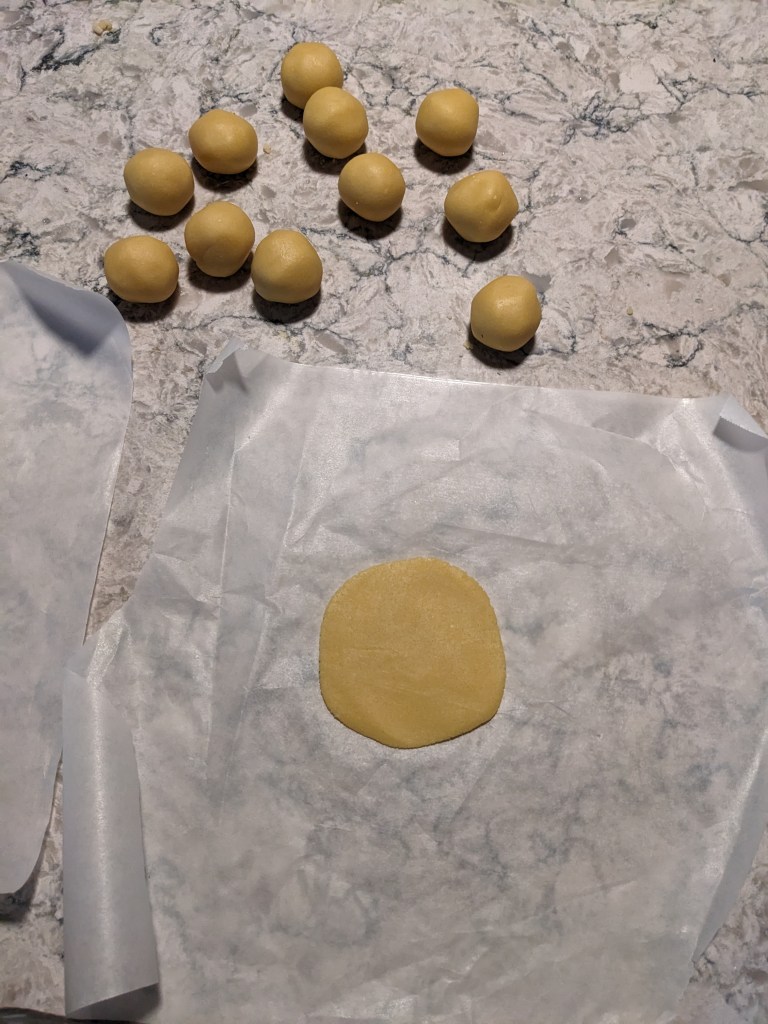
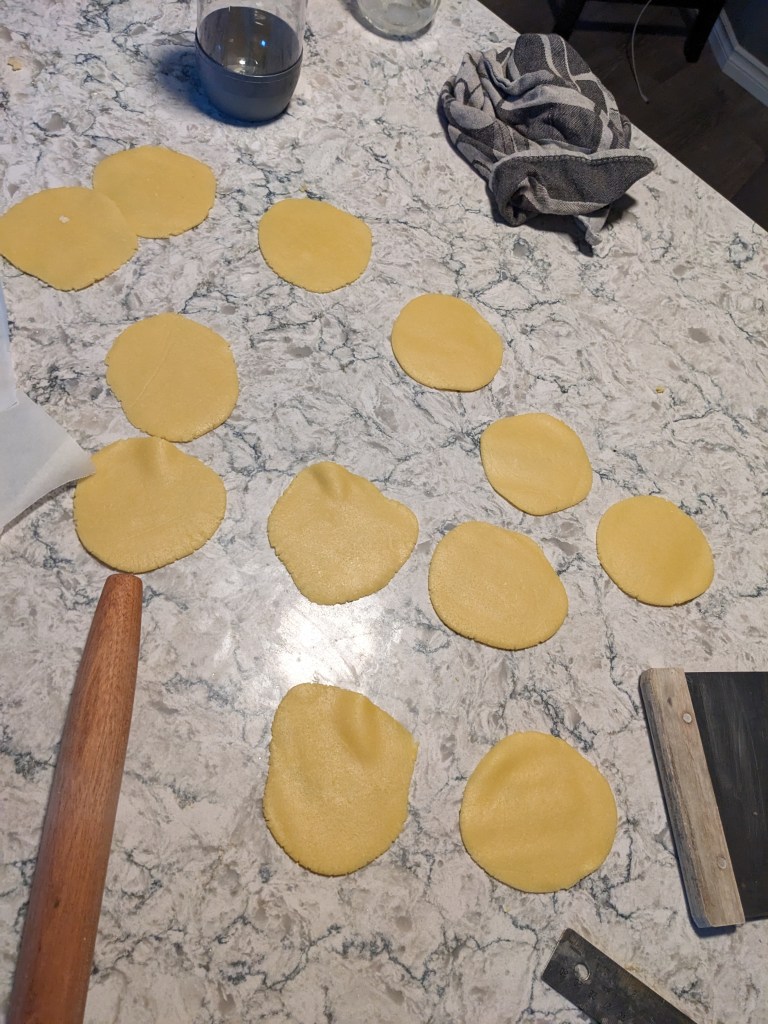
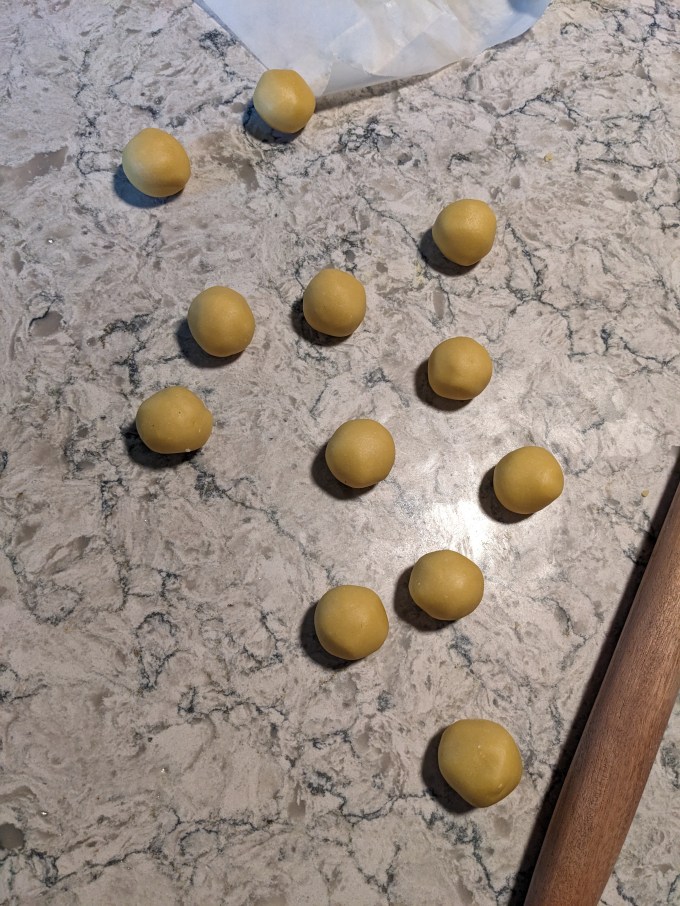
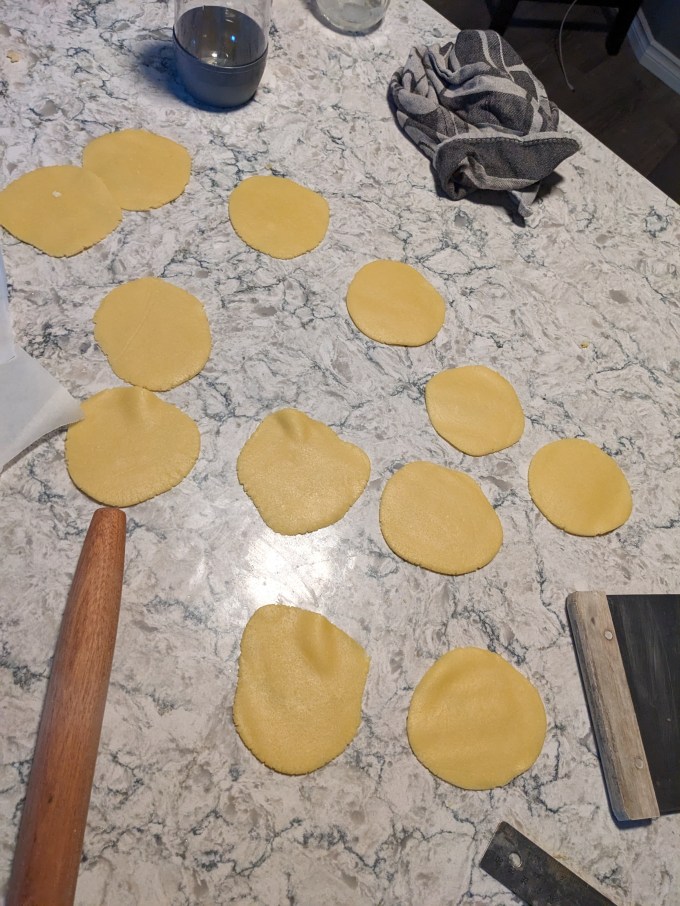
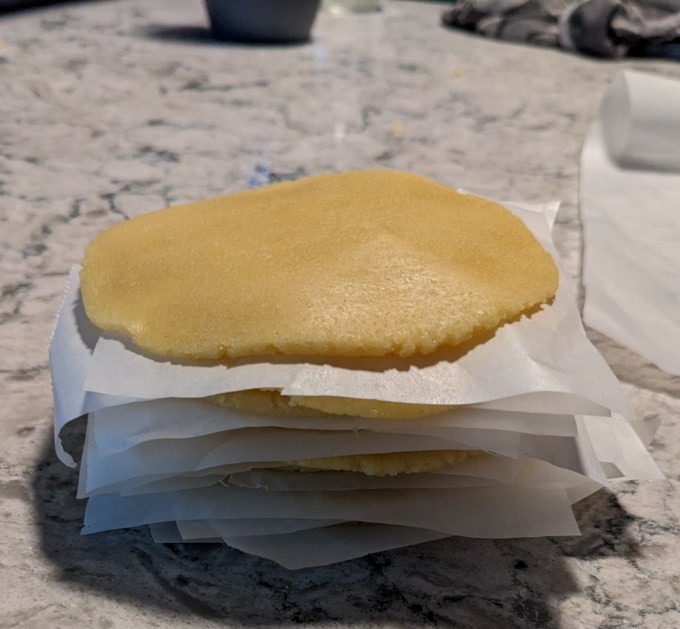
The chilled dough is divided into 12 equal portions and each portion is rolled into a ball. Each ball is flattened between two pieces of parchment and the stack of disks is returned to the fridge until final assembly.


Step 4: Shaping and second proof
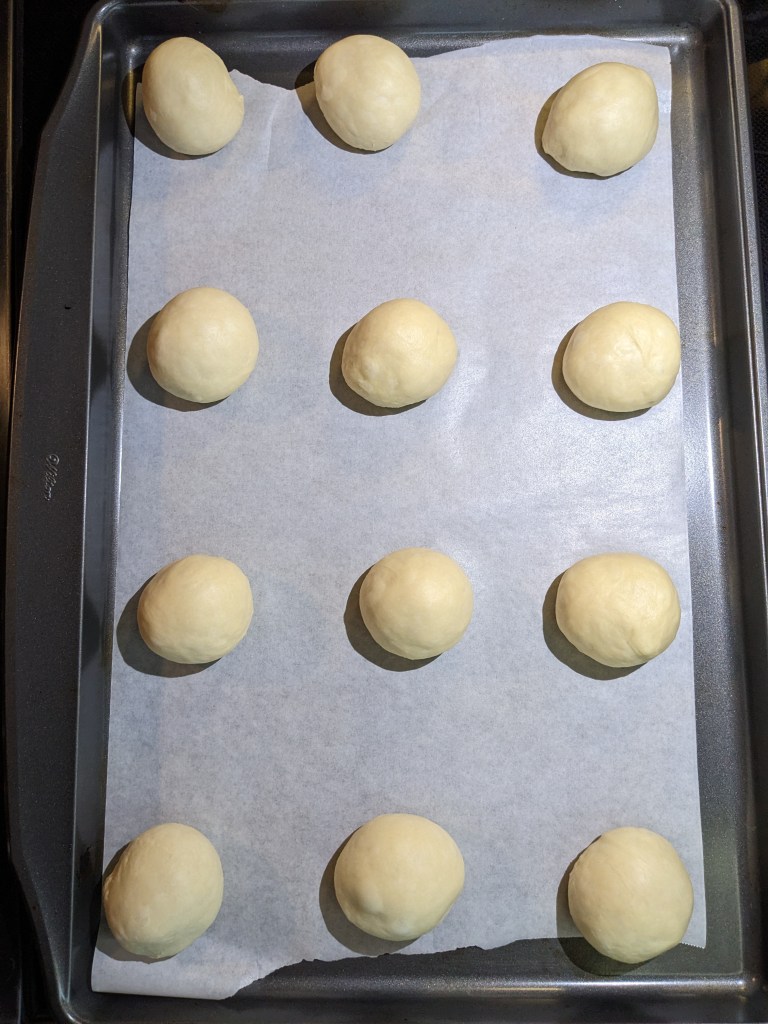
Once the dough has proofed (it does not fully double in size due to the additional fats weighing it down), it is punched down and divided into 12 equal pieces. The pieces are rolled into balls and put on a baking sheet for second proof.

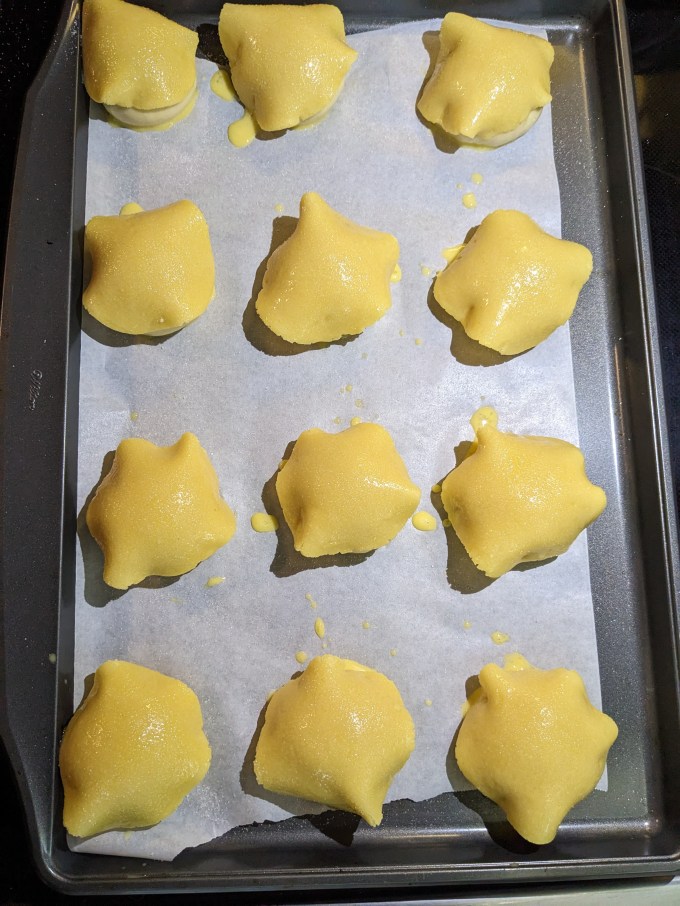
Step 5: Final assembly and bake
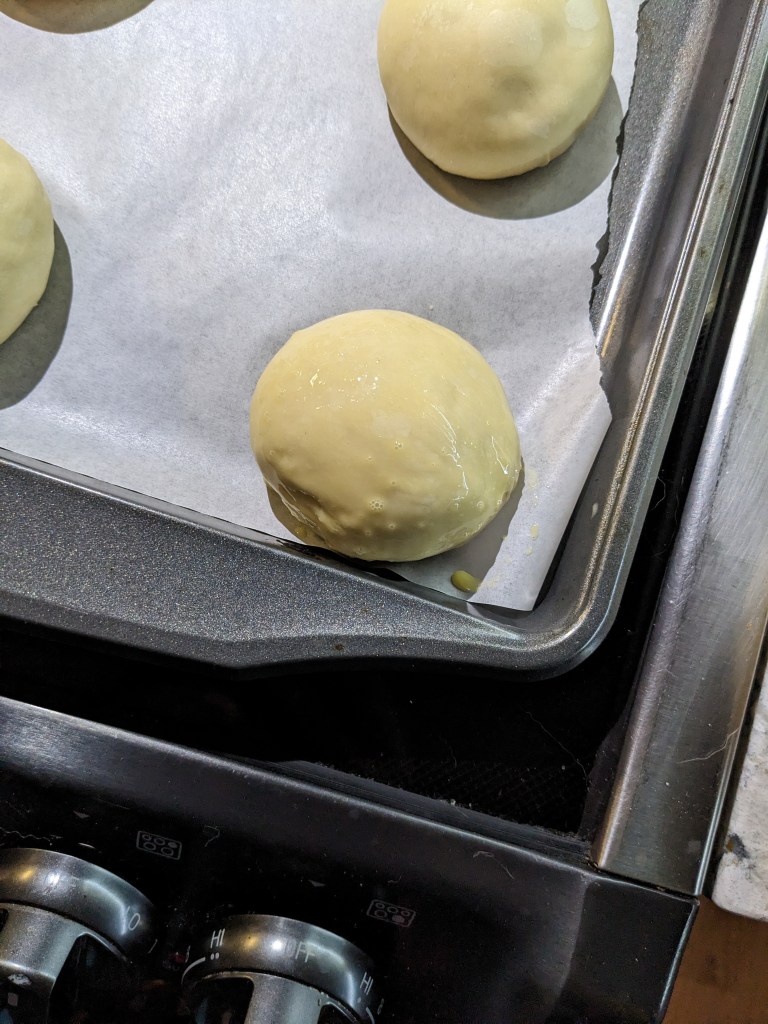
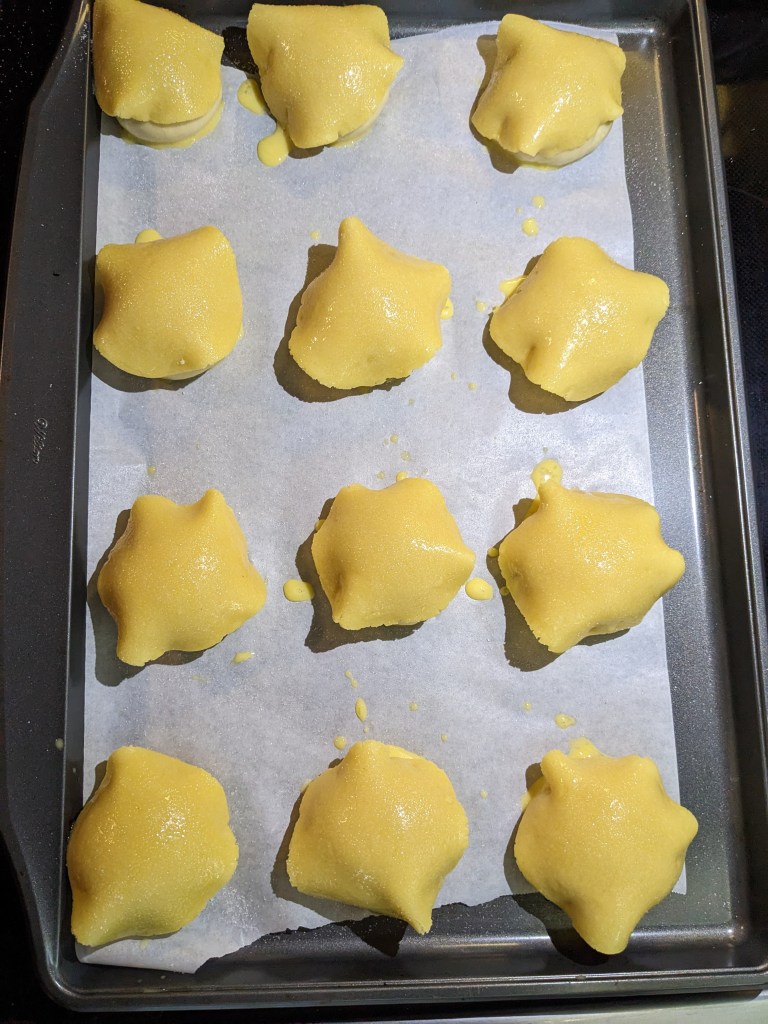
Once the second proof is complete, the buns are brushed with egg wash. One disk of craquelin dough is placed on each bun and then the entire bun including the craquelin is brushed with egg wash again. I took some more liberties with the recipe again here. The recipe calls for two egg yolks in the wash; I have so many egg whites in the fridge I could not bring myself to waste two more over a weirdly specific egg wash instruction. So instead I used a single whole egg and once again everything turned out fine. I am trying to be more generous with my egg wash. I think I am usually too light touch with it so I was focused on that for this bake. I think I had some improvement here and the substitution made no difference.

The other slight change I made to the instructions was the recipe called to split the batch into two and proof one sheet while the other was baking. I have no idea why the recipe is written this way other than it being related to filming or something. My full size baking sheet was large enough to accommodate all 12 buns so I just proofed and baked them all together because that is obviously the most sensible thing to do.
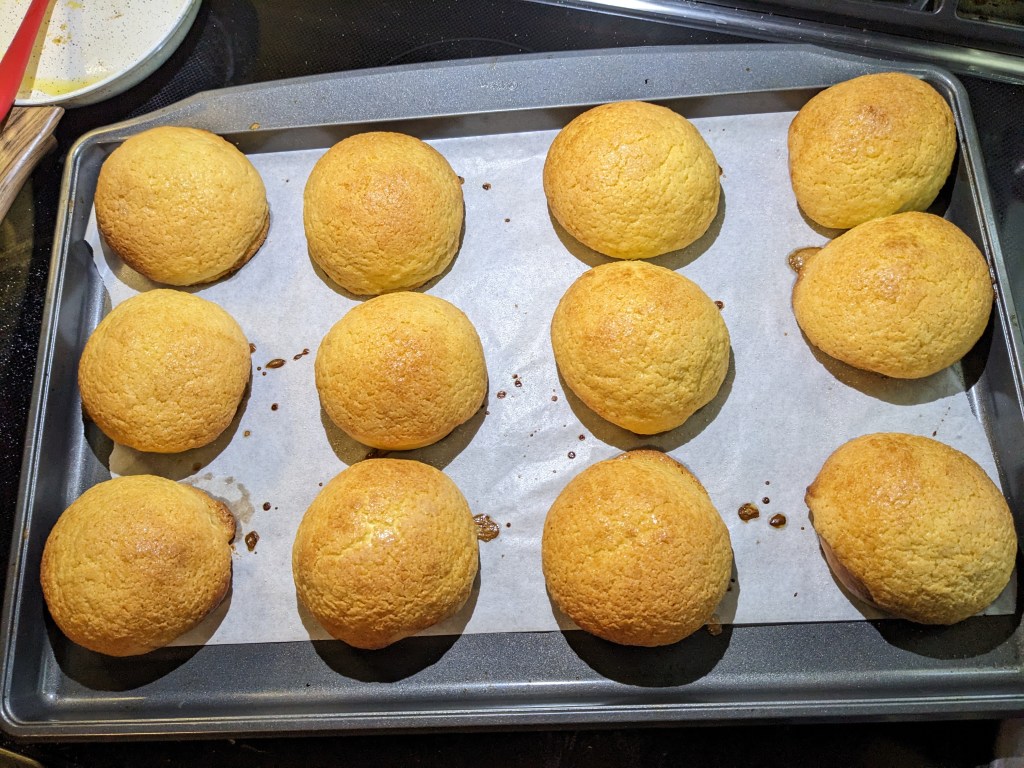
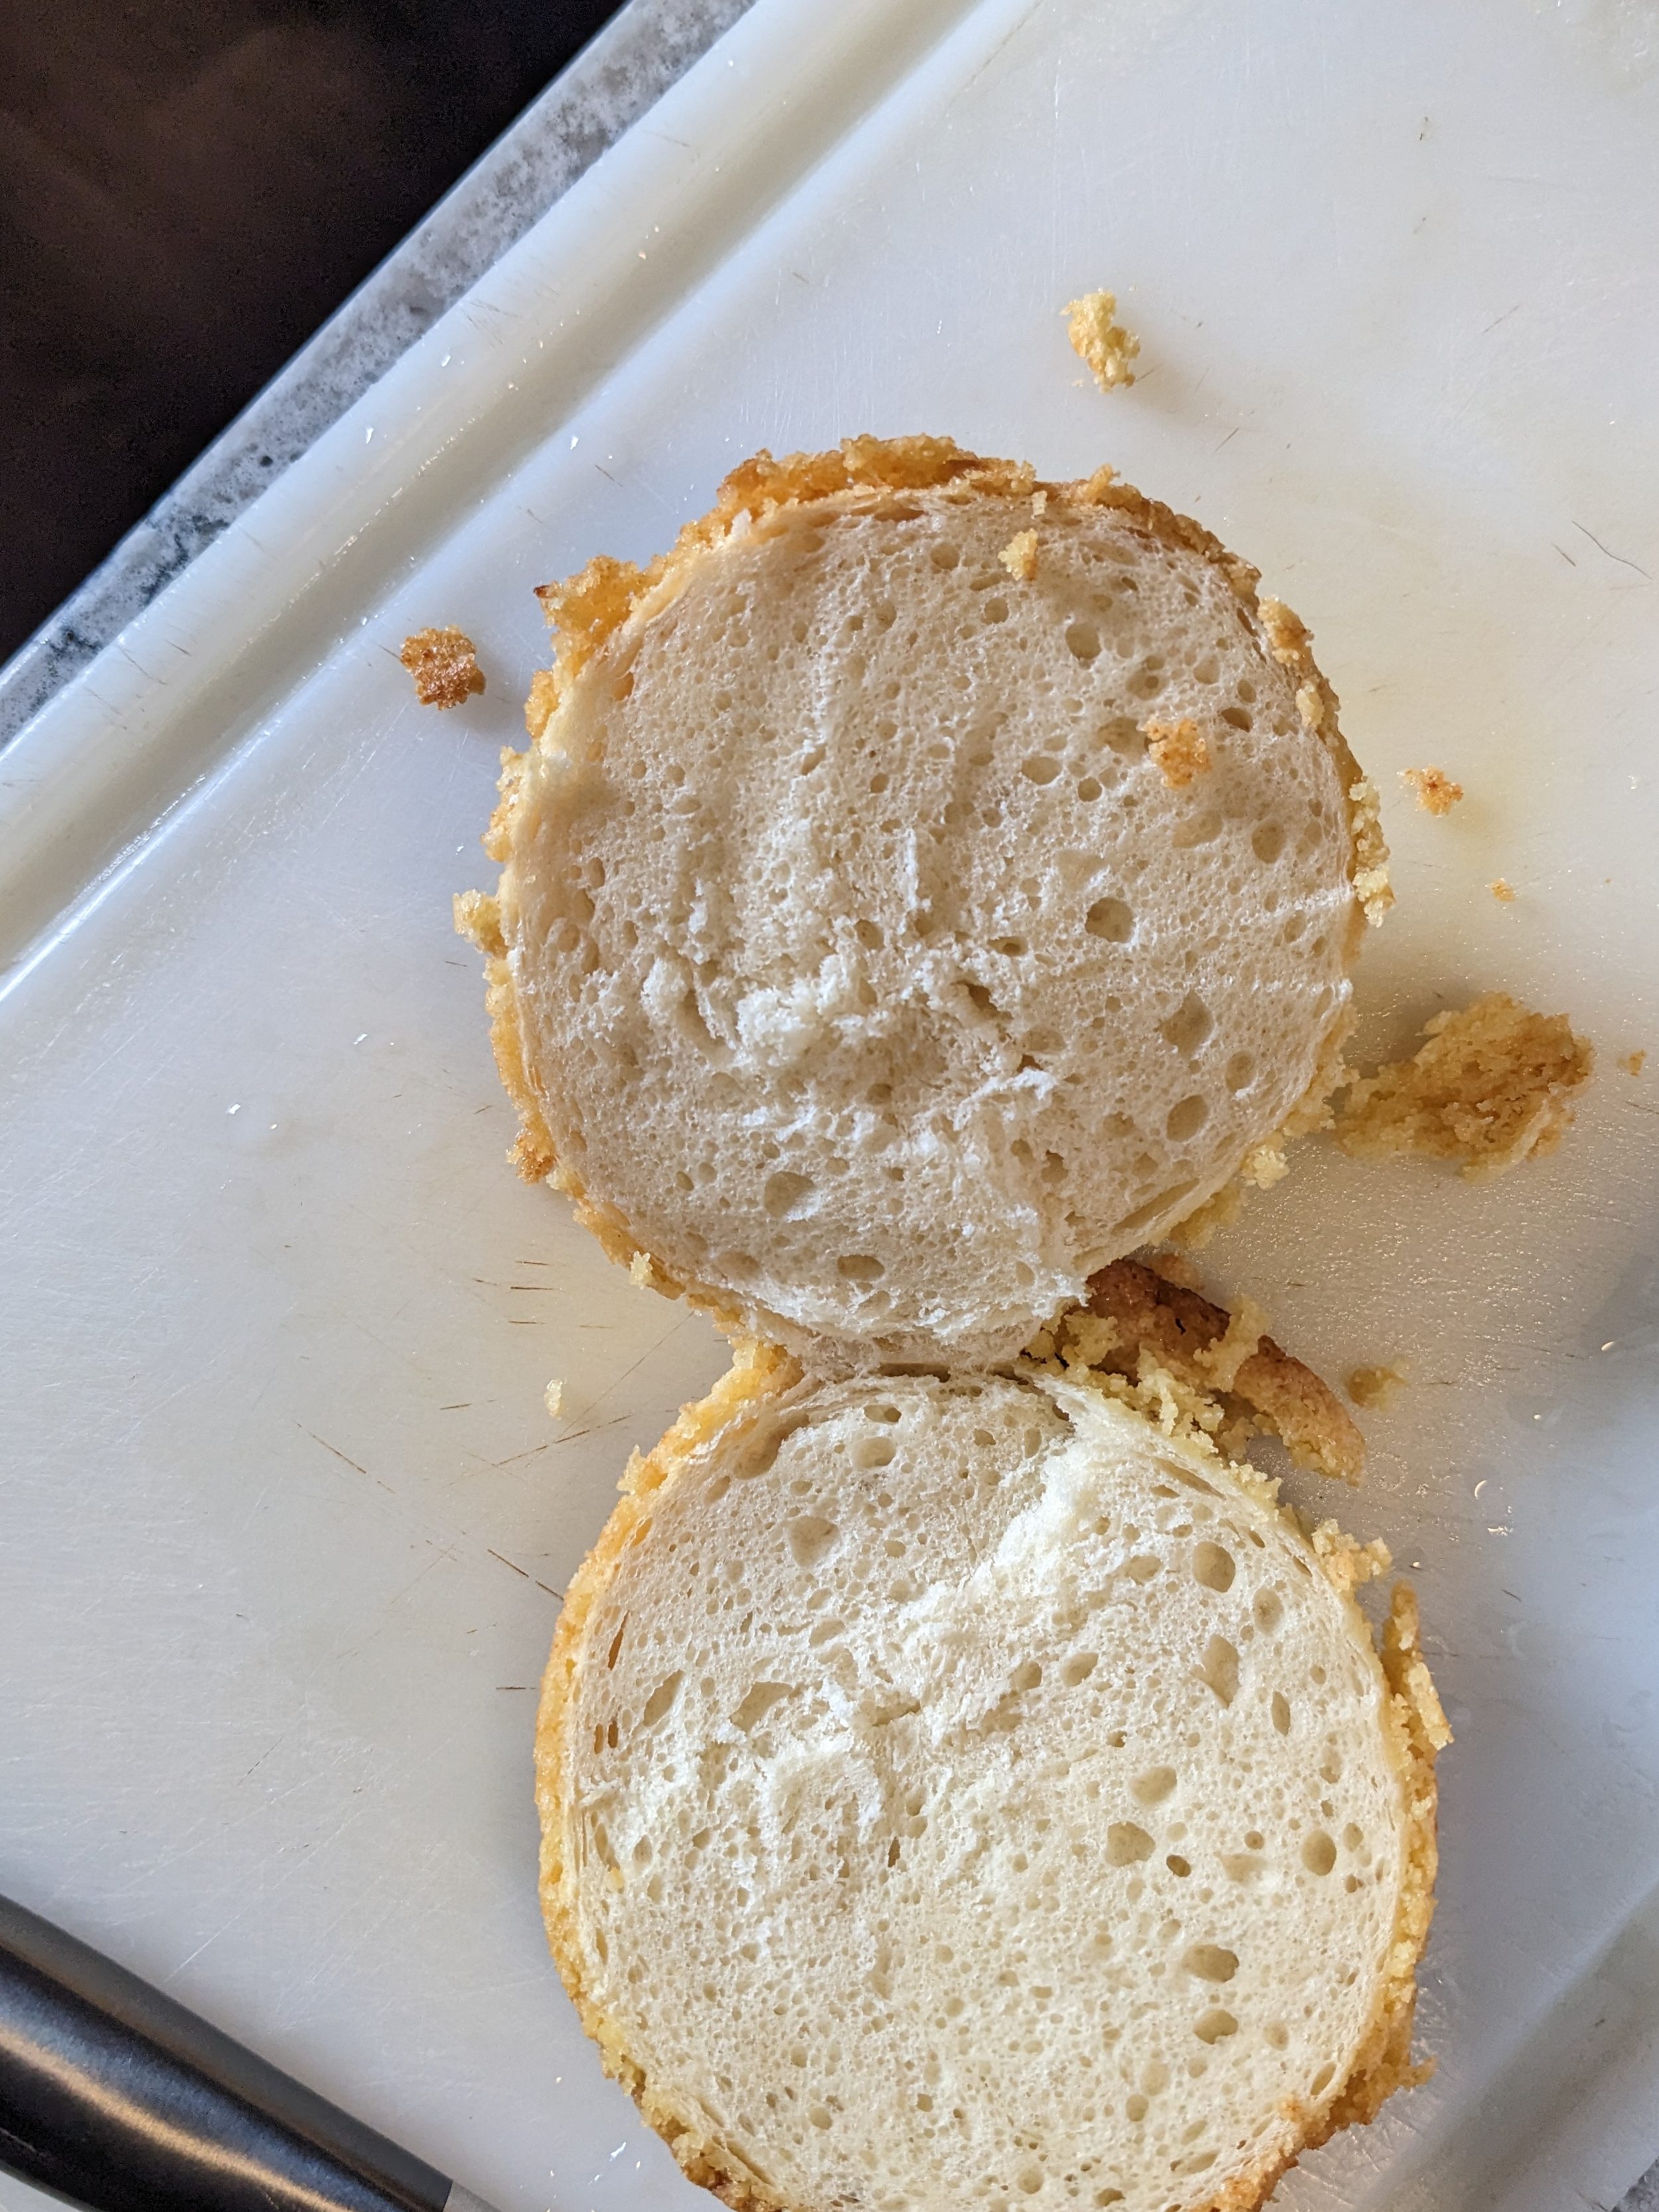
Once the buns are assembled, into the oven they go until baked through and the craquelin is a a nice golden brown. And there we have it, the humble and delicious Hong Kong Pineapple bun.
Gallery


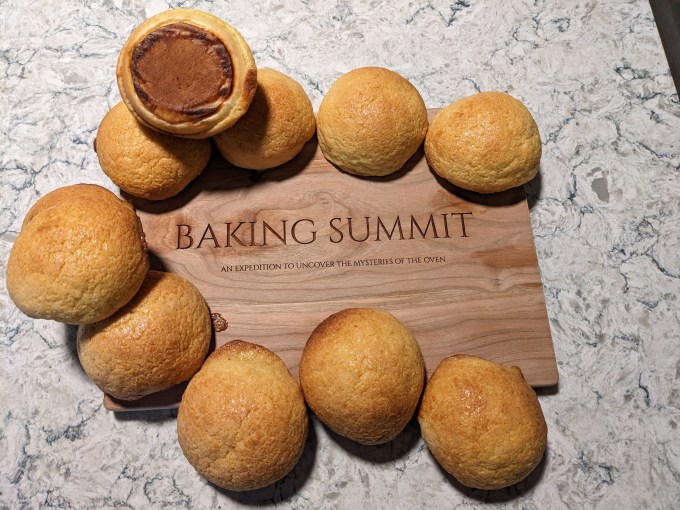

I used these for my breakfast sandwiches which made a nice sweet and salty combination, but they are just fine on their own or with a bit of butter. I did not bother doing the variation with the slab of butter: that was an obvious needed-for-the-cameras addition to this bake since so much of breadmaking is passive and does not make for good television. Other than this exclusion and a few minor substitutions, everything turned out as planned and I will likely make these again. A simple and satisfying bake and a new method all in one post. Better than a kick in the face!
Hey, bakers! Check out my BAKER’S PANTRY index if you want to deep dive on specific ingredients when attempting this bake for yourself

Sweetest pineapple buns ever! Very yummy indeed. Makes Crispy Cremes and Tim Hortons look like chumps, not champs. No need to stop at the drive-thru, just keep going!
LikeLike