
Hello Friends and Fellow bakers! I am back and we have moved into the double digits with bake number 10! WOOOOOOO! This is also a fun post because it is the first in a new category here on the blog: Conceptually Very Confusing. Subcategory: Extremely Unphotogenic. Let’s get into it!
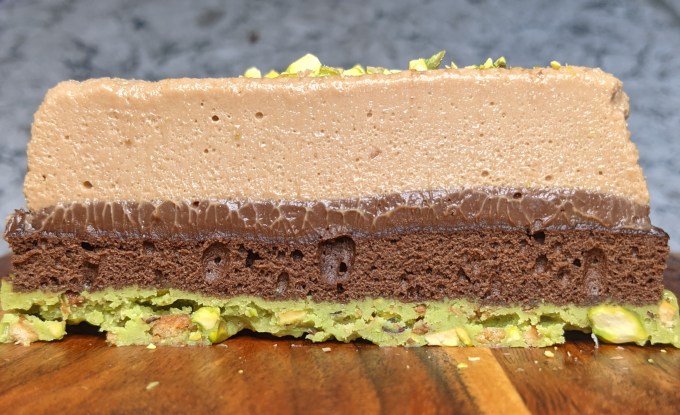
Marquise au chocolat was featured on Season 3, Episode 5: Chocolate Week of GCBS (link to recipe here). It is a French [here we are again in France. There is a whole wide world of cuisine out there, CBC, and they ALL have ovens, FYI] dessert that is supposed to be a celebration of chocolate. Watching the episode, it seemed… confusing. Reading the recipe, it seemed. . . confusing. The marquise is a moulded mousse cake made of four layers: chocolate sponge cake, white chocolate pistachio croquante, dark chocolate ganache, and milk chocolate mousse.
Now that I have completed the bake, I can see why it is a high-end dessert, but when I first looked at the photos of this, all I could think was 1) what in the sam hill is this monstrosity and 2) how the hell am I supposed to photograph it. Brown upon brown upon brown in my very dim kitchen. Great.


Unpopular opinion time: I am not a fan of chocolate. I don’t particularly enjoy eating it and I don’t particularly enjoy working with it. This is one of those things people get weirdly emotional about, as if all of the chocolate bars I have rejected in my life are their own personal creations and I am somehow throwing them into an existential crisis because I don’t like chocolate and they do? I get a similar reaction when I tell people I don’t like peanut butter. I learned recently that I am not alone here. In fact, I have heard other people in the anti-peanut butter camp fake having allergies to avoid being interrogated about this. Doesn’t that seem extreme? My good dudes: please let us all chill TF out. Eat peanuts, don’t eat them, whatever yanks your crank. Life is groovy. End PSA. Back to the Marquise!
So why was it so confusing? First, I think my lack of enthusiasm for chocolate just made this very conceptually challenging to me. It was a bit much. Like, calm down France. Why do you need to put 4 types of chocolate into anything? Is it just a flex? Is it just to be extra? The point is, I was having a hard time trying to imagine how this would be served, and where. How many people are meant to eat this? Is it something you would get in a shop window or more like something from a restaurant? I don’t know why, but this intangible conceptual stuff helps when you are baking something for the first time. If you can really imagine eating it, then you can imagine the components, then you are mentally prepared for the method. Or at least that’s how it works in my mind, I suppose everyone has their own process.
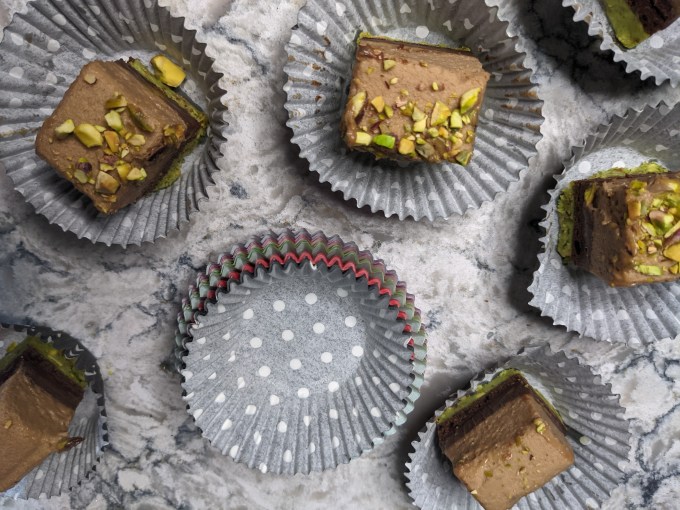
My next issue: the final product isn’t visually appealing to me. It is a brown rectangle. I guess you could say the same thing about any chocolate bar. Hmmm. Now that I see that in writing, the understanding is dawning on me. If you are a big fan of chocolate, I suppose the brown rectangle has a certain Pavlovian draw to it. If you are a social outcast like me, the brown rectangle just seems very inert and rectangl-ey. To each his own. I will admit the final product looked better once I cut it into squares and more like something a sane person would want to put in their mouth.
Finally, the challenging thing about this bake, at least for me, was how SMALL it is. I am used to working at a certain scale in my kitchen. I cook meals to feed two adults and I bake batches that are an appropriate size for my mixer and bowls. It seems like something that might not matter, but it DOES. As a general rule, the volume of food should be scaled to the equipment it is being prepared in. This is part of the science of how to make reproducible, predictable results. And if I have the choice between scaling up versus scaling down, I am WAY more comfortable going up. Go big or go home. So this aspect of the bake was good skill building for me, and that is what this project is all about.
Step 1: Milk Chocolate Mousse
There are a few different ways to prepare mousse. This is one of the classic French methods and it works well when you want to make something that can hold up in the fridge for a few days. The improved shelf life comes from using egg yolk and gelatin to stabilize it.
The CBC recipe offered instructions to use either gelatin powder or gelatin sheets. I decided to go with gelatin sheets because I have never worked with them before and as we all know I am here to learn as much as I can. Also I want to try to make my final products as close to what was happening on the show as possible. Sheets it is. There are a lot of technical differences between sheet and powder gelatin, but for most baking applications, they are interchangeable (here is a rough conversion guide if you need it).
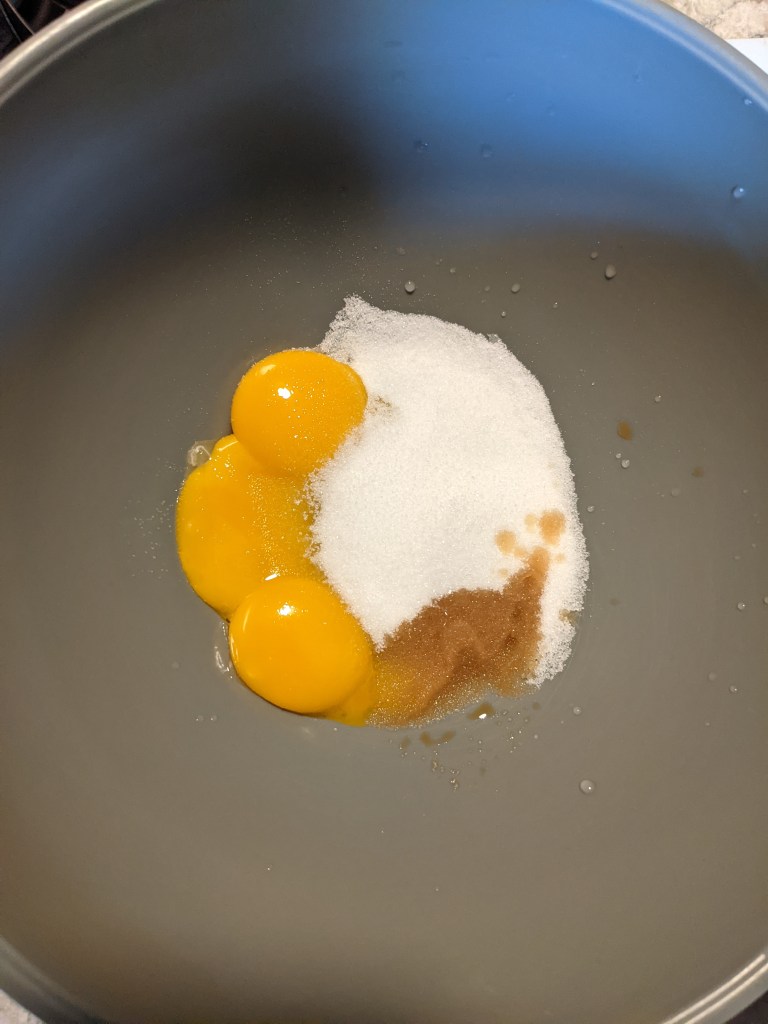
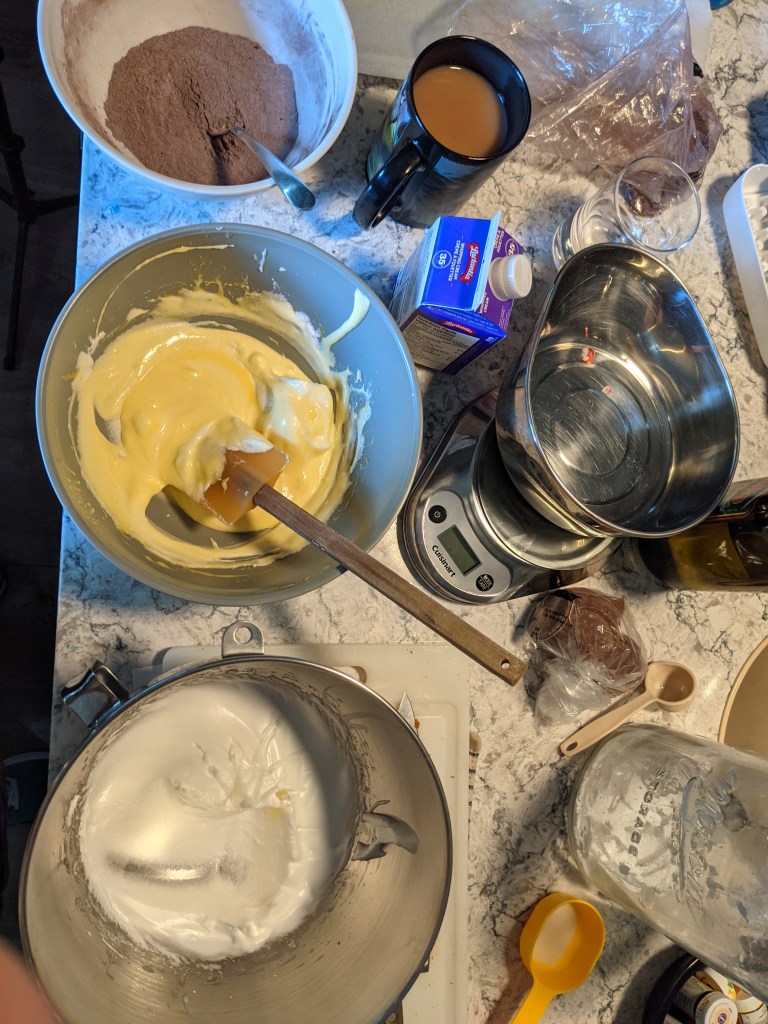
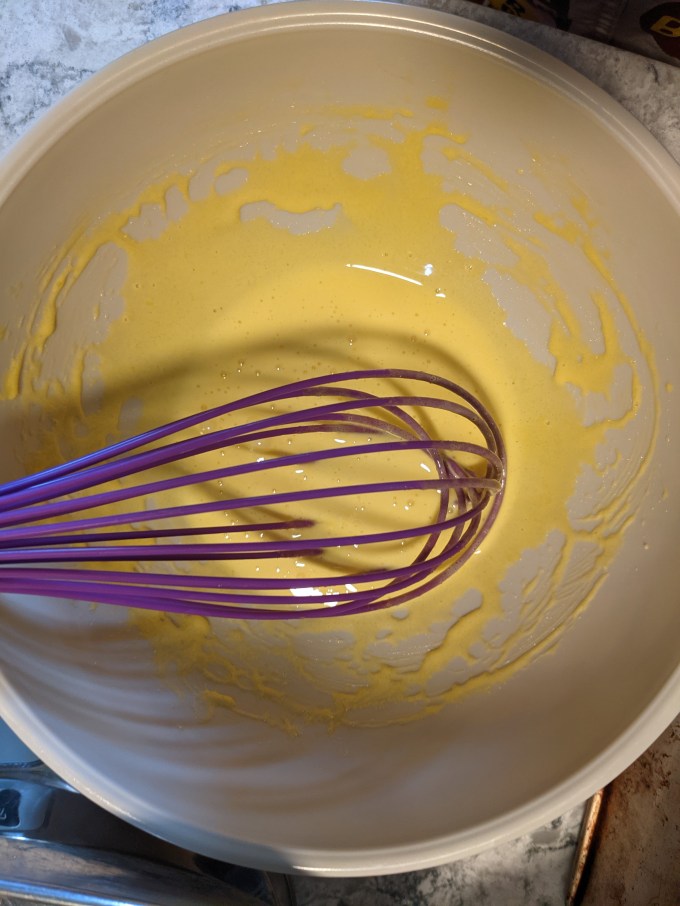
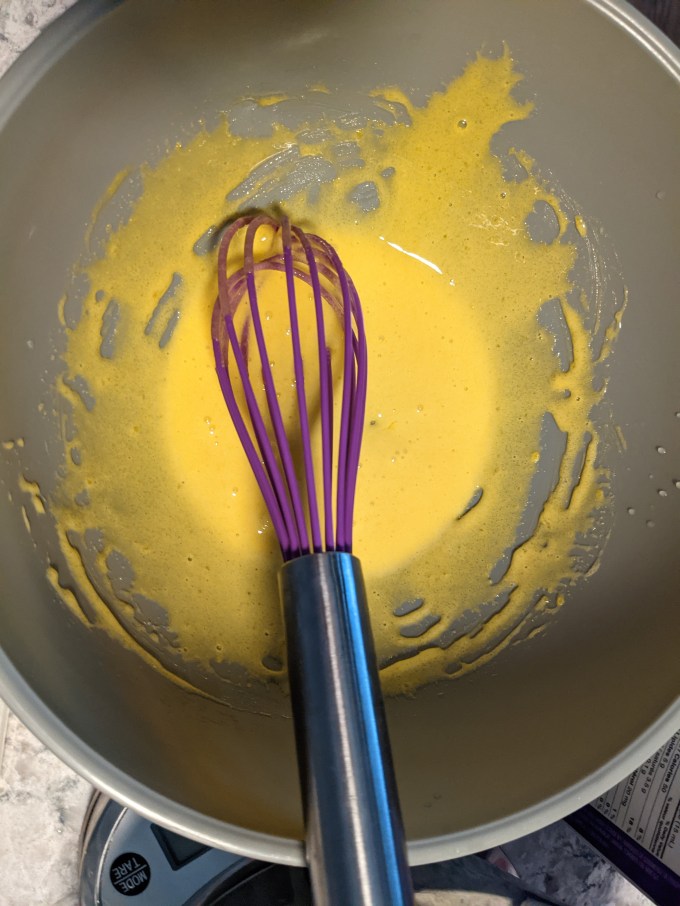
For this mousse, milk chocolate is melted over a double boiler while heavy cream and whole milk are gently warmed in a separate pan. Eggs, salt, and sugar are whipped until pale and thick. There were a number of steps in this recipe that called for the hand mixer because the scale is so low. I do still have a hand mixer but I only have one beater for it and it just irritates me to get it out unless I really **need** it. After perusing this recipe and watching the episode I was confident I could do all of the sections that called for a hand mixer manually with just a whisk; and WHISK THEM I DID.
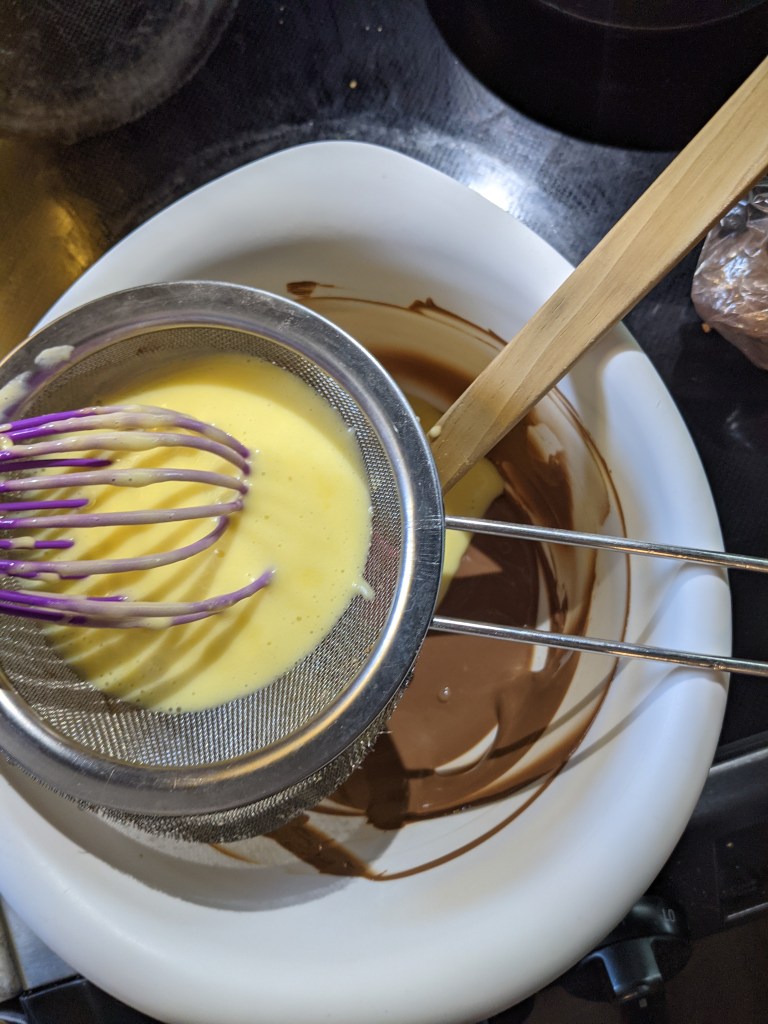
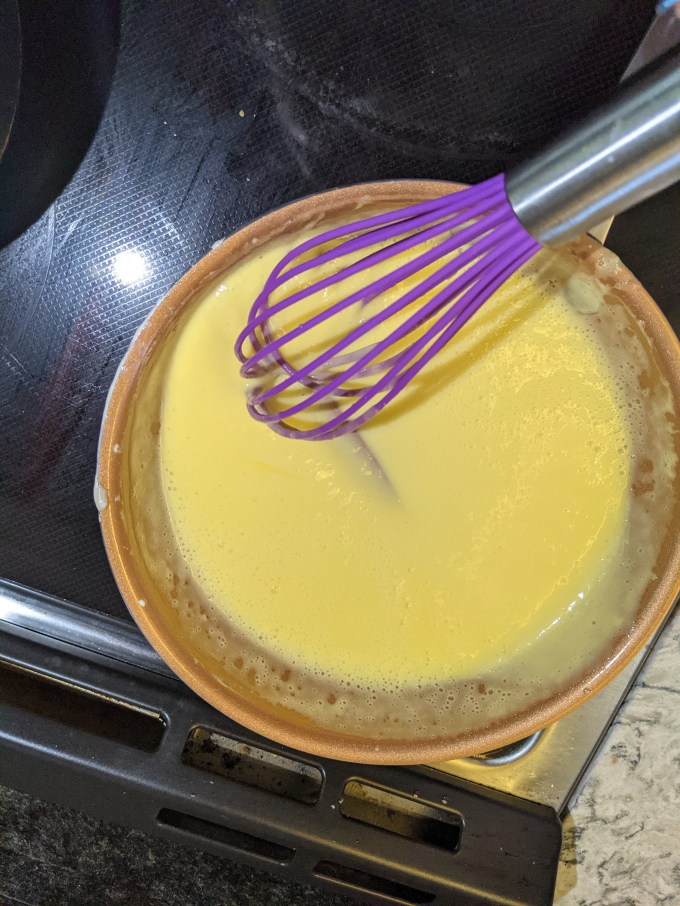
The warm cream is slowly streamed into the egg mixture -> this is a process called TEMPERING. Tempering slowly raises the temperature of the eggs so they don’t scramble. Then the combined mixture is returned to the pan and slowly heated. Once thickened, the gelatin is whisked in, then the mixture is strained into the melted chocolate.
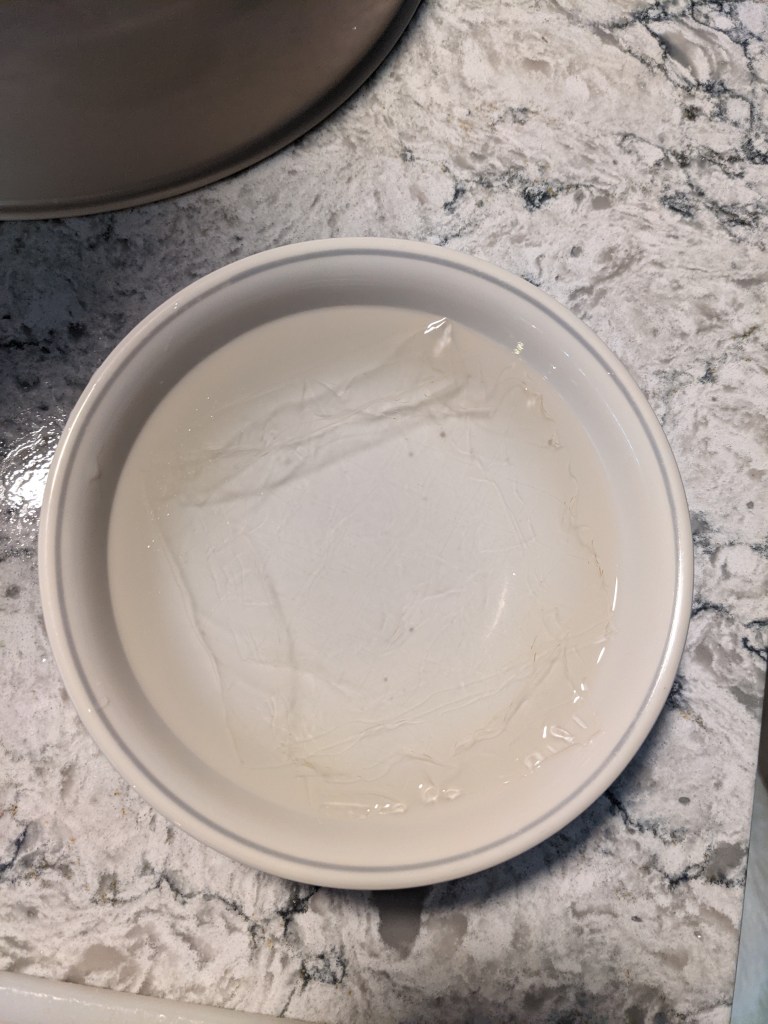


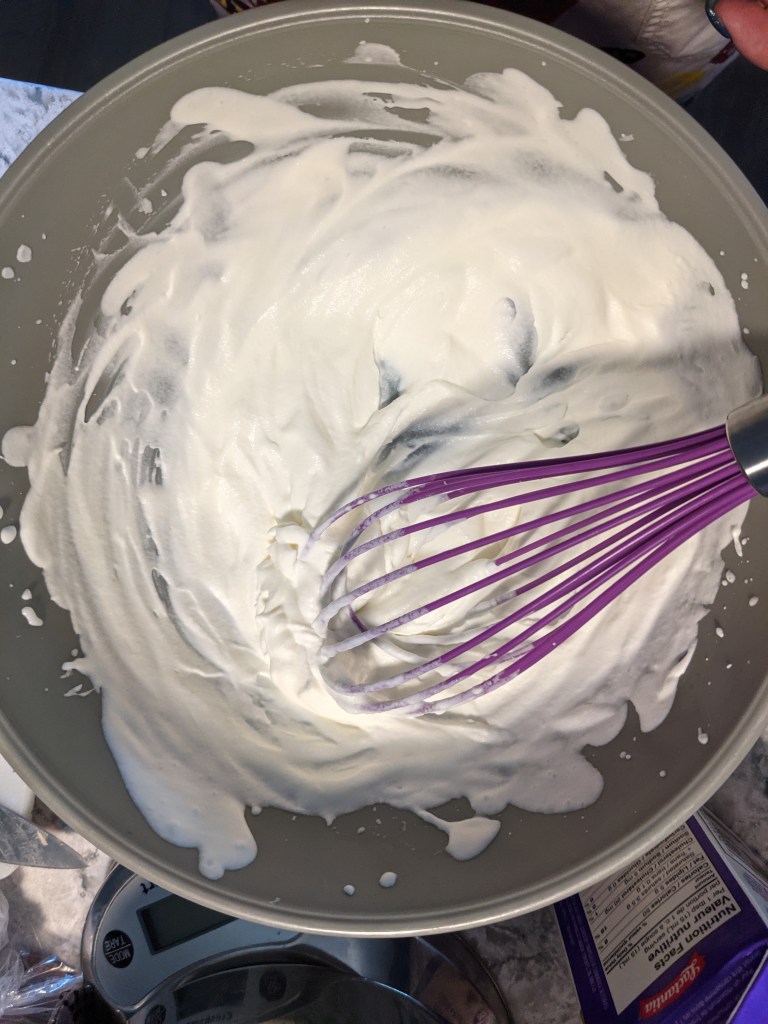
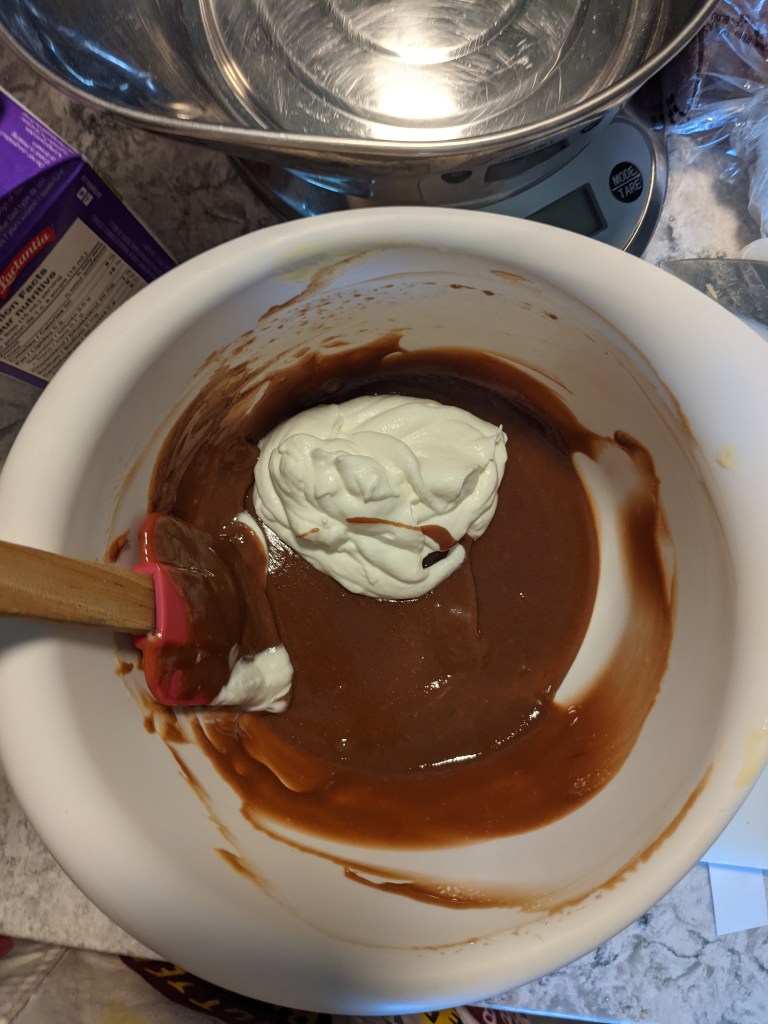
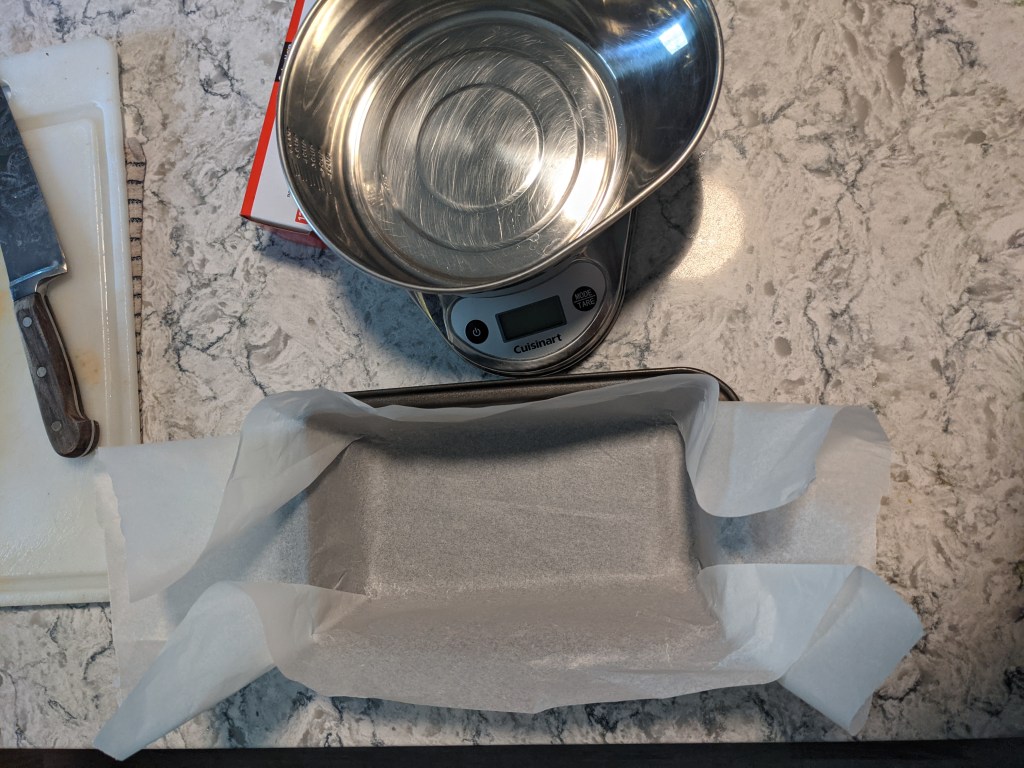
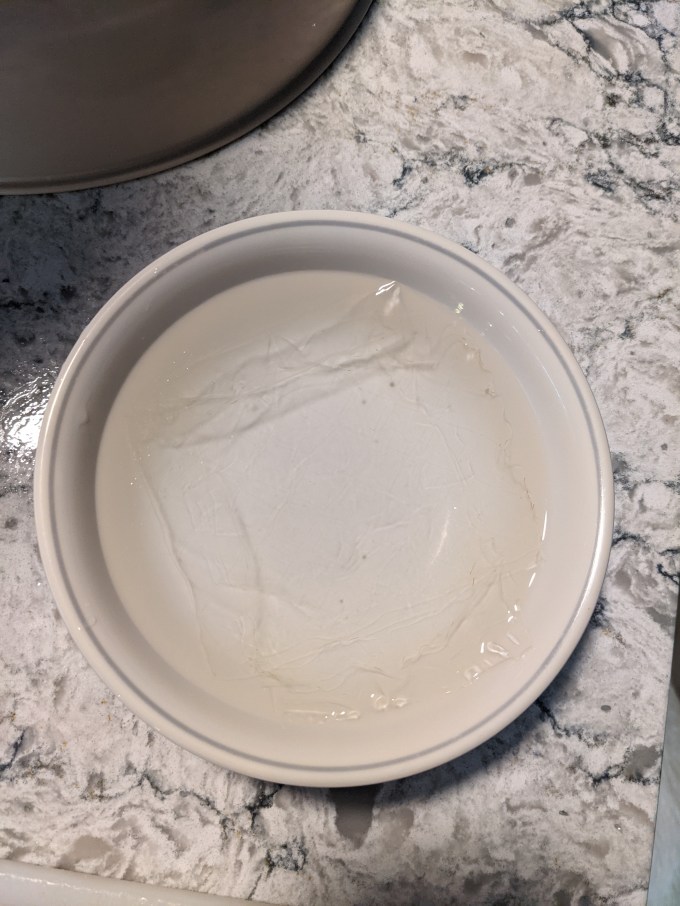
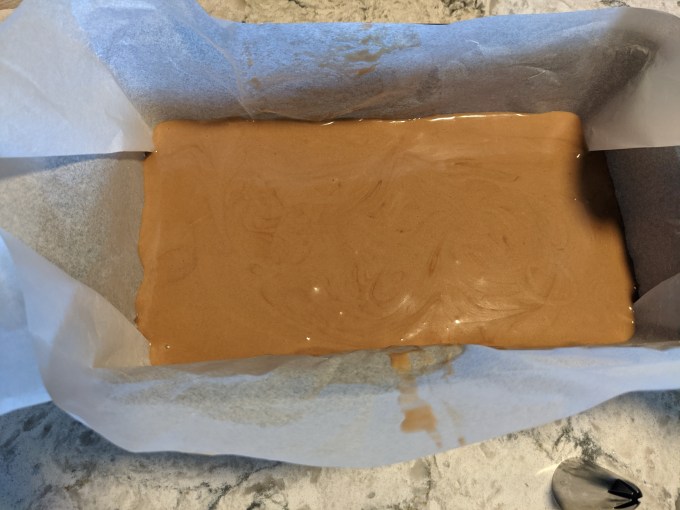
While the egg mix is coming up to temperature, more heavy cream is whipped to soft peaks. The egg/chocolate batter is gently folded with the whipped cream and voila! MOUSSE! The liquid mousse is poured into a parchment lined loaf pan (side note: getting the parchment paper into the pan the way I wanted it was probably the hardest part of this bake lol it took for ev er) and chilled to set.

Step 2: Biscuit, or what any sensible person would call “Sponge Cake”
Ok so. WTAF CBC. This step just amped up the confusion level. It’s referred to as a “biscuit” in the recipe and I certainly did not retain whatever word the judges used for it on the show. When I see the word “biscuit” in a recipe, I think we are either talking about what North Americans refer to as a cookie (if the recipe is European, which this recipe supposedly IS), or I think we are talking about a kind of cut-out baking soda biscuit originating from the Southern United States, but widely made across North America in many variations. Neither of these options are what’s going on here, because this is just a basic sponge cake. Which I figured out once I was about half way through it and a cookie batter didn’t really seem to be materializing before me….
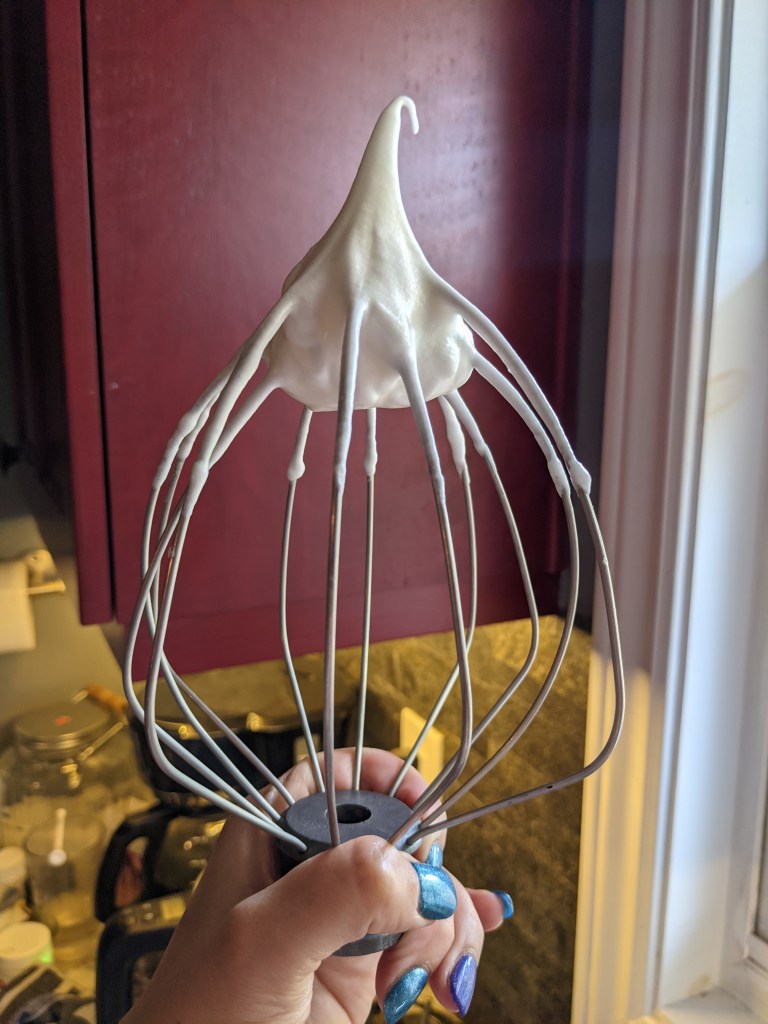
Egg whites and sugar are whipped to stiff peaks. Yolks and sugar are whipped until pale (which means they are well puffed and aerated). Dry ingredients (including cocoa) are blended separately. The yolk mix is used as the central batter as alternating additions of meringue and dry ingredients are folded in. Then the batter is leveled in a quarter sheet pan and baked until set. Cool and cut to fit the loaf pan snugly. Lovely.


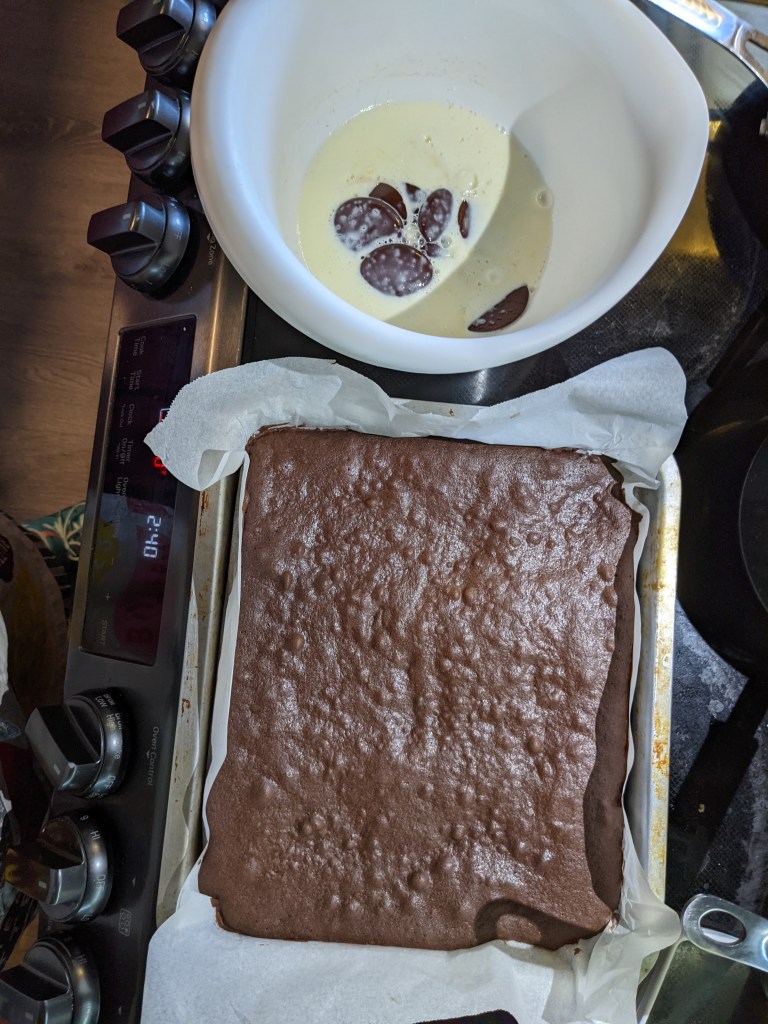
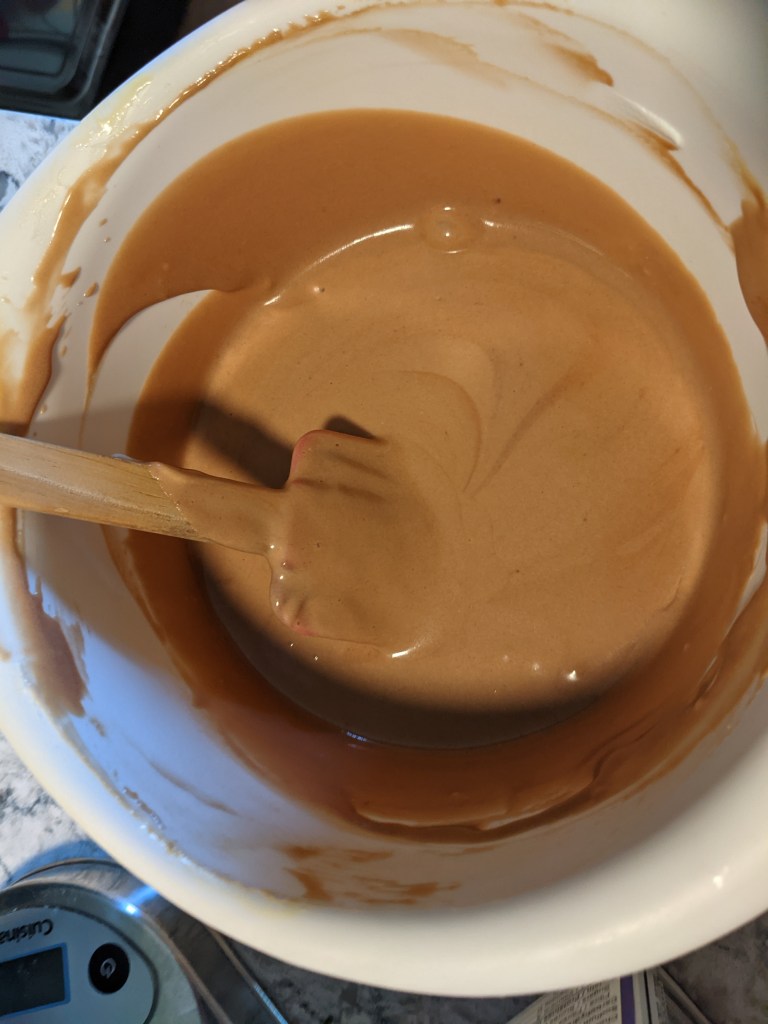
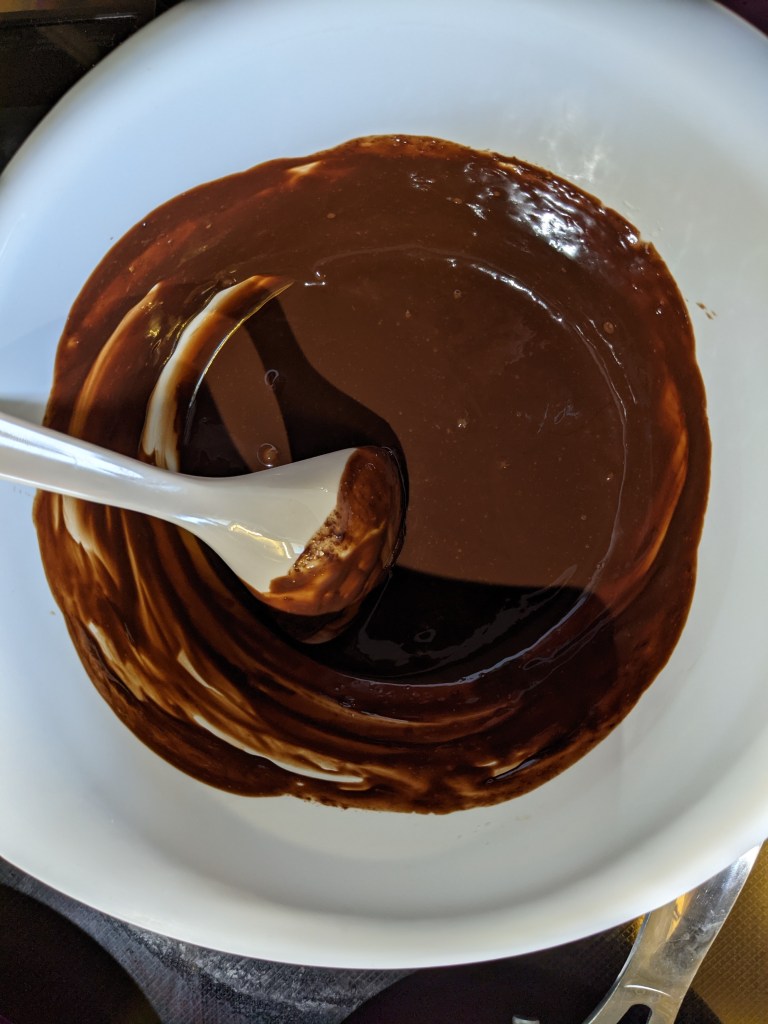
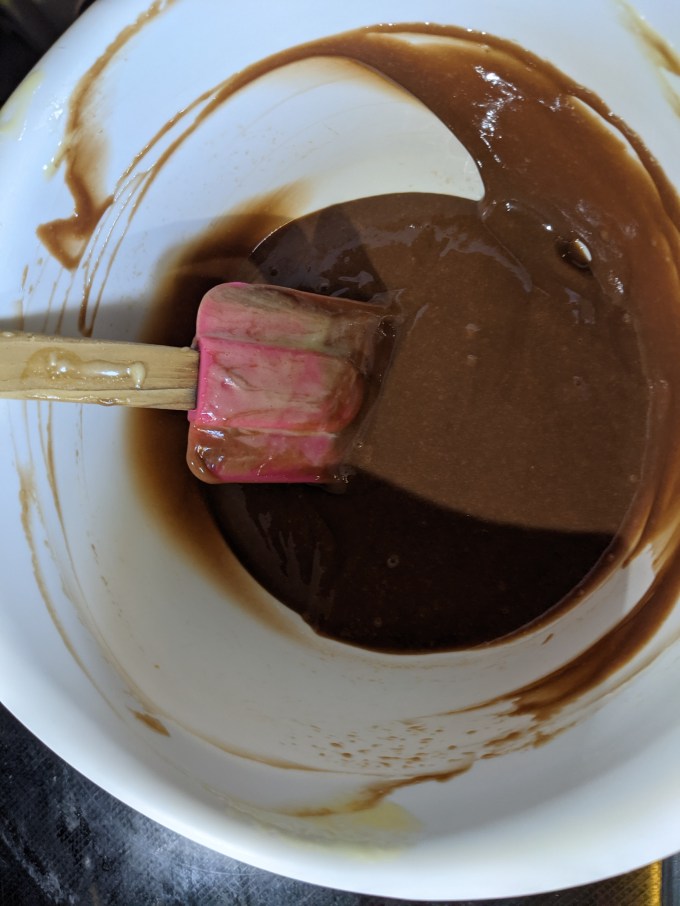
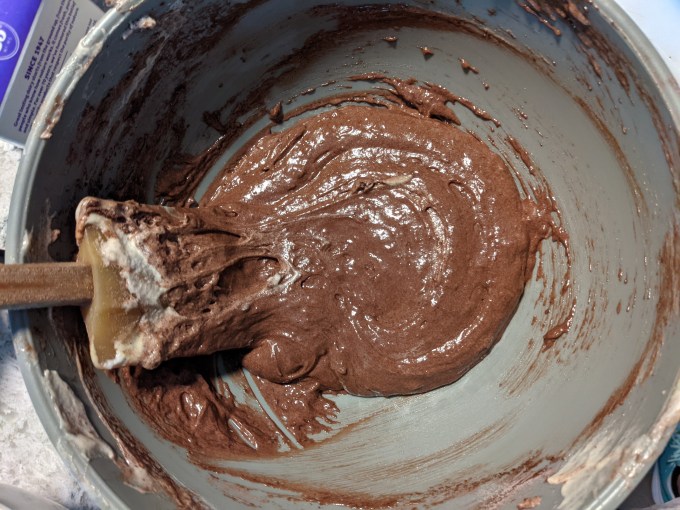
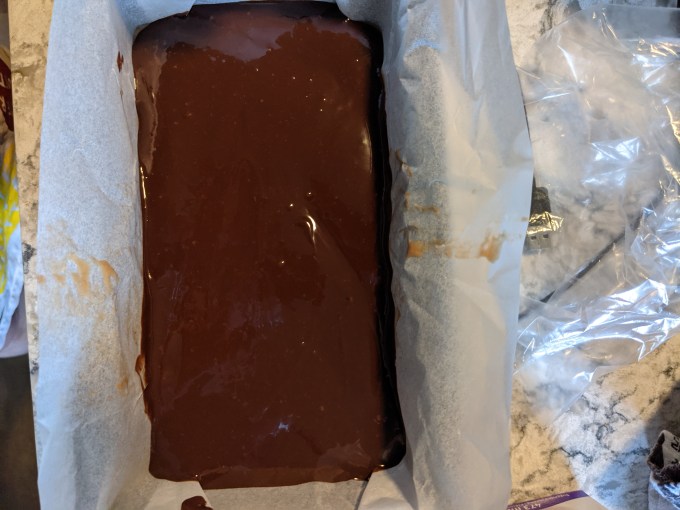
Step 3: Ganache
Once again we have the simplest preparation of ganache: heated cream poured over dark chocolate and stirred. Lovely. The warm ganache is poured over the set mousse layer.
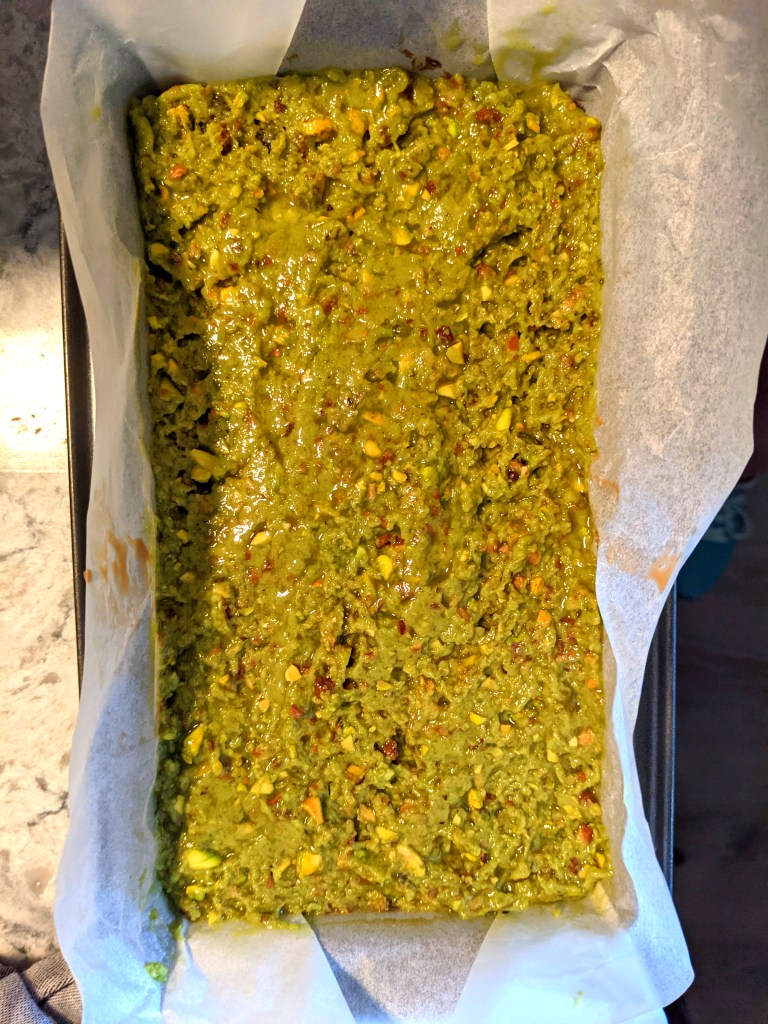
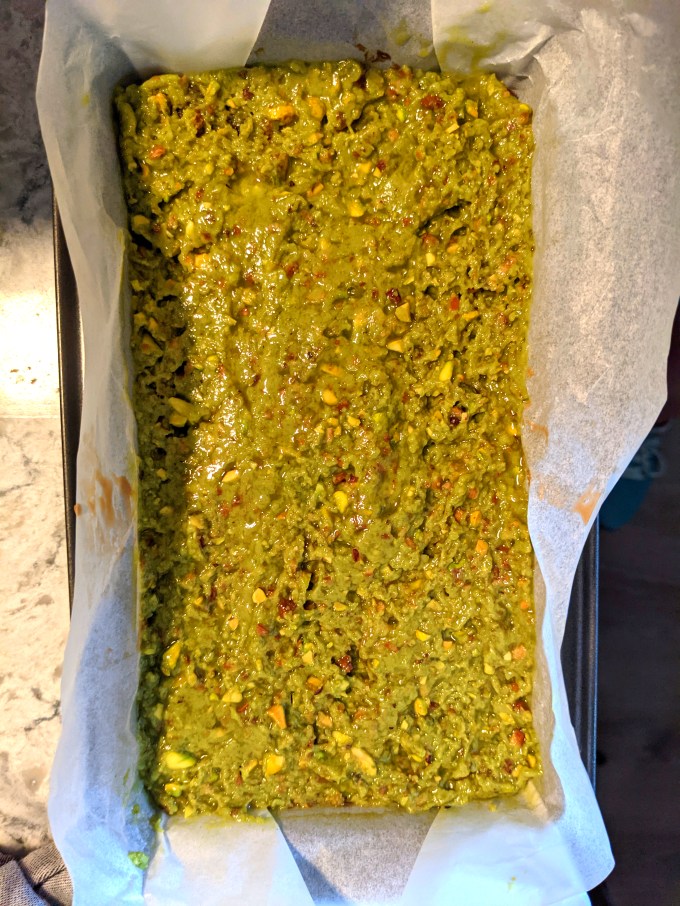
Step 4: Croquante
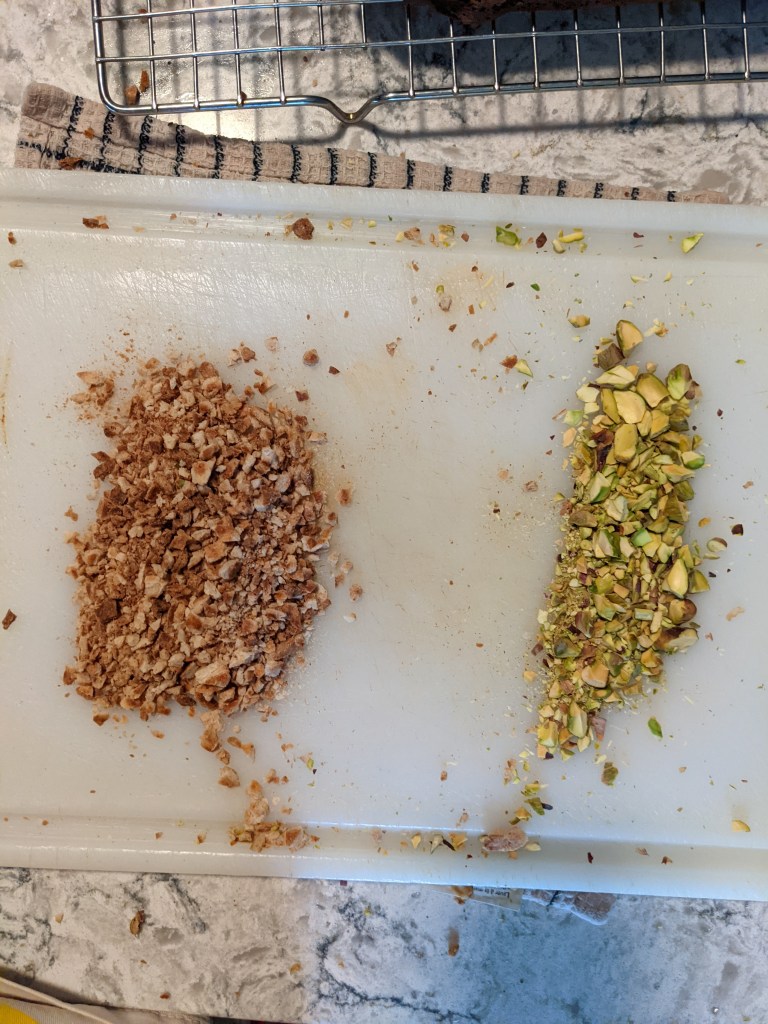
This component was somewhat serendipitous for me. Context: I am trying to plan my execution of these bakes in a way that minimizes waste and expense, but I don’t really have time to deep dive into the recipes and micro-manage the economy of this project. So it was accidentally perfect that this recipe called for either feuilletine or crushed sugar cones as an added crunch element. ICYMI: I made stroopwafels a couple of days before this bake, and I saved the burnt edges from the cut outs, thinking I would find something else to do with them. Then I just happened to pick this recipe and lo and behold aren’t overcooked stroopwafels a perfect sub for crushed sugar cones? AMAZING
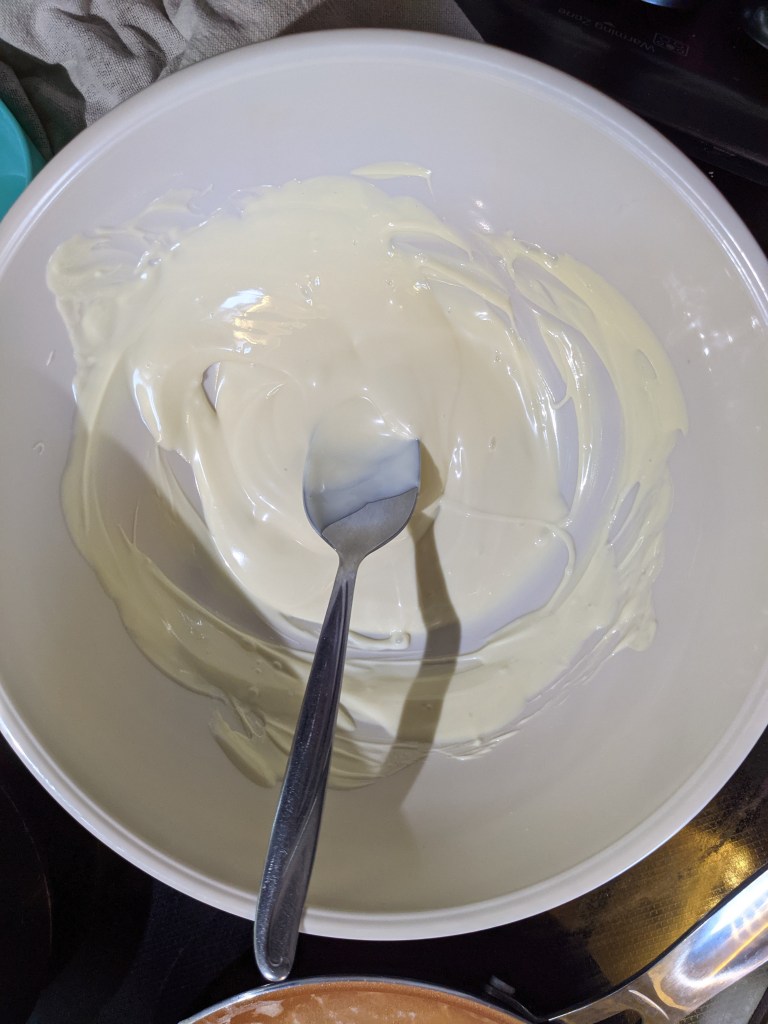
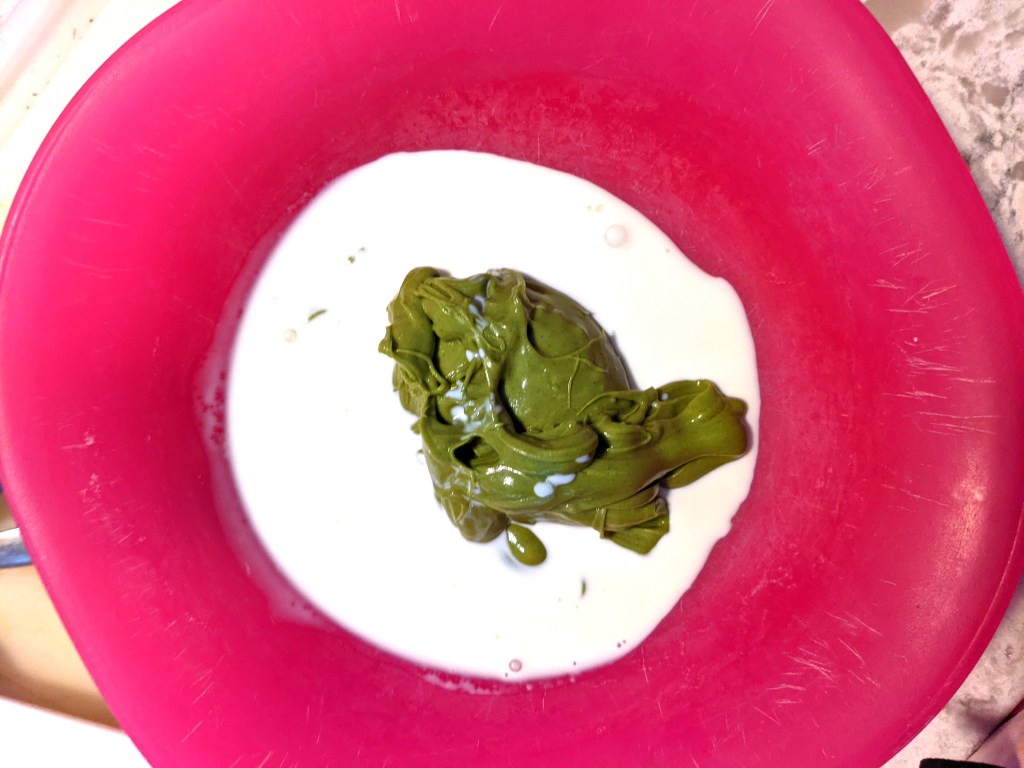
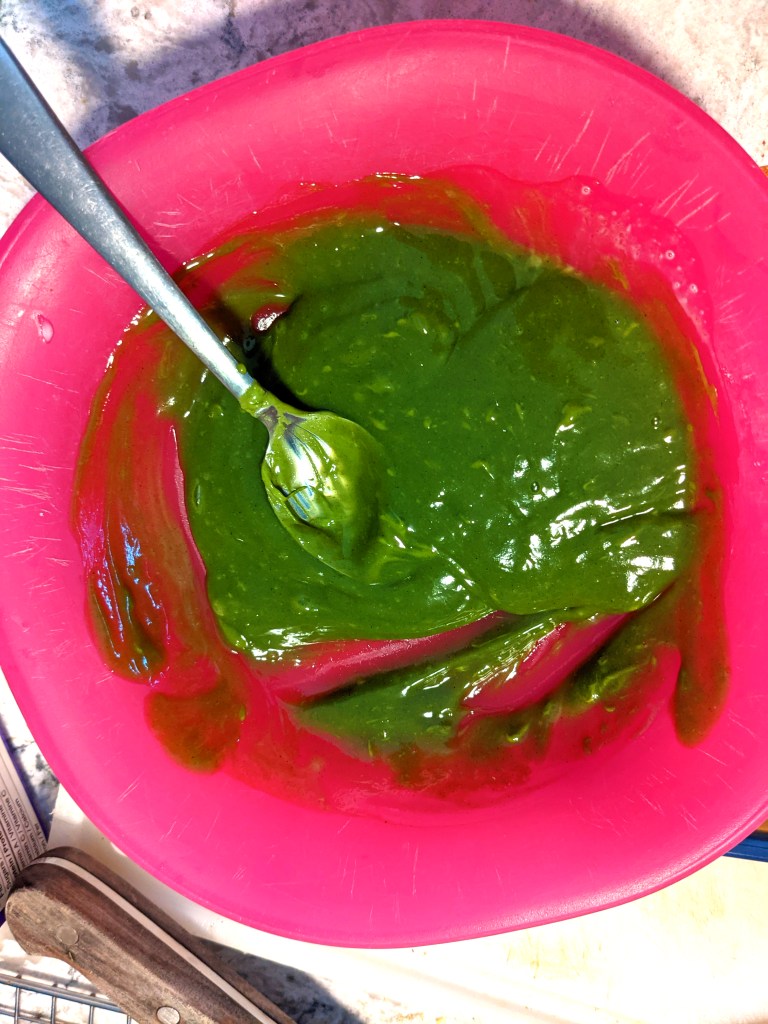
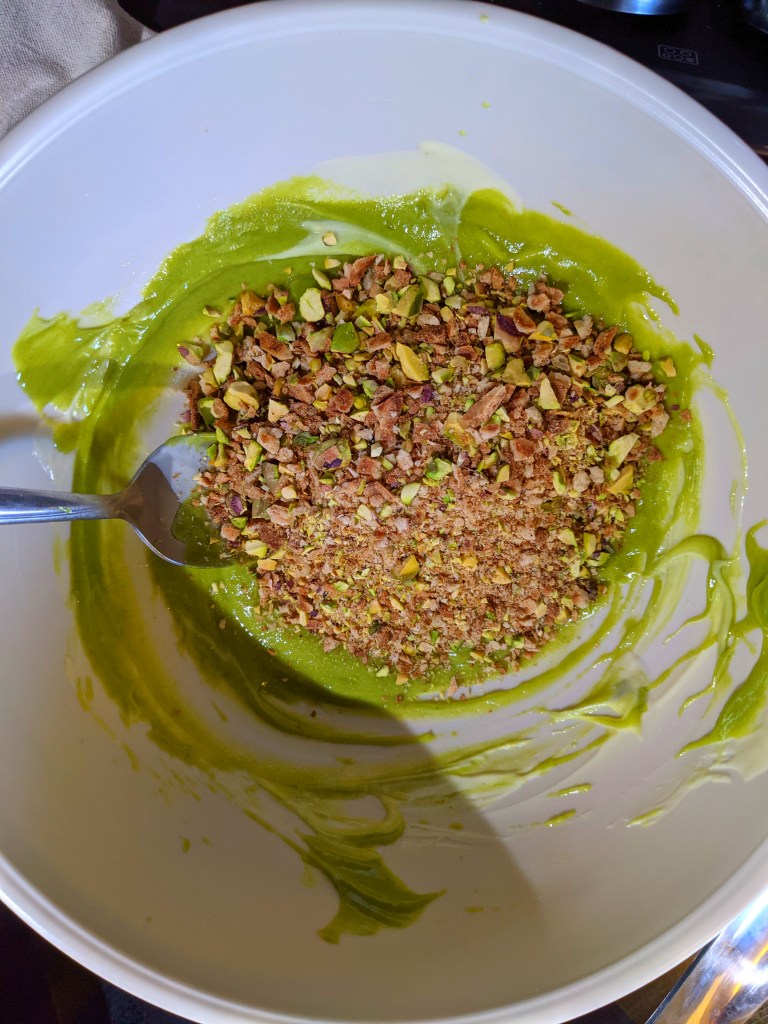
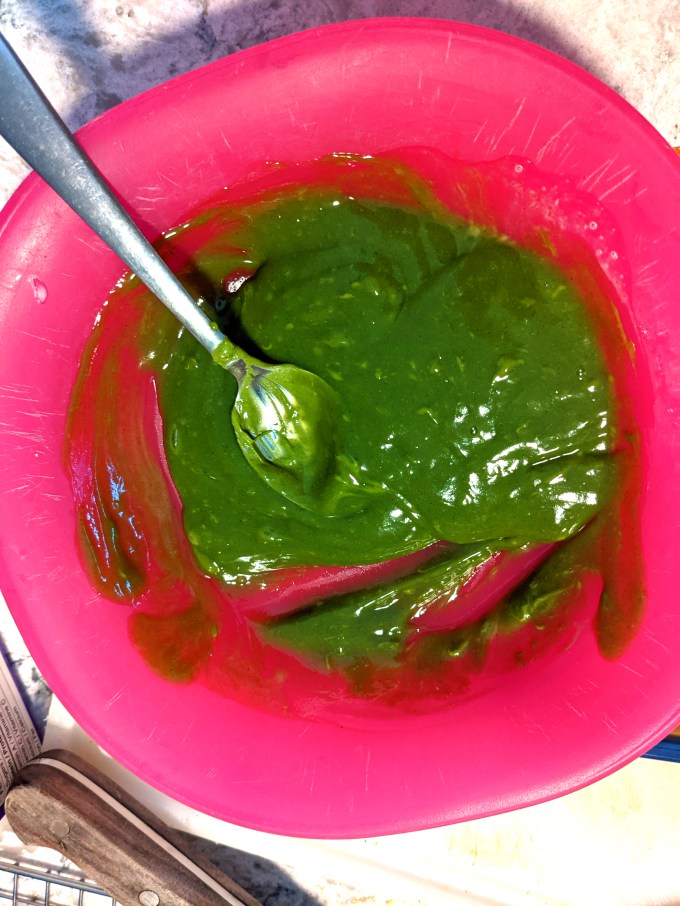
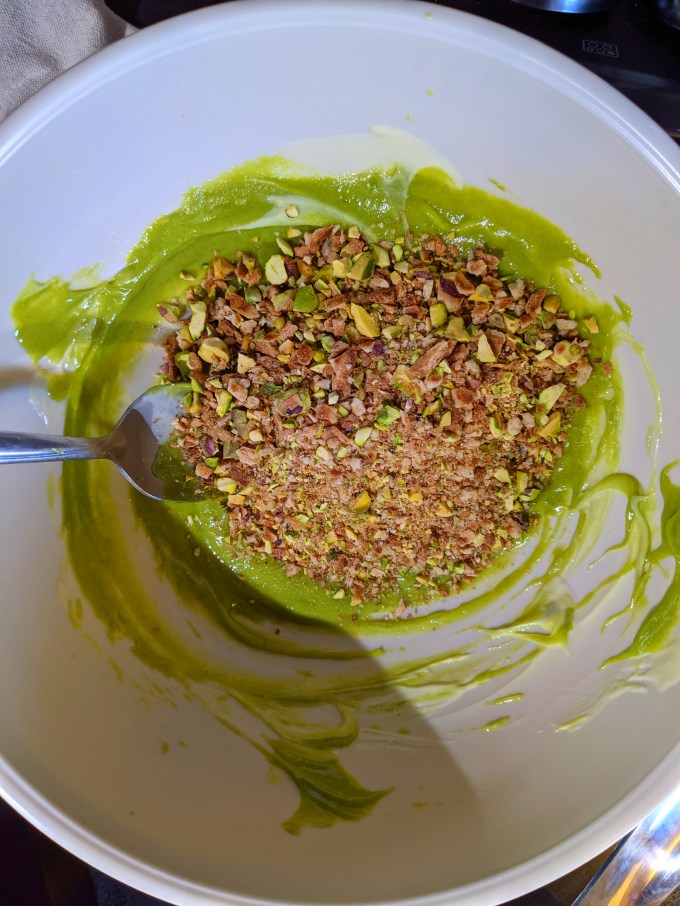
White chocolate is melted over double boiler. Pistachio Paste (leftover from the Cannoncini! More serendipity!) Is blended with heavy cream, then this mixture is added to the melted chocolate. Chopped pistachios and crumbled feuilletine (or in my case, chopped stroopwafels) are mixed in. Easy peasy.


Now. Somewhere between the ganache and the croquante I got super confused and panicked and thought that one of the steps was vaguely saying to put the sponge cake in as layer 3 and I couldn’t find the step that said to place it as a different layer. Why I didn’t just look at the photo is anyone’s guess. I admit I was very distracted and multi-tasking during this part of the bake; I just had total brain fog and anxiety for a hot minute and paid the price. So I placed the cake on top of the ganache, started making the croquante, and then woop, there it is, the instruction about placing the cake at the end of the recipe. ALWAYS READ TO THE END OF THE RECIPE. TOTAL ROOKIE MISTAKE. Unfortunately, there was no hope of being able to remove the sponge and place it on the bottom as directed without pulling up half the ganache which would have been a disaster. Since the croquante is a hardened chocolate layer, I knew there wasn’t going to be a loss of structural integrity by just placing it on the bottom, so I forged ahead.
Gallery


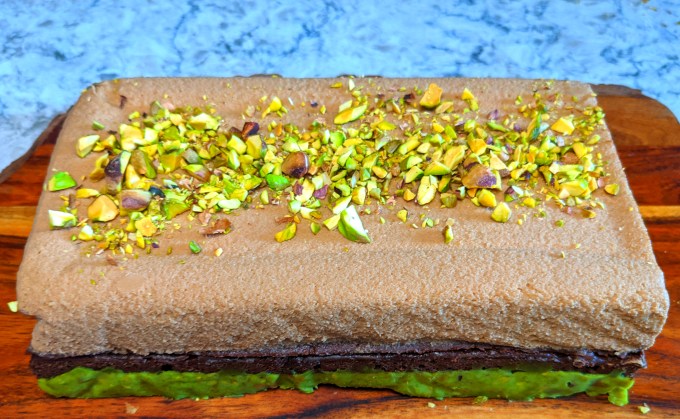
So there it is. The little brown rectangle thing is done and so is bake number 10. I had a bite of it, it was okay I guess. Not my cup of tea, but I did sort of figure out how it would be served; it made way more sense to me when it was cut into squares. This is definitely the type of thing the chocolate crowd goes in for. Now that I am less confused about it, this would be a good bake to bring to a small gathering like a family dinner, cutting it into 8 – 12 pieces is probably the way to go.
Hey, bakers! Check out my BAKER’S PANTRY index if you want to deep dive on specific ingredients when attempting this bake for yourself
