Hello hello hello, Friends and Fellow Bakers! Here we are, we have arrived! I have completed my goal, which was to execute all of the Seasons 1 – 4 Technical Bakes from GCBS in one year! Today marks the one year anniversary of the launch of Baking Summit, and I am delighted to share the final bake with you on schedule as planned. This project has been challenging, rewarding, educational, and most importantly: FUN. I have learned a lot working through these bakes and the added challenge of writing and creating content has been a journey in its own right. I truly appreciate all of the interest and support of my regular readers and taste testers. If I didn’t have all of you cheering me on, this blog would just be another iteration of screaming into the void, and I do enough of that already. So thank you, all of you, for following along and keeping me motivated over the last year.
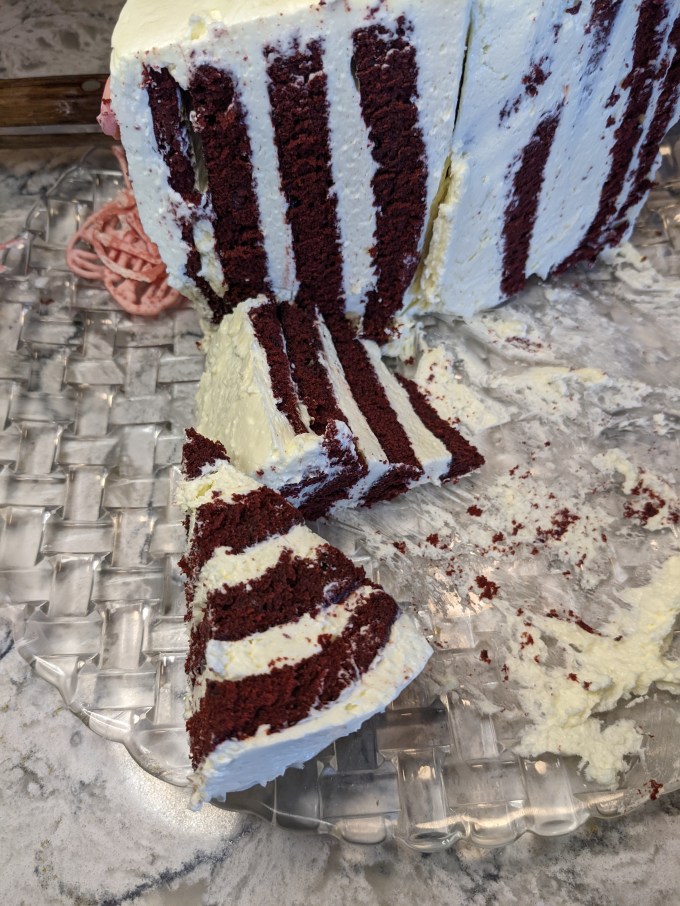
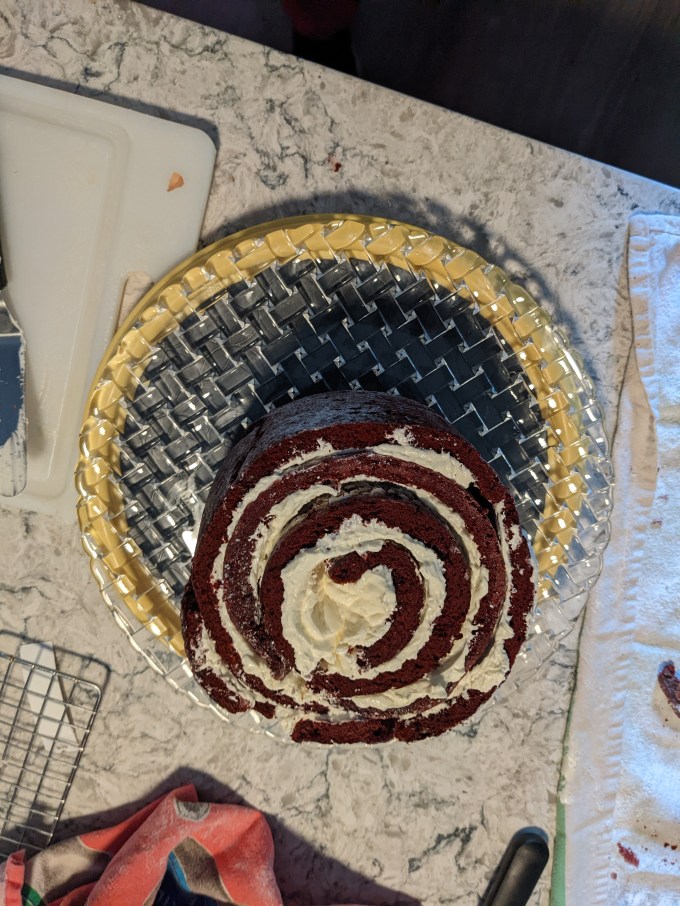
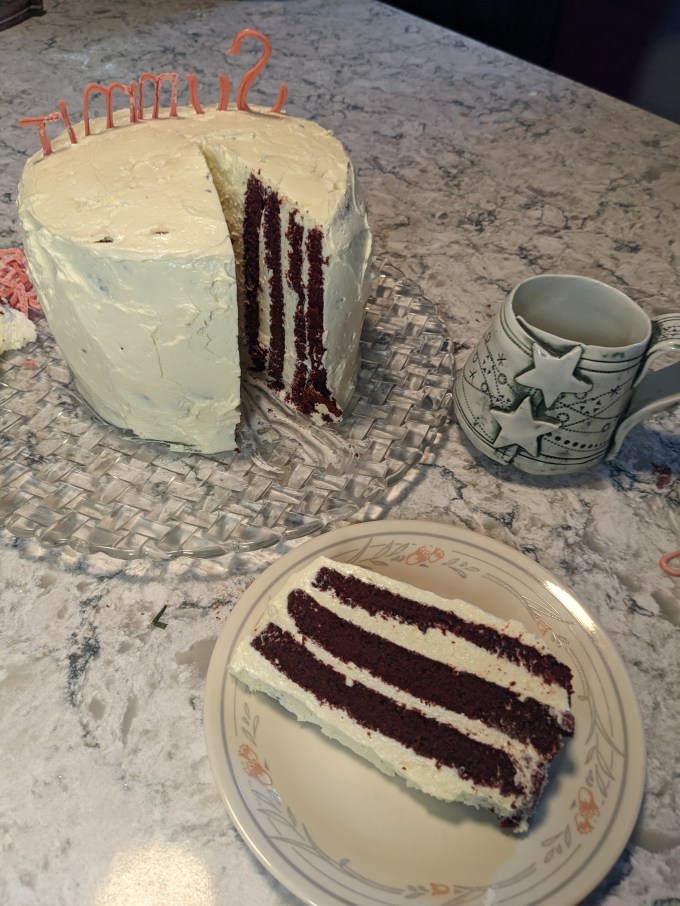
On to the subject at hand: Cupid Cake. This cake was featured on Season 4 Cake Week of GCBS (recipe here). As far as I can tell, this “cupid cake” is just an invention of the CBC; it isn’t a traditional design with any sort of particular history. It is a red velvet cake with VERTICAL layers filled and decorated with Swiss meringue buttercream.
I chose this as the final bake early on in this project. It seemed to strike a good balance: on one hand it seemed like a technical challenge. On the other, this is a cake I am not a fan of. Know thyself, as the saying goes. I know this combination to be fodder for good writing, and I sincerely wanted to wrap things up on a high note. The other reason I picked this one is because of all the bakes on the list, this one looks the most like a party cake and this post, perhaps more than any of the others, seemed like a special occasion. So let’s get into it.
Red velvet cake. Where to begin. I, personally, have a fundamental aversion to this cake. It offends me on a deeply personal level because I am a crazy person. Red velvet cake is a chocolate cake that is dyed red and usually filled/decorated with cream cheese icing. Red Velvet was very trendy about ten years ago and it was all over the baking landscape. People were buying it, talking about it, raving about it, instagramming it; it was everywhere. As a baker I was interested, but I didn’t know anything about it. It seemed elusive. What is so special about this cake? Is it difficult to execute? Is it exotic? I MUST KNOW! I vividly remember the first time I finally tried it and I was SO PISSED OFF. IT’S JUST A CHOCOLATE CAKE, B’Y. WHAT IN SAM HILL IS THE BIG DEAL HERE, FOLKS!!!!!
On top of my lack of interest in eating chocolate, this cake is a two-for-one rage fest for me because I also have an extreme, almost primal, hatred of red food colouring. Both of my brothers are allergic to red food dye, so from a very young age I was conditioned to AVOID RED FOOD DYE ALWAYS. As an adult, I now realise this aversion is totally irrational, because I do not have this allergy myself, but that shit runs DEEP.
Although red velvet is usually served with cream cheese icing (side note: I am convinced that this is the **only** reason people like this cake so much), this version has Swiss meringue buttercream. Swiss meringue is the most structurally stable version of buttercream which makes it the best choice when doing vertical layers. With this type of cake design, the icing becomes part of the structural integrity of the cake in a more meaningful way than it does in horizontal layers. Much like French and Italian buttercream (which were featured in the Opera cake and the Strawberry Roulade, respectively, here on Baking Summit), Swiss meringue involves cooking meringue to stabilise the proteins in the egg whites and then emulsifying with butter to create icing. Of the four versions of buttercream, Swiss is probably the second-easiest to make (the easiest being American, which we haven’t even covered here because it is so simple).
A note on buttercream: I have heard recent tell of a fifth buttercream, developed and patented by a Korean artist named GG Cakraft which she calls “glossy buttercream.” Apparently she had a lot of issues with people co-opting what she was doing and not giving her credit, hence the patent, but she has also shared the complete recipe and method in this video (and if you want to hear all the tea about her development drama, watch the first 14 minutes before she gets into the details). This buttercream is designed specifically for sculptural flowers. If done properly, this buttercream can be piped to look more realistic than fondant or gum paste. It looks great but also very unappetizing to me. Also, I find piping stiff American buttercream into flowers plenty strenuous on my freakishly small wrists as it is. I can only imagine how difficult the glossy buttercream is to work with, so it’s not exactly on my to-do list, but it is interesting to keep an eye on new baking trends as they unfold.
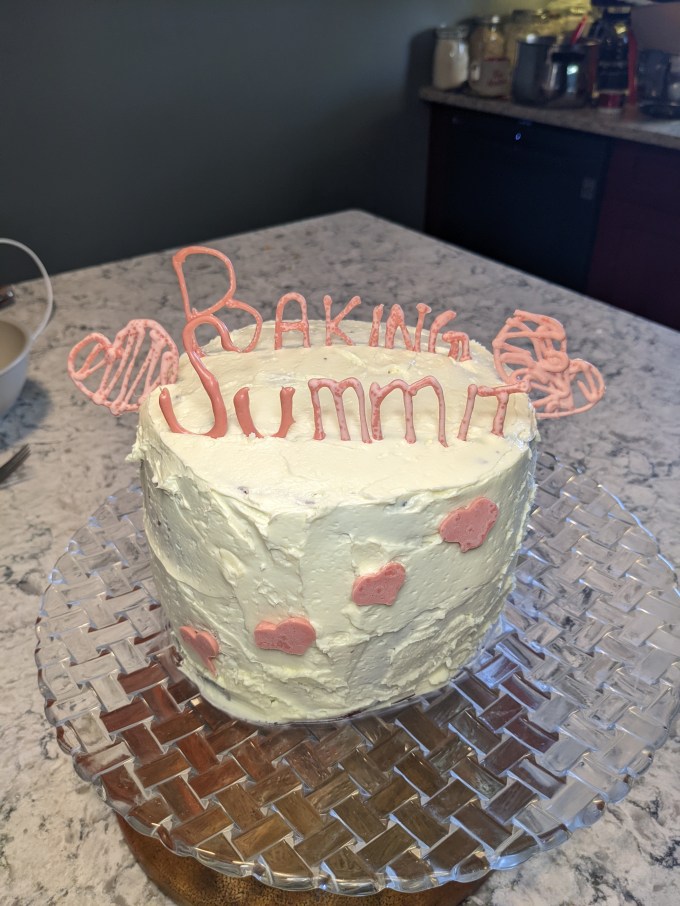
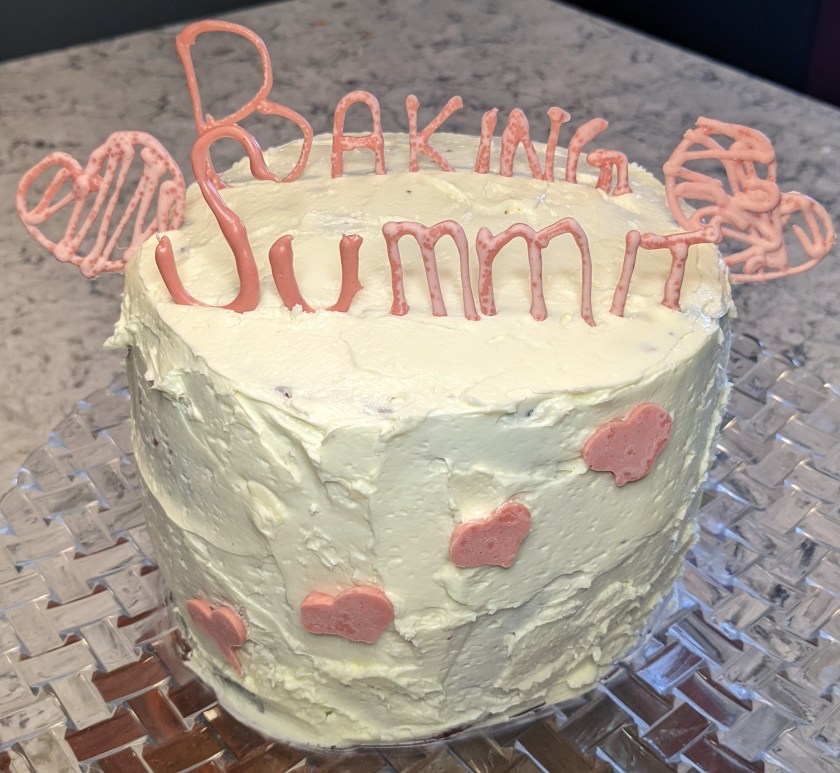
Back to the cupid cake. I didn’t have any particular difficulty executing this. The CBC version was decorated with Ruby chocolate, which I didn’t even bother looking for couldn’t find, so I just tinted white chocolate with red powder dye (sometimes referred to as mica pigment, and more hilariously referred to as “eye shadow” by the decorative gelatin community. Yes, the decorative gelatin community is a real thing. Yes, I am in the Facebook group. Yes, I follow one of the top global gelatin artists on IG. My online interests are very niche). This was my first time making Swiss meringue and it was much easier than I expected, so that is a good method to have in the toolbox.
The cake assembly into vertical stripes was fun and I feel more confident doing rolled cakes now that I have done it a couple of times. Overall, I got more out of this bake than I expected, even though it wasn’t overly difficult. In terms of eating experience, the ratio of icing to cake was way too heavy on icing for me, but the cake grew on me over time. I took slices of it to work for lunch for a few days and just left about half the icing behind and by the end of the week I was genuinely enjoying it. We all surprise ourselves sometimes, I guess.
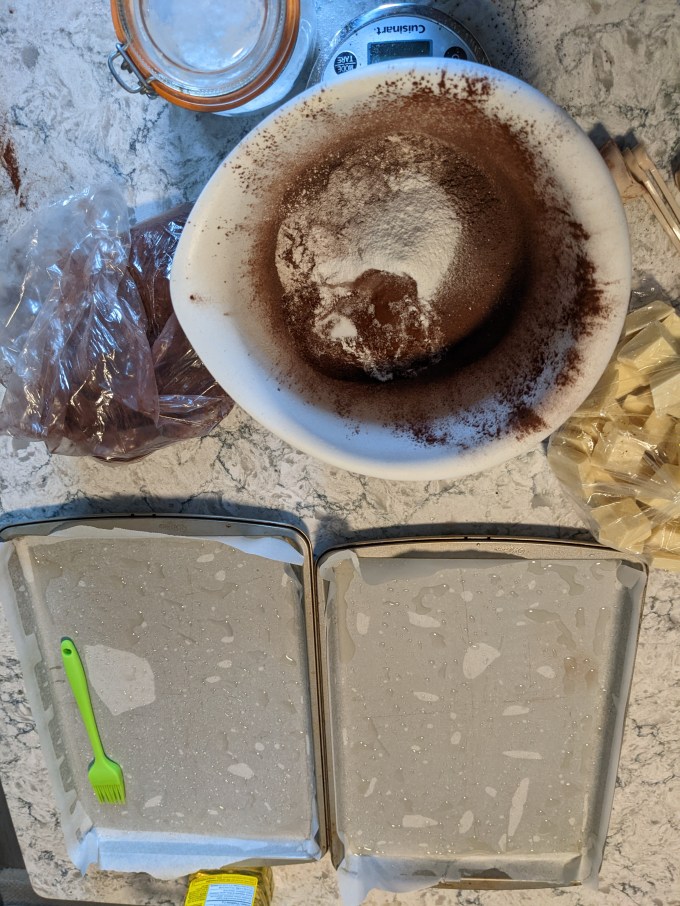
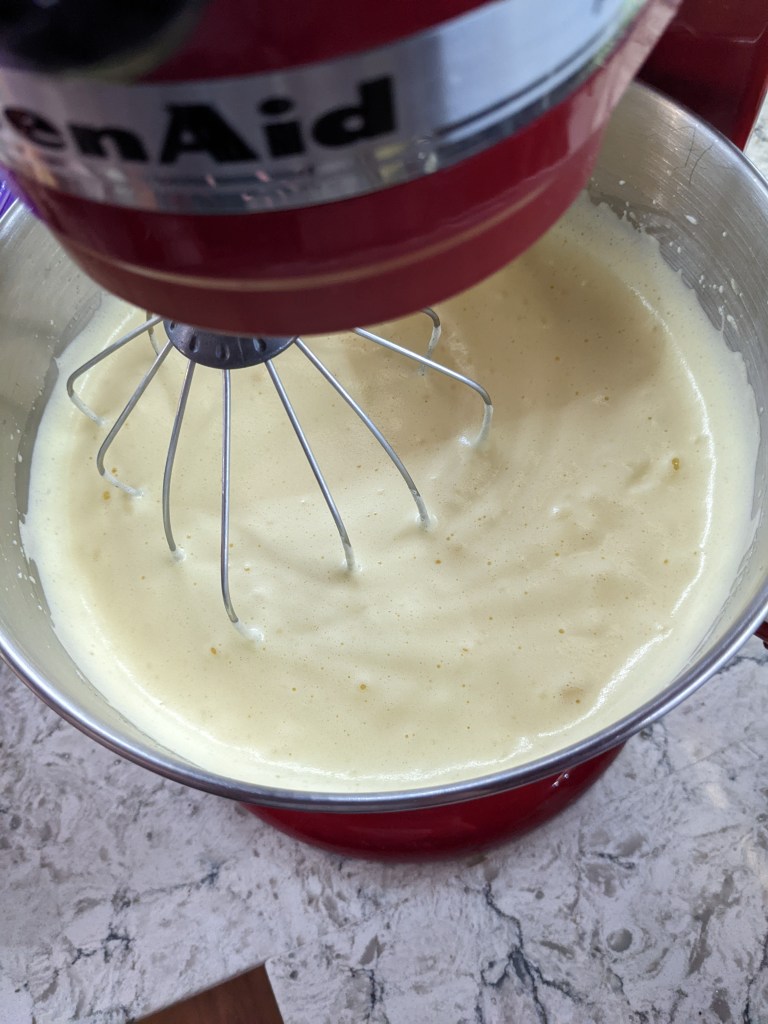
Step 1: Red Velvet Cake
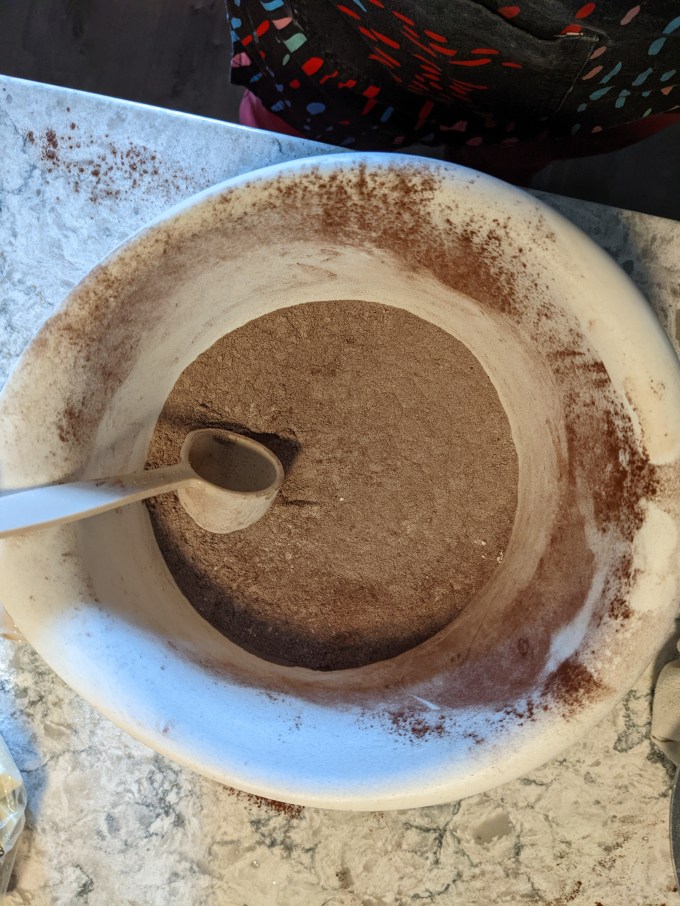
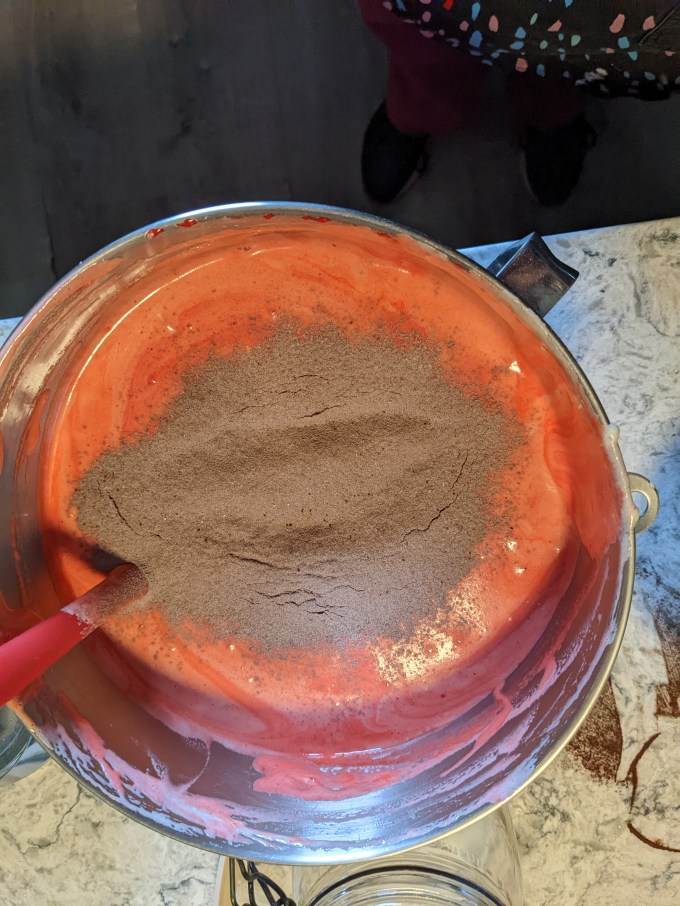
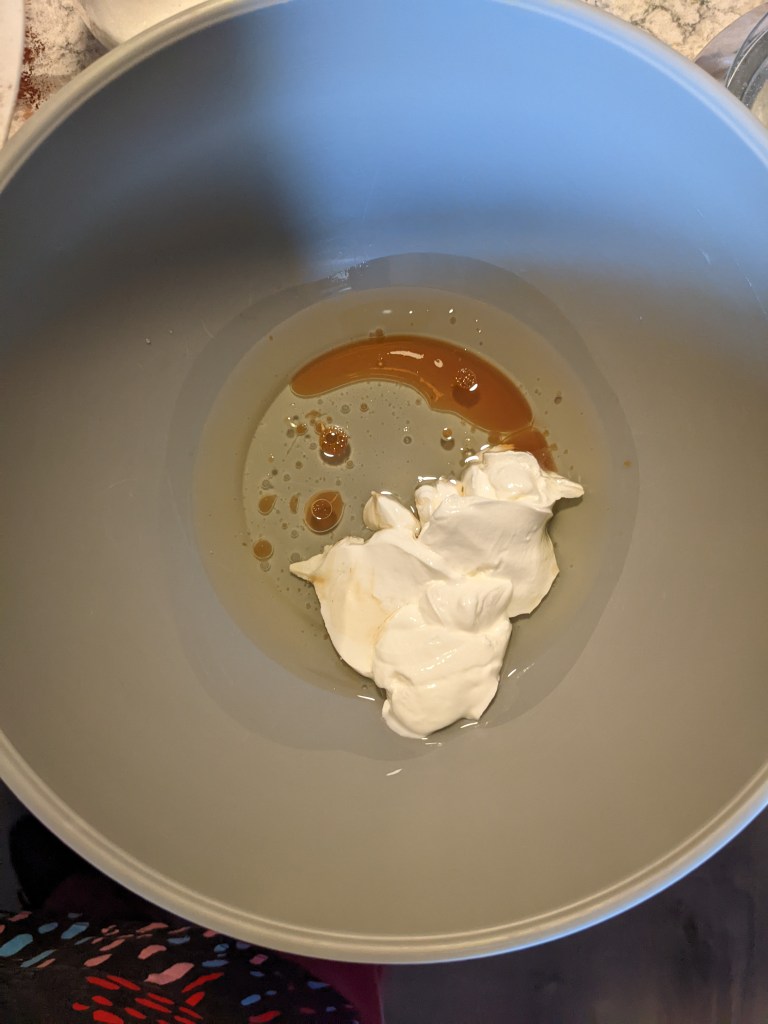
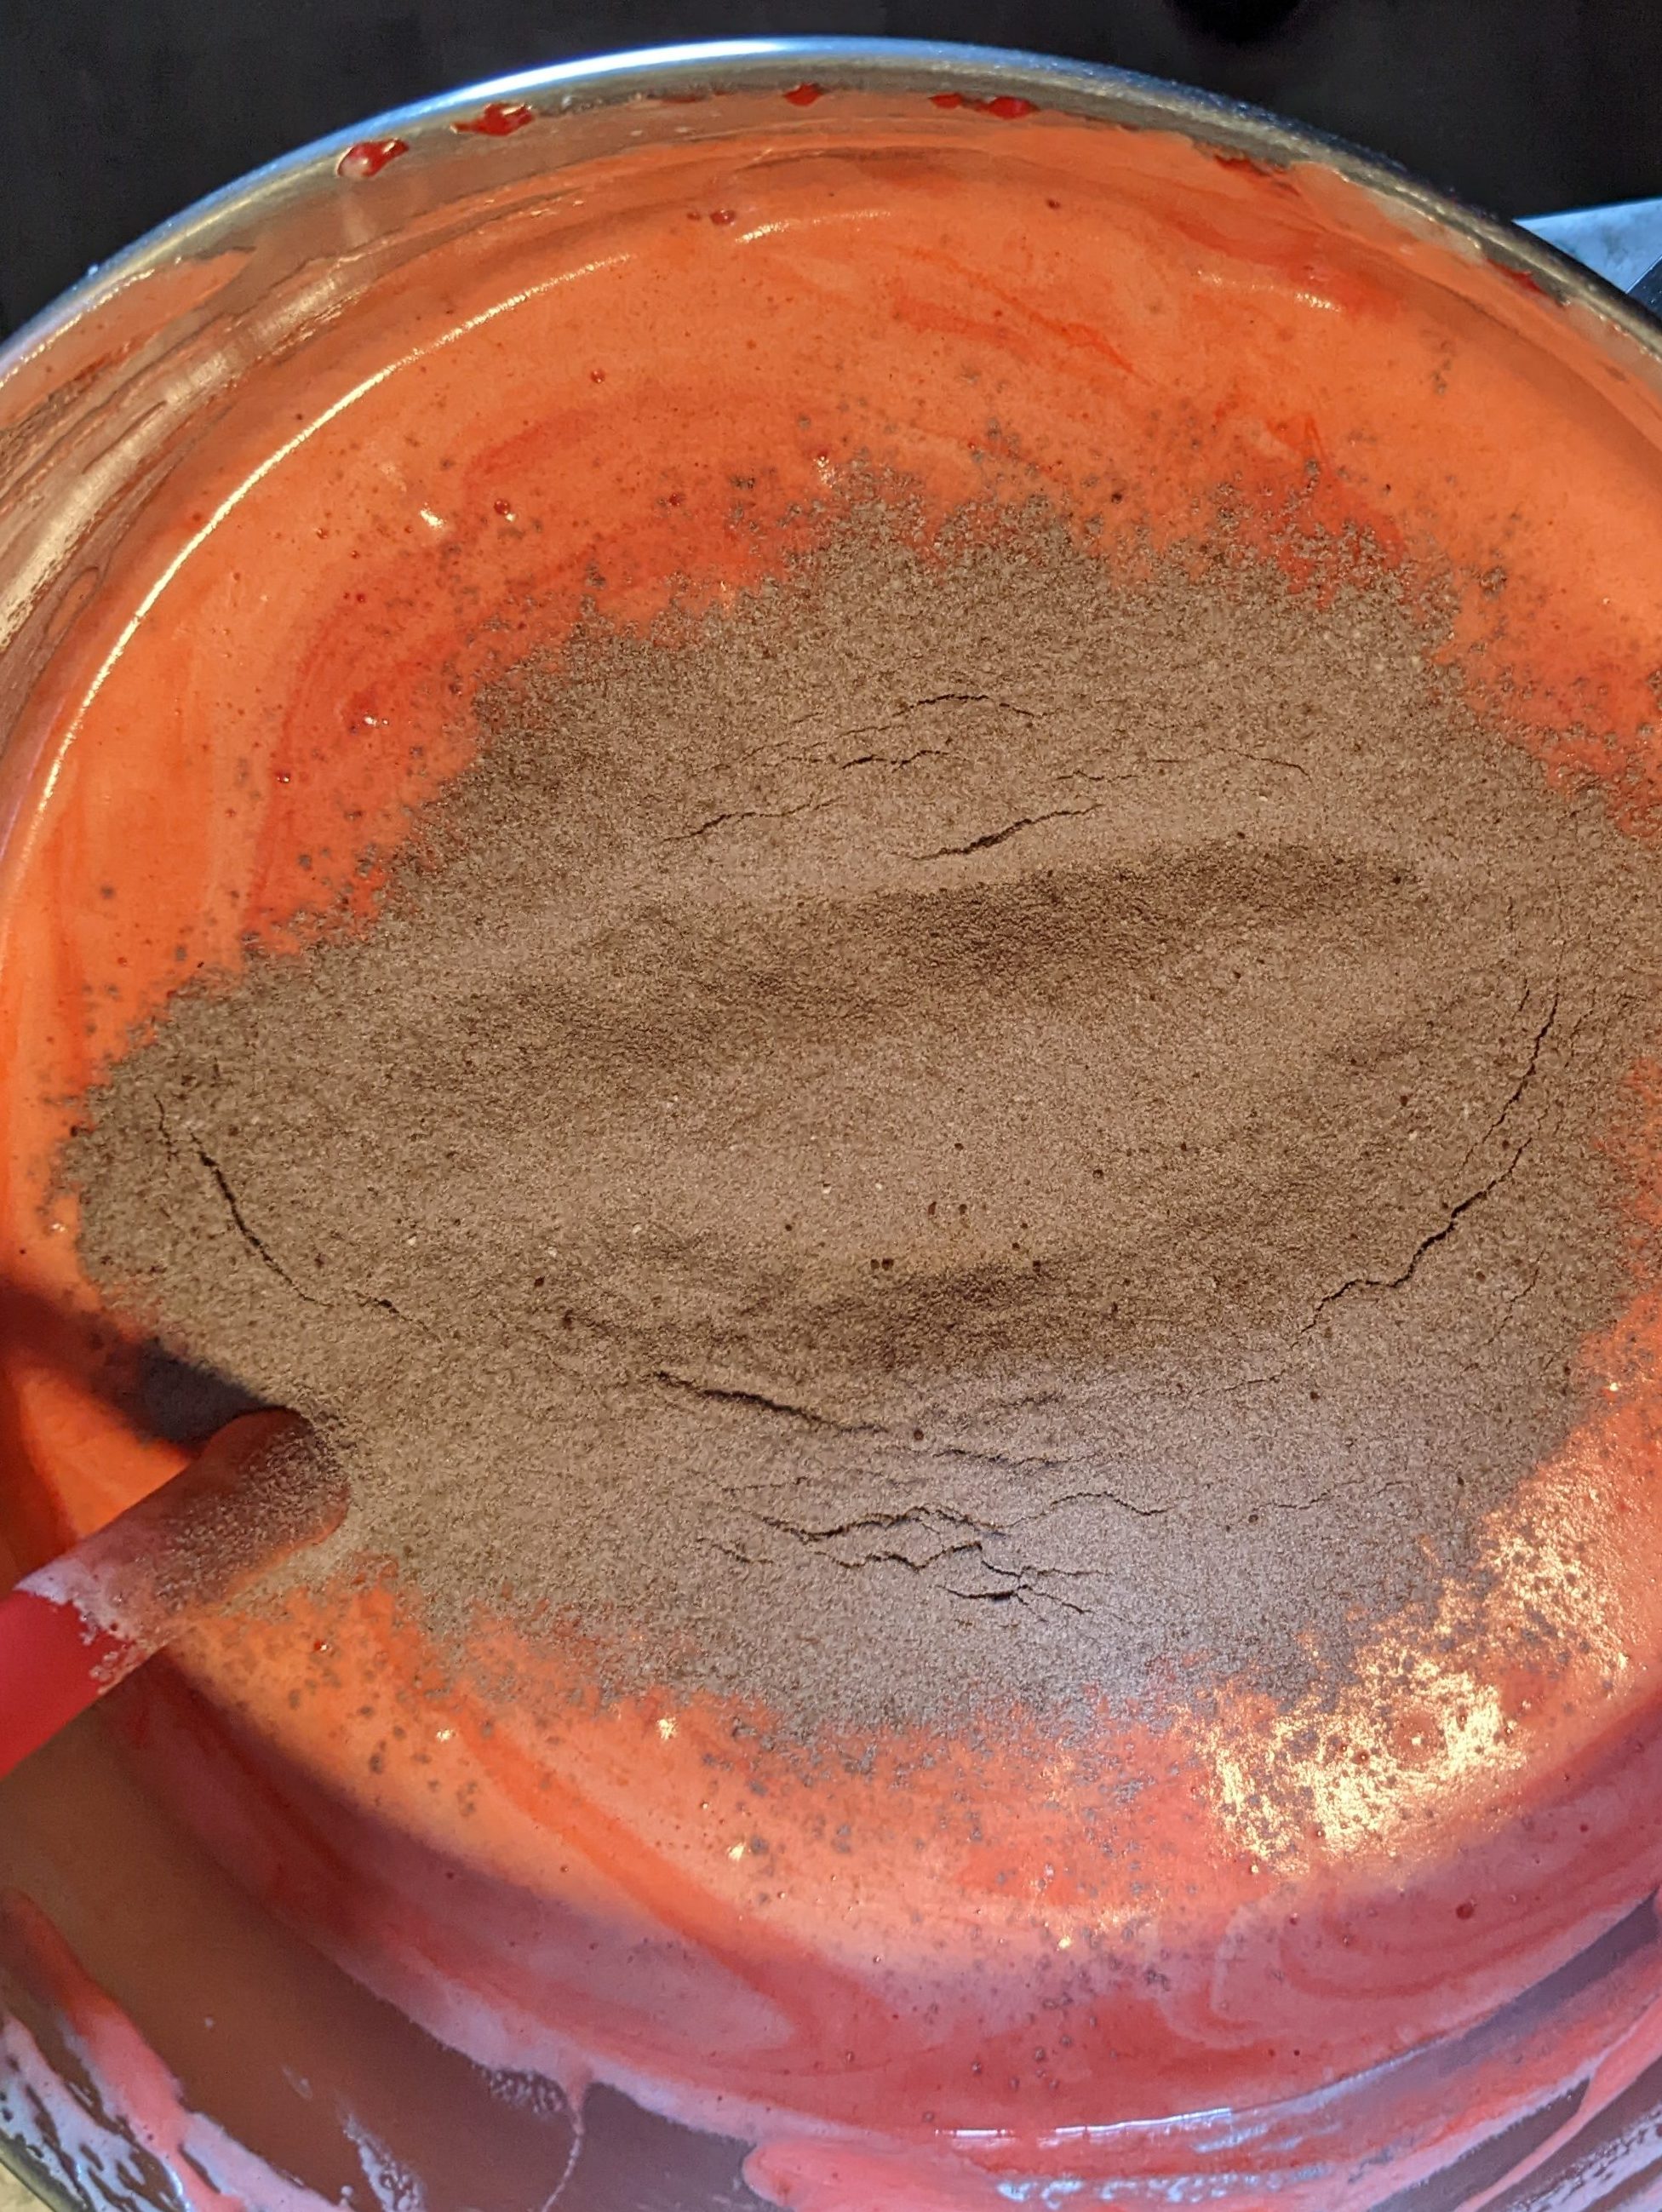
This is a simple sponge cake, baked in sheets as is the standard roulade method. Eggs are beaten on high until they triple in volume. Dry ingredients are sifted together and wet ingredients are combined separately.


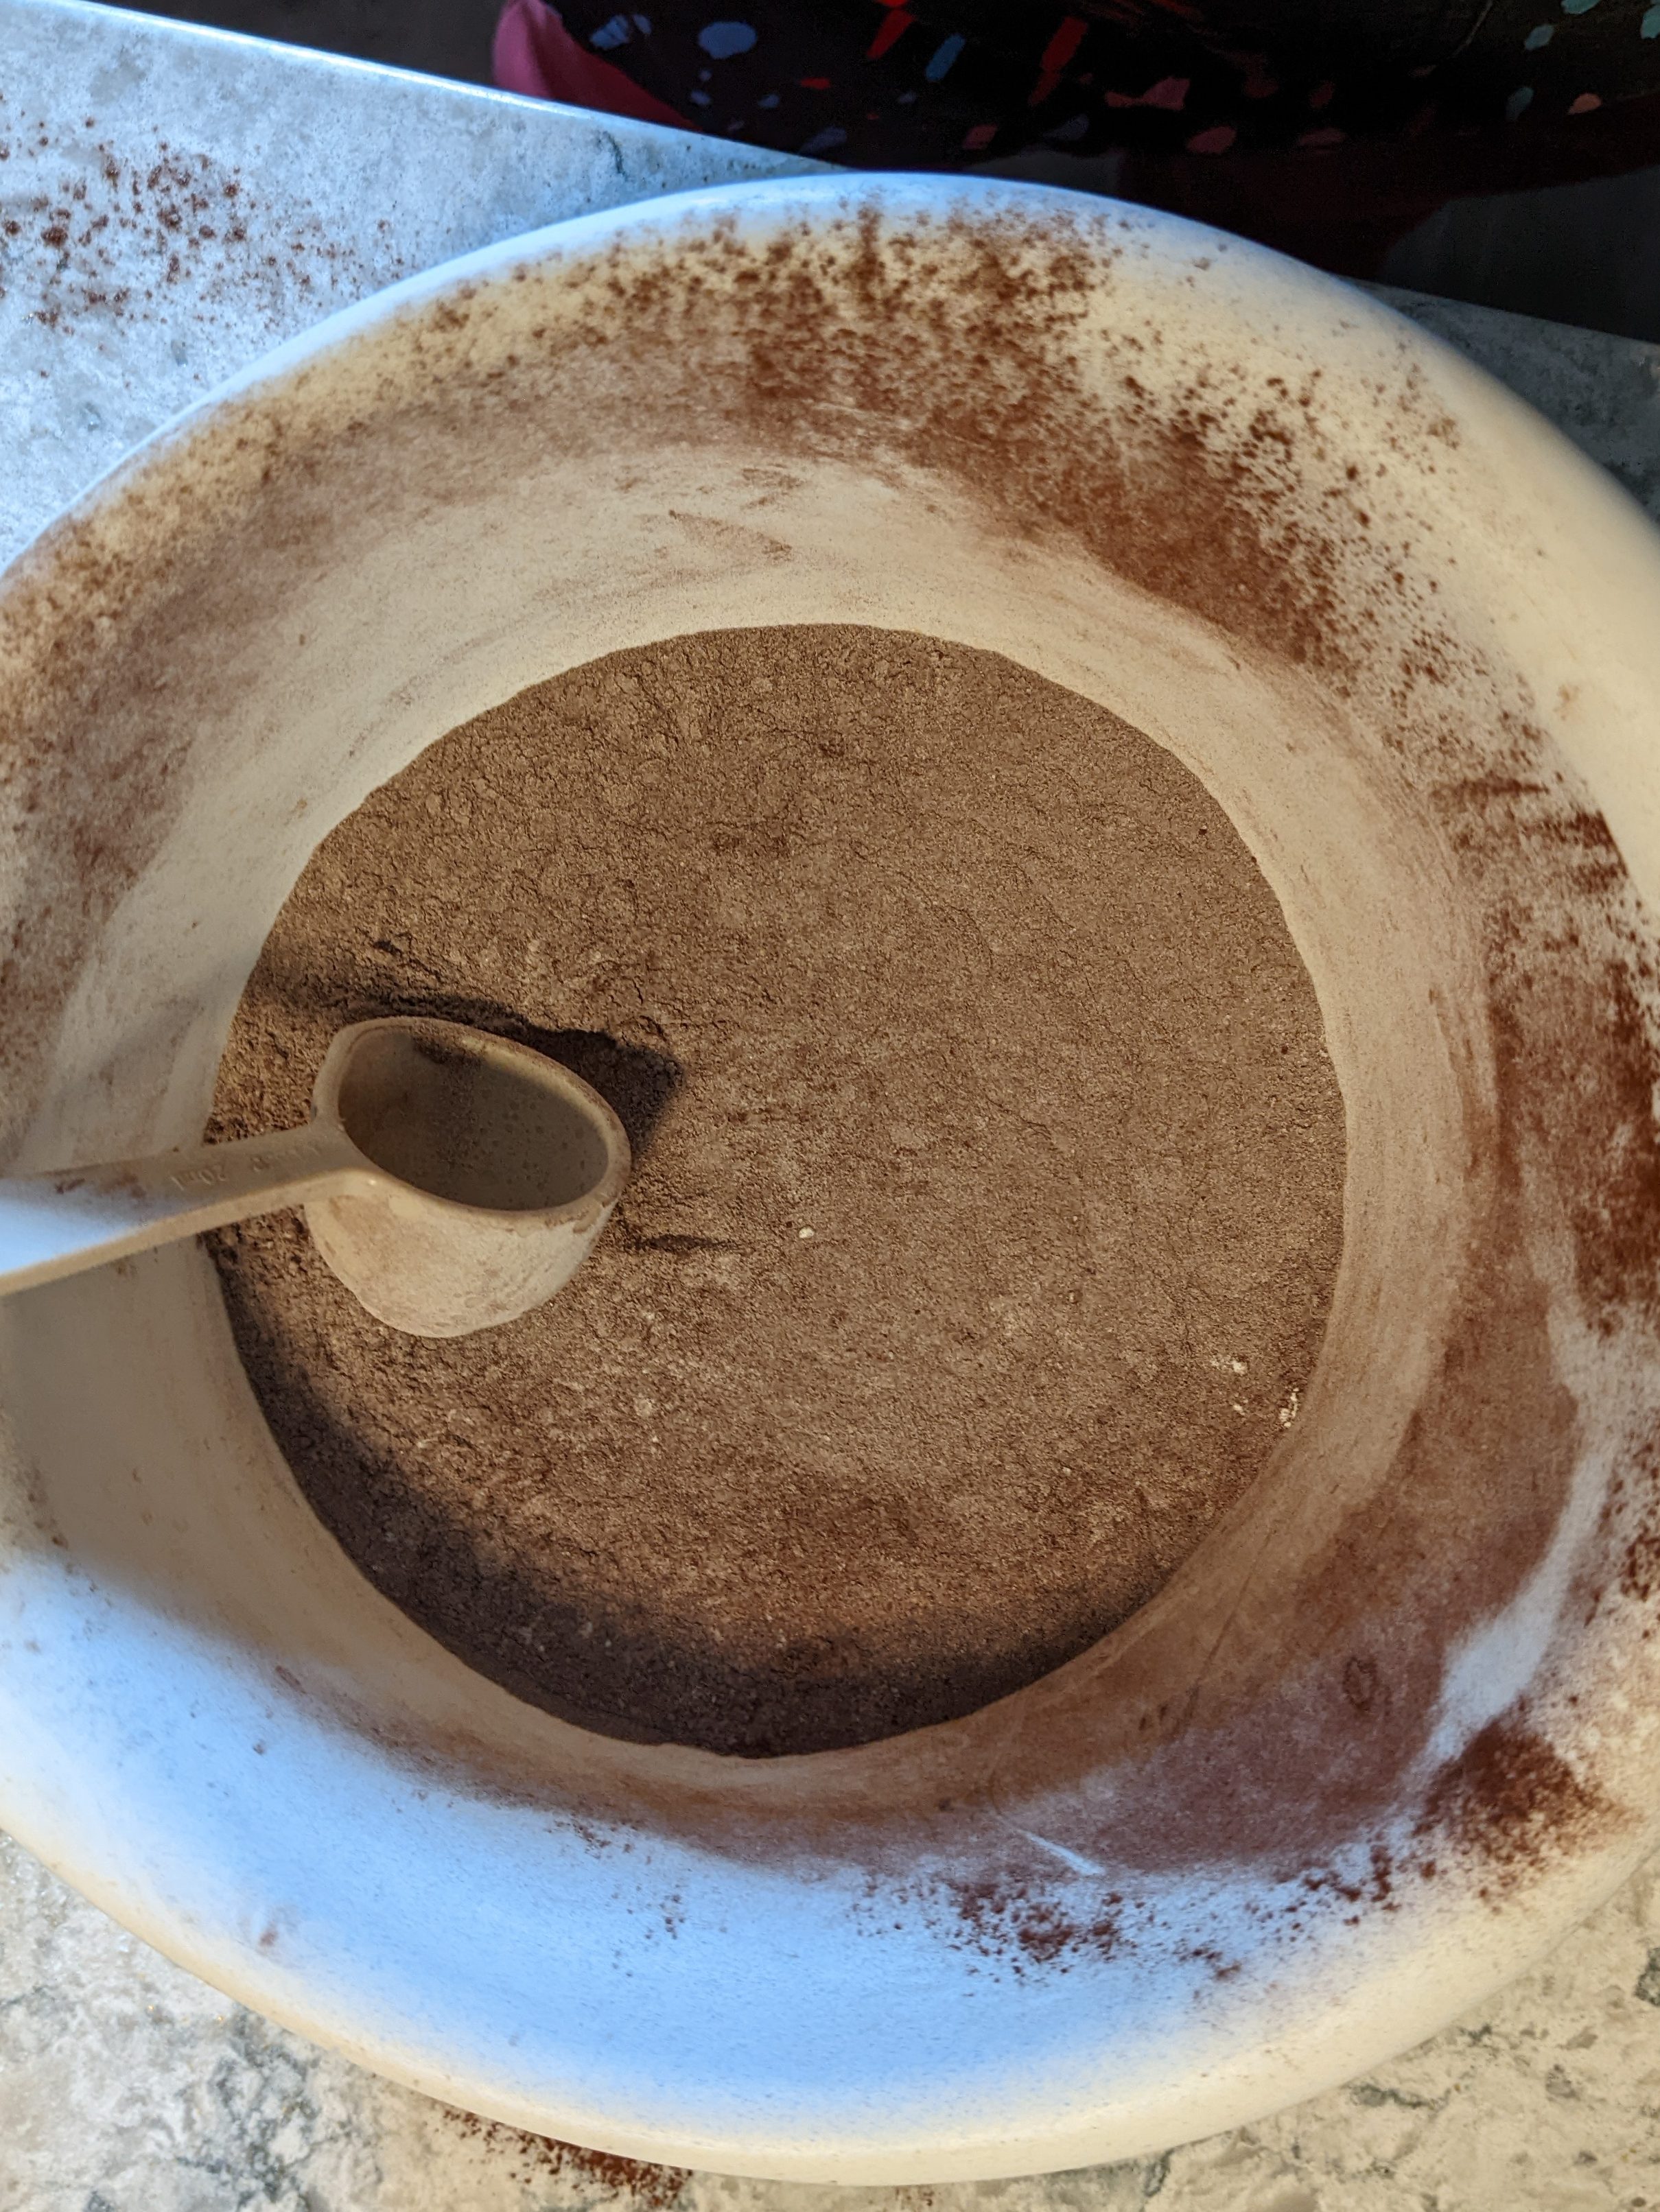
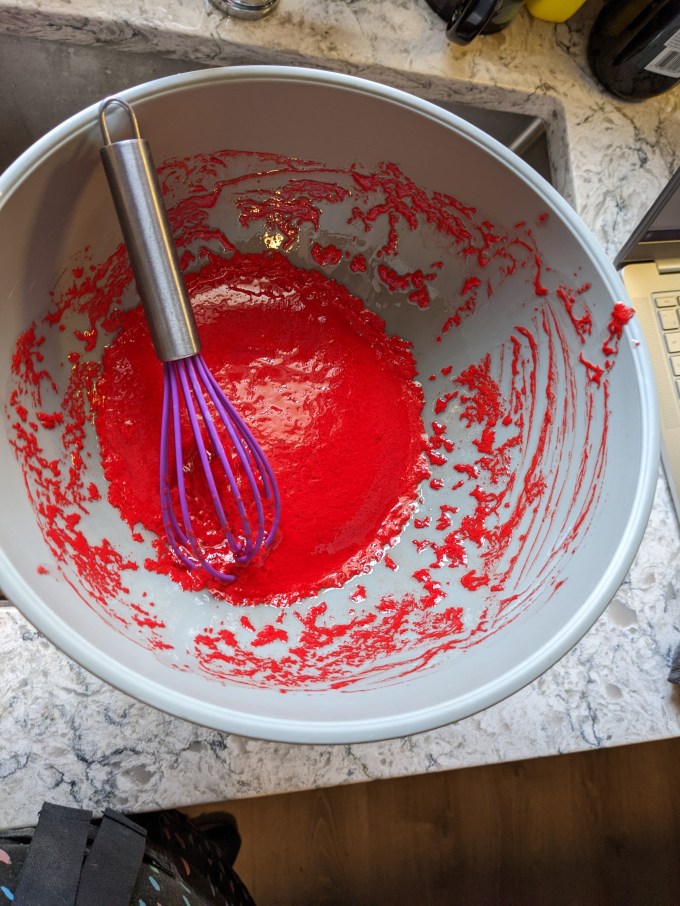
Historically, the red colour in red velvet cake came from a chemical reaction between the cocoa and the baking soda in the recipe. Increased industrialization of ingredients manufacturing has changed the composition of some of these ingredients, and they are no longer available in their historical form. Cocoa and baking soda are both ingredients that have been impacted in this way, and so it is no longer possible to achieve a red velvet purely by chemical means in the modern age. With that being said, I am impressed to report this recipe makes an effort to recreate the original colour chemically by recommending so-called “red” cocoa (meaning the powder is 20 – 25% pure cocoa) and including vinegar in the mix. This combo of ingredients harkens back to that original chemistry and does help minimize the level of artificial pigment needed to get the final colour. I used “super red” gel colour and got a good looking final crumb, if I do say so myself.


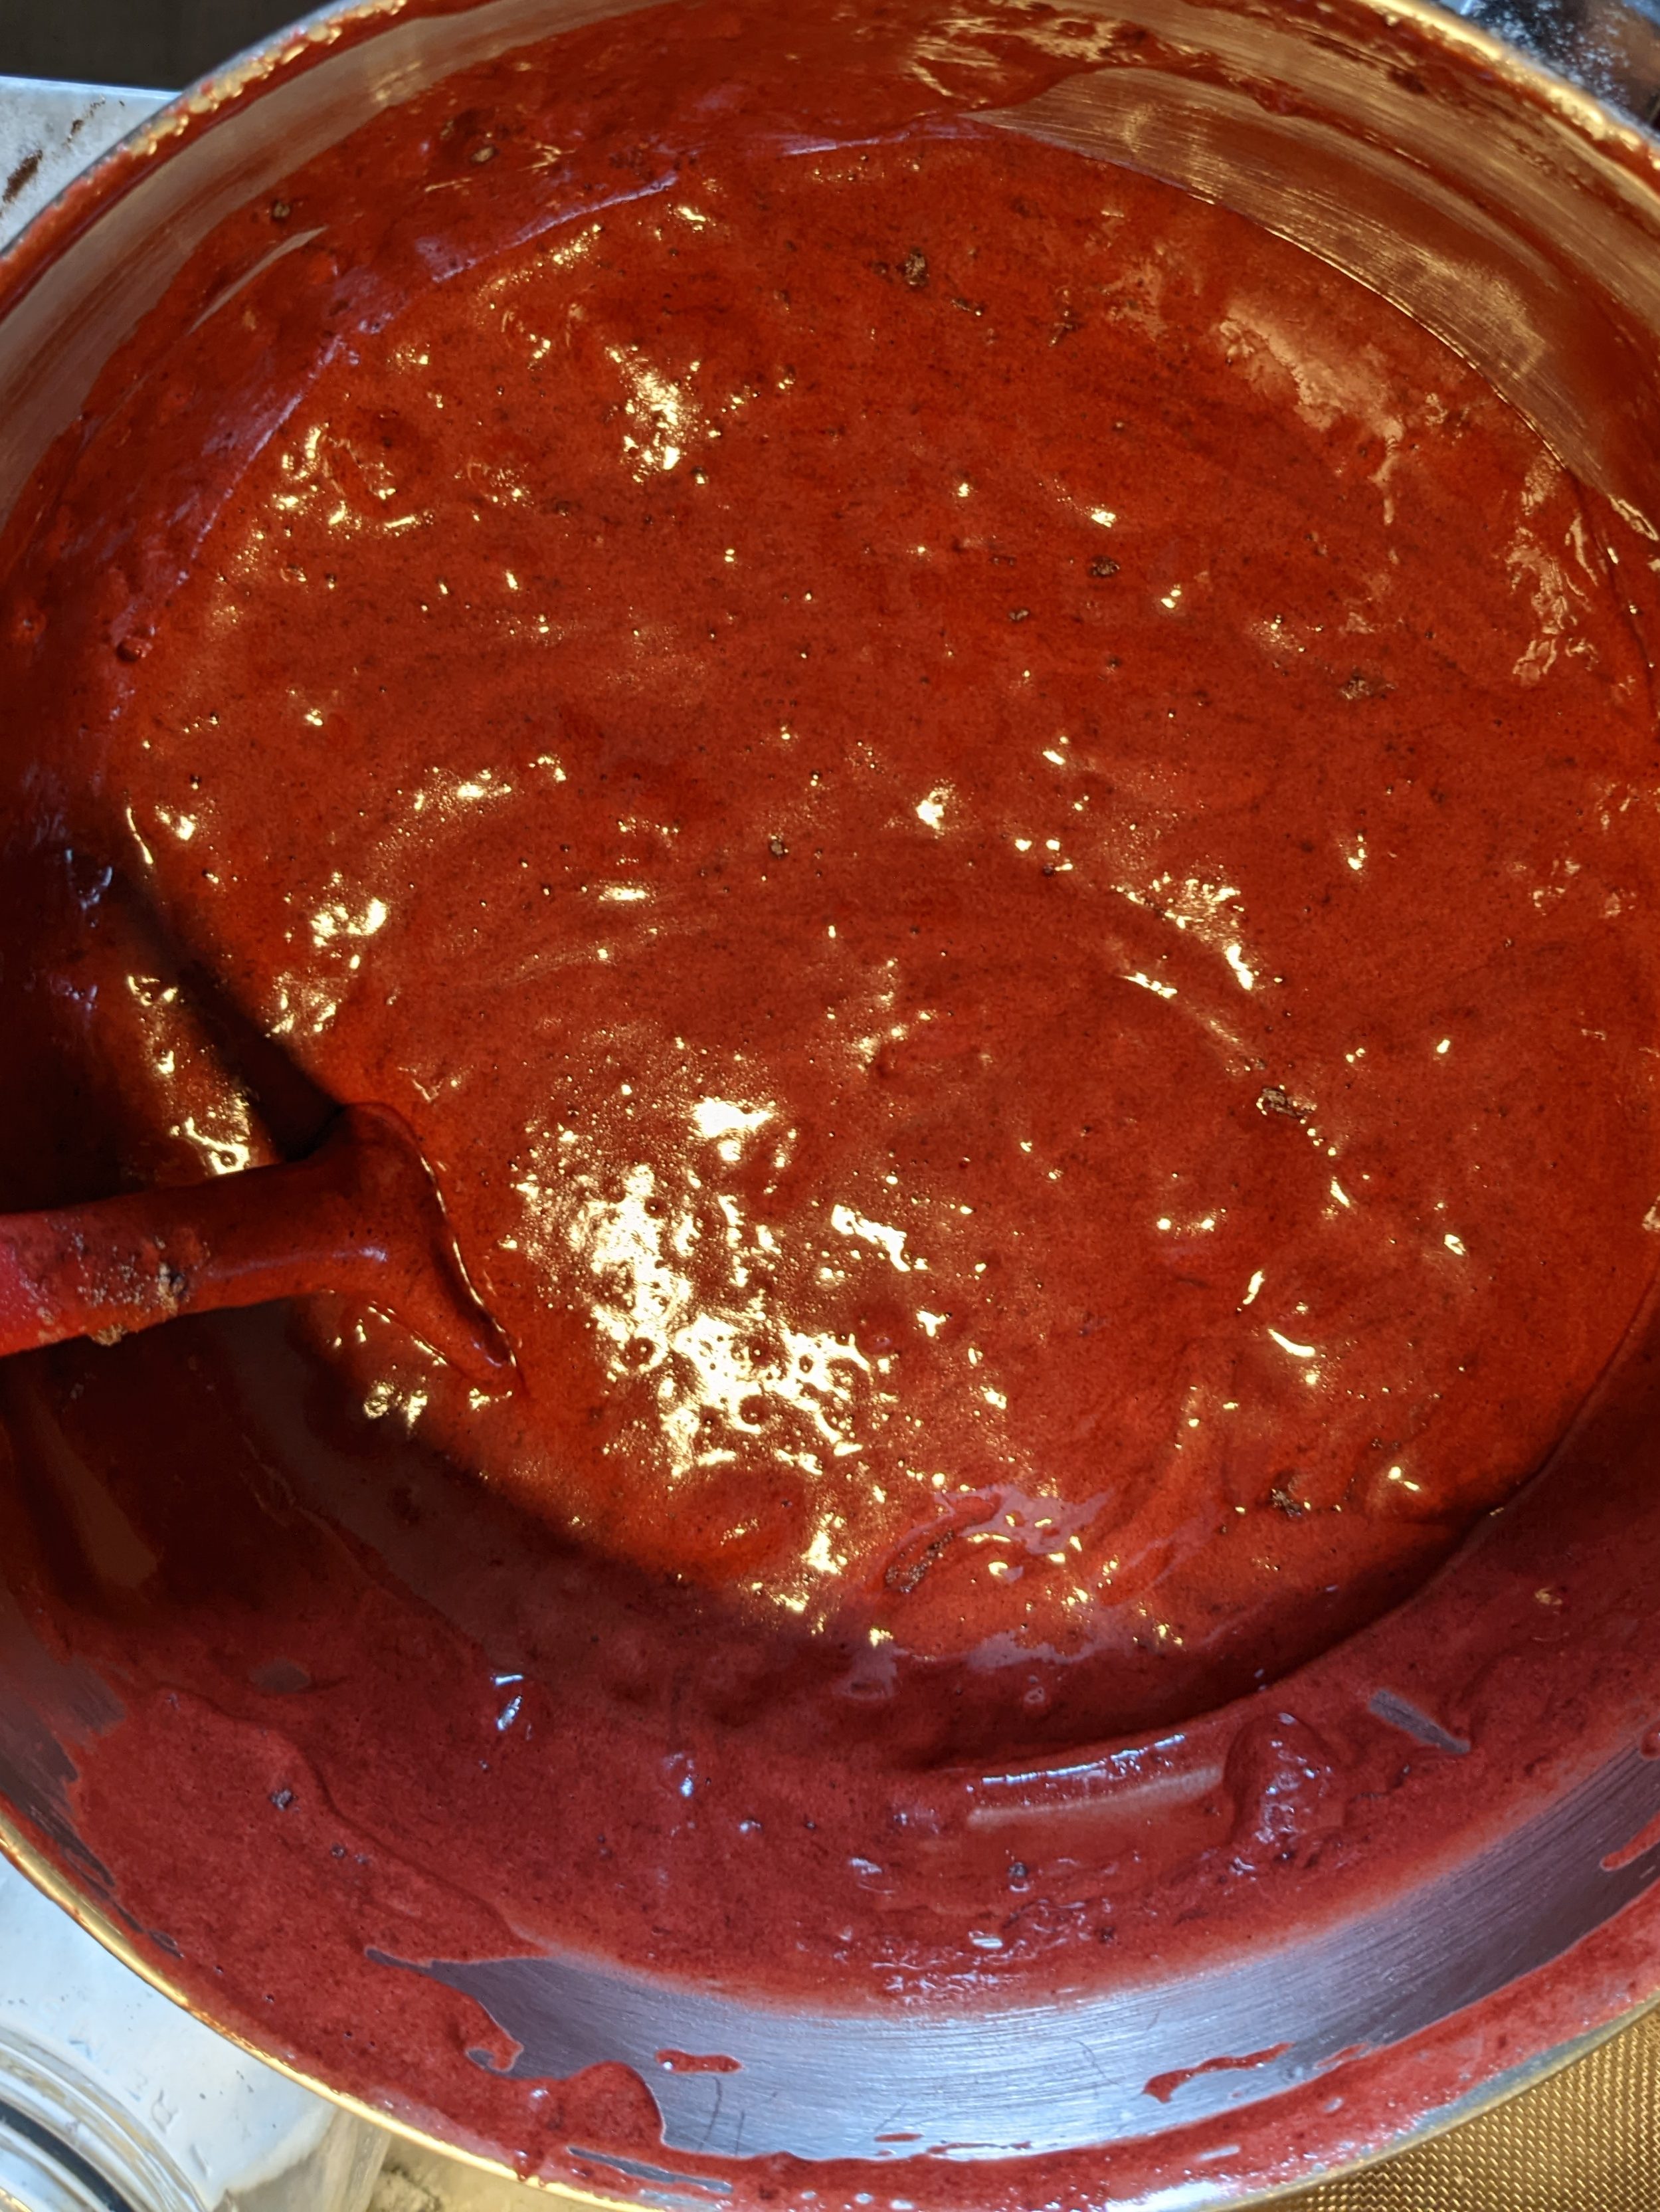
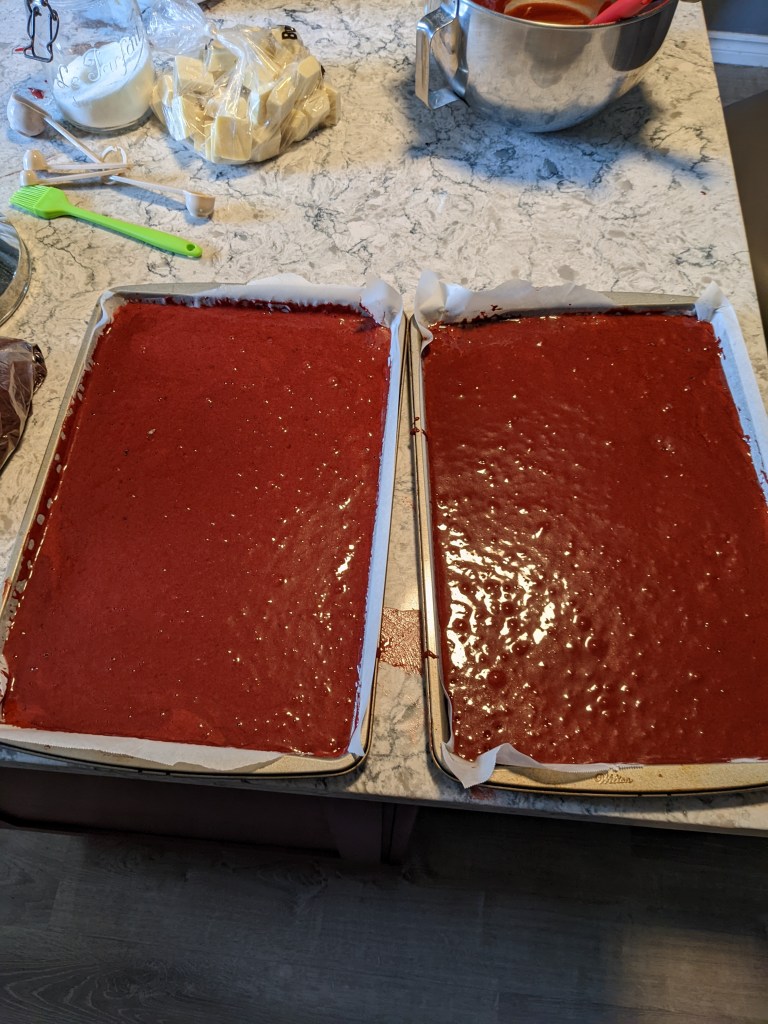
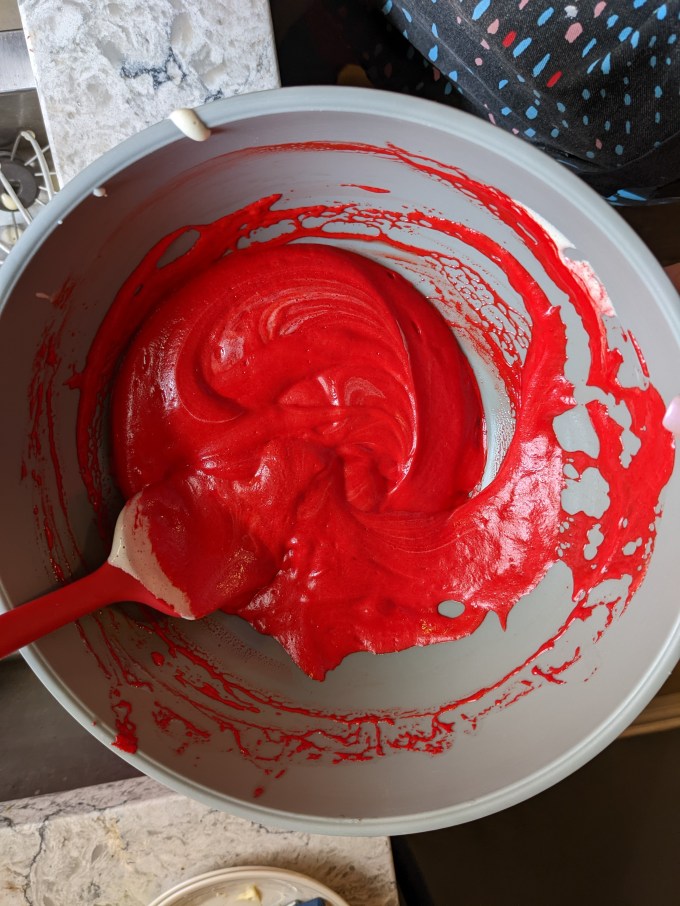
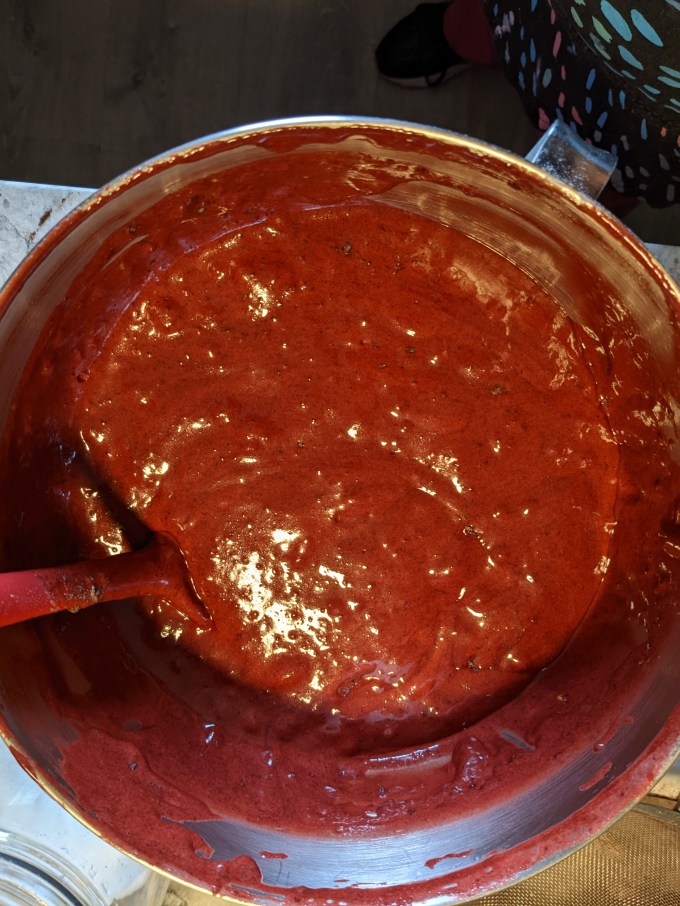
Once the wet ingredients are mixed, they are folded into the eggs, alternating with dry ingredients. The batter is spread into prepared sheet pans and baked until set. It is important when rolling cakes to pull them out before they are too dry. The cakes should have a bit of spring back when pressed, but still be a bit shiny.
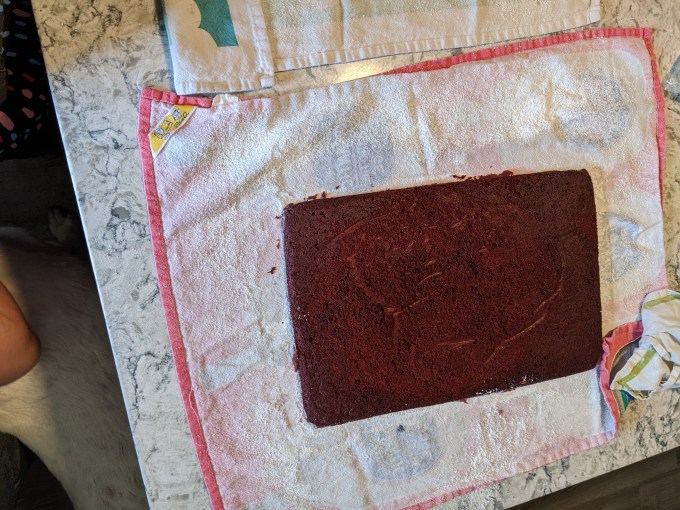
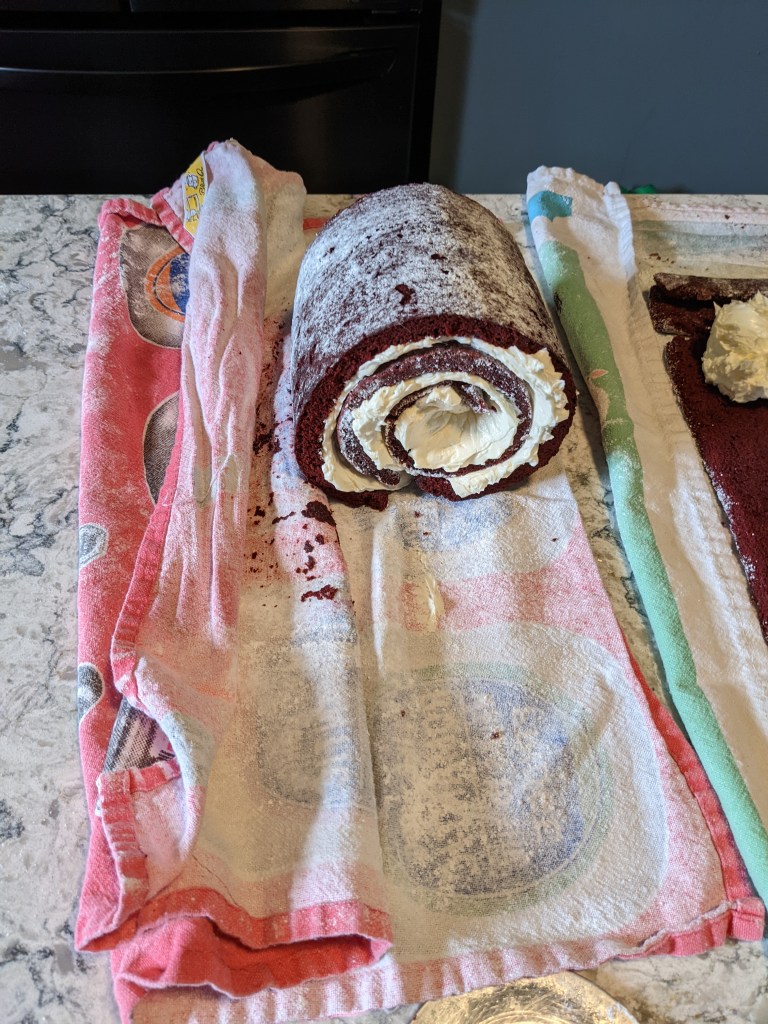
Once baked, the cakes are removed and turned out into clean dish cloths dusted with icing sugar. The cakes are rolled up while they are still warm with the dish cloths in between the layers to prevent sticking. Rolling cakes takes a bit of nerve and expert competence in terms of temperature management because you only get one shot. At least in this case the outside of the cake gets decorated so there is a bit of room to cover error, but not much. If the internal layers of the cake are cracked, they will not be strong enough to support vertical layering.

The rolled cakes are left to cool completely while the buttercream is prepared.
Step 2: Swiss meringue buttercream
This version of meringue buttercream is the easiest to execute and the most stable at room temperature. I would argue this makes it the most useful and versatile, which is well worth the effort. The trade off is the slow heating takes a bit more time to do.
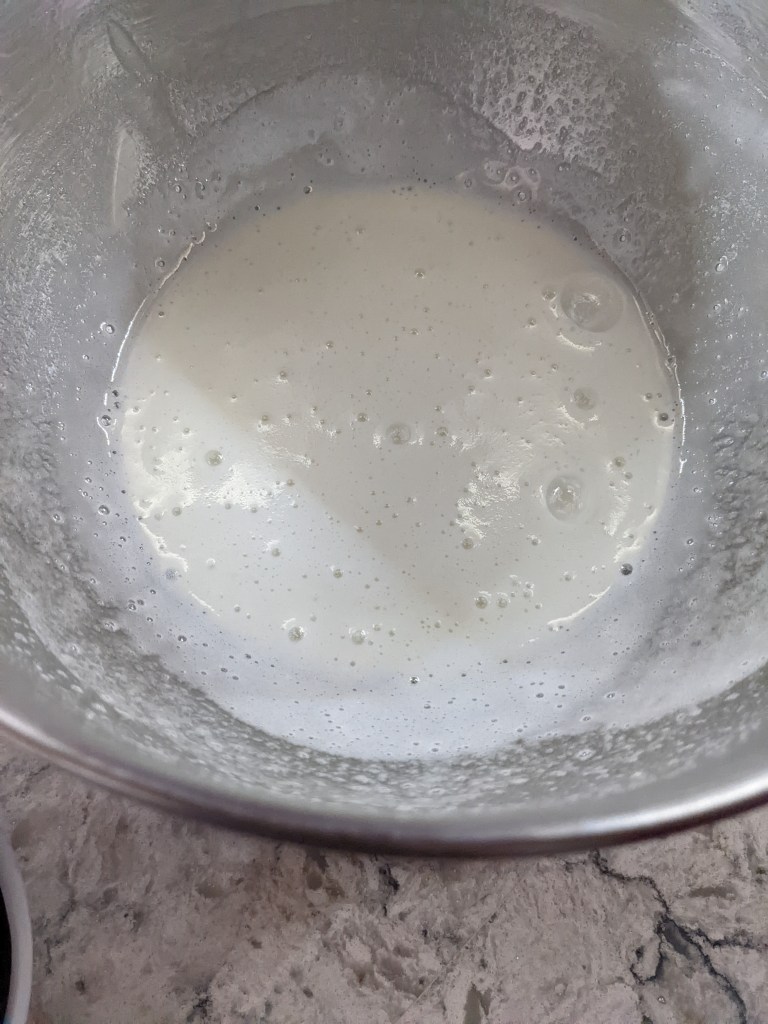

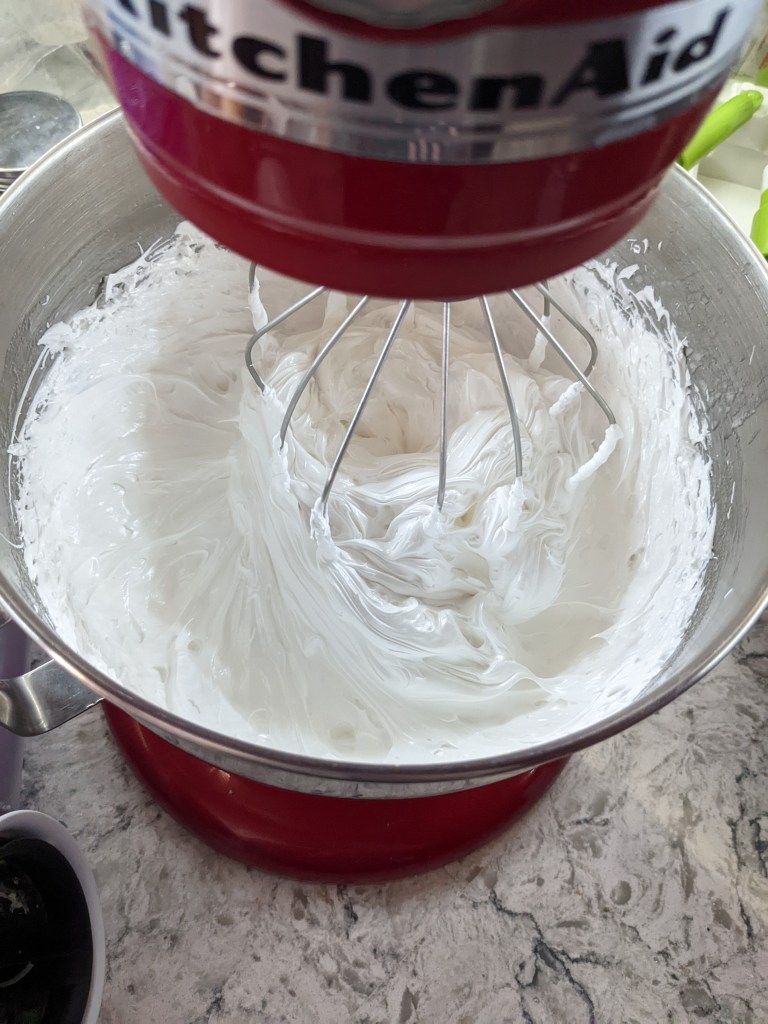
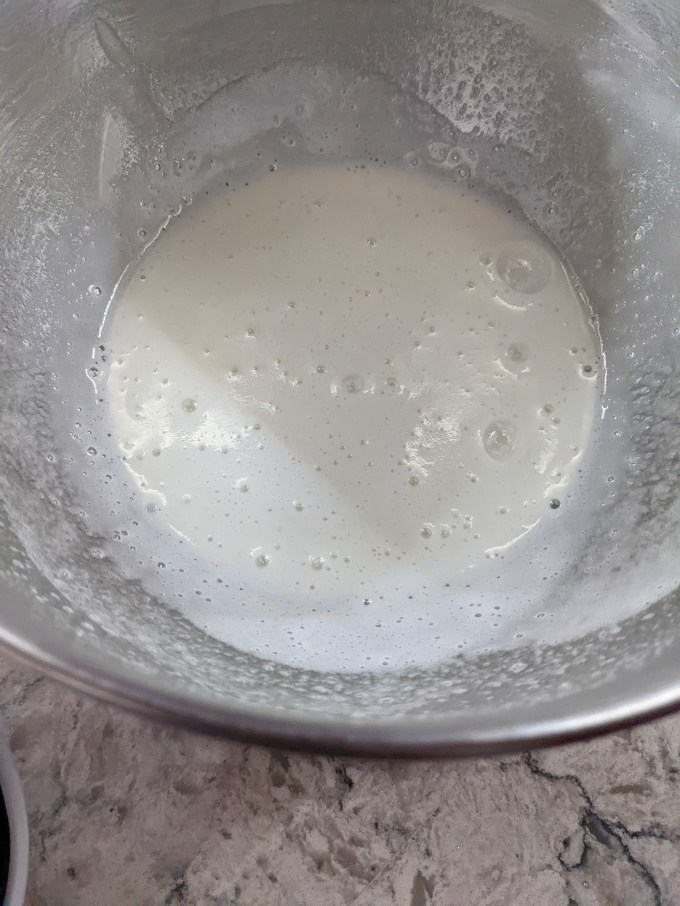
Egg whites and sugar are heated to temp over a double boiler. Heating over double boiler is critical so the eggs don’t solidify. Contrast this with Italian or French buttercream where the sugar is heated directly and then streamed into the whites. The Swiss method still results in setting up the protein in the whites, but the slow cook keeps them liquid and flexible.
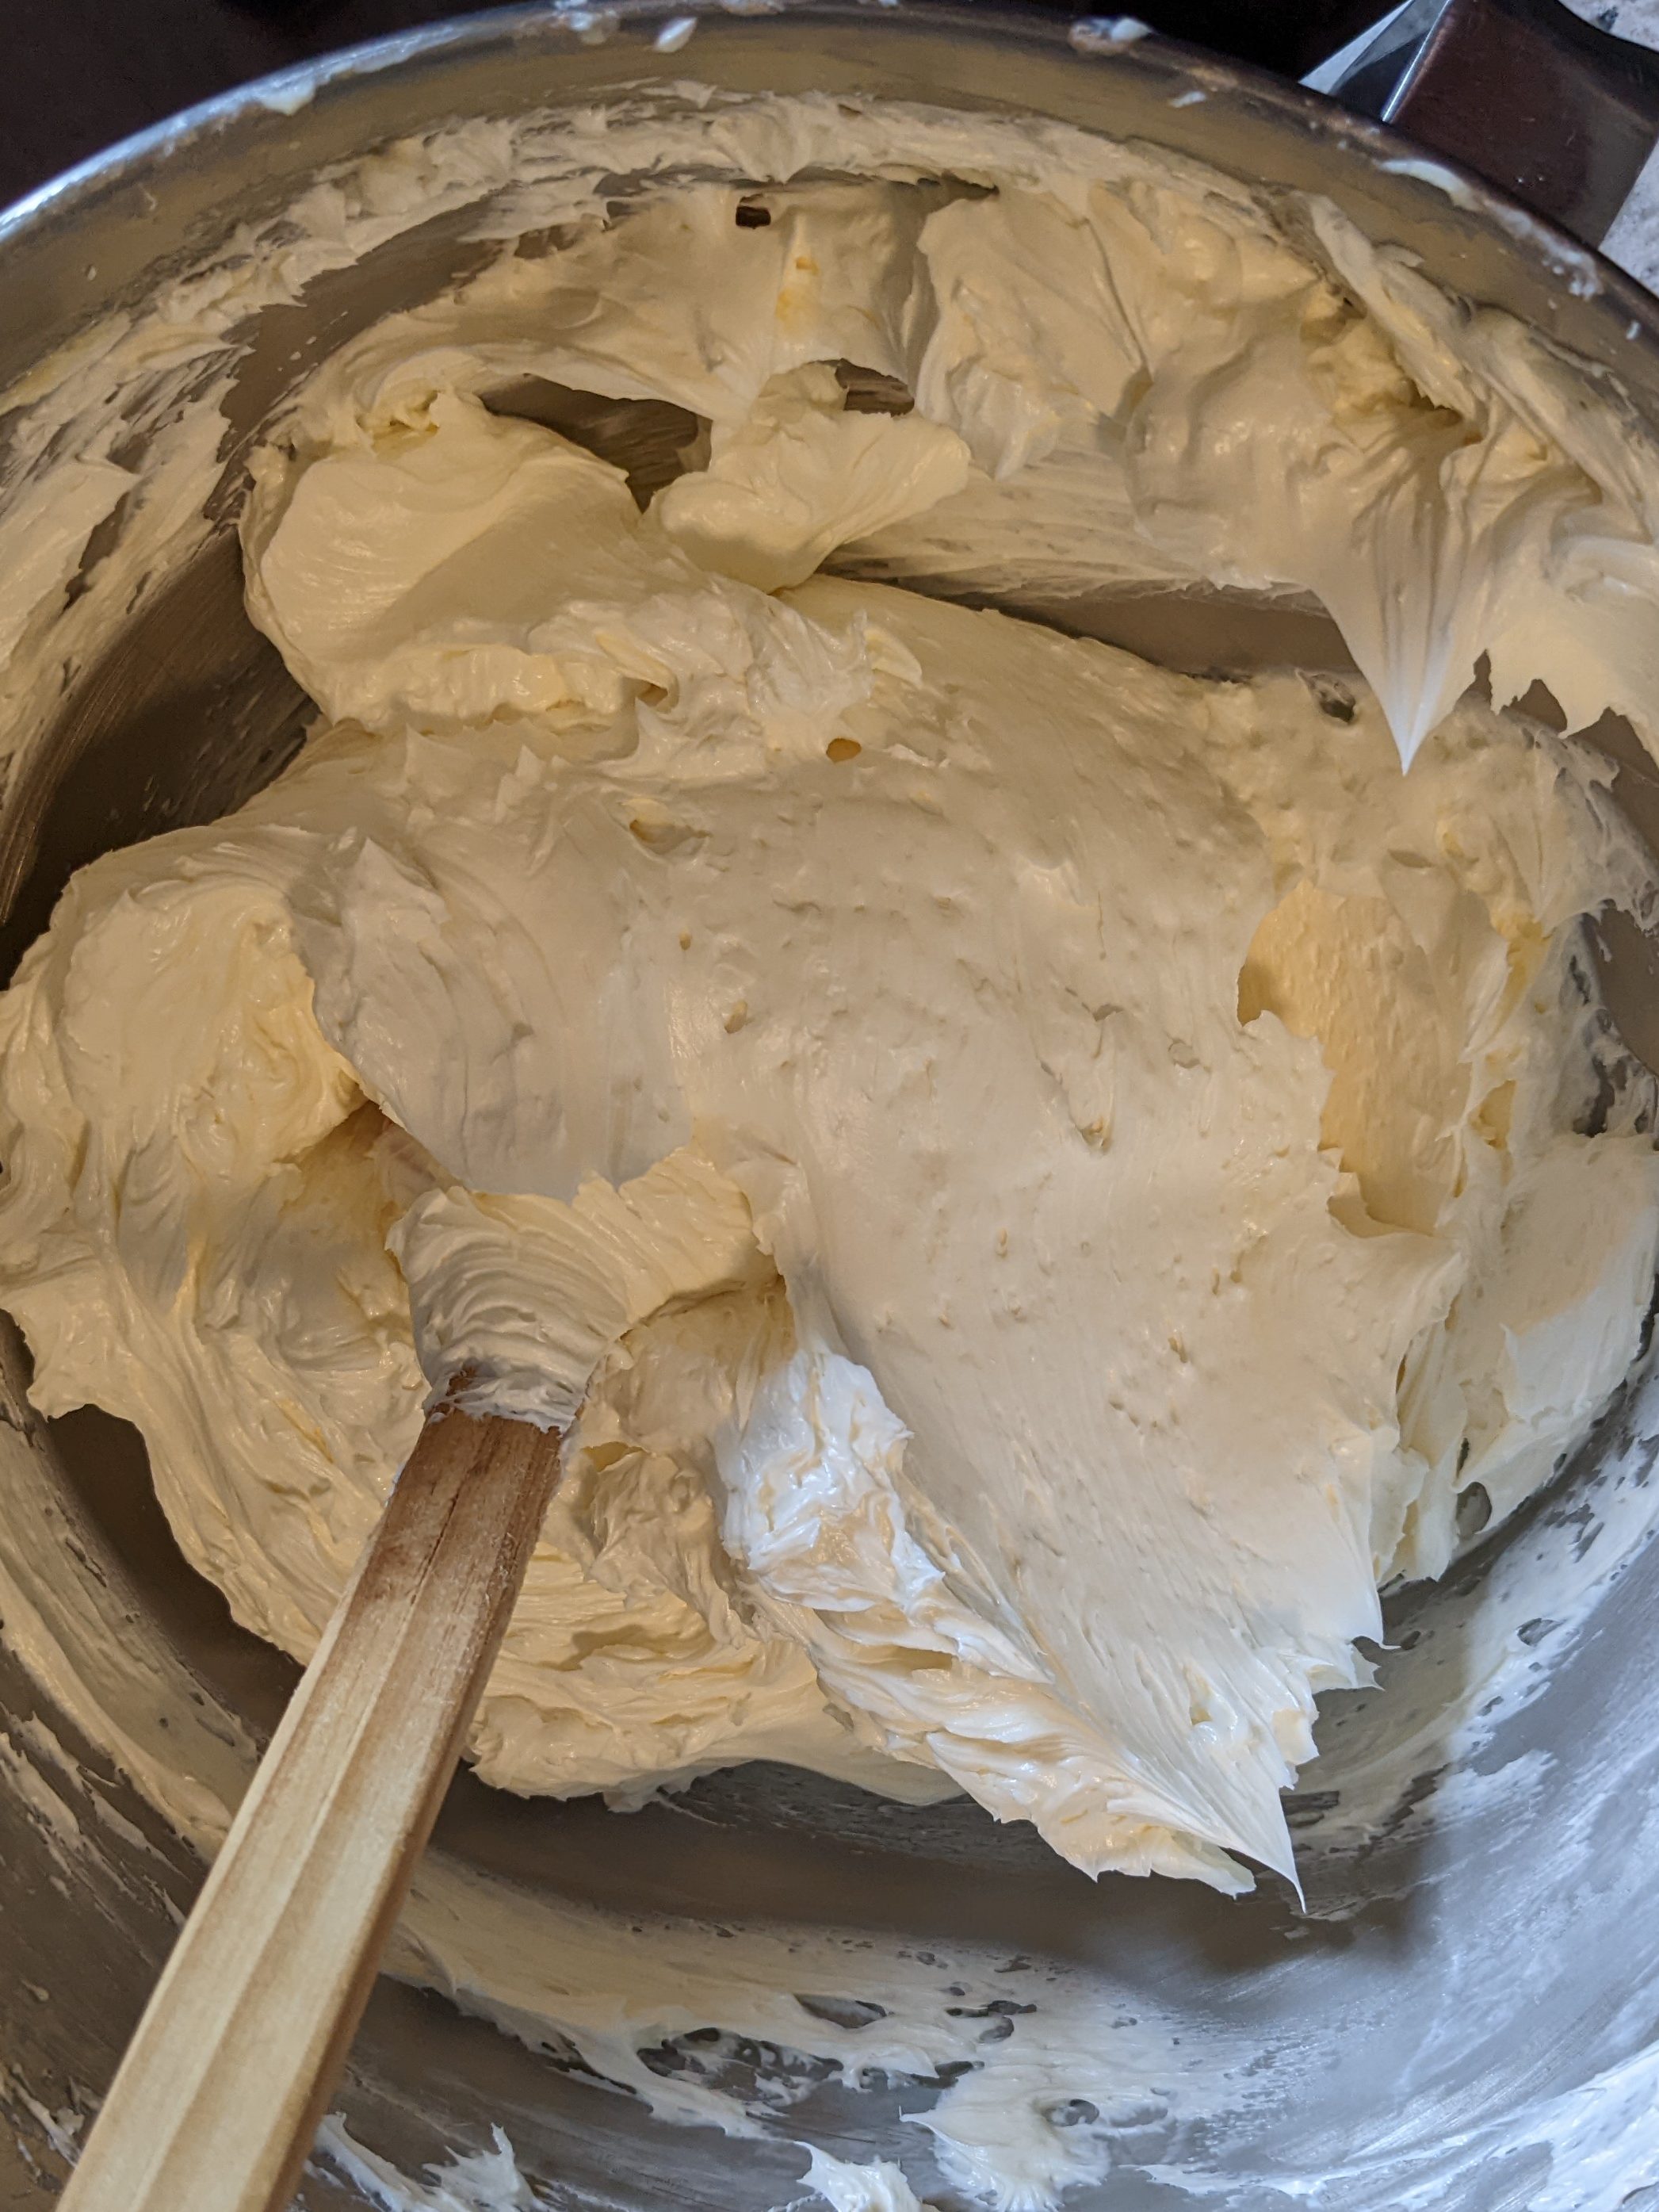
Once the mixture is at temp, the eggs are beaten to stiff peaks and back down to room temp. Once the meringue is fully cooled, butter is gradually beaten in until the whole mixture is emulsified, fluffy, and stable. Vanilla or other flavouring may be added with the butter, and it’s time to decorate.
Step 3: Assembly
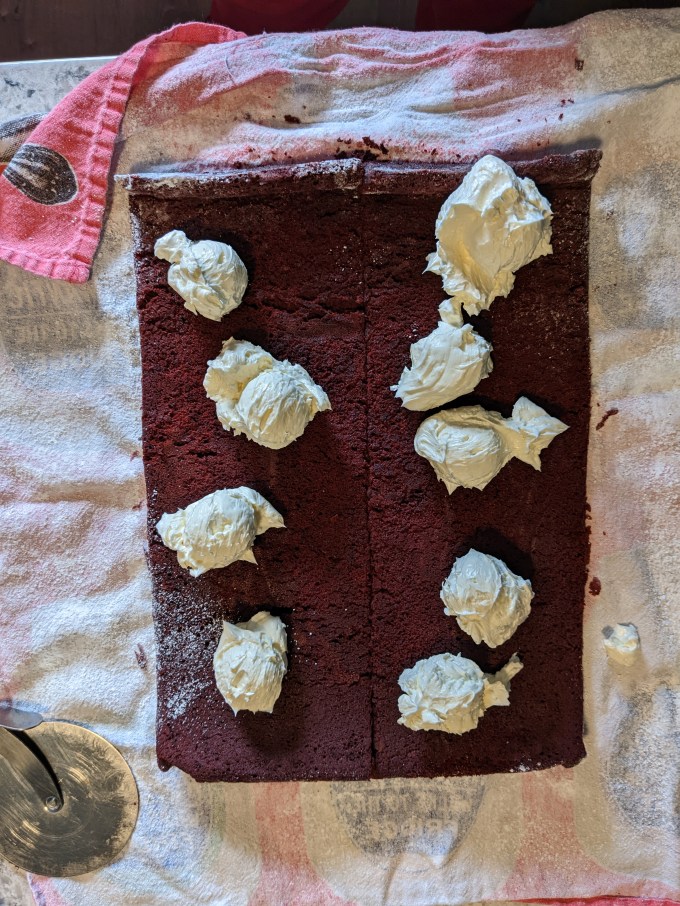
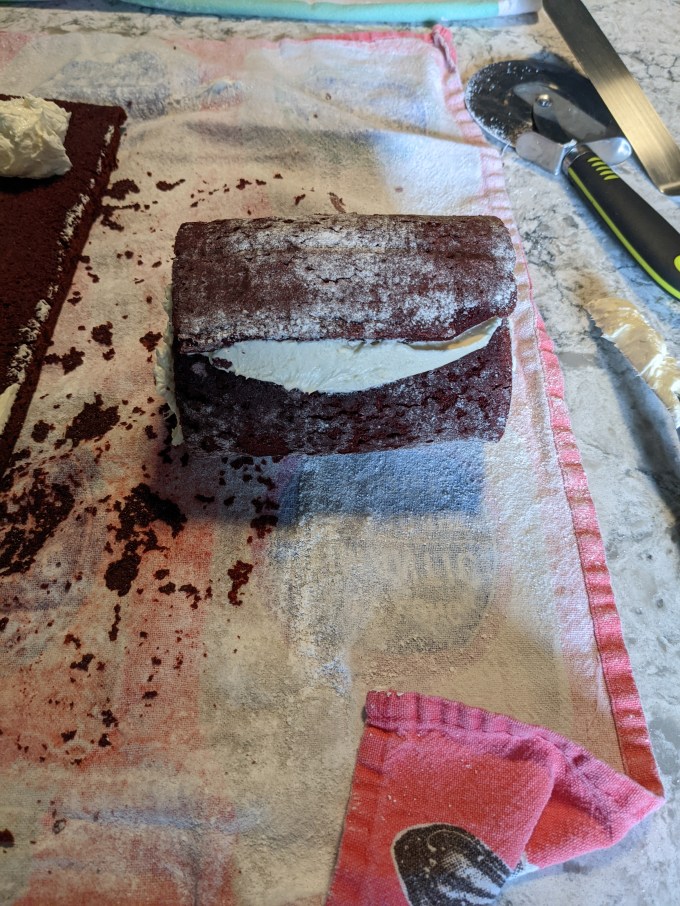
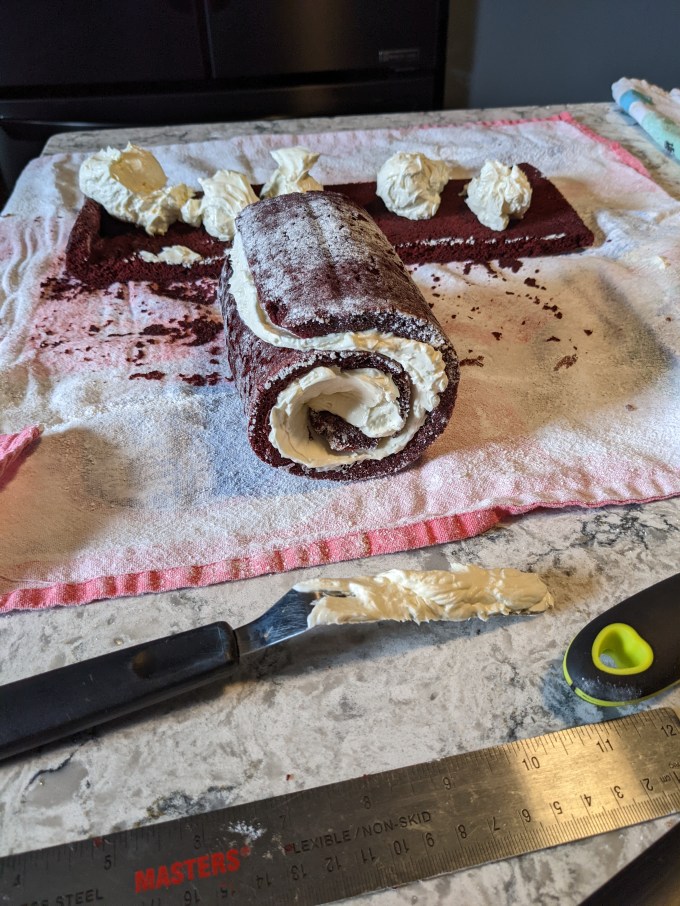
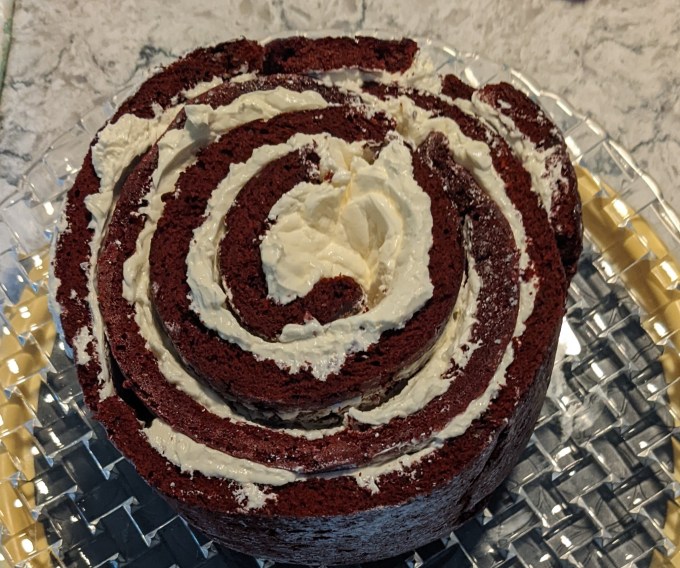
The cooled cakes are unrolled and sliced lengthwise into quarters. A generous layer of buttercream is spread on each. Starting with a tightly coiled edge from the inside of a roll, one of the iced cakes is rolled up like a jelly roll or roulade. The rolled cake is then stood on edge. The roll is continued by wrapping each of the remaining quarters around the centre coil. Note that the edges of the cake slices that were on the outermost sides of the sheet pans should always be oriented towards the bottom. These edges are the strongest and are better able to support the weight of the assembled cake.


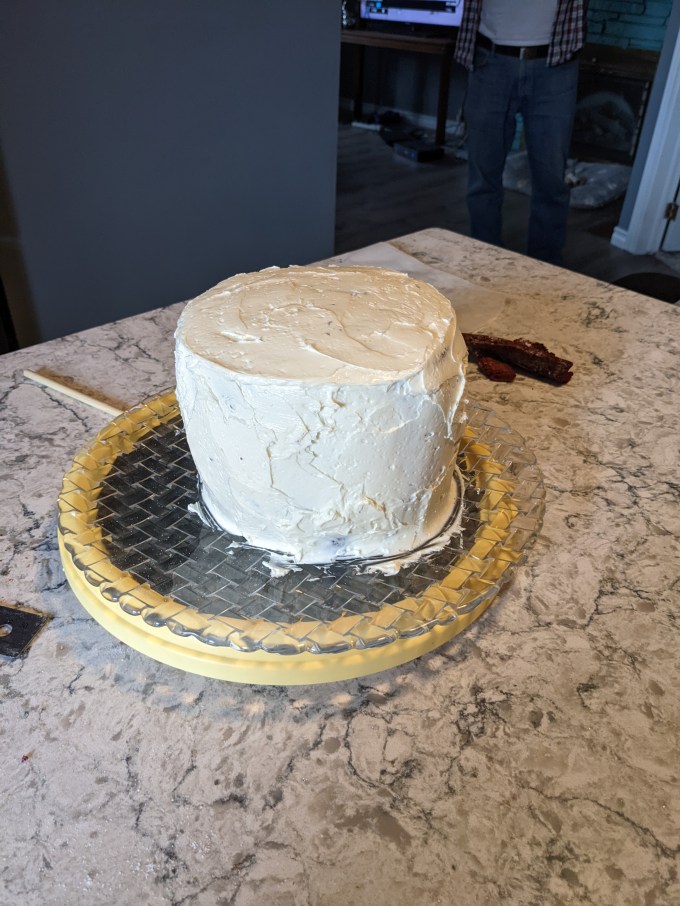
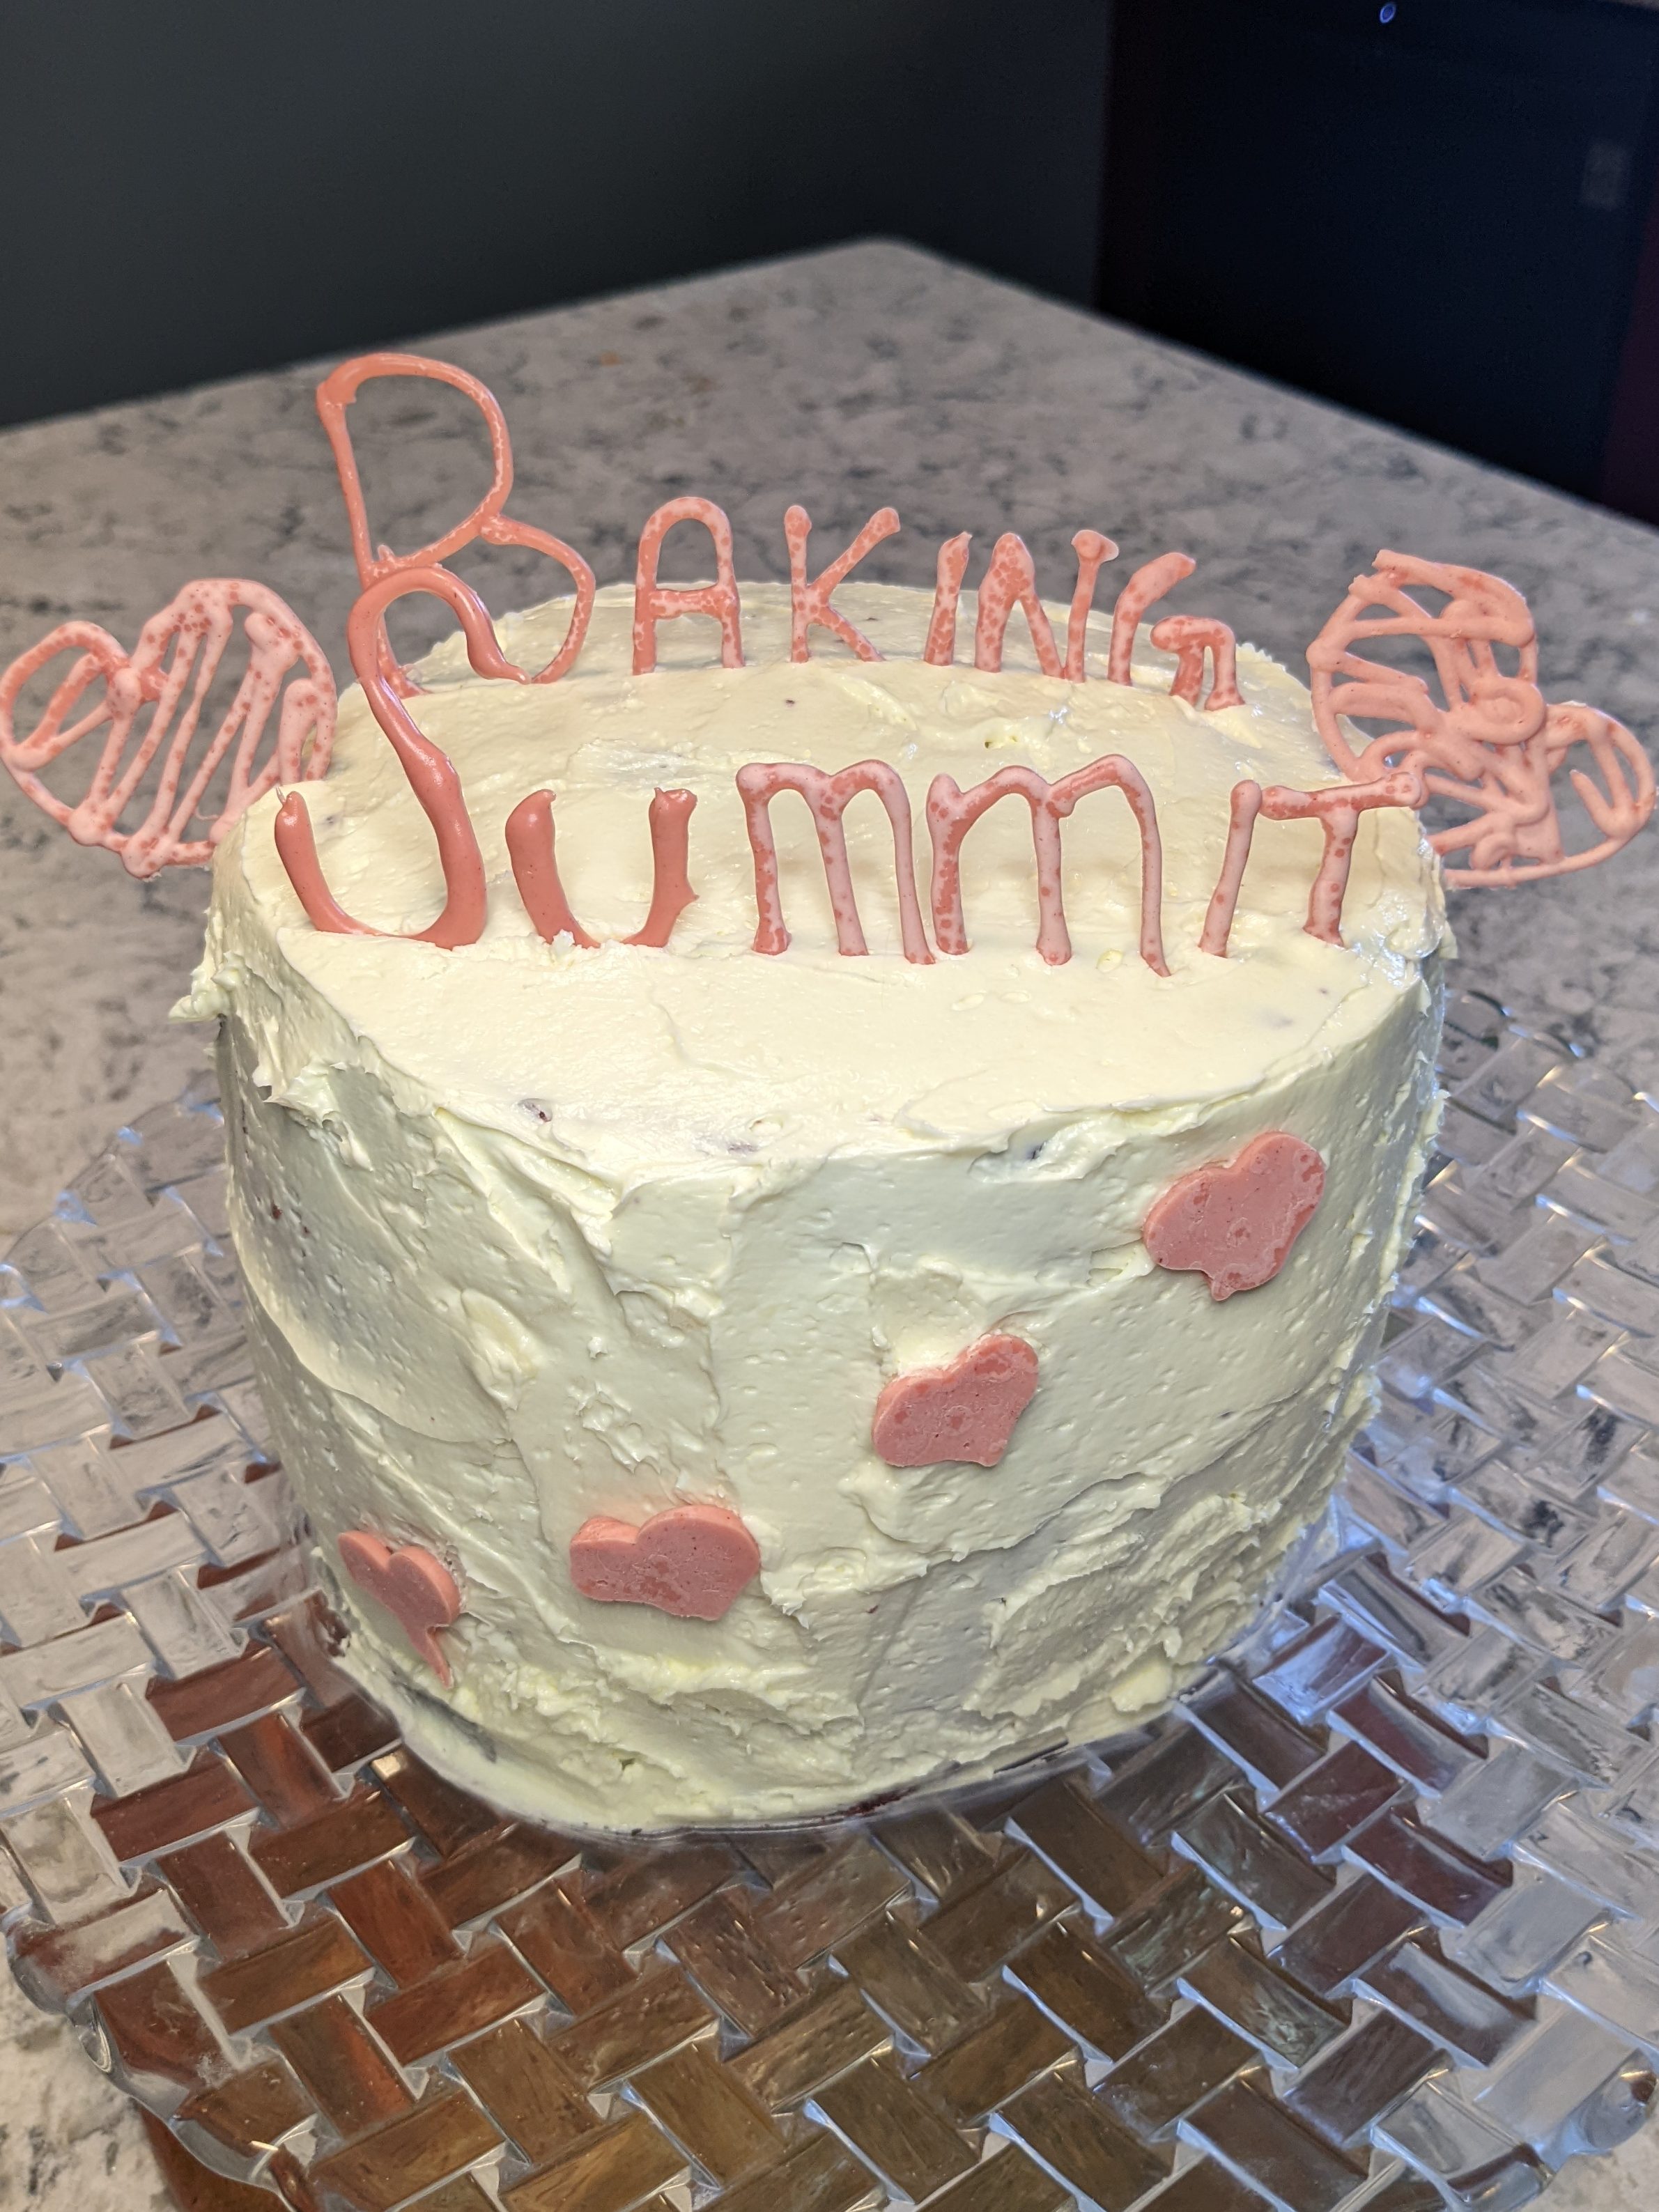
Once the cake is all rolled up and standing, the outside is decorated with more icing and chocolate accents, and there we have it! All four seasons of technical bakes are done!

Completing this project has been so fun and I have locked down some skills that have always intimidated me, which is amazing. So what comes next? Rest assured, the end of the first list of bakes does not mark the end of this blog! I am going to take a bit of a break -> the Canadian summer is terribly short, and I have a seemingly endless list of things to do and personal commitments in this post-pandemic version of reality. When I get back, we will dive into the Season 5 technicals, and then who knows!? The best part about baking is the expedition is endless. It has no peak, no slow descent. The only summit is here. A place to gather, to share and learn, to lead the way for my Friends and Fellow Bakers. See you soon.
Gallery