
Why, hello there, Friends and Fellow Bakers! I am happy to report that I had an excellent rebound after the soul crushing experience that was the Marshmallow Puffs last week. The baking gods giveth as they taketh away. Or something. Today I am here to tell you about Brioche à Tête, made without a mixer, which was the technical challenge on Season 3: Bread Week of GCBS.
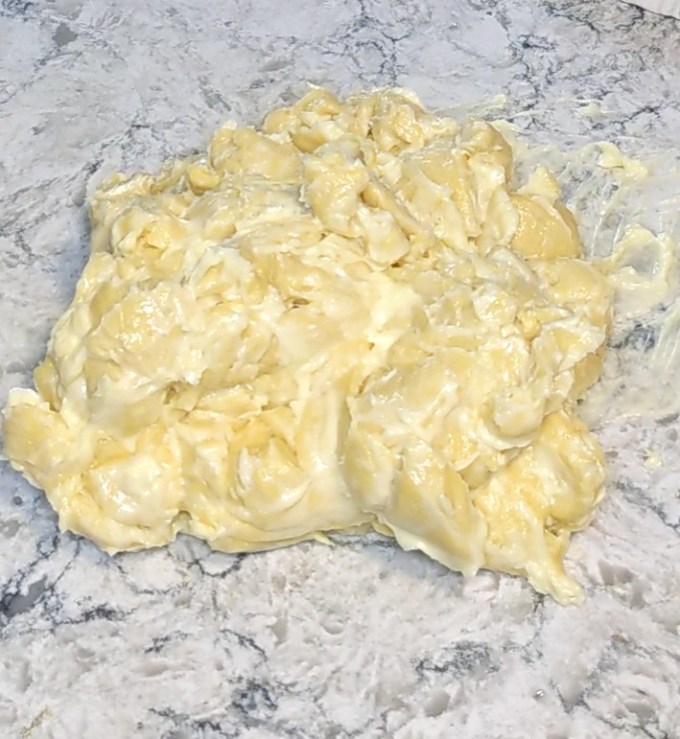
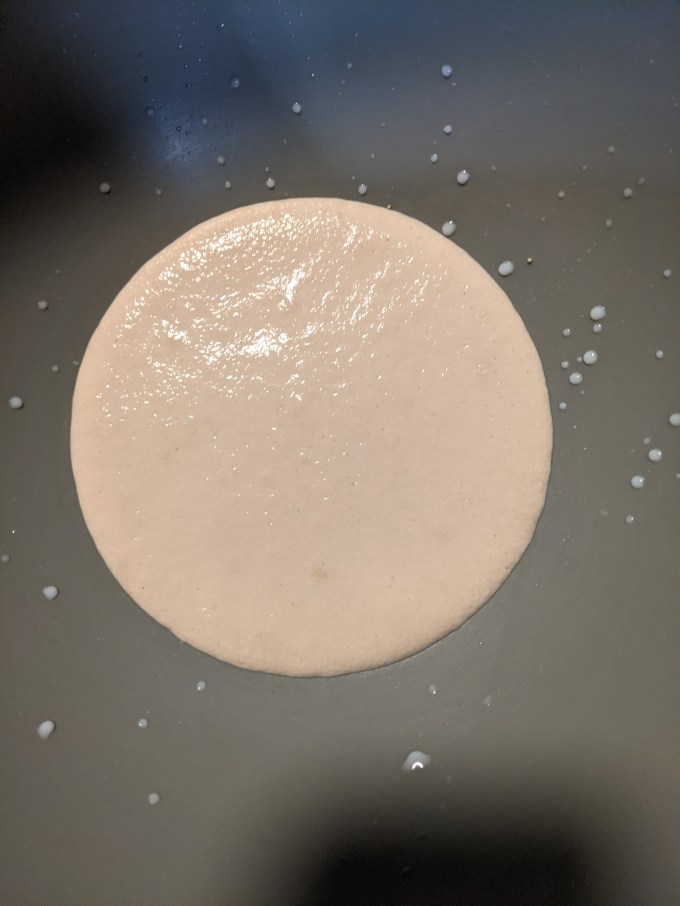
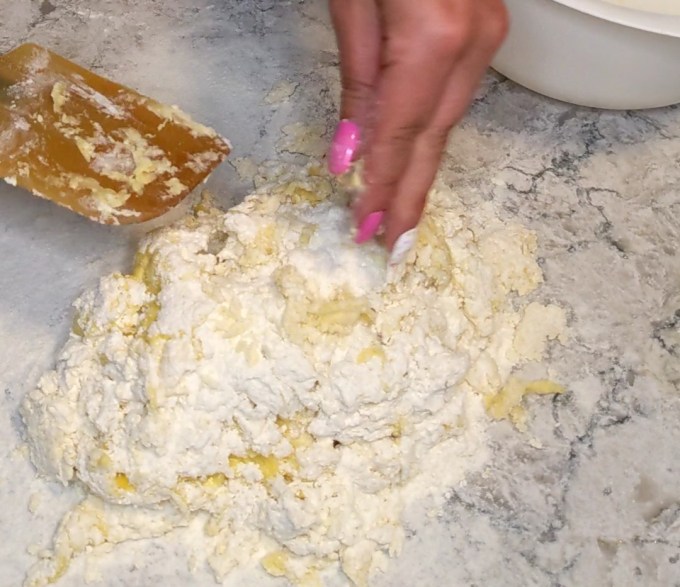
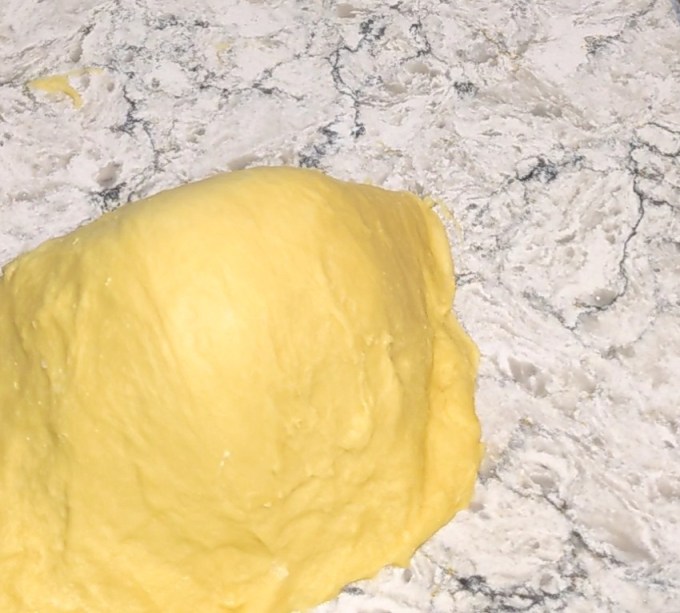
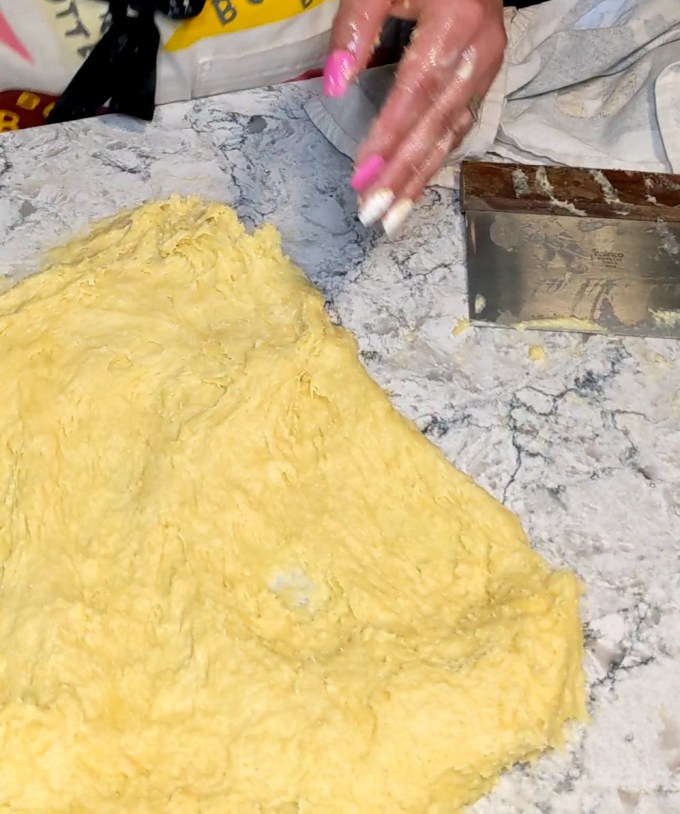
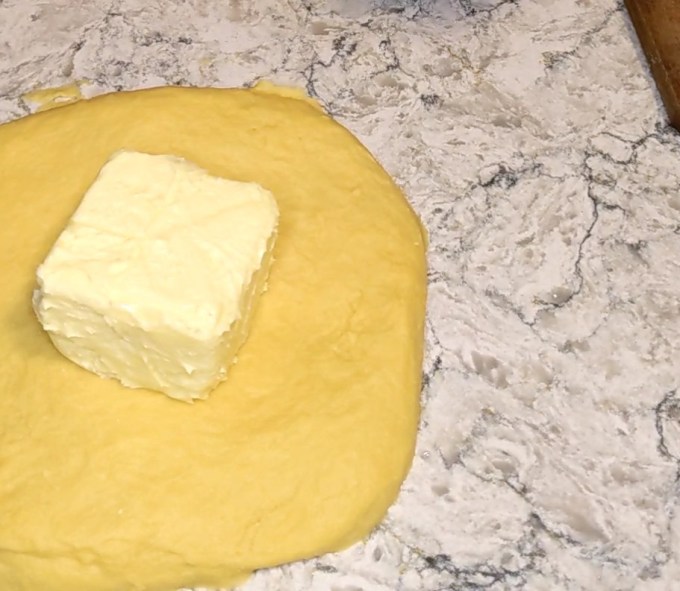
Brioche is a highly enriched bread which is considered by many to be the gold standard of the category. It is also one of the oldest French Bread methods. According to the Bread Baker’s Apprentice, there are generally 3 types of brioche. The variable that changes between the three types is final ratio of butter to flour. In the most enriched (highest ratio) version, the fat to flour ratio is equal to that of pie crust, which is a fun fact to ignore when you are actually eating it. The CBC recipe is the full fat version, and for extra shits and giggles, they had the contestants complete the bake without a mixer. It is a test of nerve as much as anything baking related. This method is an absolute miracle of baking science and it was an amazing experience to watch this dough transform under my hands. (By the way, the “à Tête” part of this title refers to the final shape. These Brioche buns have what could be described as a head or hat on top; “à Tête” means, roughly, “with a hat” or “with a head,” so this recipe could be translated as “Brioche with a hat.”). It was so satisfying to take this blob of mess:
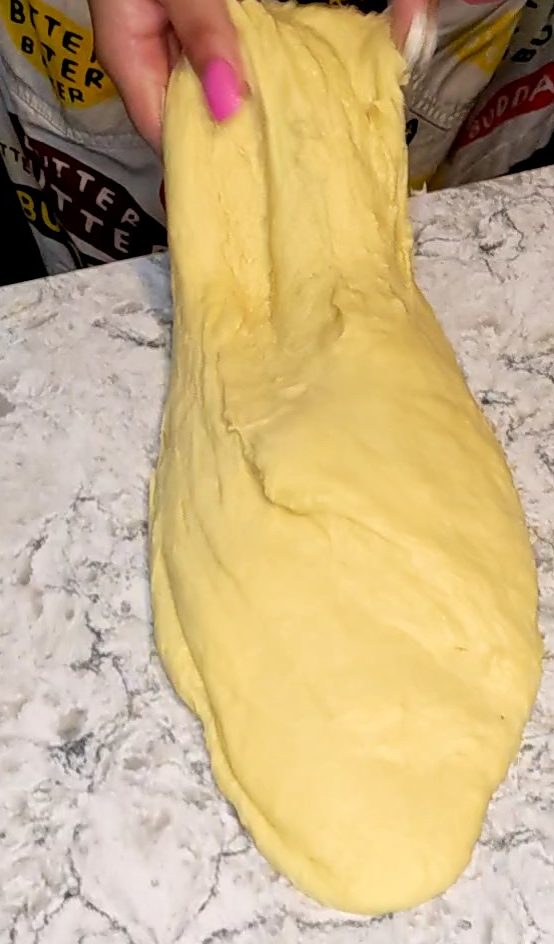
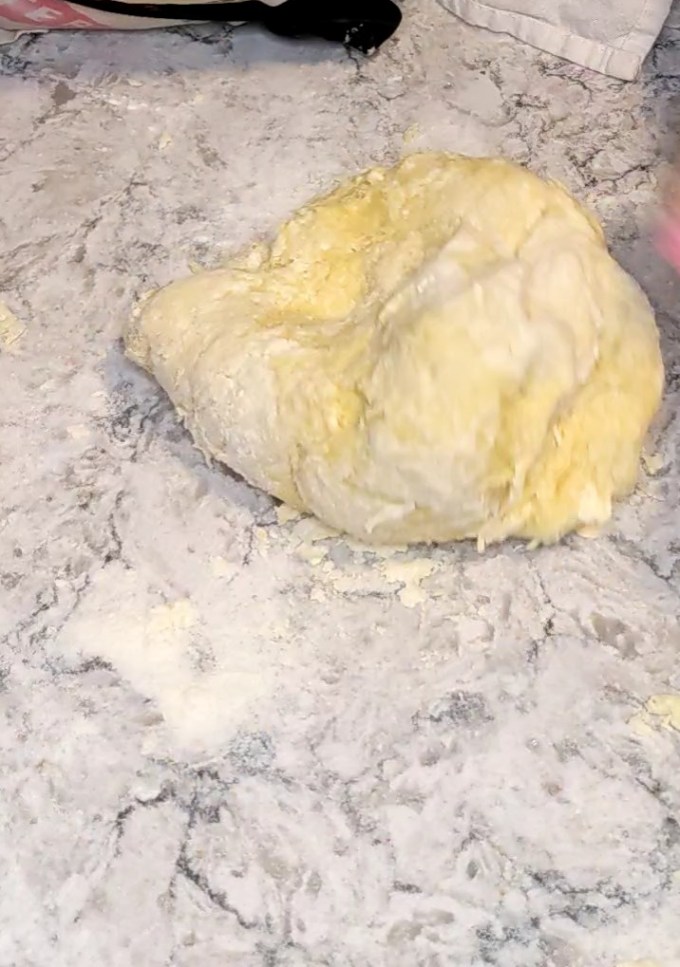
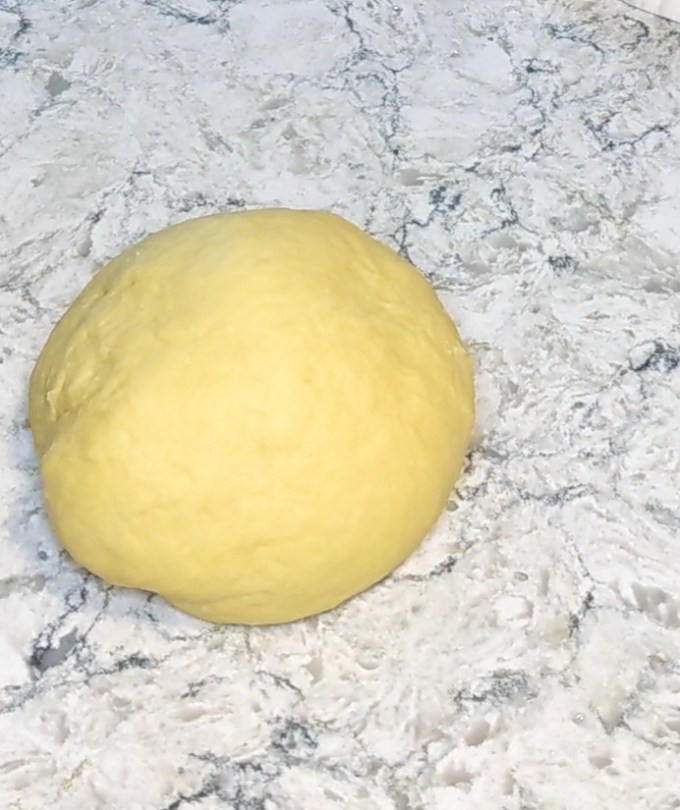
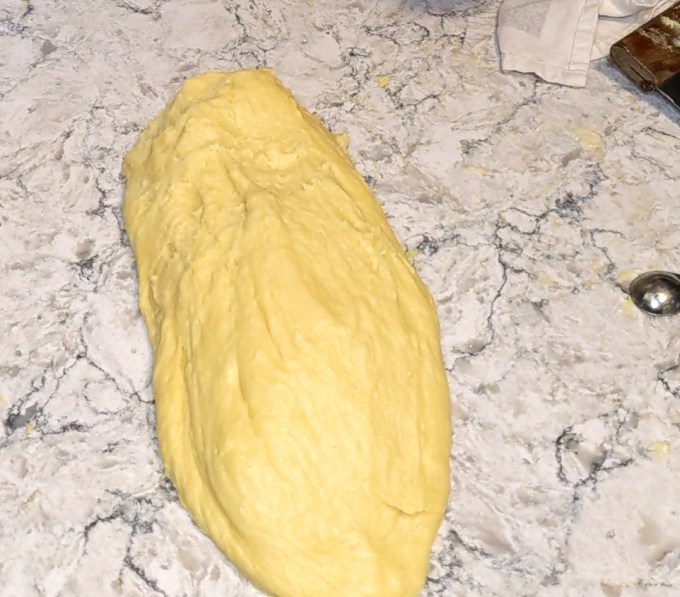
And turn it into this by sheer force:
There are a few reasons this bake went well for me, even though I have never made Brioche by this or any other method before. I think I started at an advantage due to my overall comfort with breadmaking in general. Of all the required baking skills I need to complete this project, I have the best command of bread science. I like to think it’s because I am a biologist at heart, but it’s more likely thanks to sustained interest and practice over the last 20 years of my life. I have made many types of enriched bread over the years, so I didn’t feel intimidated by the big, bad Brioche to begin with.
I also felt well prepared for the specific recipe presented by CBC for a change. As you may have guessed, I studied up on what Peter Reinhart (aka author of BBA) had to say about Brioche before I got started. I got a lot of tips just from watching the episode. More than usual, I’d say. One of the contestants added more flour – which was the main test of this challenge, to resist the temptation to panic – and the judges immediately noticed. This told me EVERYTHING I needed to know about this bake. It told me not to add flour, but also that I would be tempted to do so in the first place. This gave me a very clear idea of how the dough was going to build because I could see the where and why of this flour warning. The judges also made a few remarks about how to do the shaping, and this gave me even more information about how to execute this perfectly. I walked away from the episode feeling totally pumped and armed with all the knowledge I needed.
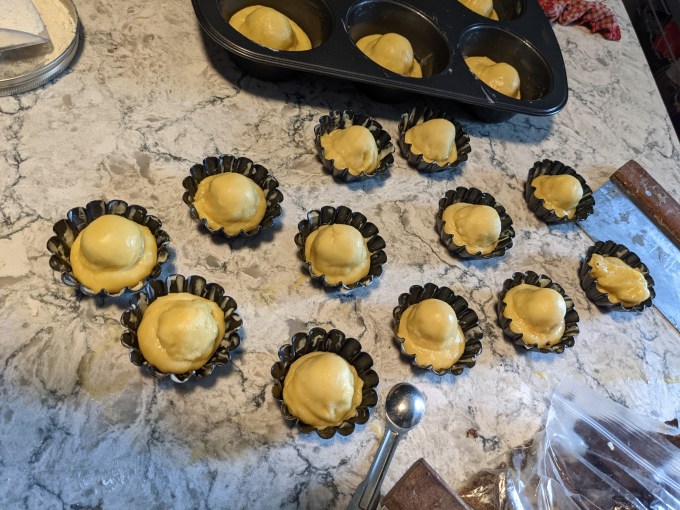
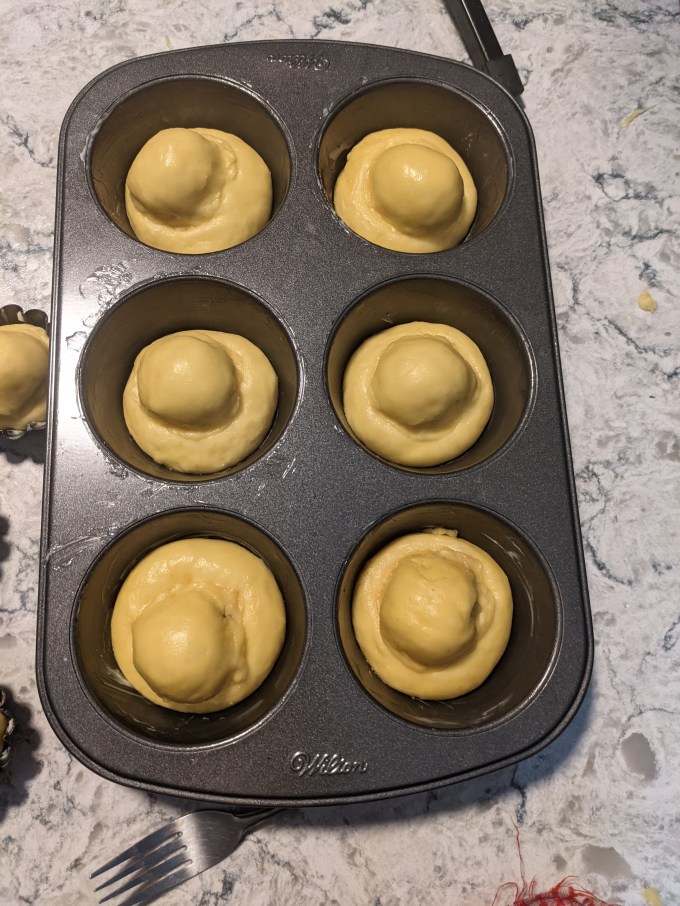
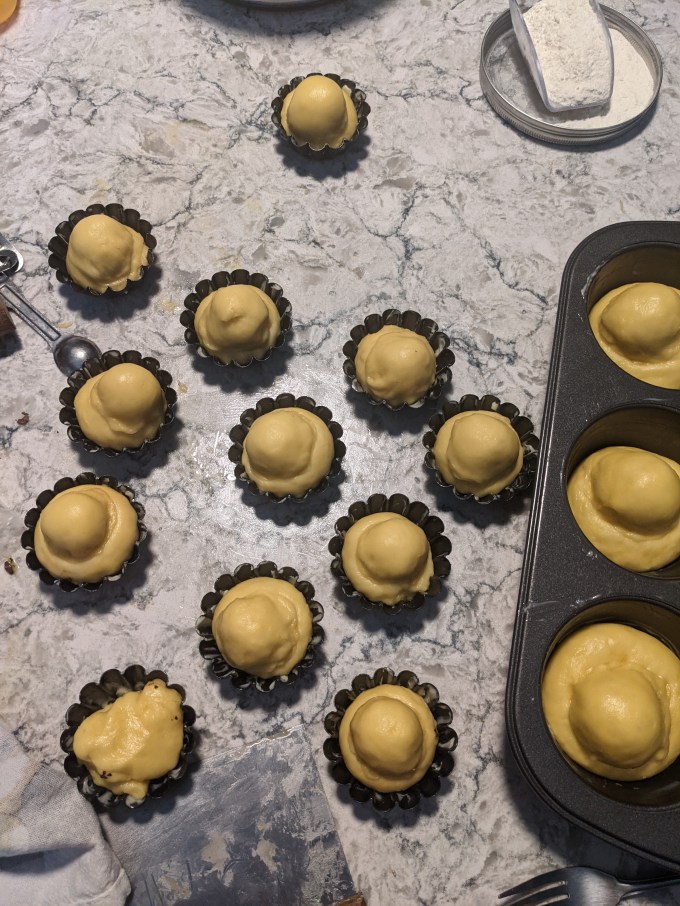
Although I am happy with the overall result, this bake did present some challenges. I wasn’t able to find the special Brioche moulds to get the nice ripply outer edge. (Side note my quest for brioche moulds also confirmed a sad fact I had suspected, which is that the totally amazing cake supply store where I attended decorating classes is now closed permanently). Instead, I bought a jumbo muffin tin and 12 egg tart moulds. I felt confident doing both sizes at once because I knew the muffin tin was the size called for in the recipe, and BBA showed the same shaping method on moulds of both sizes. I knew I wasn’t going way off the beaten path, is my point.
I also had a terrifying near miss which impacted my final shape slightly. I was horrified to learn that there is something wrong with my oven control panel. The setting on the knob for “Proof” is adjacent to the setting for “Warm.” I haven’t reviewed the manual, but I am pretty sure the temp difference between these two settings is about 30F. It’s not enough to get the bread cooking, but I thought it might be enough to kill the yeast before it was done proofing. I discovered about halfway through first proof that the oven was on warm instead of proof because the toggle is misaligned by one notch somehow (note to self: do not panic about the oven knob). I pulled the dough out and thought, well, it will either bake or it won’t. I was still so pumped about getting the dough right first try, I was totally fine with the prospect of having to re-start completely. The dough still looked vital to me and I thought, well, I hate to throw out a half pound of butter when I’m not even sure it’s wrecked? If that means trying and failing, and taking a do-over, so be it.
The only negative impact from this little scare with the oven knob (note to self: do not panic about the oven knob) was some of the butter melted out before final shaping. It was very minimal and did not impact the texture of the bake at all. It did make the final dough a bit greasy and I had a hard time getting the little caps to seal with the bottom roll of dough. I think I also would have benefited from handling these a little more firmly by forcing the seam together hard, one time, instead of trying to gently push them down as I did in this case. Just as I tried to keep my hands off of the dough during mixing, I should have kept that up a bit better when I got to shaping. Especially since the high proof temp was already working against me in terms of temperature management. I also should have been more forceful pushing the little piece of chocolate down to the bottom of the rolls. It’s fair to say I was a little too gentle with the shaping.
The overall method here is to work soft butter into an enriched dough mechanically. It’s kind of the opposite of laminated dough, where we are trying to keep the dough and the butter completely separated as they are layered together. Enriched bread doughs are to have the butter fully incorporated into the dough without melting the butter and soaking the flour. It’s almost like creating a butter and flour “suspension” as opposed to a solution, if you want to get super molecular about it. This is achieved through patient mechanical manipulation while also managing the dough temperature. I am a very hot-handed person (my basal body temperature is somewhere in the neighbourhood of molten glass), so I knew I needed to keep my hands off of the dough as much as possible to ensure the butter didn’t start melting out. There is guidance about how to work this dough properly in the recipe, but it does demand a certain degree of tactile knowledge of breadmaking. This dough seems like it is not going to work for a long time. That’s why it’s easy to make the mistake of adding flour in a moment of panic. The baker has to have enough confidence and experience to shift method from a sort of a messy, pastry blender type of chopping action, to a folding over action, to a knead, to slamming the dough on the bench as the dough is changing constantly. This intuitive part of breadmaking is what makes it a true form of artisanship. Like any artistic trade, it takes years and practice to be able to do it effectively and consistently. I’ve said before and I’ll say it again: breadmaking is cultivation. Every loaf is raised to behave a certain way. Talented bakers know to work with the dough, following its signals; not against it to force it into submission.
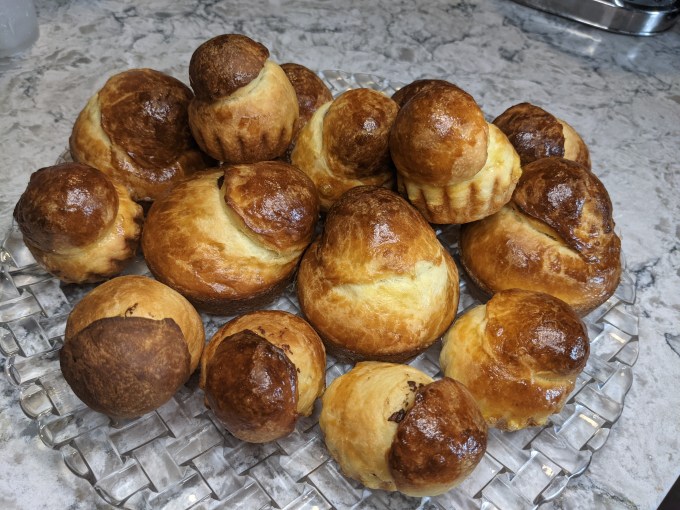
In the end, it all worked out wonderfully and this decadent Brioche was a magical bake and amazing snack. I wouldn’t want it with chocolate again though, I would prefer to have some jam and/or a mild cheese or spread. Or marmite and cream cheese! Oh hell yes why didn’t I think of that at the time???
One final note on this post: Since this dough is worked almost continuously from start to finish, it wasn’t really feasible for me to do video clips and separate photos. So almost all of the photos I am presenting on this post are still frames from my video footage. It might make the overall appearance of the photos a bit lower quality than what I usually show, but I hope it will help tell the incredible story of this awesome build!
I used the footage to create 3 Tiktoks about this process, which is how I will subdivide the steps for this post as there aren’t really separate components to this bake as there have been with most of the other technicals so far.
So without further ado, let’s get into it.
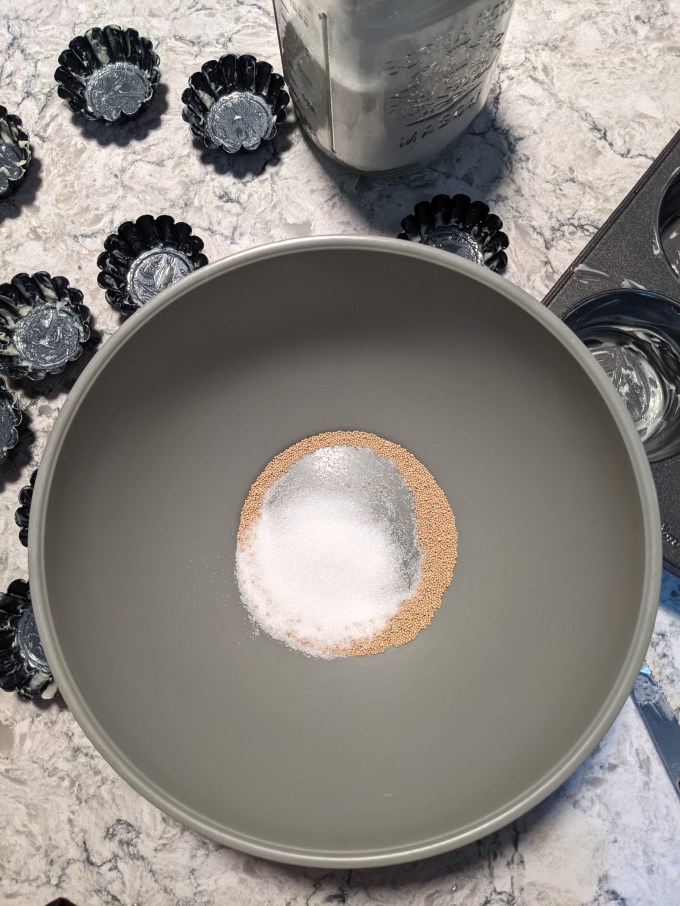
Step 1: Egg dough
The CBC recipe called for active dry yeast, which must be hydrated before it is mixed into the dry ingredients. It is simple enough to sub instant yeast for active dry and vice versa if needed. I had an old jar of active dry from BEFORE THE PANDEMIC which had almost EXACTLY the 2 tsp the recipe called for left in it. Since this recipe did a quick yeast proof at the very beginning, I figured it was no big risk to just try using up the old stuff. If it didn’t work, I would just start over and not really think twice about losing ten minutes and a half cup of milk in the process. Once again, my proclivity for calculated risks paid off, as the old yeast was still vital and ready to go.
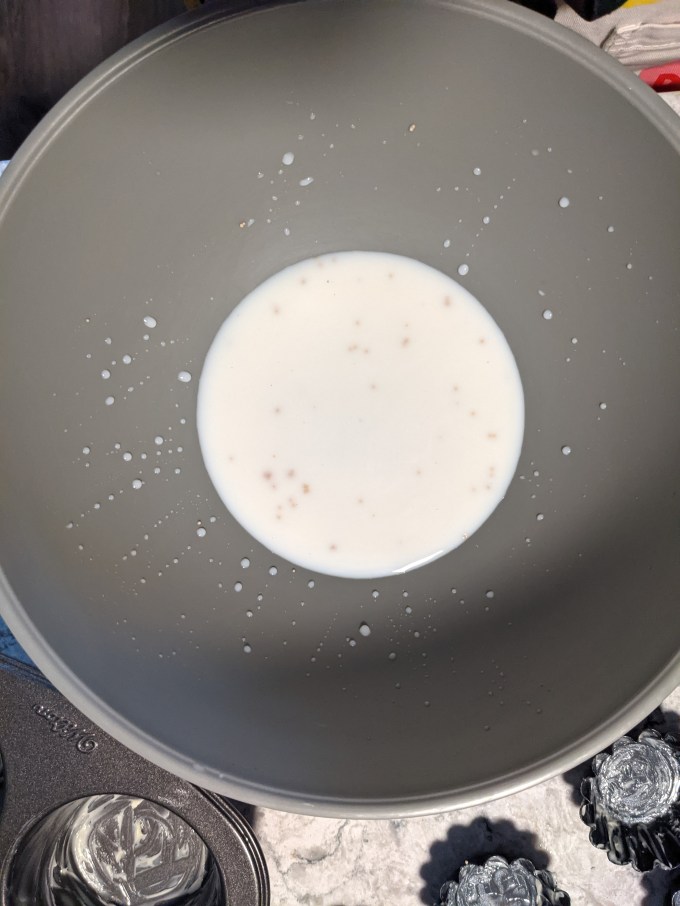
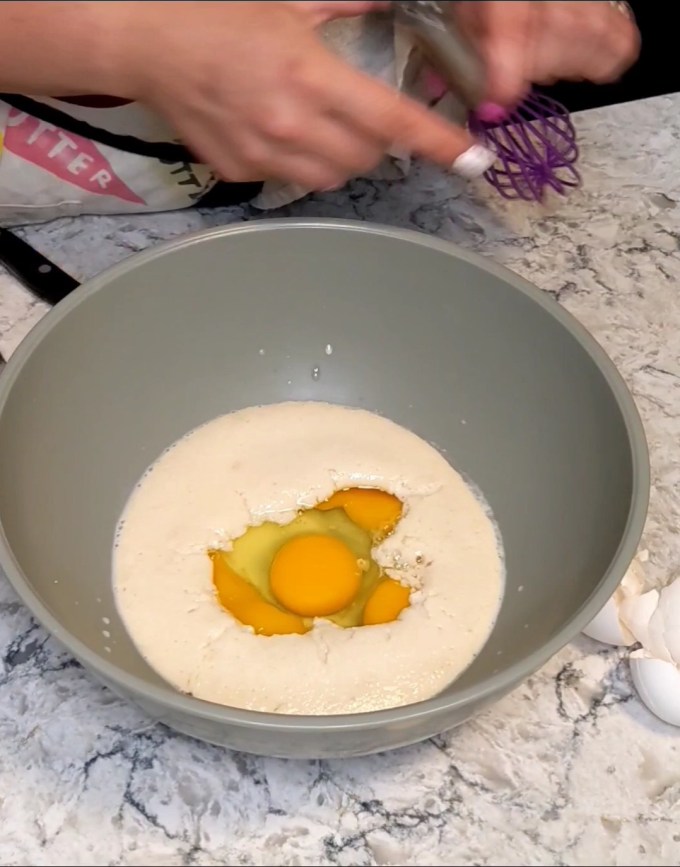

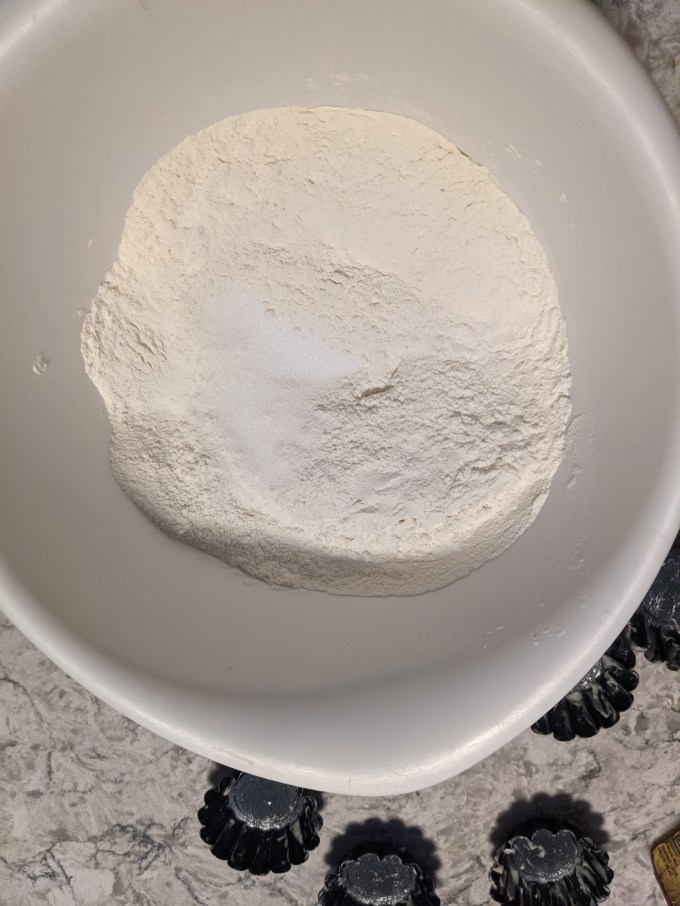
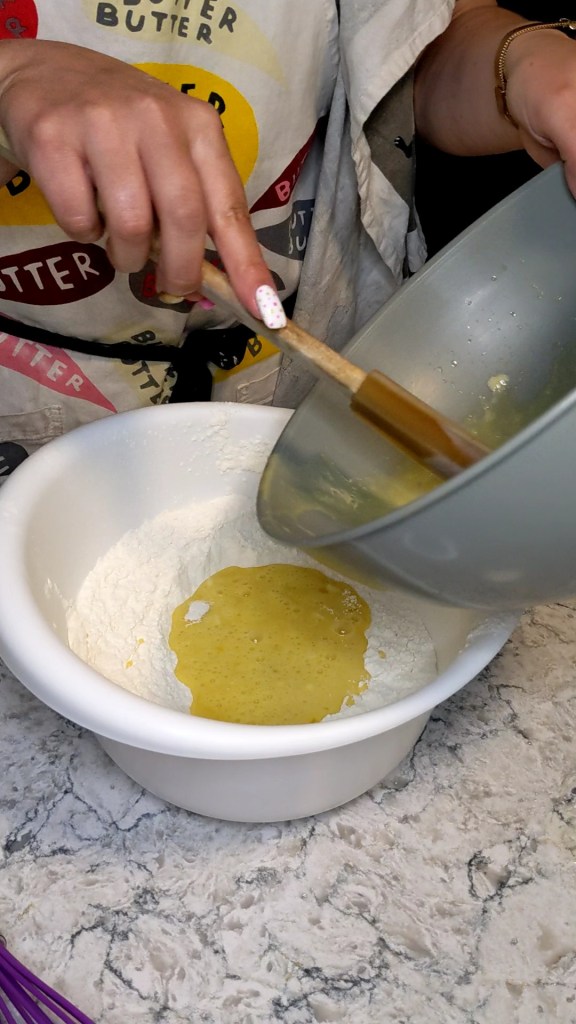
Eggs are whisked into the proofed yeast and then the dry ingredients are combined. Wet and dry are brought together and kneaded until the dough is smooth and elastic.
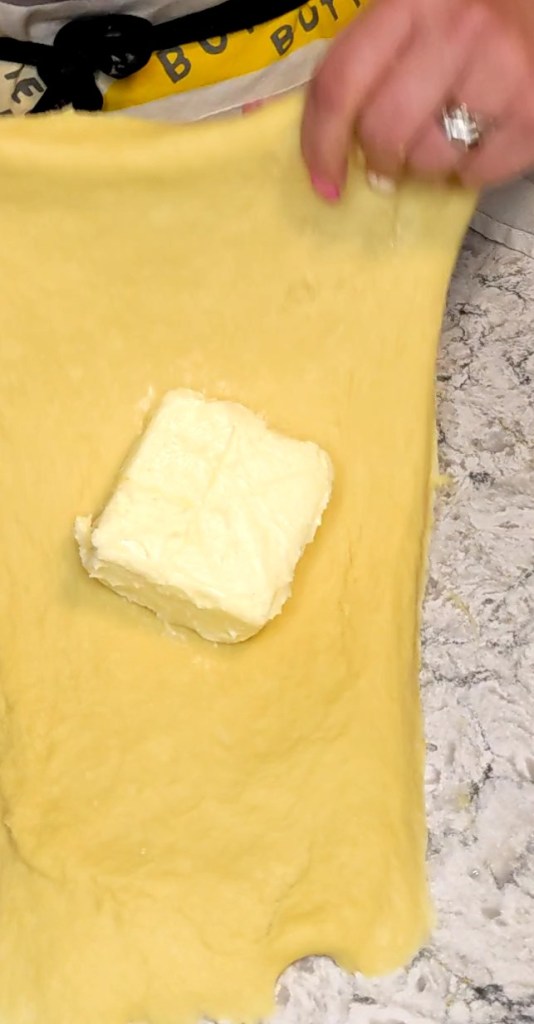
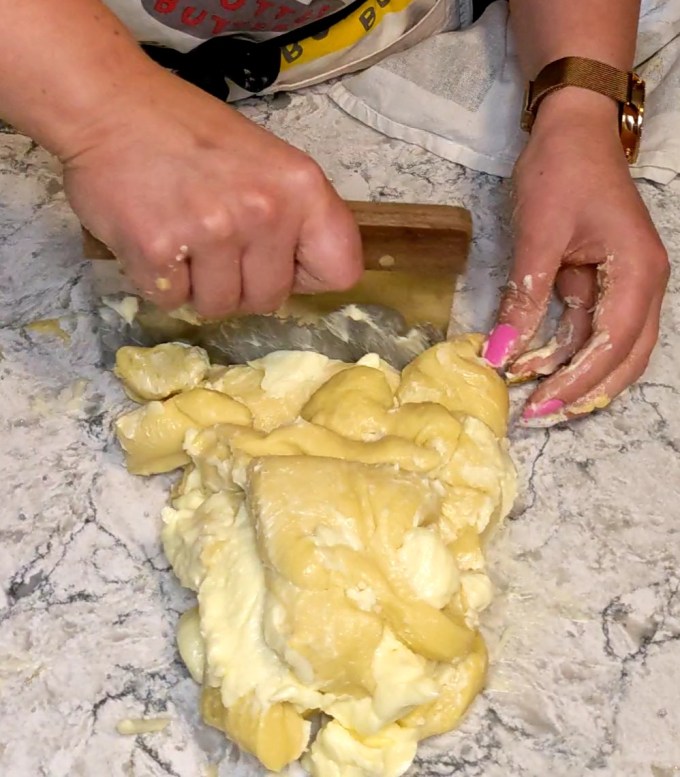
Step 2: Incorporate Butter
The next step is where the magic happens. The dough is wrapped around a half pound of butter and sealed. The dough is coarsely cut up with a bench scraper. What begins as a greasy, impossible mess gets folded and chopped, folded and chopped, keeping hands off of it as much as possible to prevent the butter from melting.
With confidence and discipline, the dough must be worked and folded, folded and worked, over and over for about ten minutes. This is where a lot of bakers may be tempted to add more flour. Don’t do it. Don’t even look at the flour. Don’t even think about it. There is no flour in Brioche country. The dough just needs to be worked for such a long time and it seems like a fully impossible amount of butter to incorporate. I had no fear, because I knew I had the good faith of hundreds of years of French patisserie and boulangerie behind this method and I was ready to go toe to toe with the gluten.
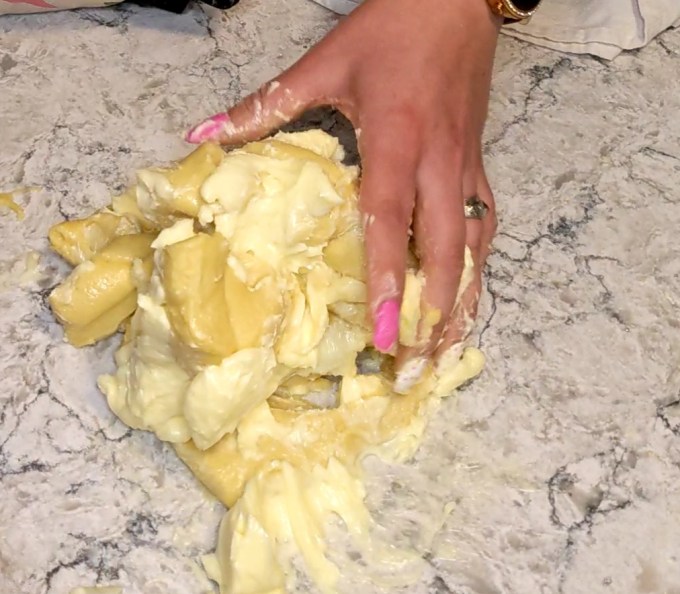
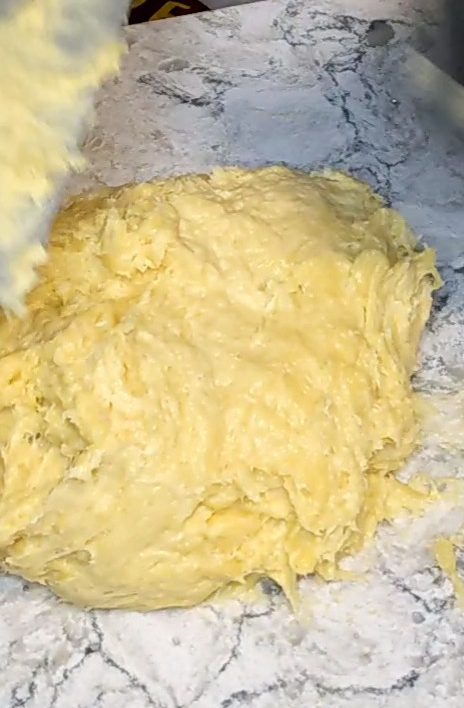
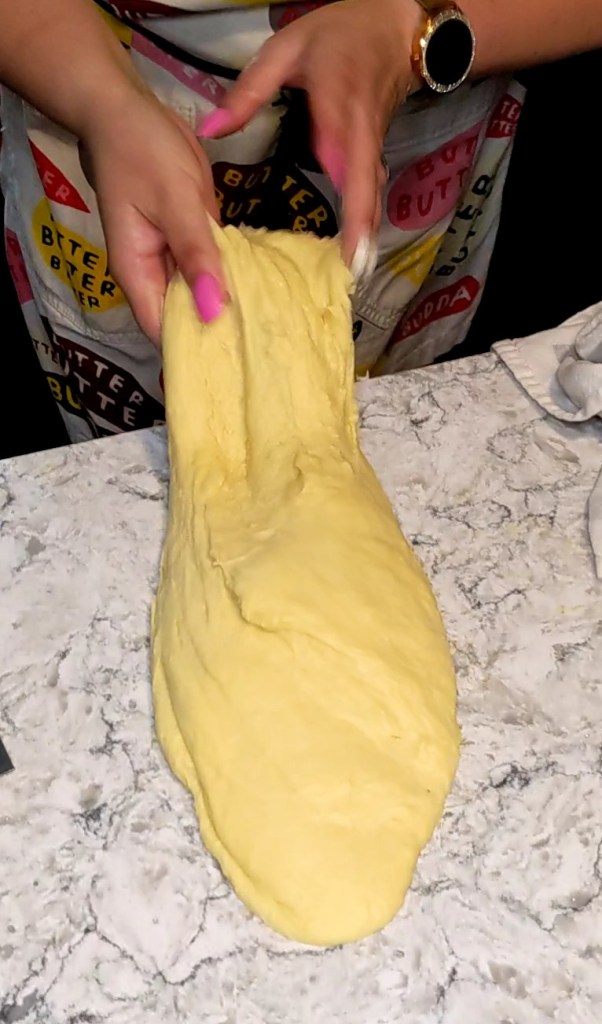
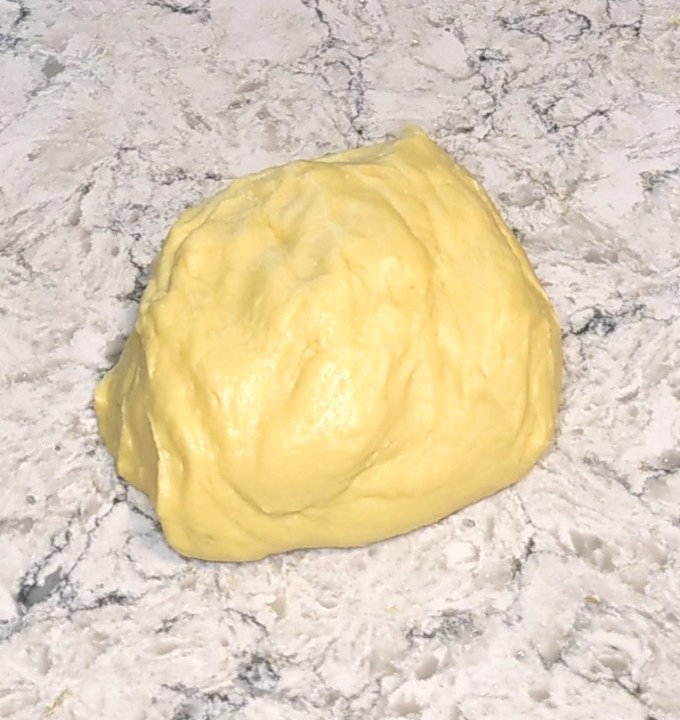
Eventually the dough gets incorporated and strong enough that it is ready for something more like a stretch and fold, but with a very sticky, tacky dough. I still had to work fast here, the butter can still melt out at any time during this process, so it becomes like a one player game of hot potato.

Once the dough has enough tensile strength to actually knead, it must be slammed repeatedly on the bench. Again, this is to keep hands off of it as much as possible. This was quite a workout as the final dough weighed almost exactly 1kg (2.2lb), and it needed to be slammed for a full ten minutes.
So to recap, that’s 10 minutes of cutting and incorporating, about 5 minutes of speed stretch and folding, and 10 minutes of fast paced slamming. It was exhilarating but also exhausting, ngl. It was also super fun to have a boomer on TikTok compliment me by saying “NICE BUT TOOK TOO LONG” in that insane endearing all caps voice that defines the great online kindness and grace of their people. This whole bake took me about 5 hours to do and it took me just as long to condense the footage down to three TikToks totalling 9 minutes, but thanks for the feedback chattykathy66, who has made zero videos to date, I will take that into consideration next time! Moving on…
Step 3: Shaping
As I mentioned above, this is the only part of the bake I could have done a little better. Despite my best efforts when I was mixing to keep the butter from melting out, the dough was a little oily thanks to my gaffe with the oven knob. The method here is to roll the dough into two different sized balls. The large ball is placed in the mould, and a bit of chocolate is pushed into the roll, down all the way to the bottom. The second, smaller roll, is placed on top, and needs to be pinched onto the bottom roll by pushing the seams all the way to the bottom of the moulds. At some point I want to try making the BBA version of Brioche and try the alternate method offered to shape “à Tête,” which is essentially just to make a knotted roll and throw it in the mould. It seems much simpler, but will probably have a more rustic look in the end.
Regardless, mine turned out fine, but some of my heads popped off or grew out a bit sideways instead of straight up. Also the chocolate in most of mine rose up into the middle of the dough, which means I didn’t push it down low enough (I also don’t think I used big enough pieces of chocolate). Does this bother me? No.


The chocolate was a pointless inclusion added by the GCBS to make this challenge more difficult and I think to make it more interesting to photograph. It really didn’t add anything and it wasn’t part of the method. So once again, I find myself asking WTF CBC.
Gallery

I loved this bake because it is a great example of how the lessons of baking are often the lessons of life. With a little bit of confidence, discipline, and hard work, you can succeed on your own terms. Every challenge is an opportunity to learn, every failure is a step towards success. With patience, time, and reflection, we can all master our own destiny. And that, friends and fellow bakers, is the ultimate mystery we are here to uncover. See you next time.
Hey, bakers! Check out my BAKER’S PANTRY index if you want to deep dive on specific ingredients when attempting this bake for yourself
