
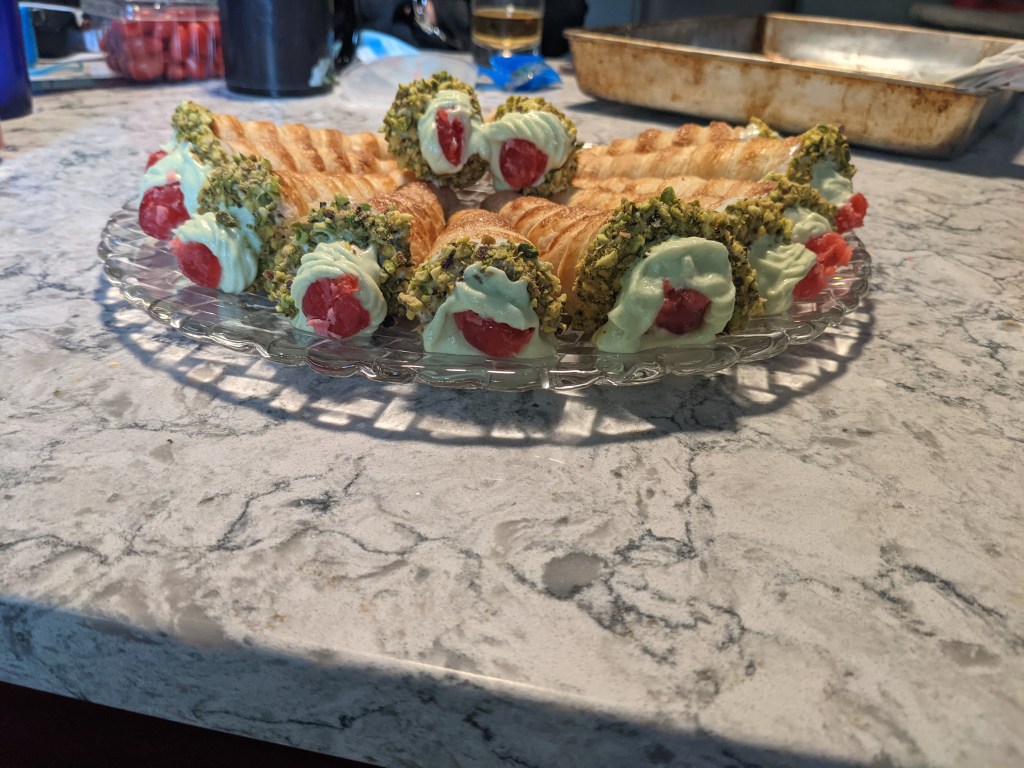
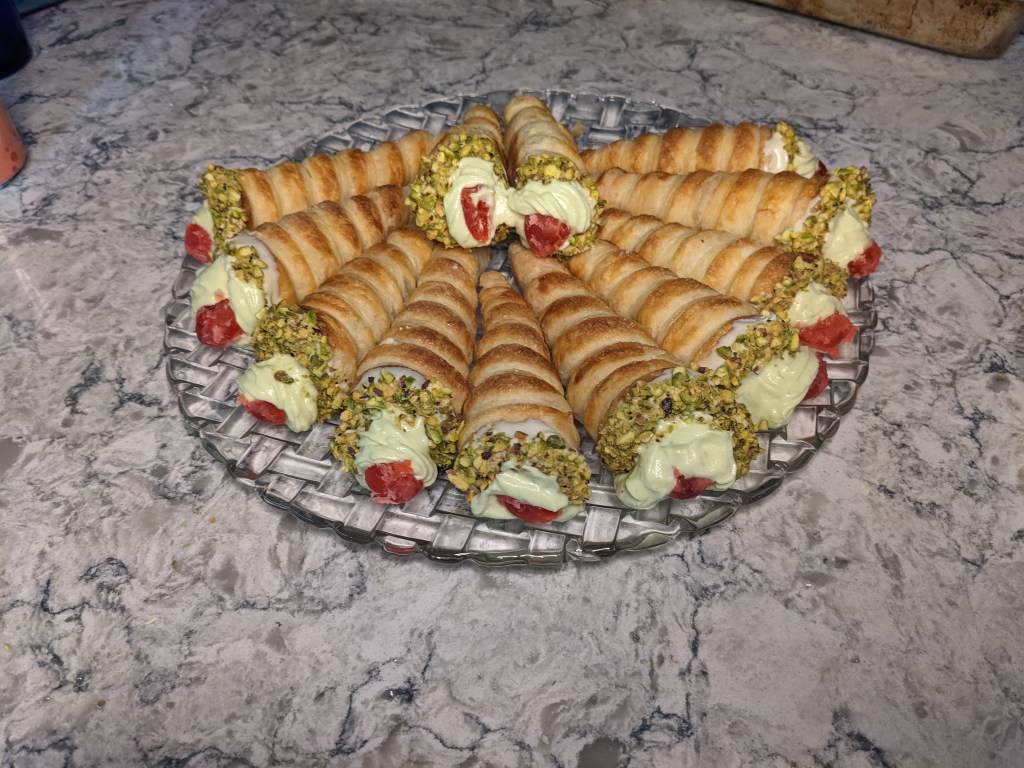
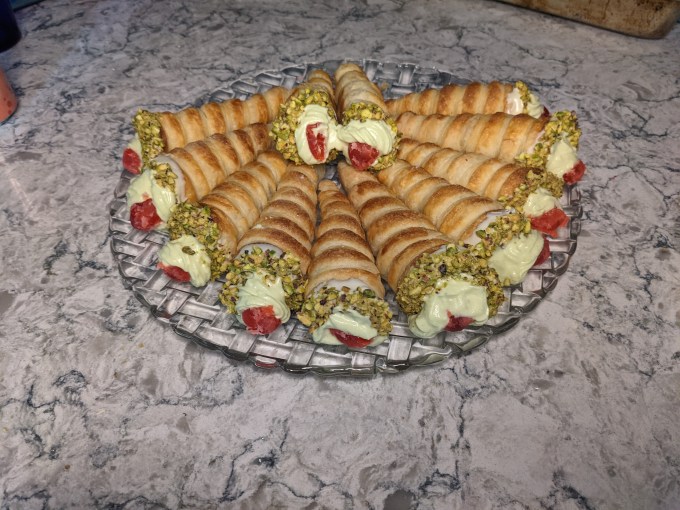
Hello Friends and Fellow Bakers! Today I am here to tell you about this bake from Season 4, Episode 4: Italian week and I am pretty amped up about it. Cannoncini (GCBS recipe here), aka Italian Cream Horns, are a puff pastry cone filled with different types of cream depending on where you go or who you ask. This version is filled with pistachio-mascarpone cream and adorned with white chocolate and pistachios.
Completing this marks a significant personal achievement for me: successful execution of laminated dough. As I mentioned in my post about Pithivier, a big motivation for me to even start this project was to overcome my fear of laminated dough after having a few failed attempts as a teen. I am so pleased (and proud, ngl) to say I have finally done it! I have executed the full puff pastry and my confidence is rightly bolstered.
As a recap for any new readers: laminated dough is a type of pastry where a simple flour dough is alternated with butter through a meticulous roll out/fold/rest cycle that creates hundreds of layers. If executed correctly, the water in the dough vaporizes in the oven, causing the pastry to puff, and the butter melts, leaving empty space behind. This creates the signature flaky pastry of many types of laminated products, such as puff pastry and croissants. If executed incorrectly, the butter can leak out of the pastry in the oven, leaving a soggy, greasy mess behind. OR the butter can incorporate with the flour during roll outs and the dough won’t puff and it won’t flake. It is a highly exacting patisserie that requires knowledge, patience, and confident, studied technique.
This bake is the only one on the list for my project that is a full traditional puff pastry (the Pithivier was a so-called “rough puff” which is a bit of a cheat version that is still quite effective). I had mixed feelings going into it. Since my Pithivier went well, my confidence was up, but I did have to jump a few hurdles to get this in the oven. Thankfully none of the challenges I faced had anything to do with my skills as you will see if you keep reading, but it was trying nonetheless. If nothing else, this post is a lesson in the power of being obsessed with learning how to do something for 20 years positive thinking.
Step 1: The Series of Inane Obstacles
When I re-watched this episode, one of the contestants (Tanner) dropped this hot one liner:
I’m having a good time and I know that I bake better when I’m having fun
And I was like damn, Tanner. I need you in my life right now. (Although he said this before the show stopper challenge, not before trying this technical, but the sentiment still applies!). So I decided to harness the positive vibes of Tanner and put that energy back into the dough. That seemed to be enough of a bargain for the baking gods for once (thank u Tanner, xo). Kinda.

Despite my deep commitment to lay Tanner’s good juje at the feet of the baking gods, I still had to fight my way through several completely inane obstacles before I even really got started, but I didn’t let it get me down. To summarize:
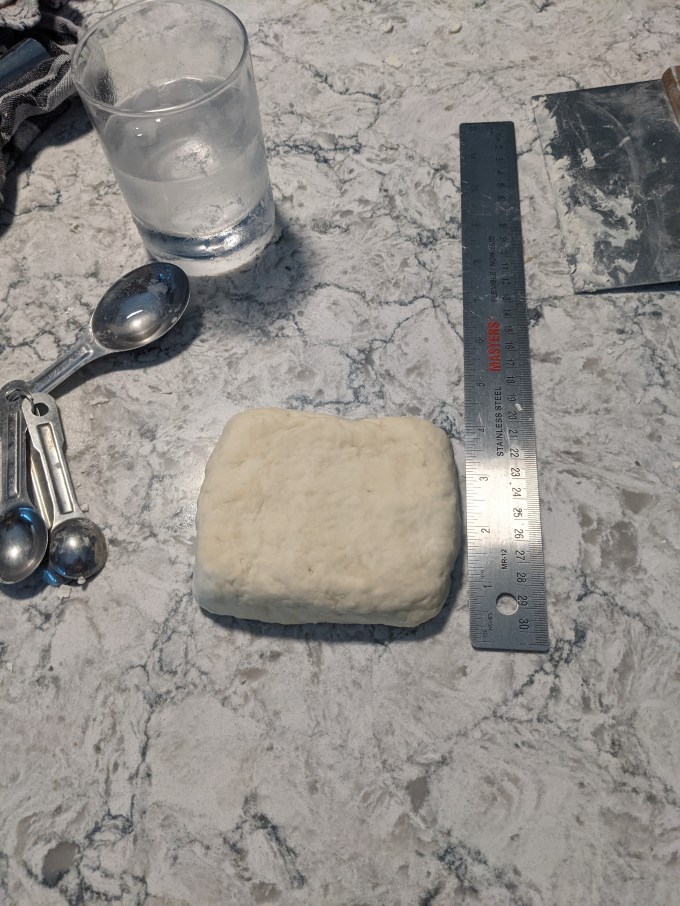
- I was 20 minutes into making the dough when I got a tiny cut on my finger from my ruler (it is a steel drafting ruler; apparently I need something more like a child’s Crayola thing). I didn’t even feel it happen, it was so tiny, but unfortunately I noticed when I bled into the dough. Obviously I had to start over. No big deal, I’ve spent 20 years worrying about this, what’s another 20 minutes gone. At least this wasn’t a fail because I screwed up the technique!
- I slap a bandage on my finger (fun fact: I have a pathological hatred of bandages. When I was a breakfast cook I would buy myself Band-aids with Batman characters printed on them to motivate myself to keep them on when I needed to instead of changing them every time even a minute droplet of water touched them), throw out the dough and reach for the flour. OH NO I DON’T HAVE ENOUGH FLOUR. No big deal, they will have some at the convenience store. At least this wasn’t a fail because I screwed up the technique!
- I walk to the convenience store and I can’t see any flour in the limited baking section. I ask the woman working the cash, she tells me no, they don’t have any flour. Of course they don’t. No big deal, I need to go pick up the dog’s food anyway and the pet food store is on the way to the Bulk Barn. At least this wasn’t a fail because I screwed up the technique!
- I get in my car and start heading to the Bulk Barn. Sun is shining, I’m even thinking hey, by the time I get home this little cut will be closed and I can take the bandage off, so this is a blessing in disguise (let’s just ignore the fact that I wouldn’t need to make the trip if I hadn’t cut myself in the first place. Mental hurdles were set and jumped this fine day). I am about to turn to pick up the highway when of course, I see that the lift bridge is on its way up (I live near a canal). No big deal, I can just go the other way, it only costs me another ten minutes, and that means I will definitely be able to work without having the bandage on by the time I get started now. At least this wasn’t a fail because I screwed up the technique!
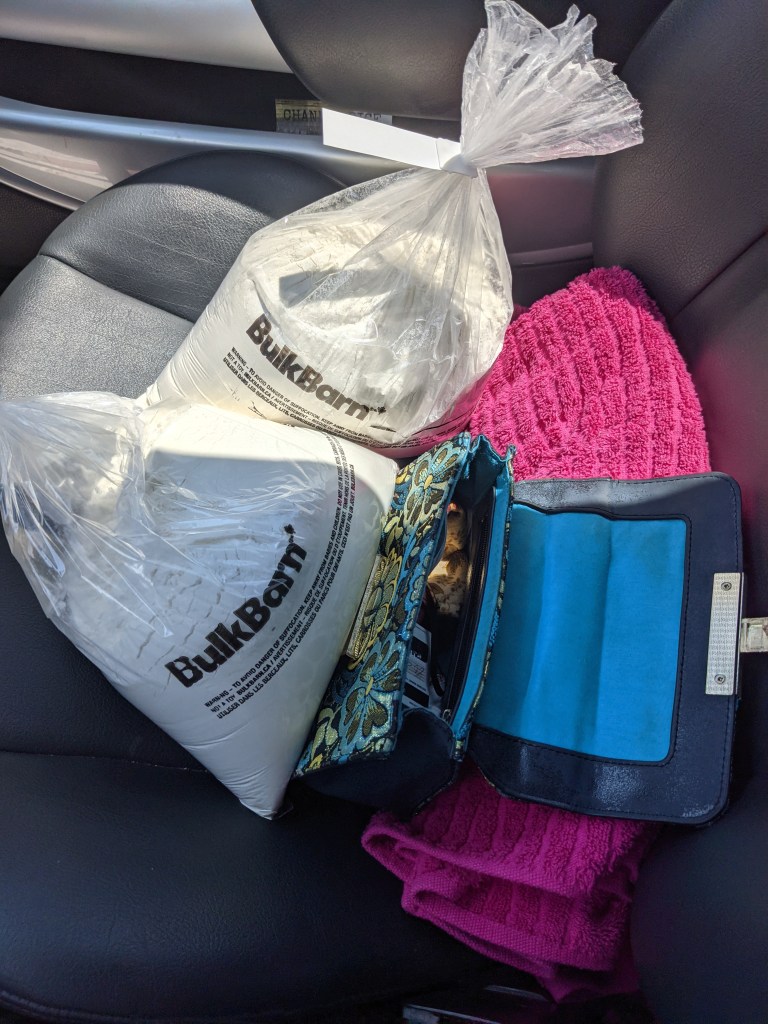
- I pick up the flour and the dog food and come home. While I am unloading the car, the flimsy Bulk Barn bag gets caught on my keys and punctures, spilling flour in my passenger seat and driving console. No big deal, I needed to wipe the seats down anyway. At least this wasn’t a fail because I screwed up the technique!
After that comedy of errors, I was still determined to complete this bake. I don’t quite know why. I just had it in my head and my heart that Today is The DAY I am going to put this fear to bed. Also I didn’t want to waste Tanner’s juje. The good news is, by the time I finally got started, my cut was closed and clean and dry and it was safe for me to work without the bandage. I assure you we take safe food handling very seriously around here.
So without further ado, that brings us to:
(Actual) Step 1: Puff Pastry
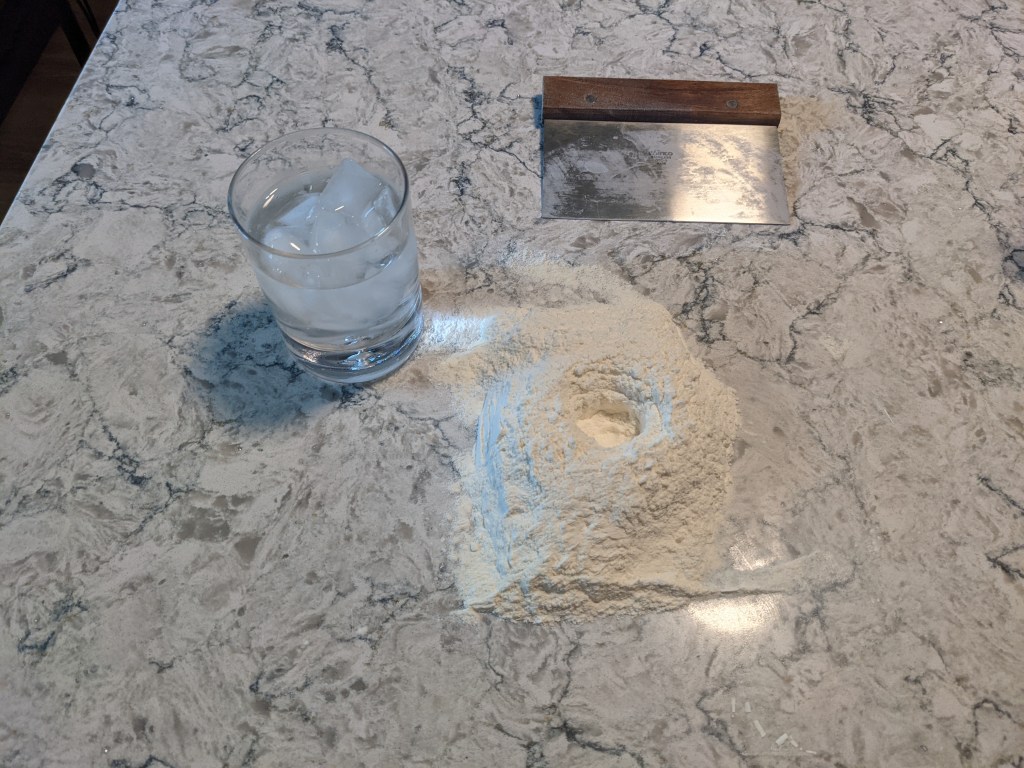
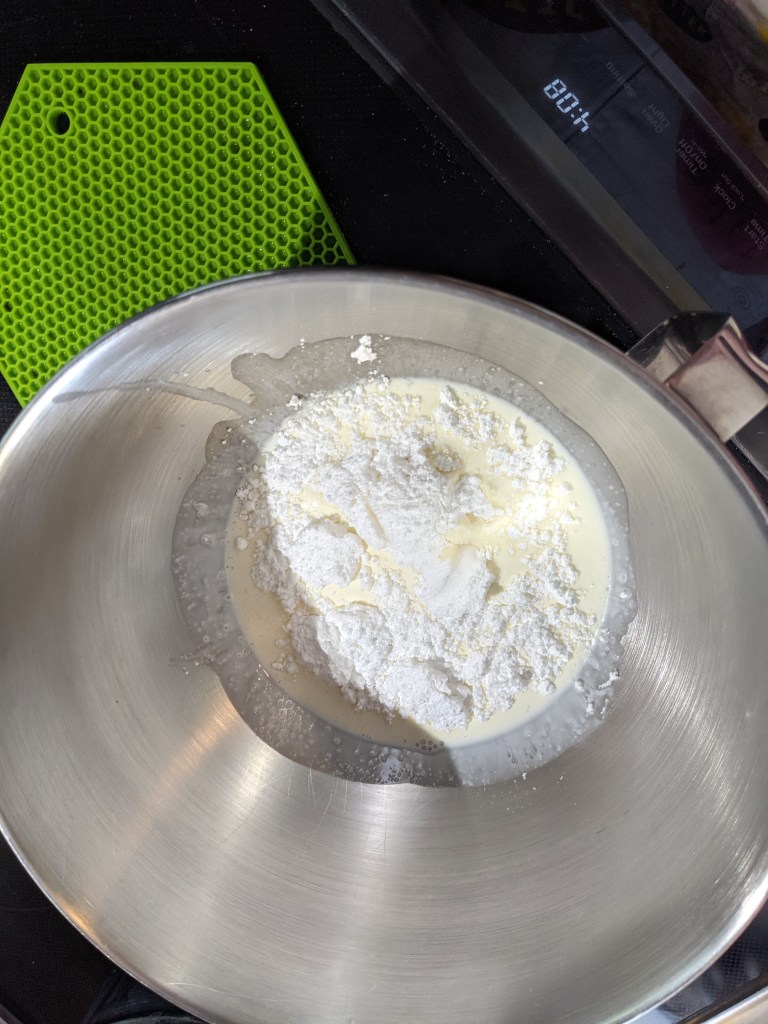
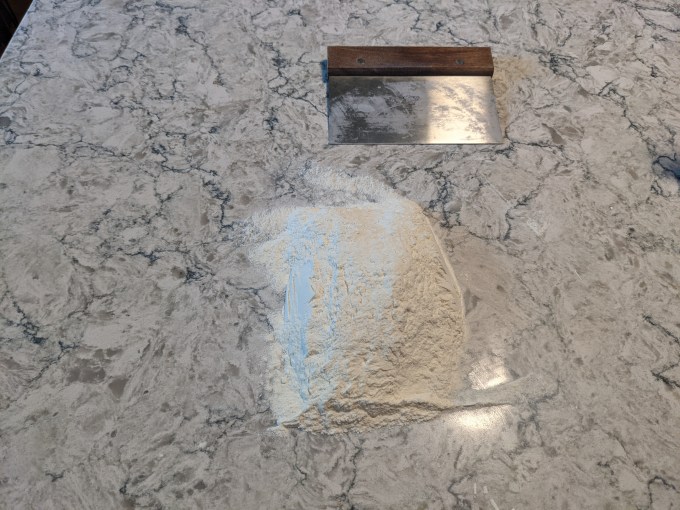
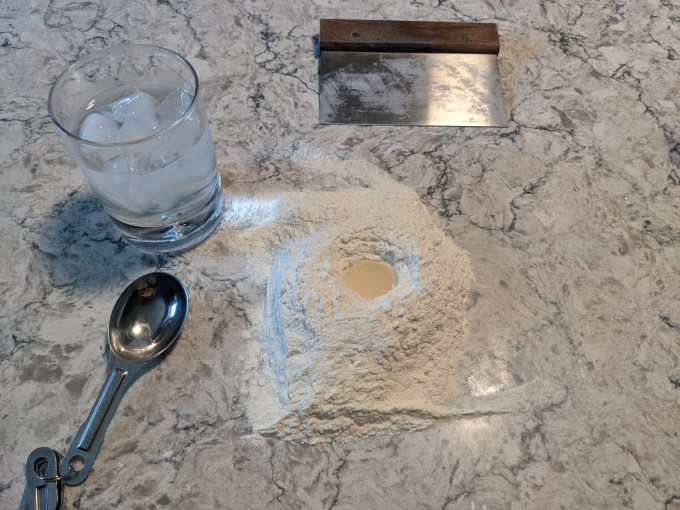
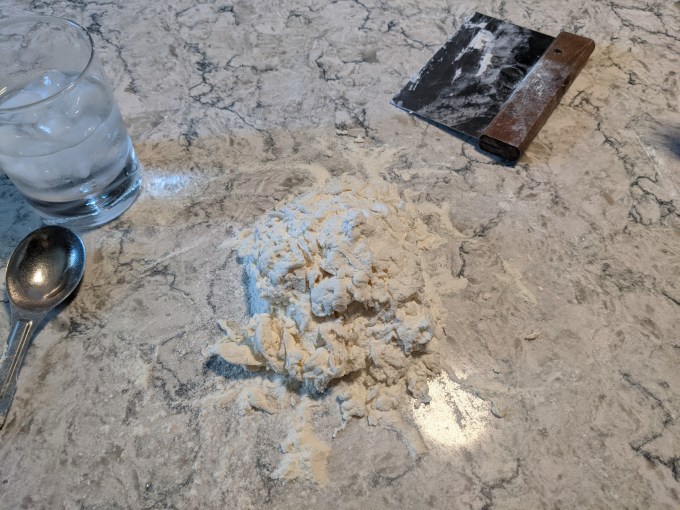
The puff is started by gently working flour and a little bit of salt with ice water to get a smooth dough. The key is to keep everything as cold as possible and to minimize how much the dough gets worked at this stage. Since the dough will be subjected to a rigorous roll out, we want to keep the gluten development to a minimum so we don’t end up with chewy pastry.
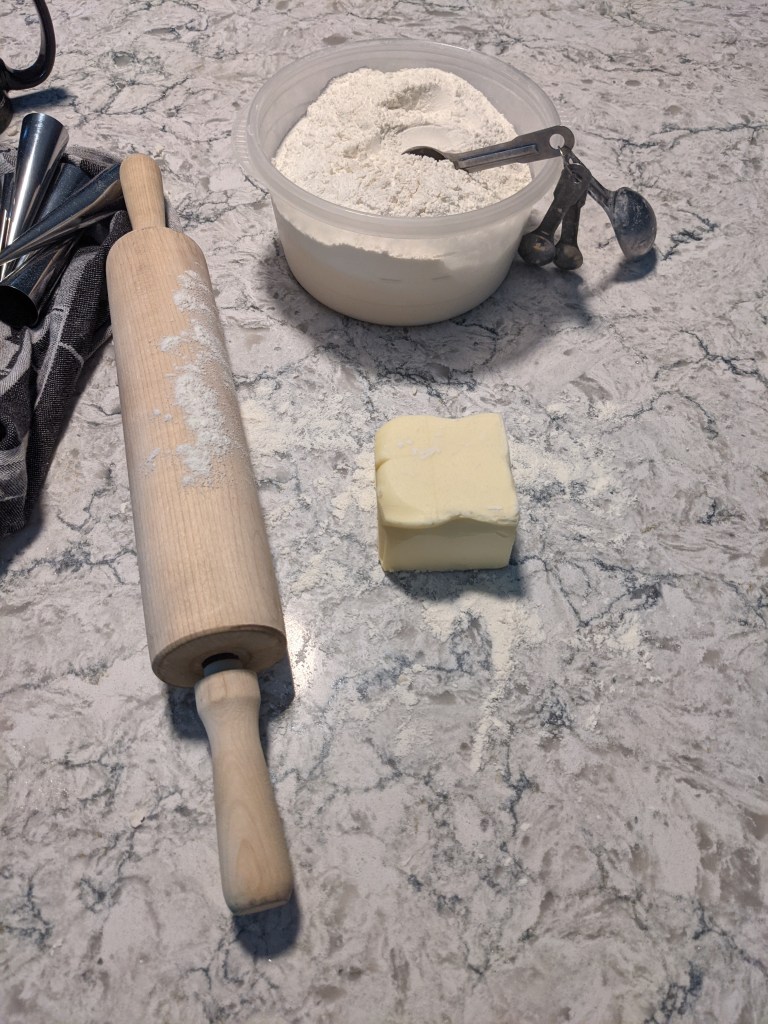
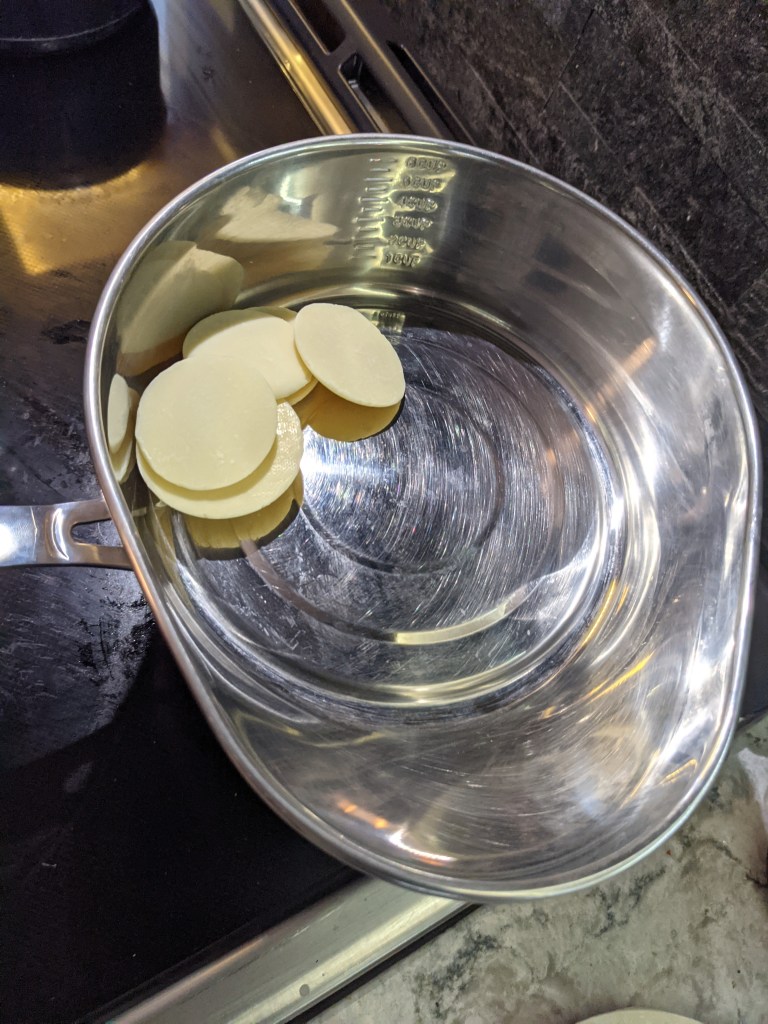
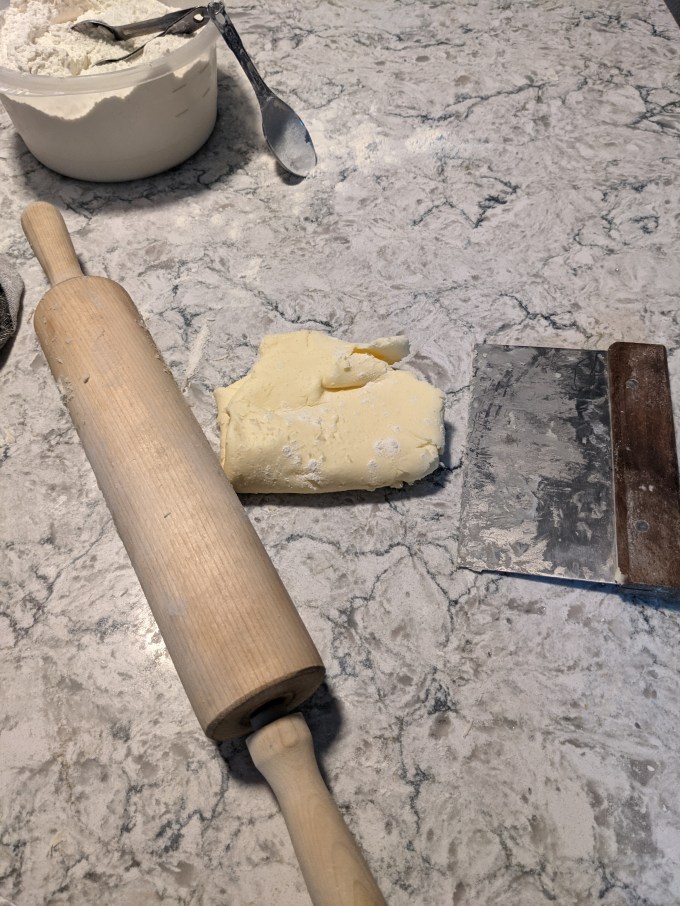
Once the dough is the right consistency, it goes into the fridge to chill (literally and figuratively) while the butter block is prepared. I have read a few different methods for this, but the one presented in the CBC recipe seems to be the most common one, at least currently. Cold butter is pounded out, hard, on the bench, and folded over small spoonfuls of flour over and over until it is pliable enough to fold without cracking. It is important not to touch the butter too much with your hands (especially when your basal body temperature is somewhere in the neighbourhood of Hades like mine is) so you don’t warm it up or make it sticky.
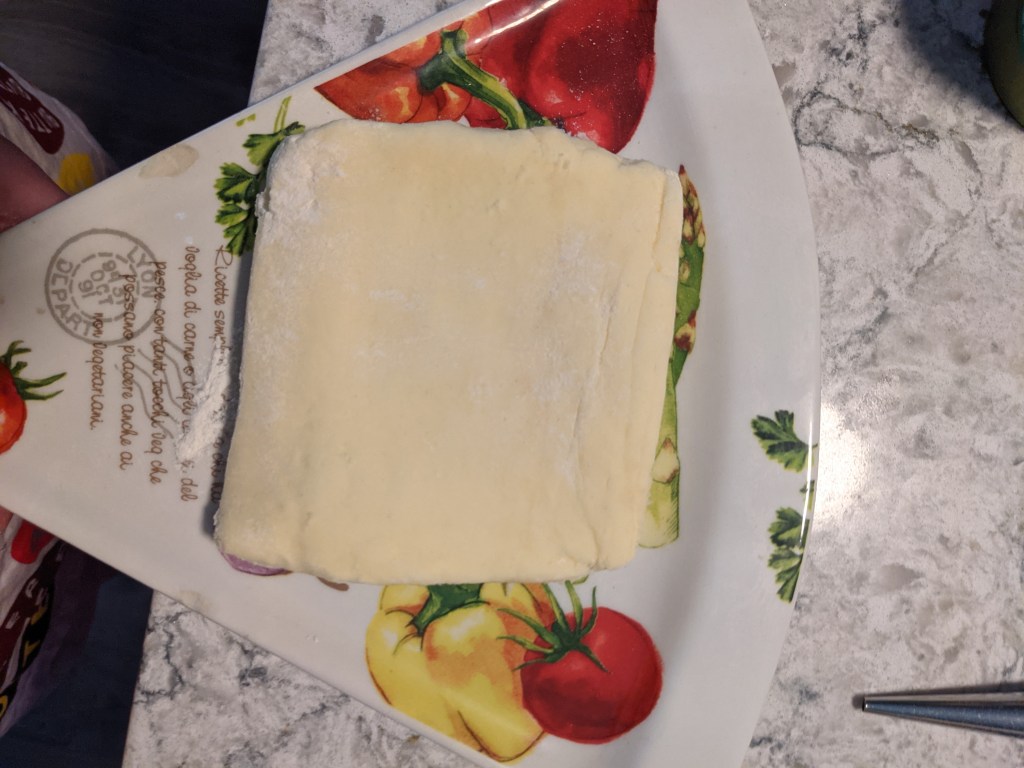
Once the butter is cooperating, it gets formed into a 4×4 square and put back in the fridge to cool down again.


Step 2: Roll out
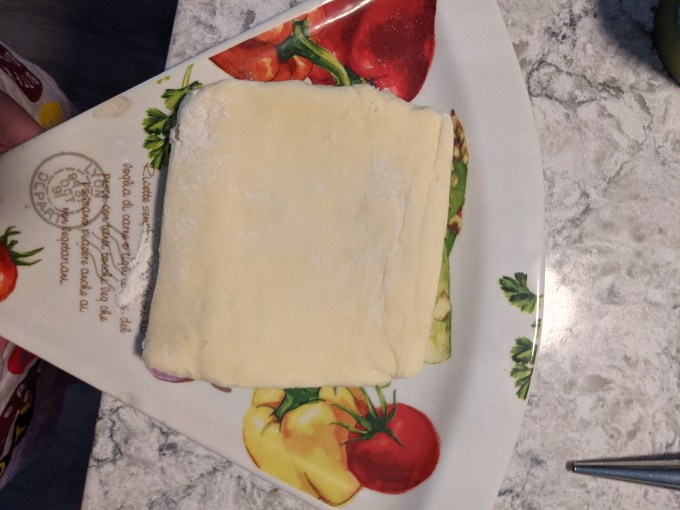
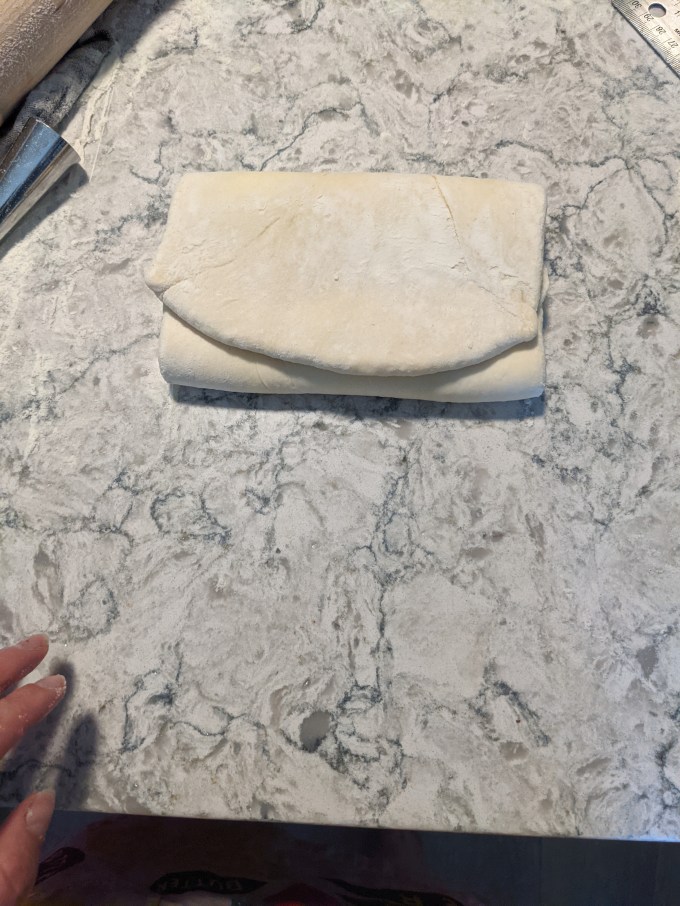
After a short chill, the butter is placed on top of the square of dough so the two squares are offset. Then dough is wrapped around the butter, sealed, and flipped over. Now it’s time for the scary stuff.
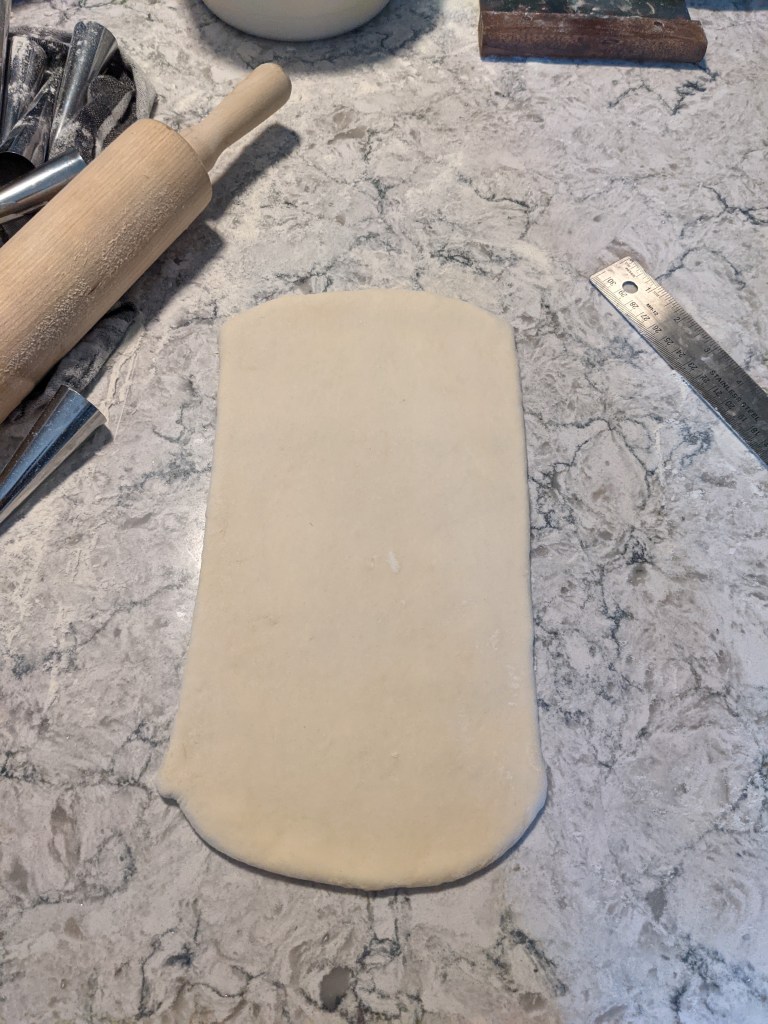
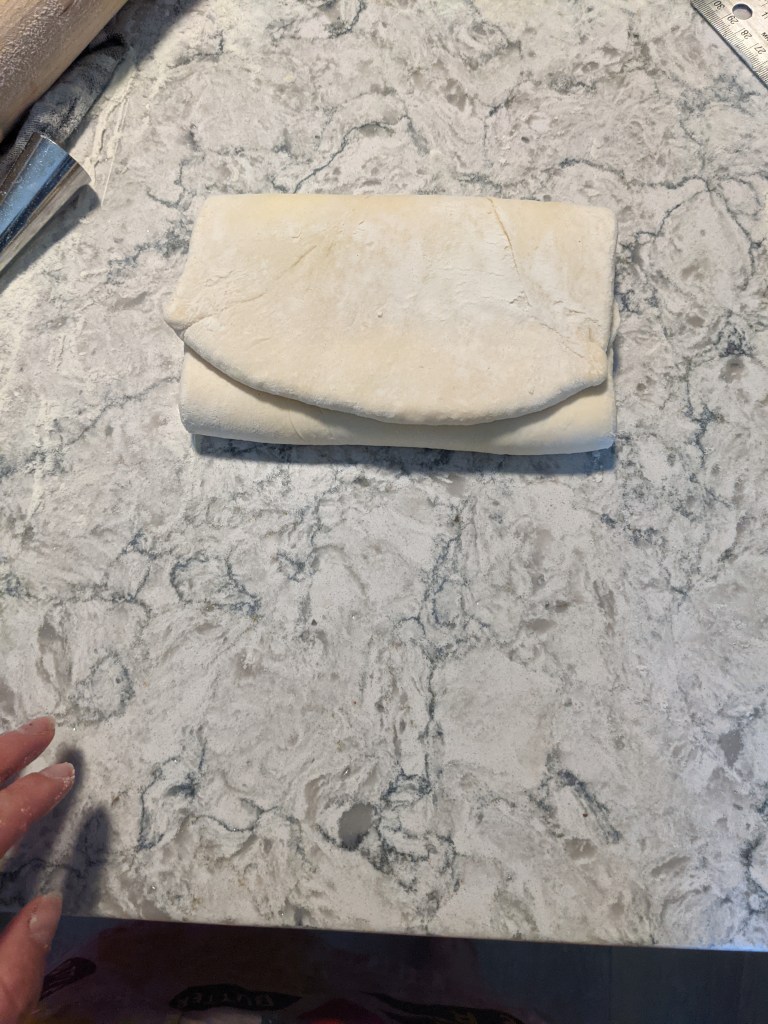
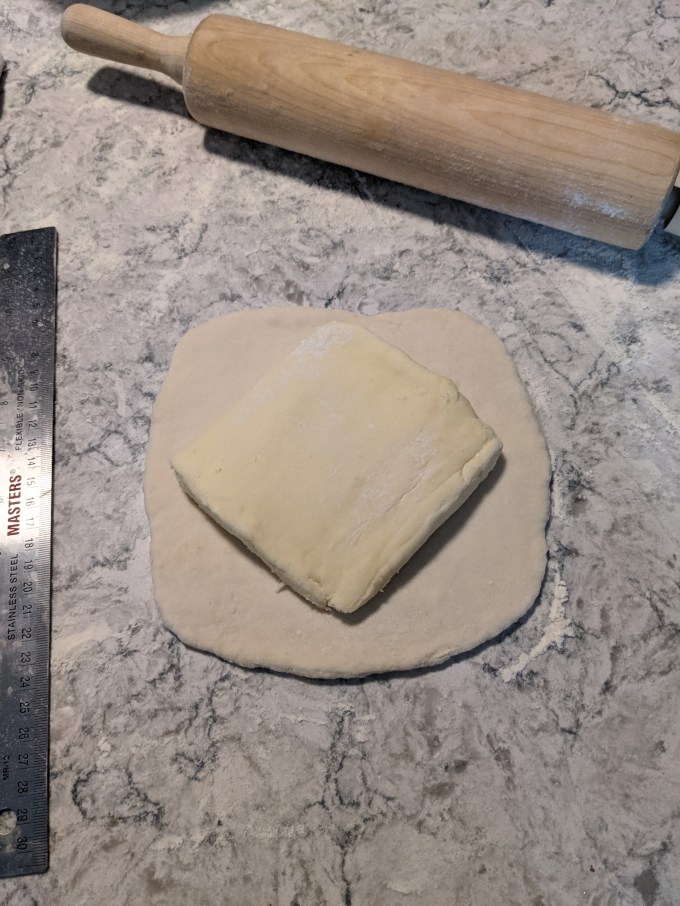
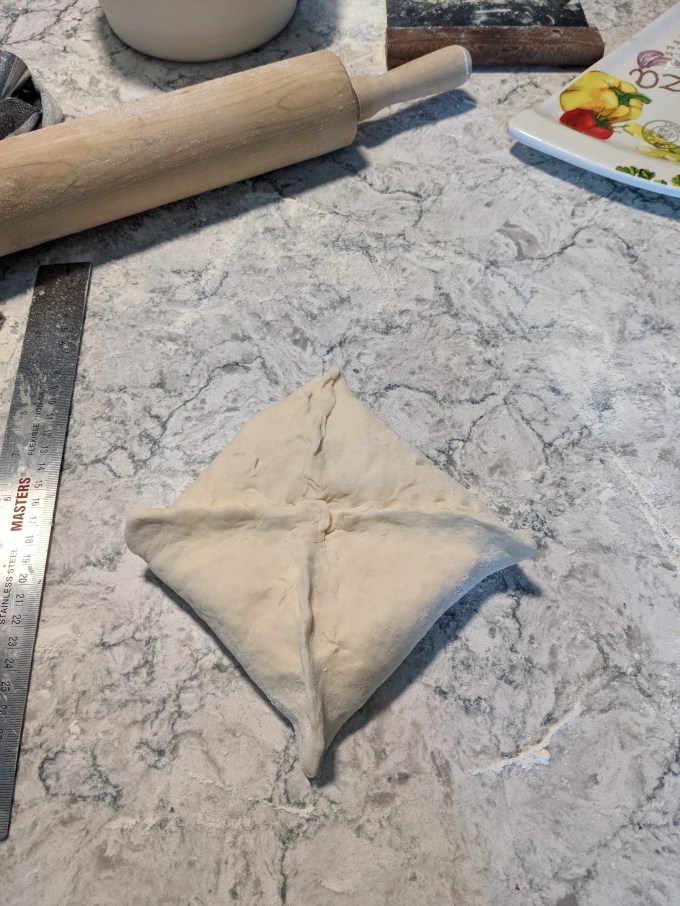
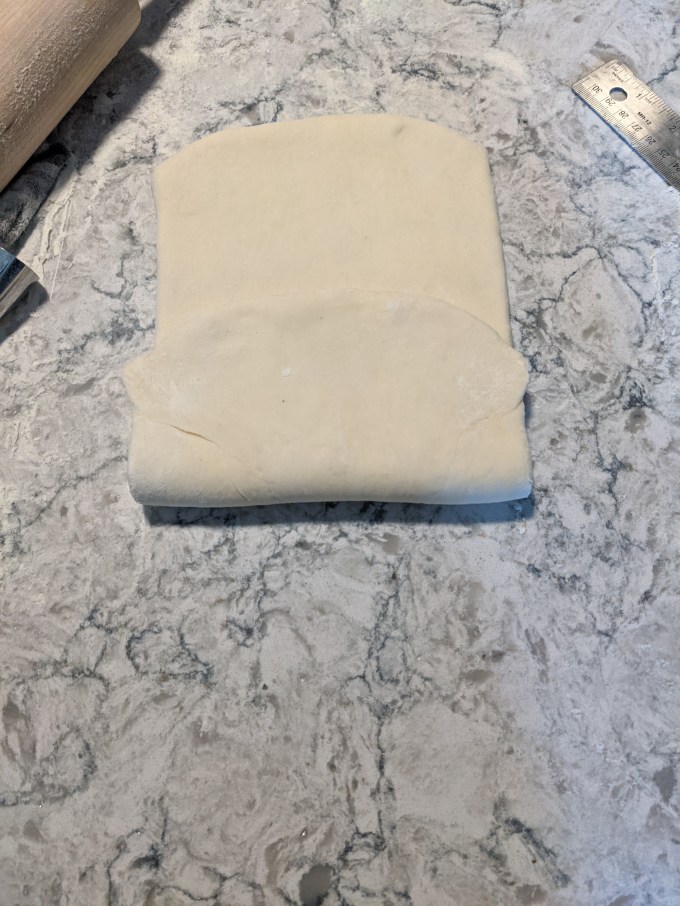
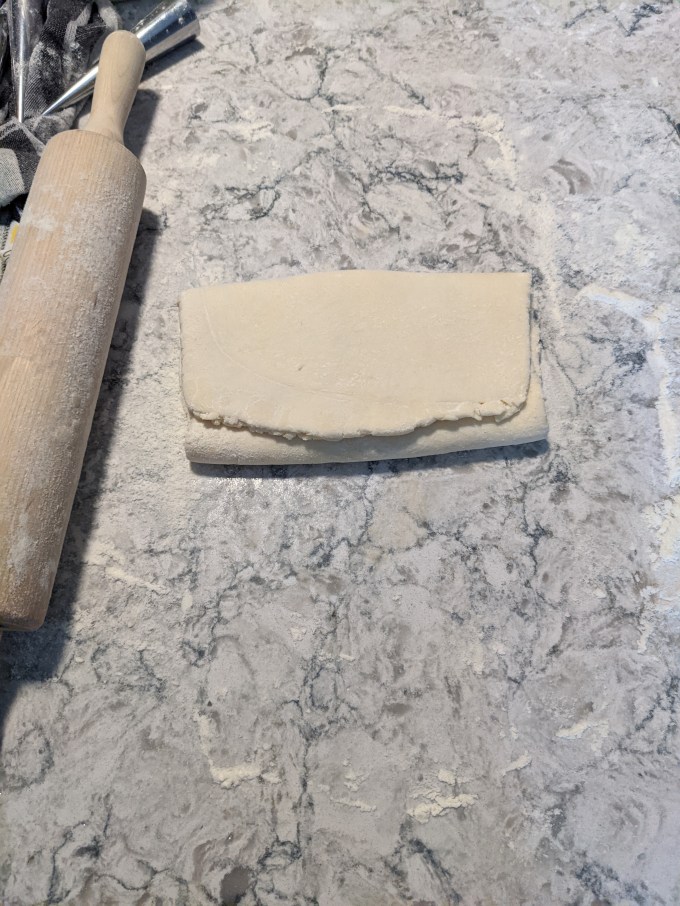
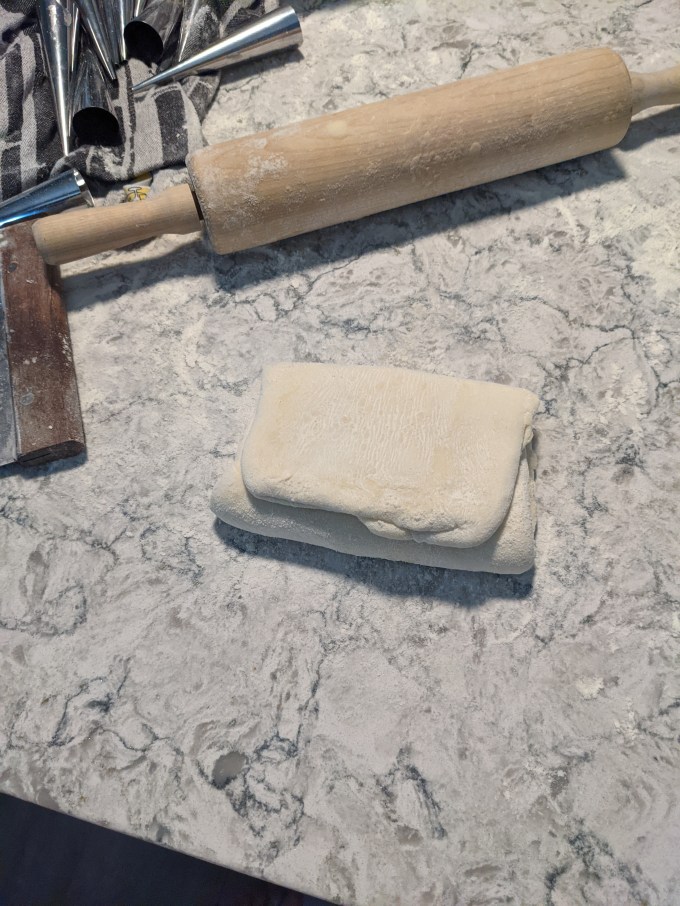
The dough gets rolled out in one direction until it is the recommended size according to the recipe. It is important to be exacting with the dimensions of the dough to ensure even layers of lamination throughout the entire pastry. Also this helps increase the likelihood that the pastry will turn out. If you don’t stretch the dough enough during roll out, the butter isn’t going to flatten out enough and you will run into problems. Once the dough is the correct size, a simple letter fold into thirds and rotate 90 degrees. Then repeat the roll out in the perpendicular direction and fold again. Two turns down; four to go. Whew.
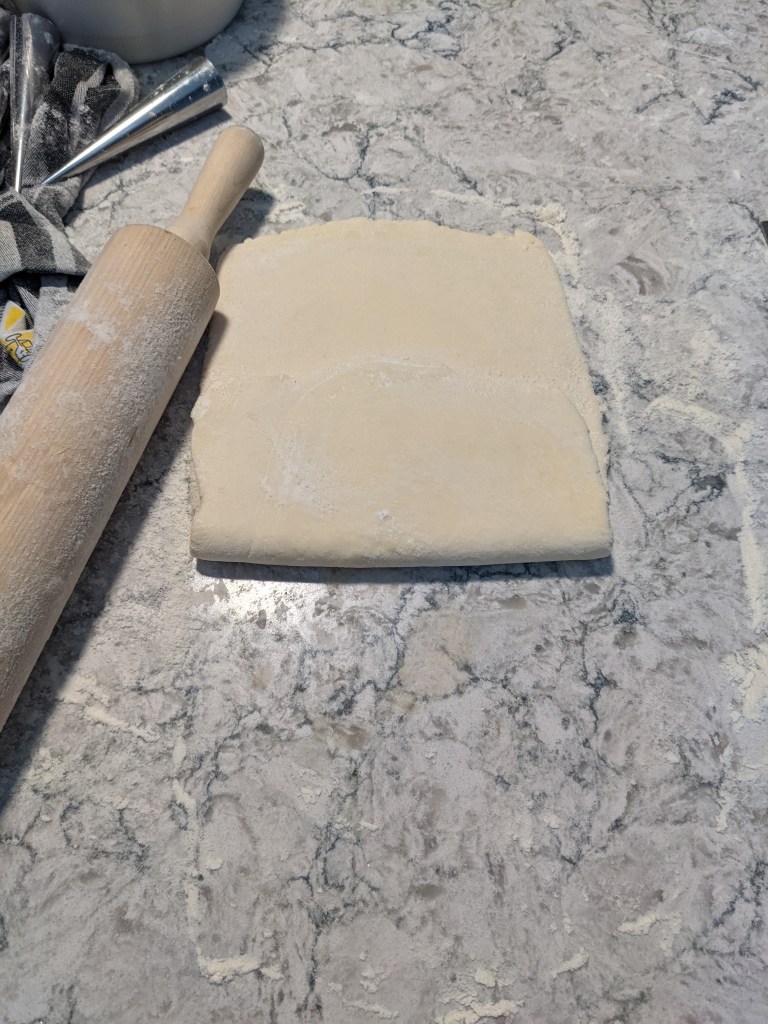
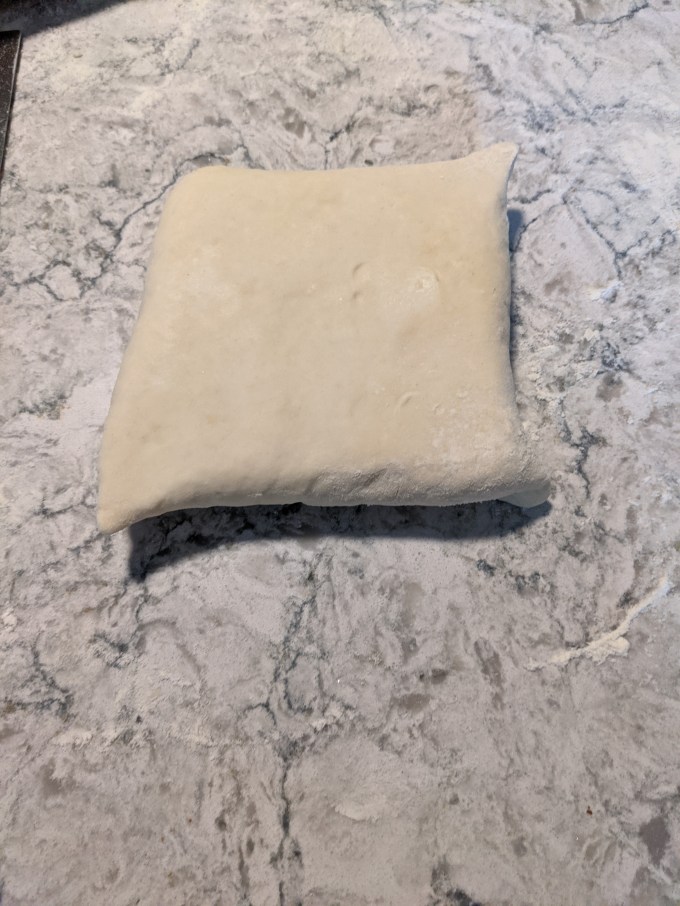
The dough is chilled at this stage and the same roll out is repeated twice more. I found the dough had a lot more elasticity than I expected. My rolling pin is pretty lightweight since I bought it when I was a broke-ass biology student a hundred years ago, so I am probably due for an upgrade. With that being said, I found adjusting my roll out technique a little bit helpful. I find my usual method is all coming from my forearms and shoulder blades. For this dough I found slowly rocking my body back and forth to gain momentum from my body weight was the extra little oomph I needed to get the dough stretched out to the prescribed dimensions.


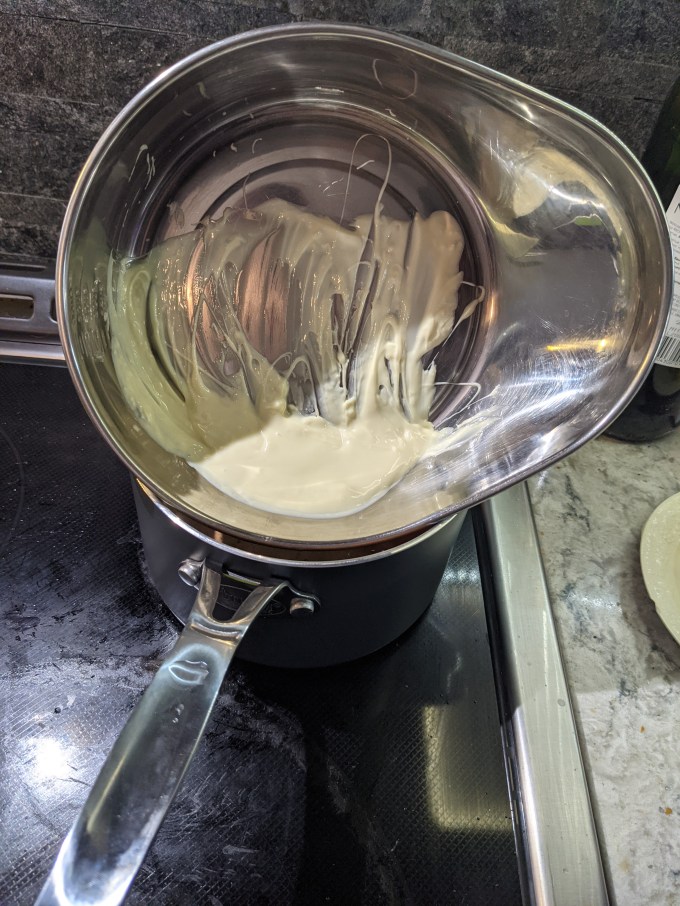
Step 3: Cream filling
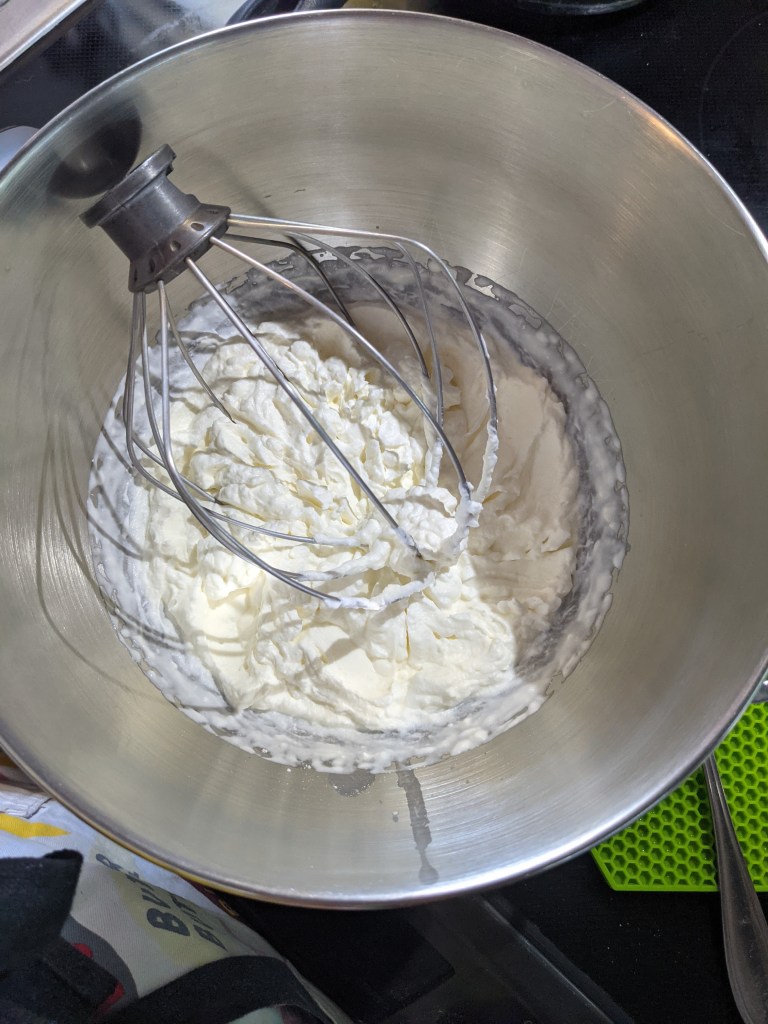
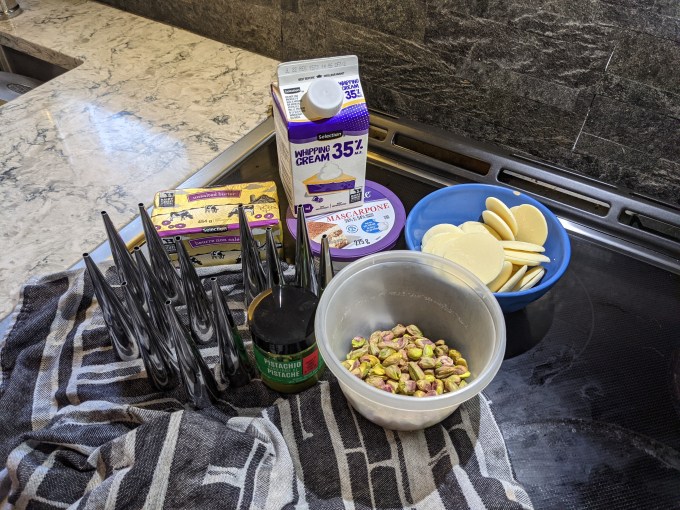
As I mentioned in the introduction, I found there were different types of filling used in cannoncini. This version uses a mascarpone-pistachio-white-chocolate whipped cream. Methodologically there isn’t much to say here. Heavy cream is whipped with the mascarpone to nearly stiff peaks, then melted white chocolate and pistachio paste are folded in. Simple and delicious (and expensive, damn Italy, wtf).


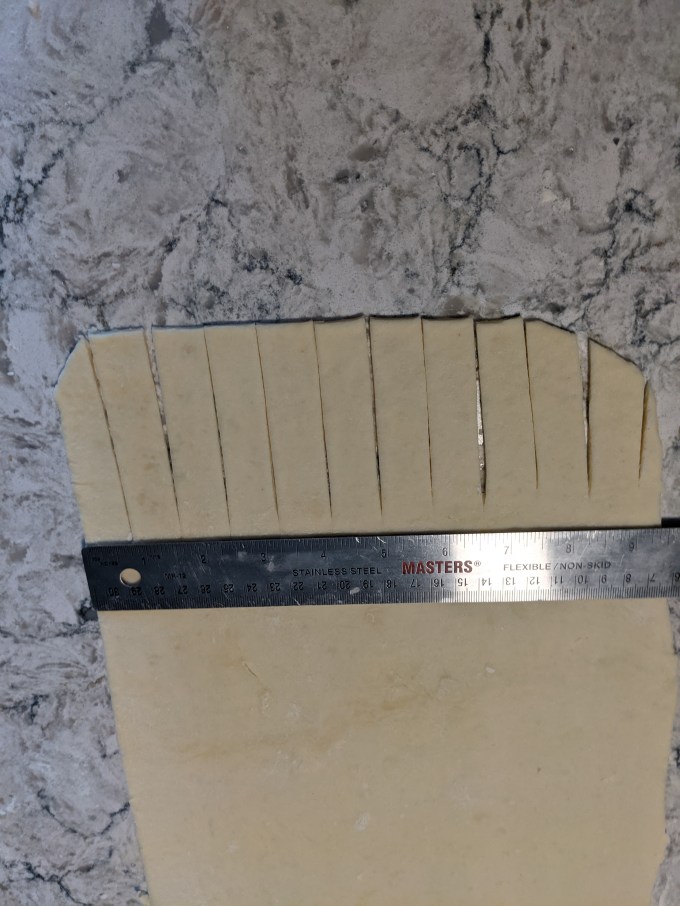
Step 4: Moulding
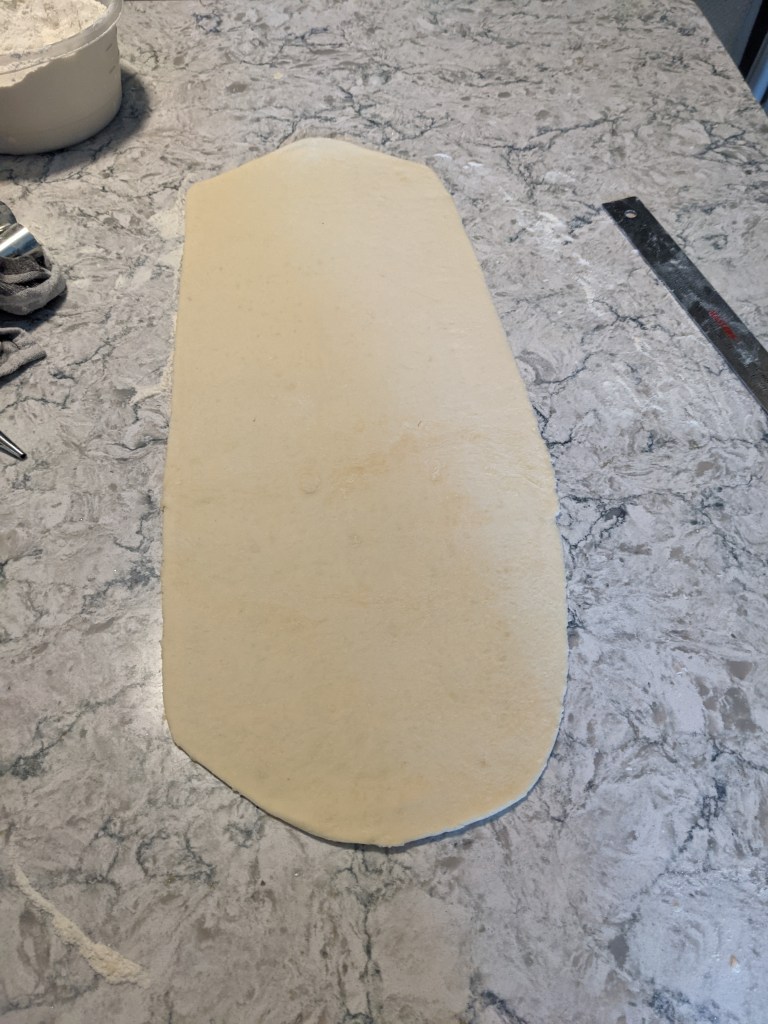
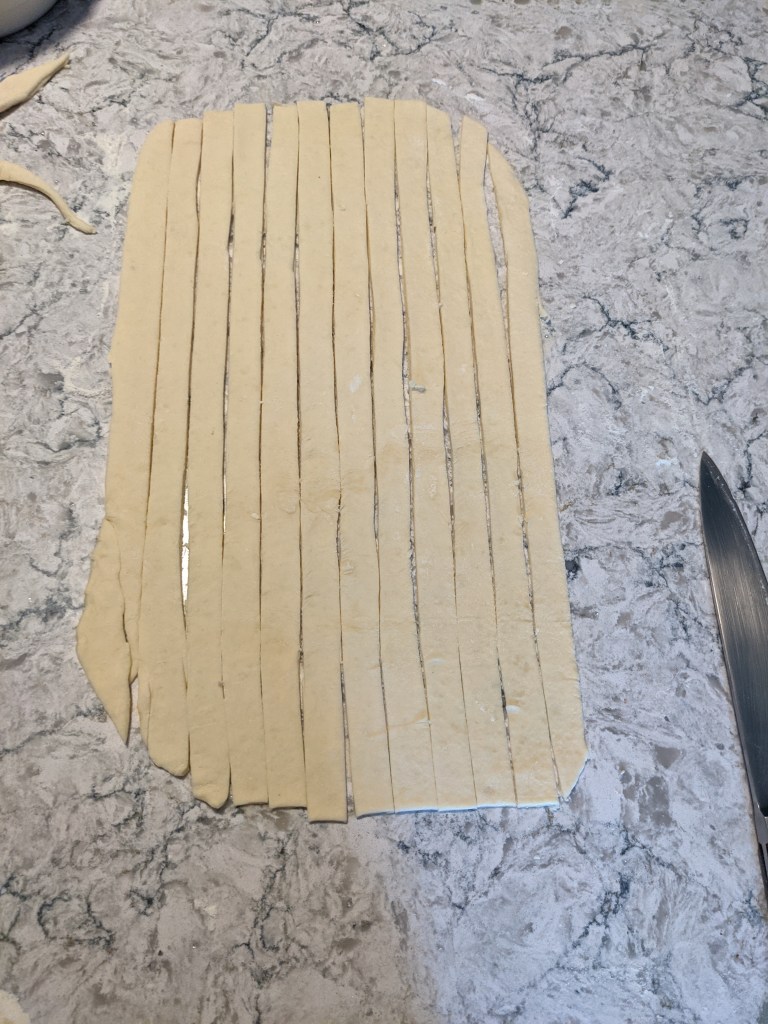
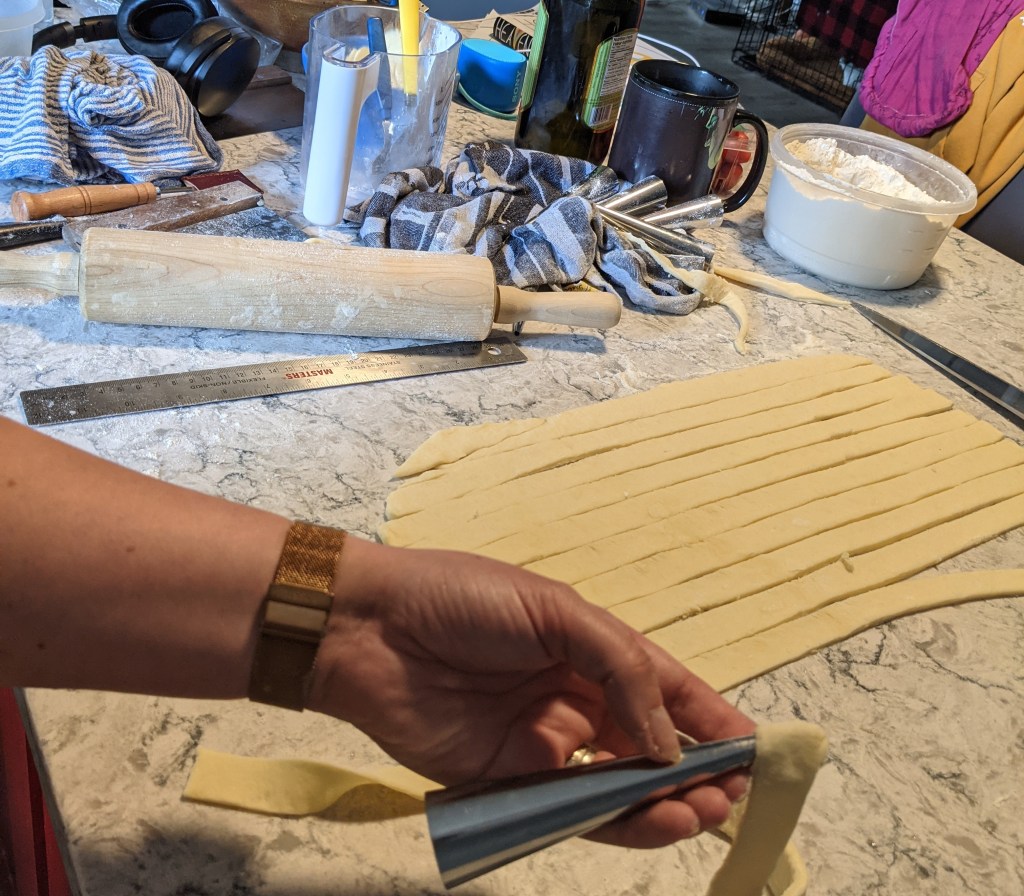
Once the third roll and fold is done and the dough has had its final rest, it gets rolled out into a large rectangle and cut into strips. Again, it is really critical to stick to the prescribed dimensions here. This is a highly precise bake.
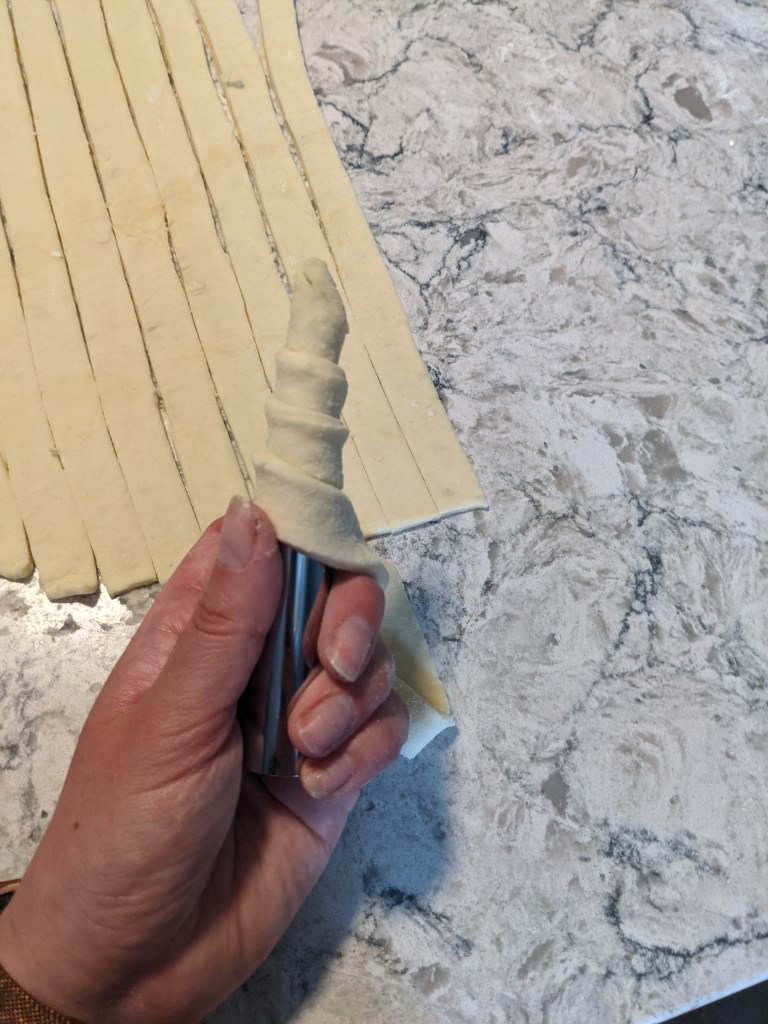
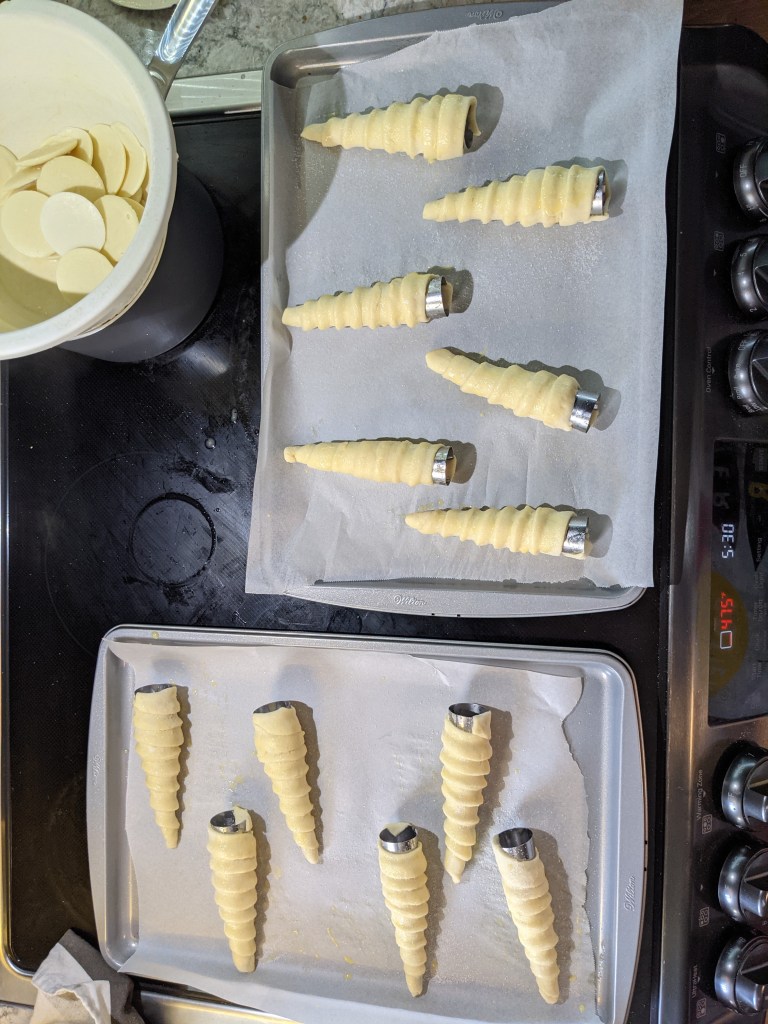
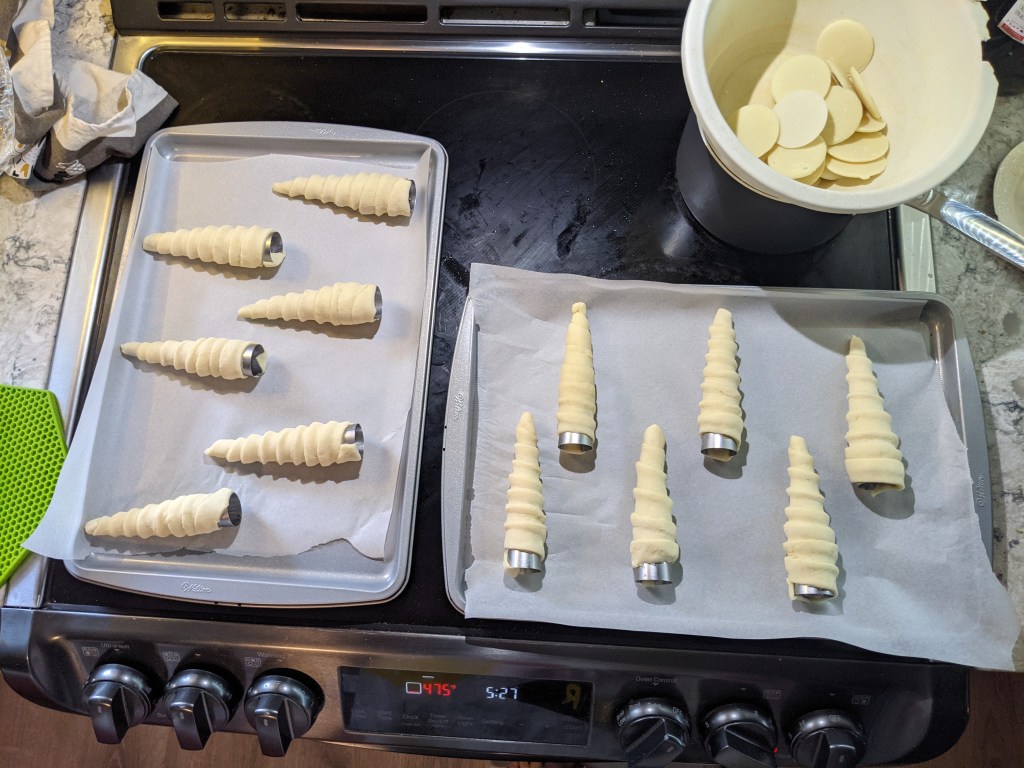
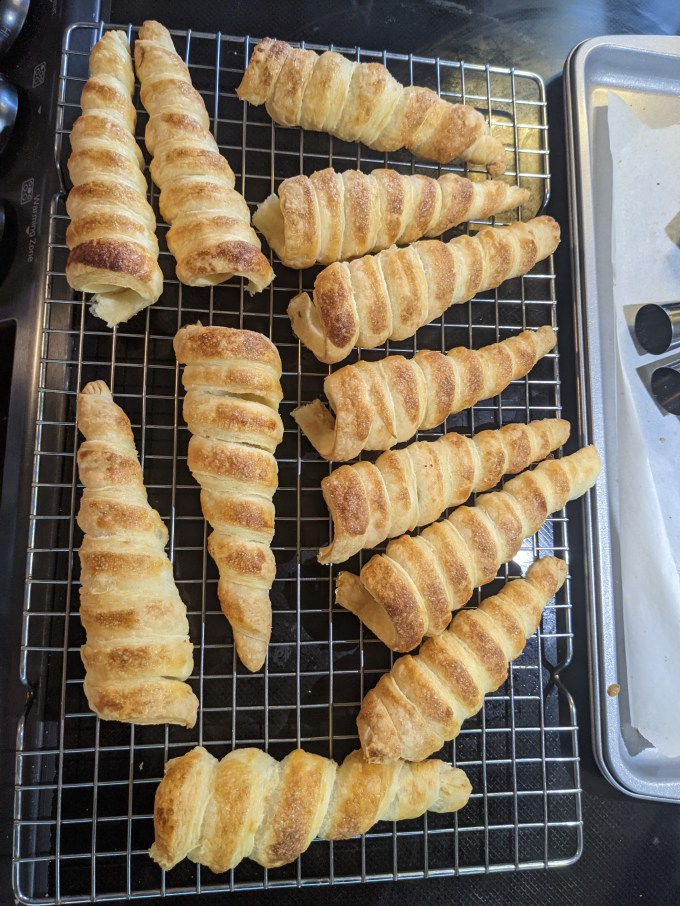
The strips of pastry (oh wow now it’s pastry, so cool) are wrapped around cone moulds and chilled one last time. It took a bit of fiddling to figure out how to get the pastry onto the moulds, but once I got the hang of it, things went smoothly. Egg wash and a sprinkle of sugar and the most grounding hippy music I have for good measure and it’s time to bake!

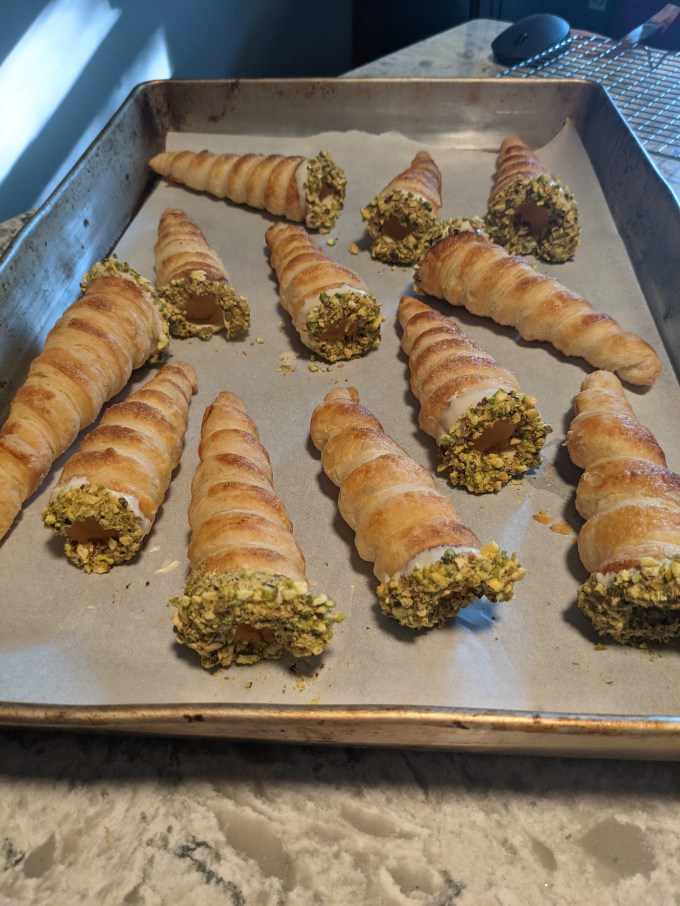
Step 5: Assembly
Once the pastry cones are cooled, they get dipped in white chocolate and garnished with chopped pistachios. The filling is piped in and then topped with a half a cherry for some cute factor.


So there it is. I have knocked a big, huge, glaring item off of my bucket list and I almost can’t believe it? I am excited to see what curve balls the rest of this project have to throw at me because I am feeling EMBOLDENED right now. In the words of Tanner (xo):
I’m having a good time and I know that I bake better when I’m having fun


Hey, bakers! Check out my BAKER’S PANTRY index if you want to deep dive on specific ingredients when attempting this bake for yourself

Outstanding accomplishment. Overcome all fear.
LikeLiked by 1 person
NICE STUFF!!
LikeLike
Thank you!!!!!
LikeLike