Here we are again, Friends and Fellow Bakers! February is almost over, the days are getting slightly longer, and there is, as ever, so much baking to do. Today I am talking about Delize al Limone, the technical bake from the Season 5 finale of GCBS.
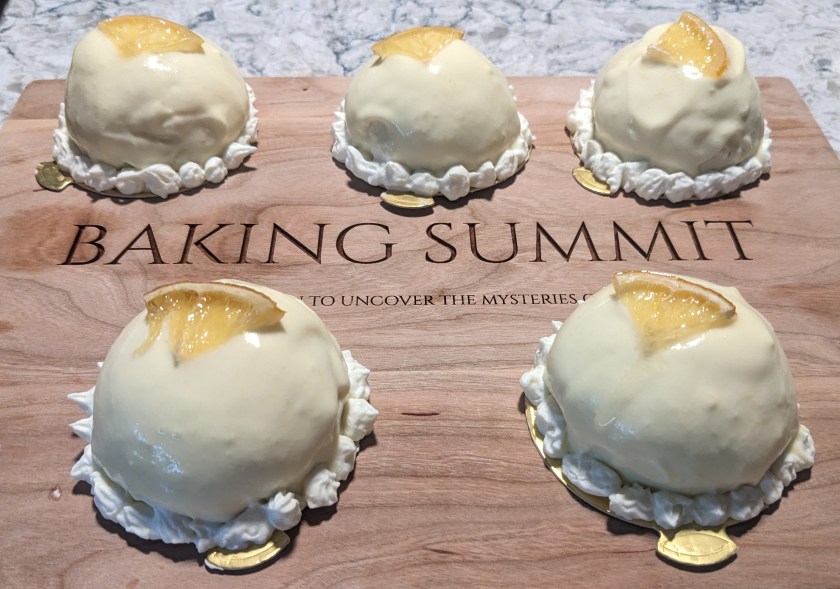
Delizie al Limone (translation: Lemon Delight) is an Italian dessert native to the Amalfi coast, which is famous for its lemons. Lemon sponge is baked into hemispheres, filled with a stunning lemon cream, and dipped in lemon glaze. These single serving cakes are perfect for tea time or as an aperitif.
From what I can tell, the CBC recipe is fairly authentic. I don’t know if it is even possible to source Amalfi lemons here in Canada, so I just used the same old bagged ones you find at any grocery store. In doing my research to write this post, I found a suggestion to try Meyer lemons instead, which I think I will do next time. I have long been curious about Meyer lemons and have yet to try them in any application. This seems like as good a reason as any to buy some.

How I came to select this bake in particular is a fine example of my classic blend of mild confidence and lack of preparation. I had several lemons that were getting old and thought: hey, isn’t one of the GCBS bakes a lemon-based recipe? So I checked the ingredients, ordered the silicone moulds I needed, and decided to bake the following weekend. This was the extent of my preparation. I didn’t review the episode; I didn’t even realise it was a finale bake when I decided to do it. I also didn’t read the recipe before I started (do as I say and not as I do: ALWAYYYYSSSSS read the recipe before you start), so I really went into this gong show of a bake blind. All in all, mine turned out fine, but I really didn’t anticipate what a marathon this would be. I will likely make this again since the finished product is absolutely fantastic, but I would do it in two days instead of one. Next time I will make the lemon curd and pastry cream a day in advance and then bake the sponge and assemble on the day of serving.
All in all, my bake was uneventful.The only mishap was I had to run out and buy more lemons partway through after I mixed up some of the lemon curd steps with the pastry cream steps. It wasn’t the end of the world and probably worked out for the best anyway since I think I would have run short using my ageing and dried out bag of lemons from weeks prior.
My only other item of note is this version of the recipe left me with over a litre of leftover filing which I found quite egregious. I admit as usual I did not get my cakes as full as I would have liked, but I think even if I had done better, I still would have had an immense volume of leftover filling. I simply could not bring myself to toss it and I also didn’t really feel like coming up with some other bake idea simply to use up leftovers, especially since I found doing this recipe so exhausting. The solution? I bought the ice cream churn and bowl system compatible with my mixer and made the filling into a decadent lemon ice cream. Money well spent as far as I am concerned, and using cake filling to make ice cream is an absolute home run, 10/10, do recommend.
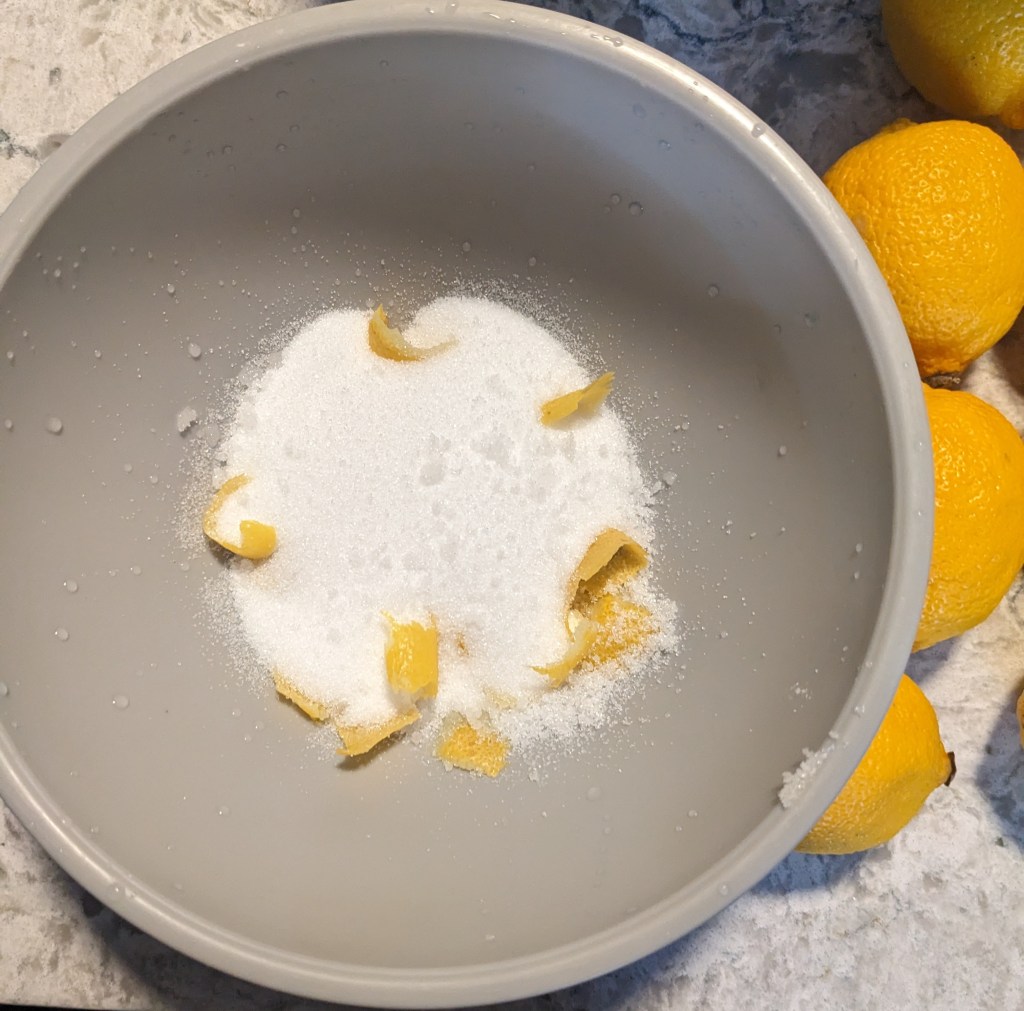
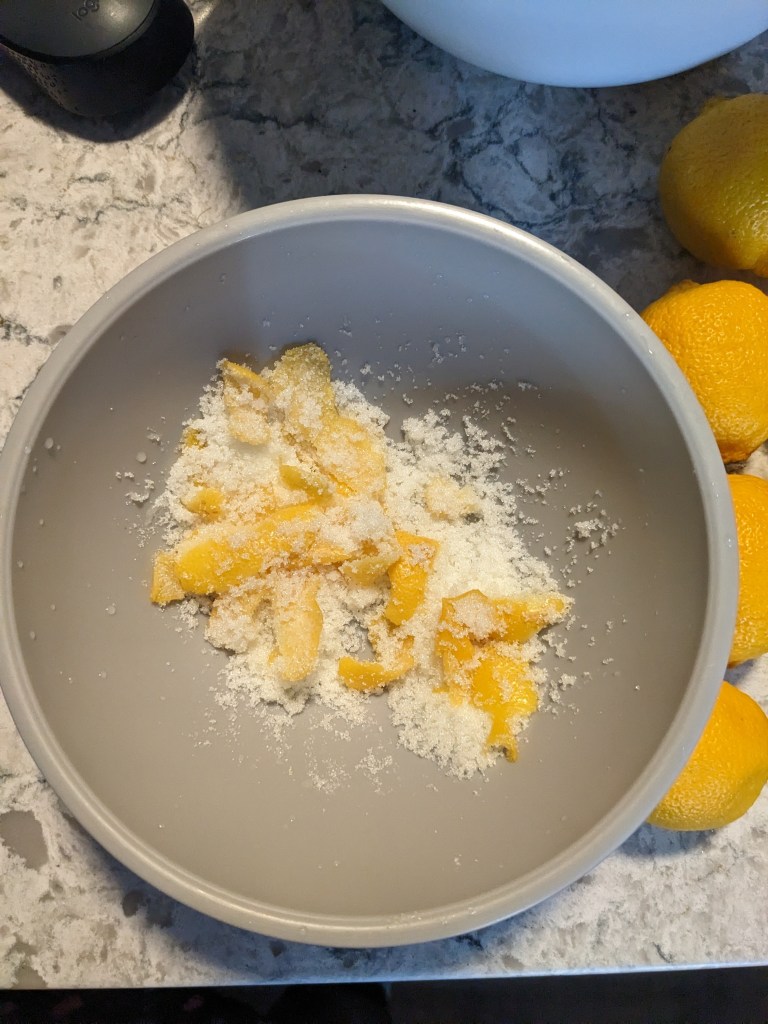
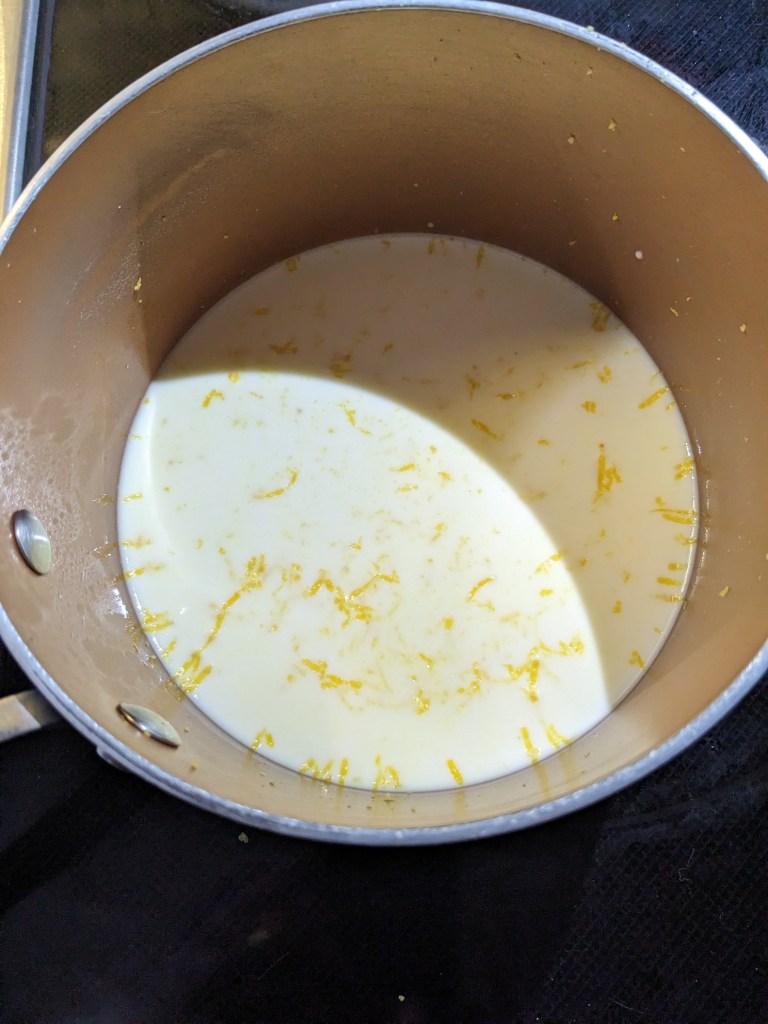
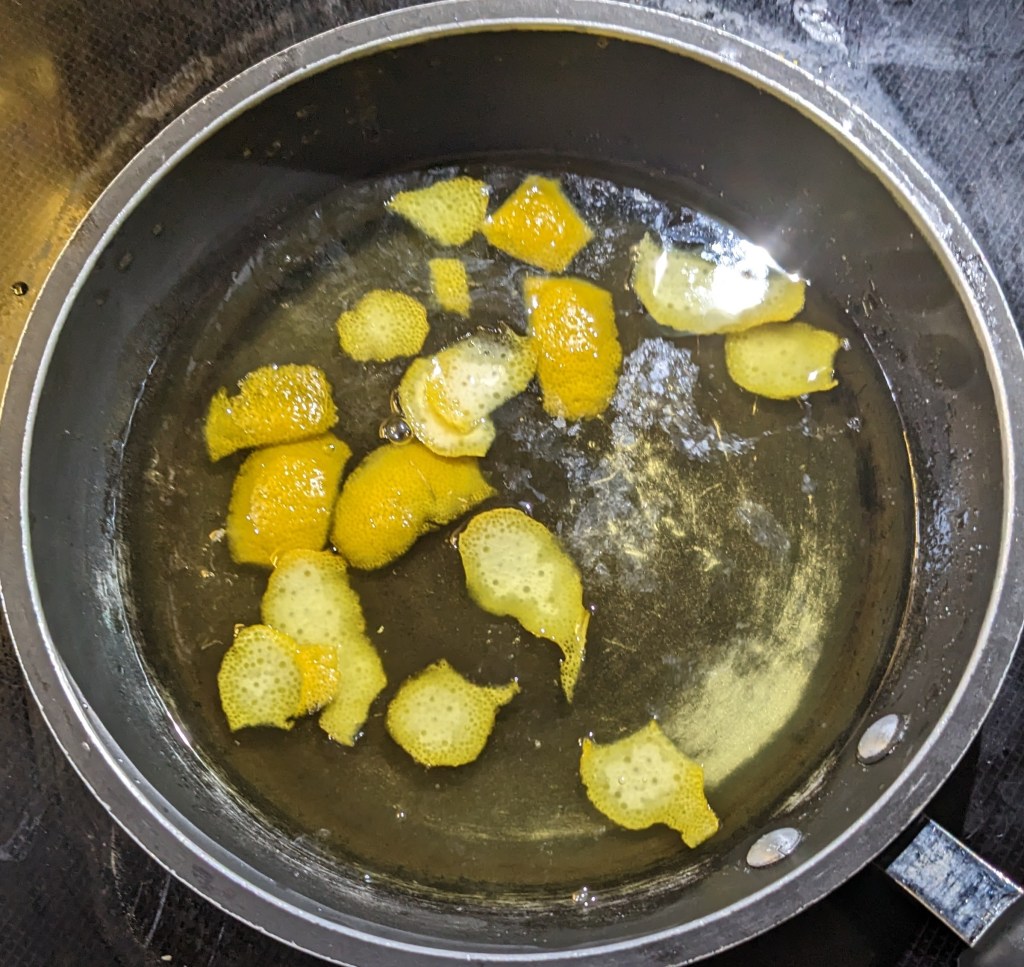
Step 1: Lemon Infused Heavy Cream
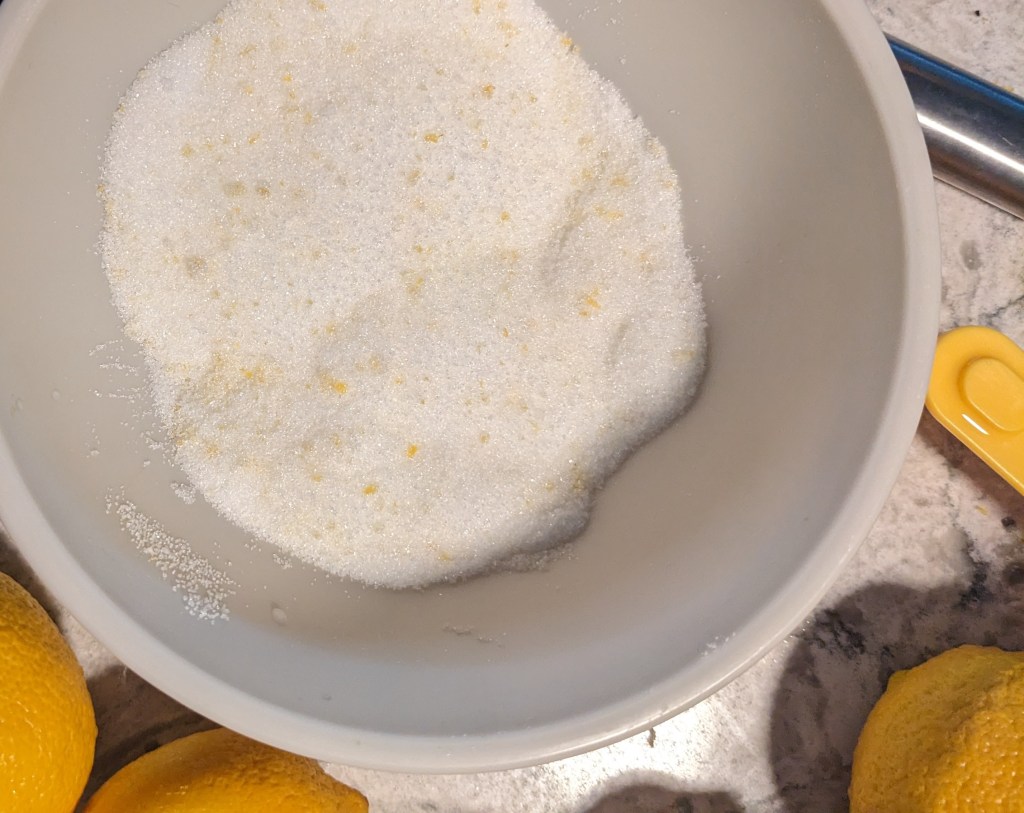
This is more of a mise en place step than it is part of the bake. A large piece (or pieces) of lemon zest is rubbed with sugar to release the oils in the peel. The scented sugar is submerged in heavy cream with the muddied peels. The immersion is left in the fridge to infuse while the rest of the bake is prepared.

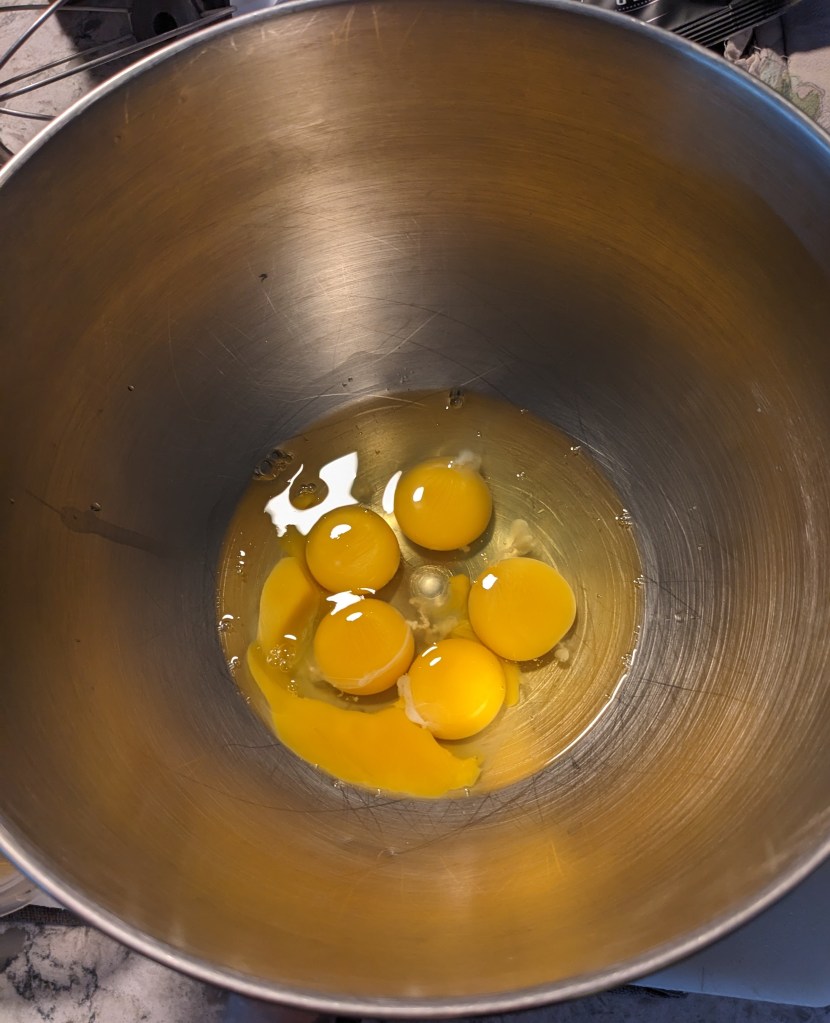
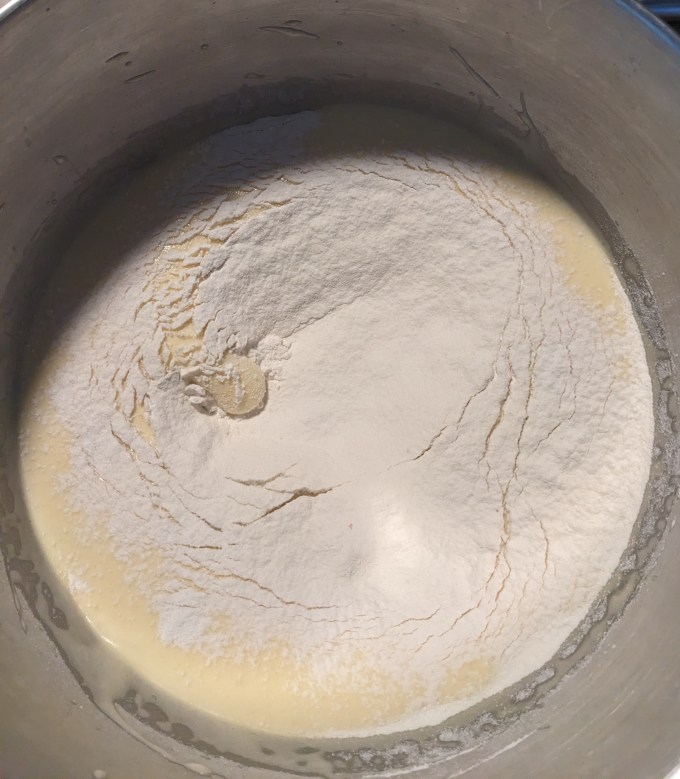
Step 2: Lemon Sponge
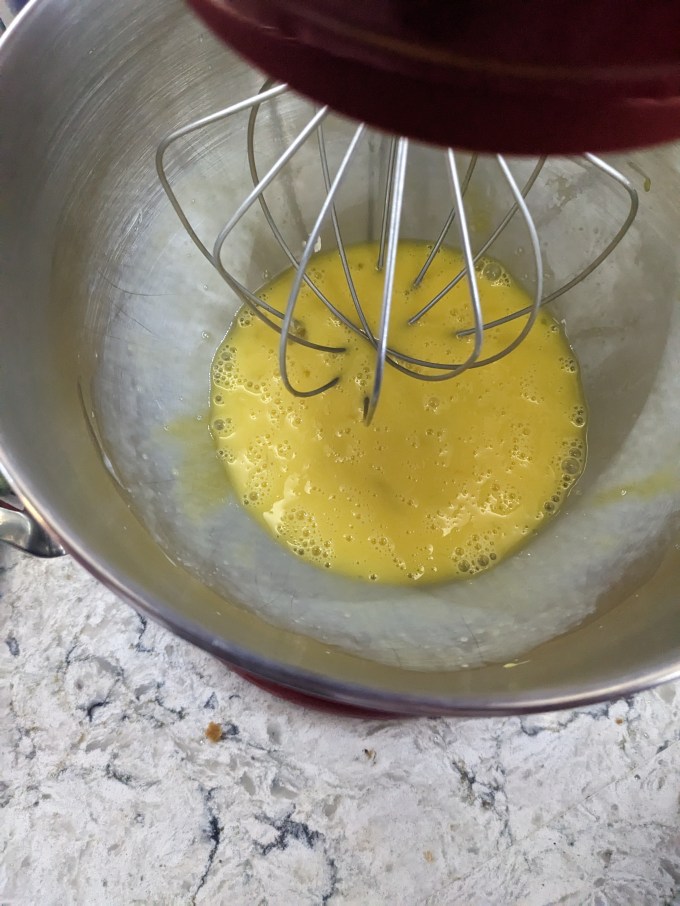
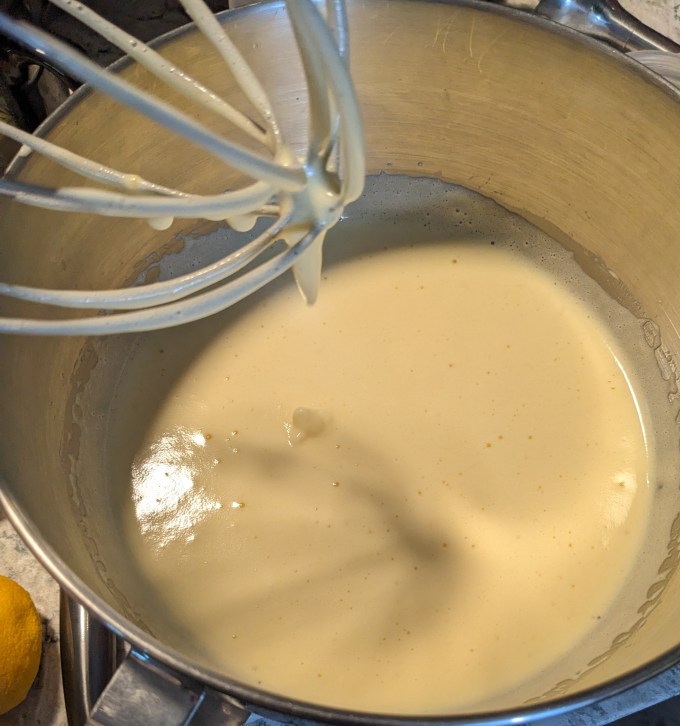
This is a pretty basic sponge cake. Lemon zest is rubbed into white sugar to release the oils and then combined with whole eggs and egg yolks. The mixture is whipped on high until voluminous and pale. Flour, potato starch, and salt are combined and folded in.


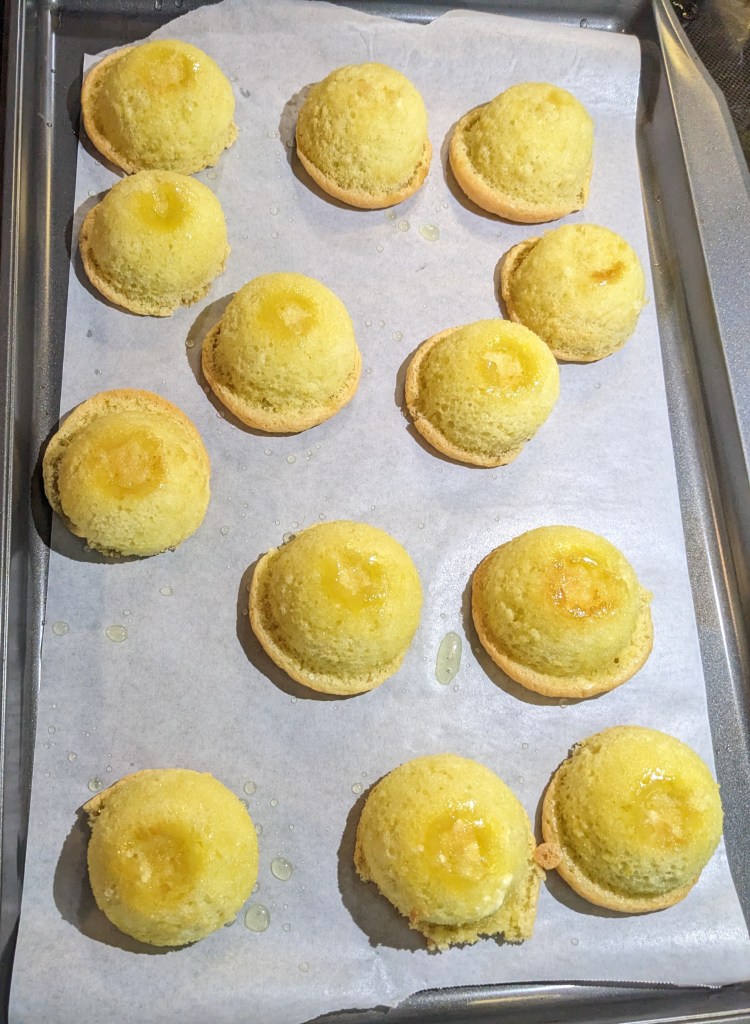
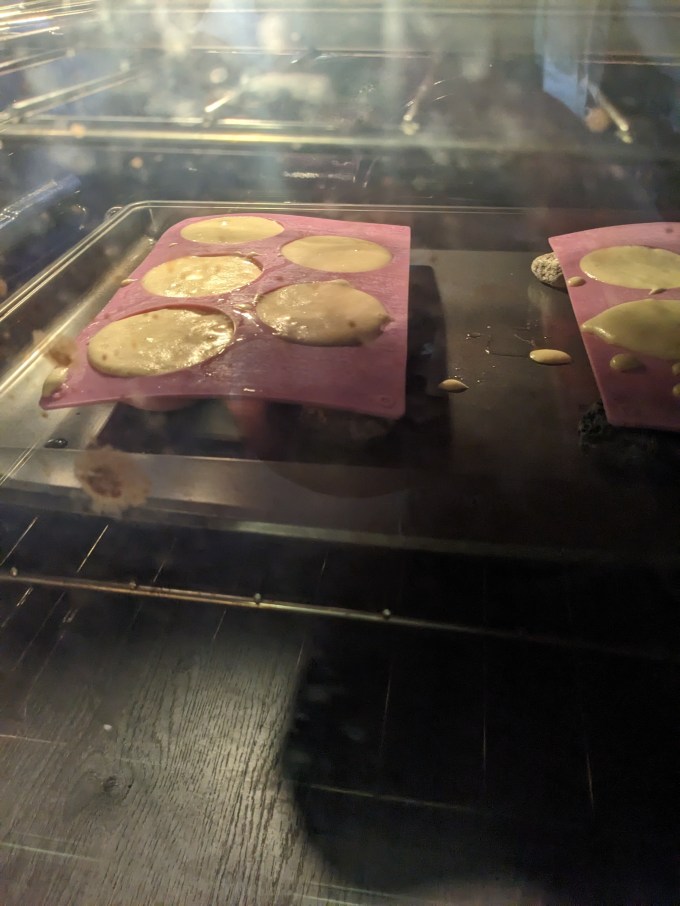
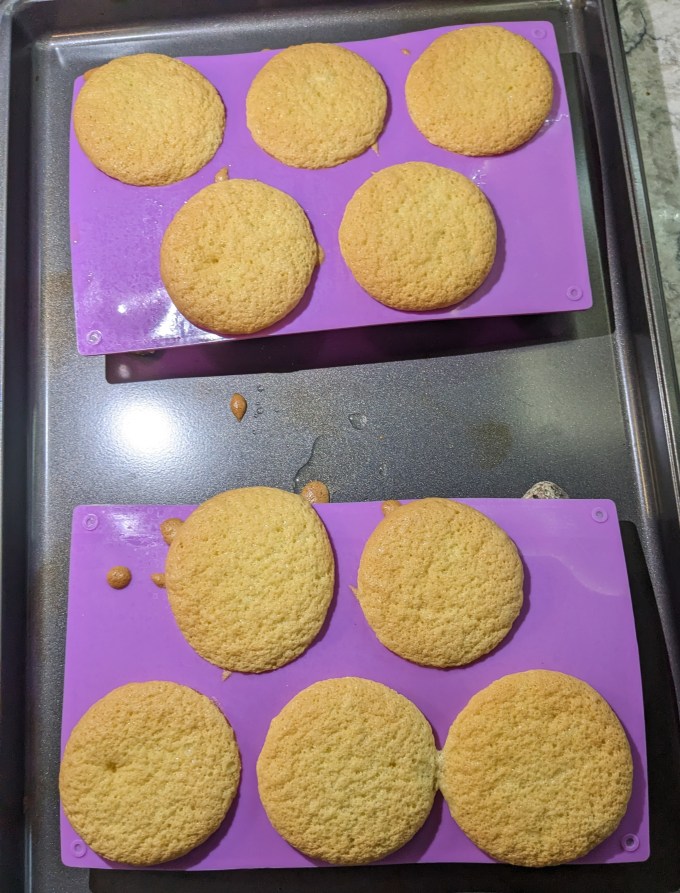
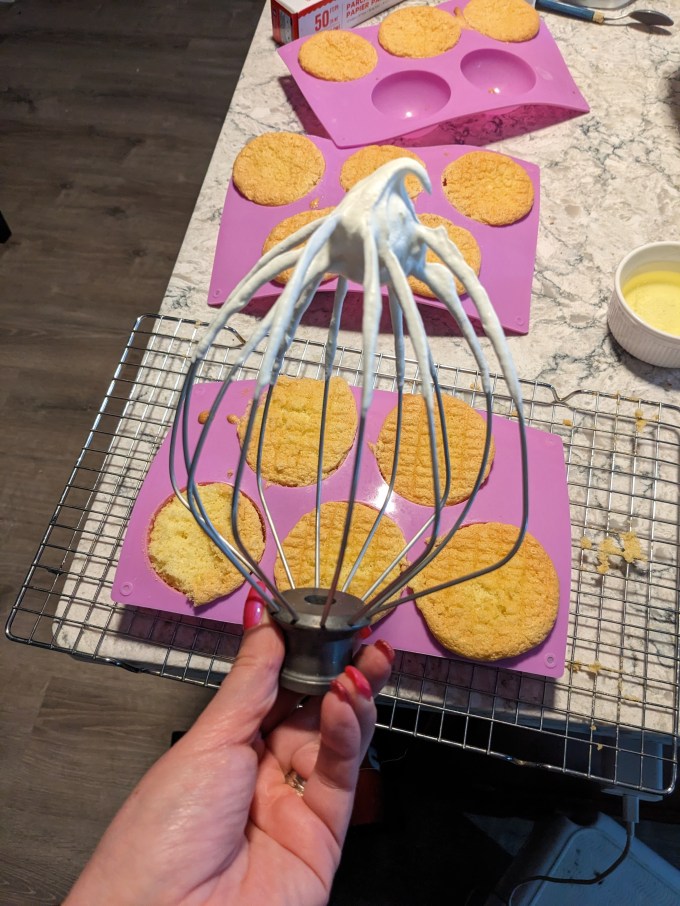
The batter gets turned into greased 3-inch hemisphere moulds. The moulds need to be propped up with something oven safe so they stay level. Otherwise, the corners of the moulds sag and the batter will be lopsided in the oven. Shout out to my buddy Jim, the rock collector and amateur geologist. I have many dozens of cool rocks he has given me over the years and I found a couple that were the right height to prop up my moulds. If there is any PSA I can offer for this bake, it is to befriend a rock guy. The cakes go into the oven and bake until a tester comes out clean, then left to cool completely.
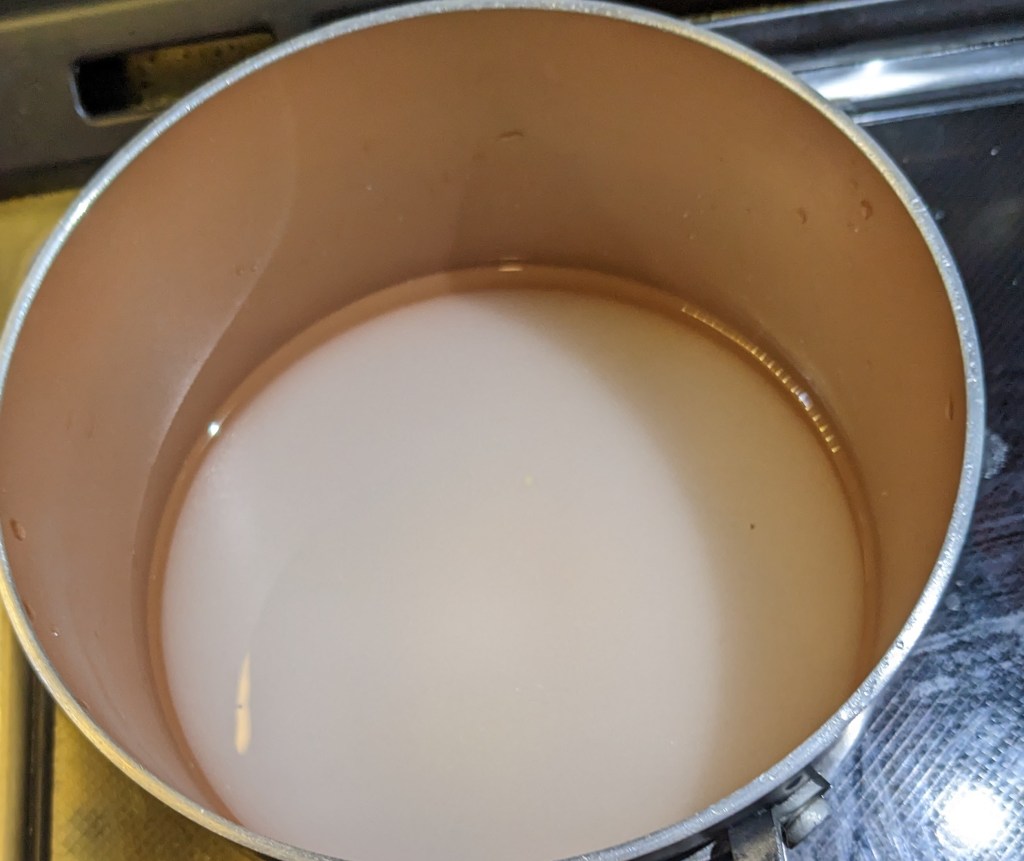
Step 3: Lemon Curd
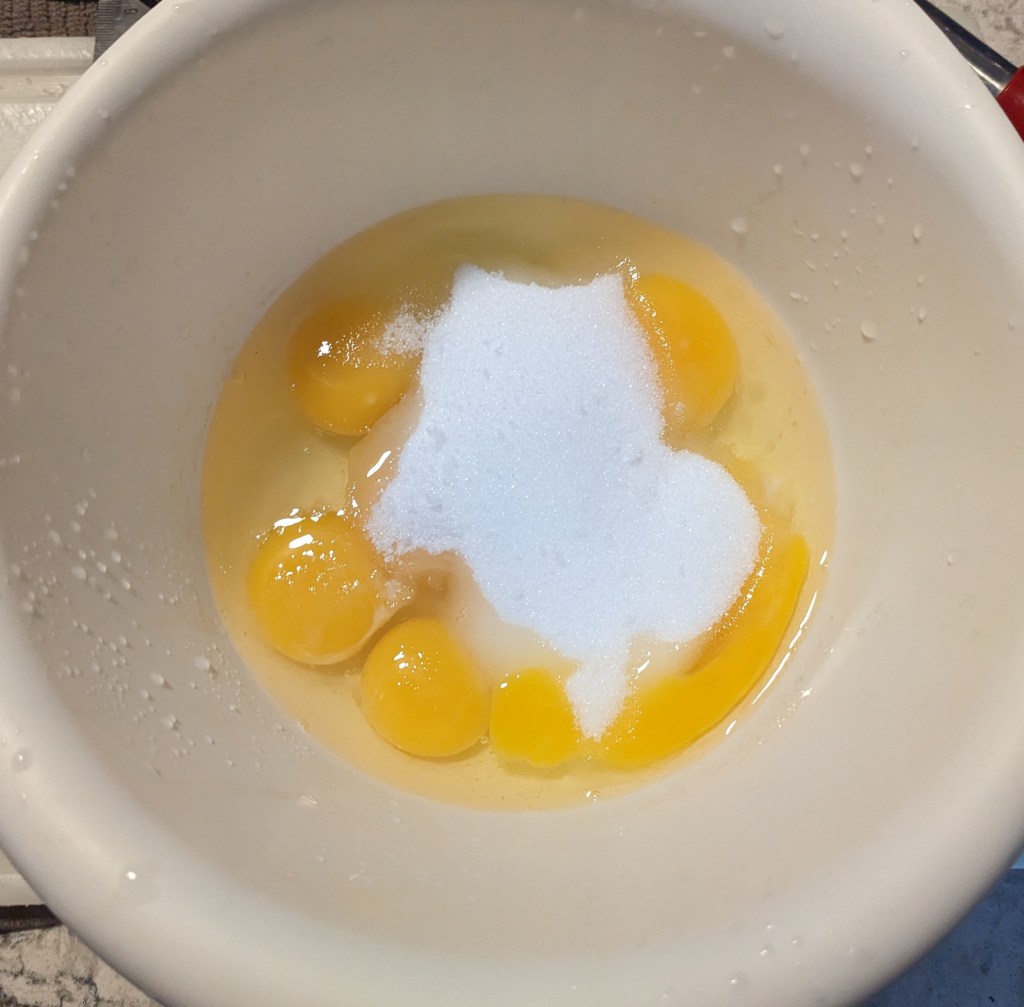
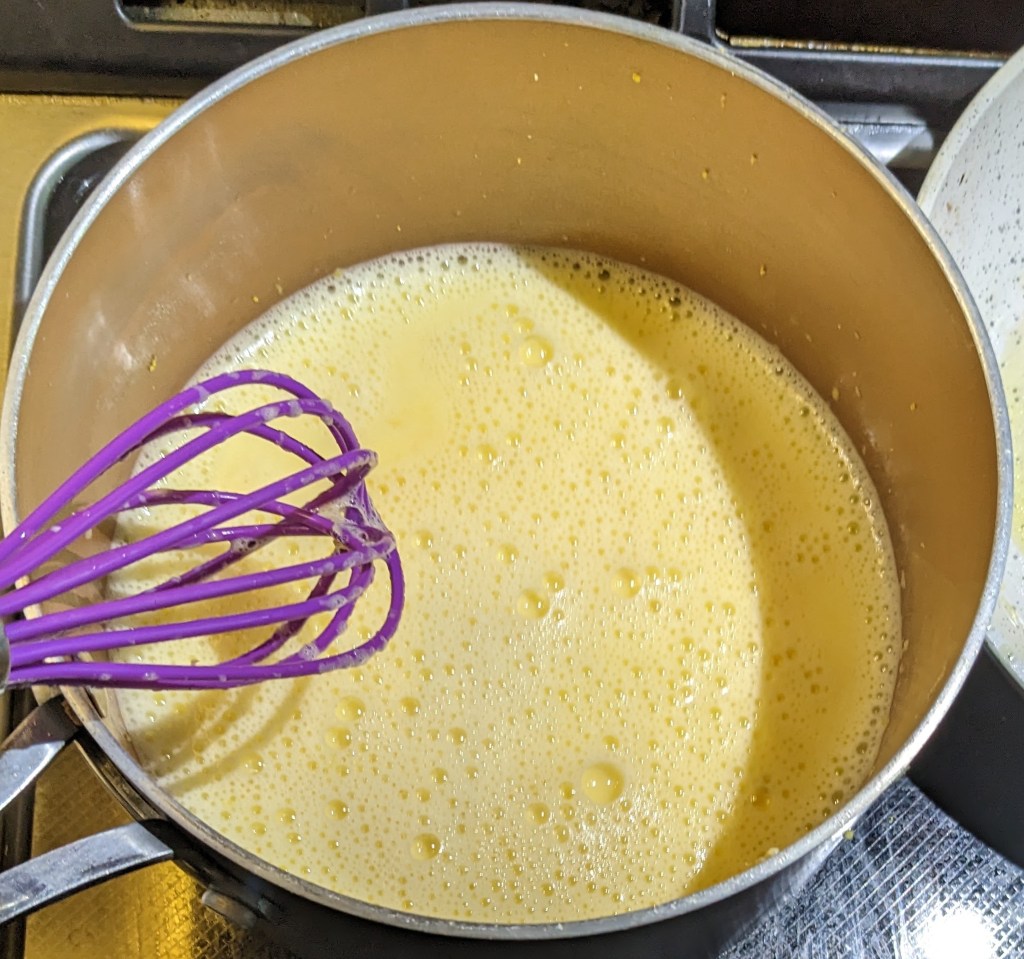
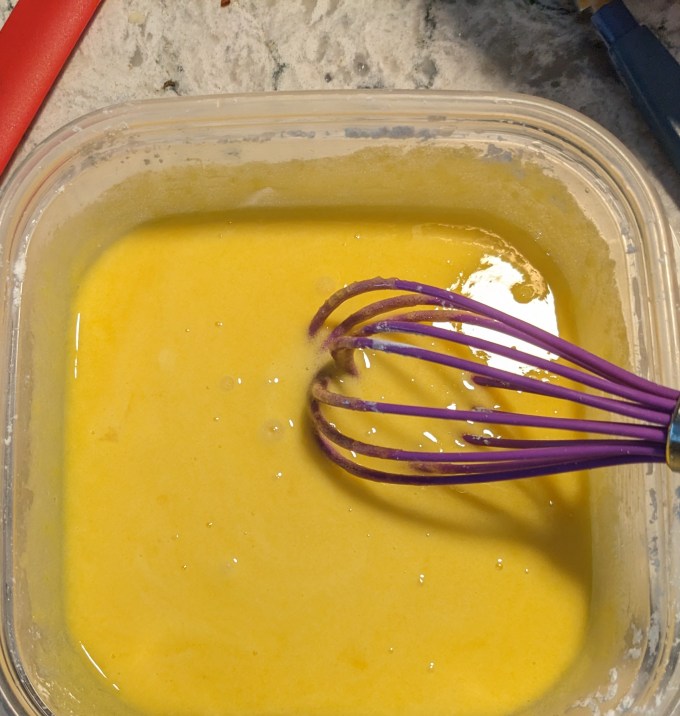
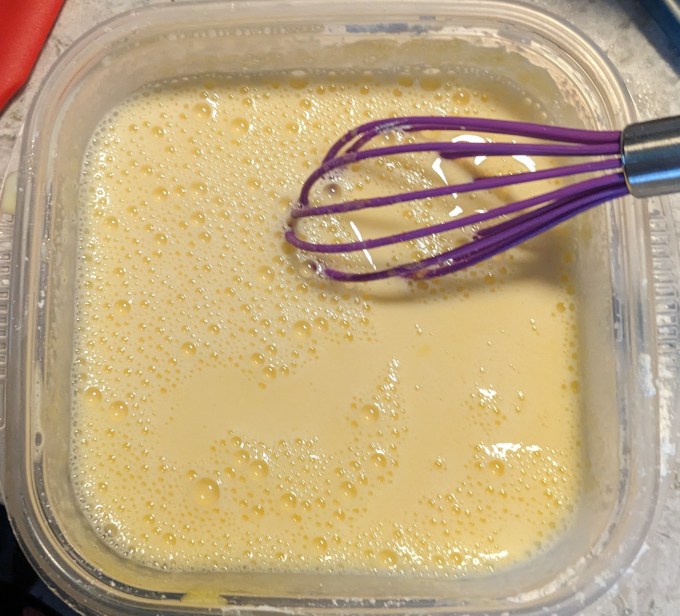
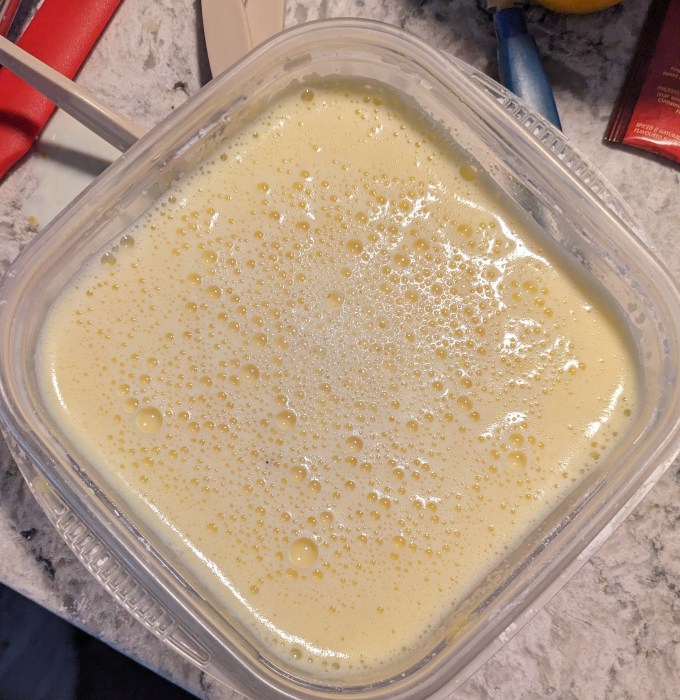
Eggs, egg yolks, and sugar are whisked together. Lemon juice and zest are heated until steaming. The hot lemon juice is slowly added to the egg mixture, whisking constantly, to temper the eggs. Once the liquid is fully incorporated, the entire mixture is returned to the stove and heated on medium, whisking constantly.


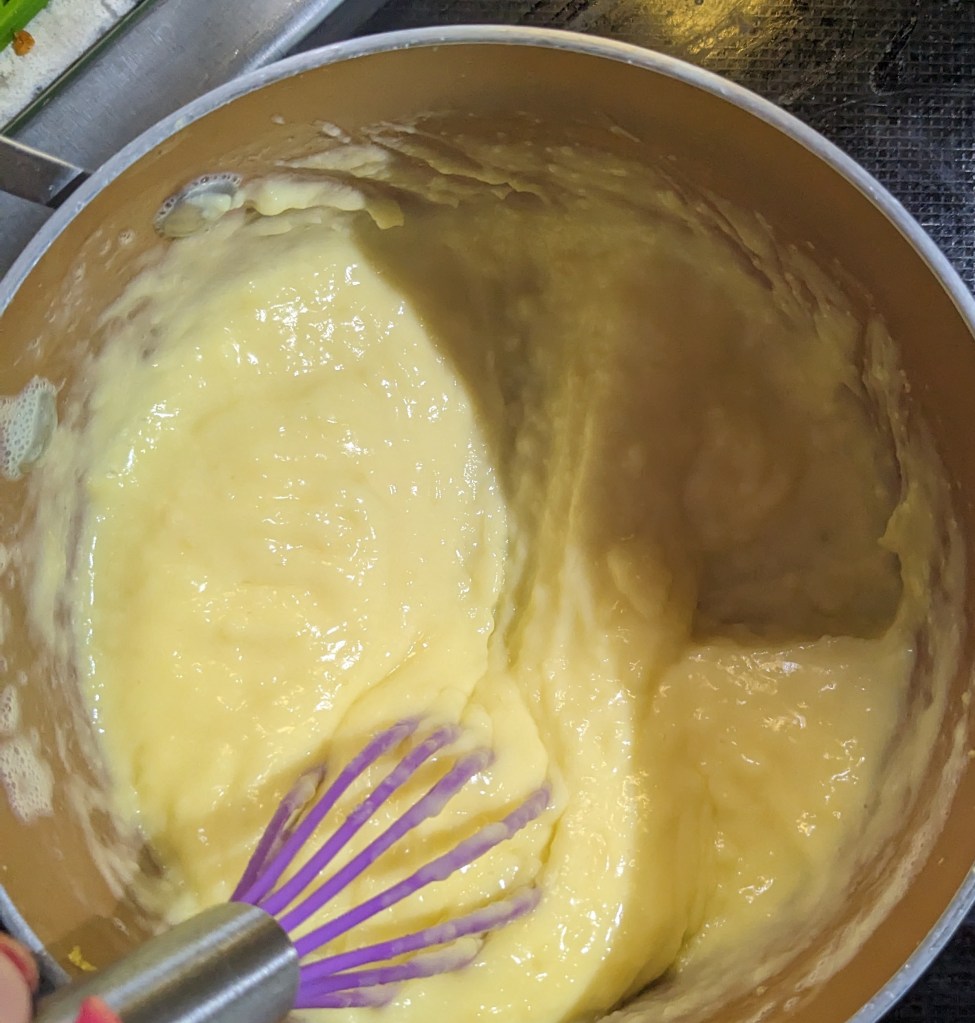
Once the mixture is thick enough to leave a trail when the pan is scraped (the recipe describes this as “thick enough to coat the back of a spoon,” which I think is a completely useless piece of information), it is removed from the heat and a little bit of butter and a pinch of salt are whisked in. Butter is usually used to finish curd, but is not strictly required. Adding butter rounds out the flavour, makes the curd a little heartier, and creates a silky texture in the final product. I have seen a few articles where bakers claim that adding butter cuts the richness of the curd, but tbh that doesn’t really track. Plain egg yolks are always going to be LESS rich than eggs with butter by definition.


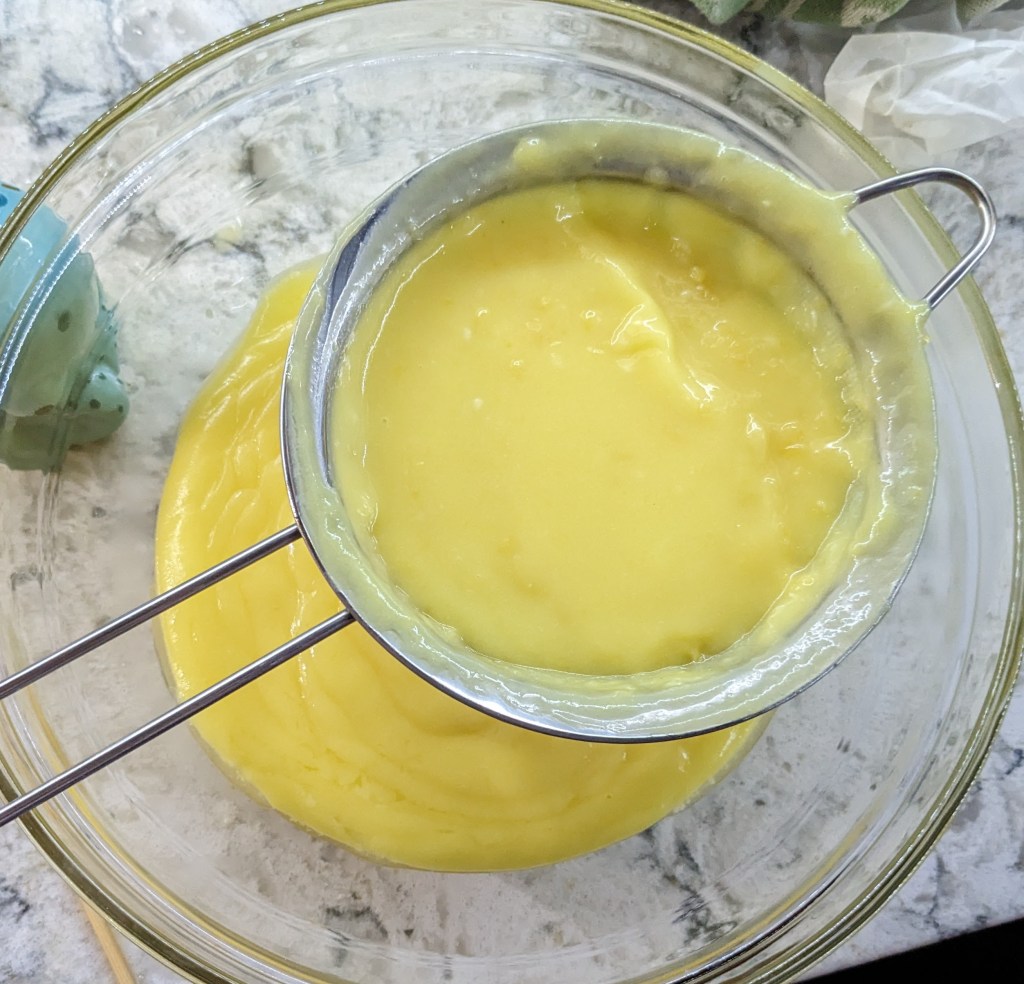
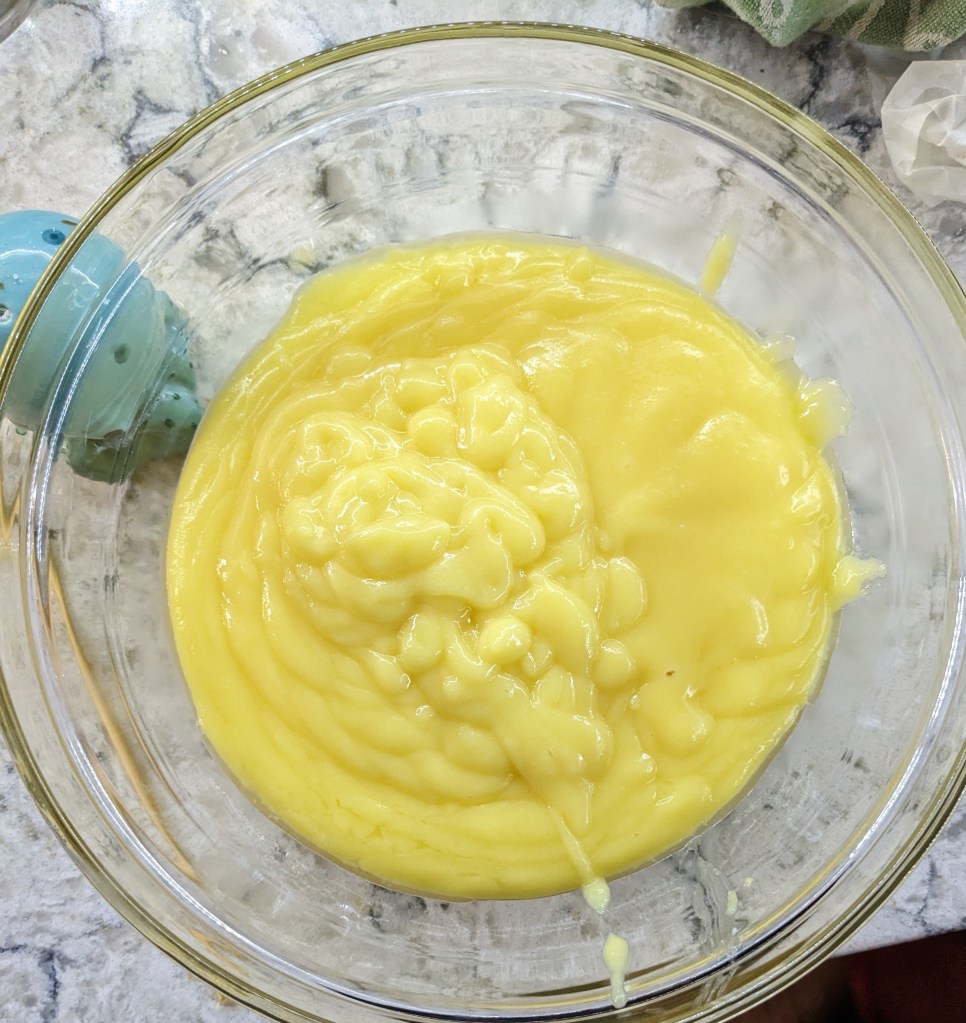
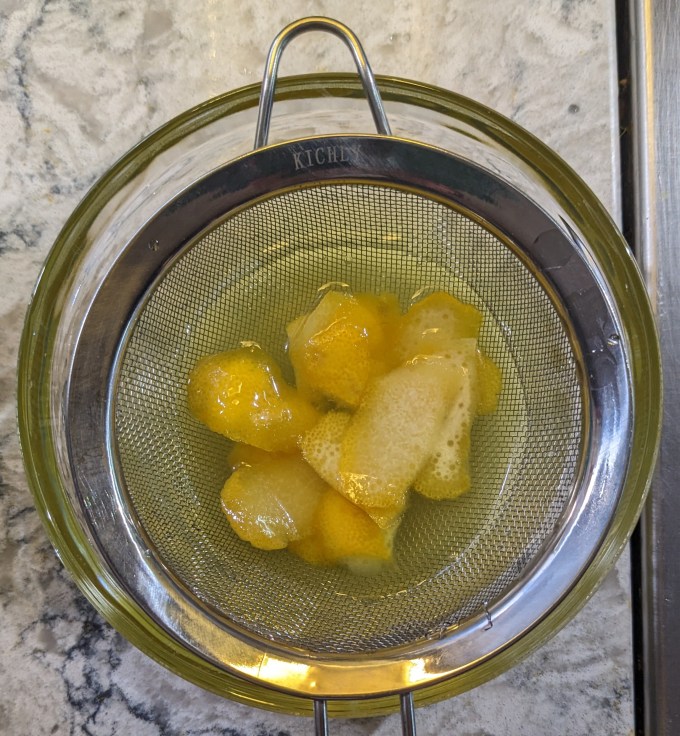
The finished curd is strained through a sieve and left to cool with either plastic wrap or parchment paper pressed onto the surface. This step is important because it prevents a skin from forming on the top of the curd as it sets.
Step 4: Lemon Pastry Cream
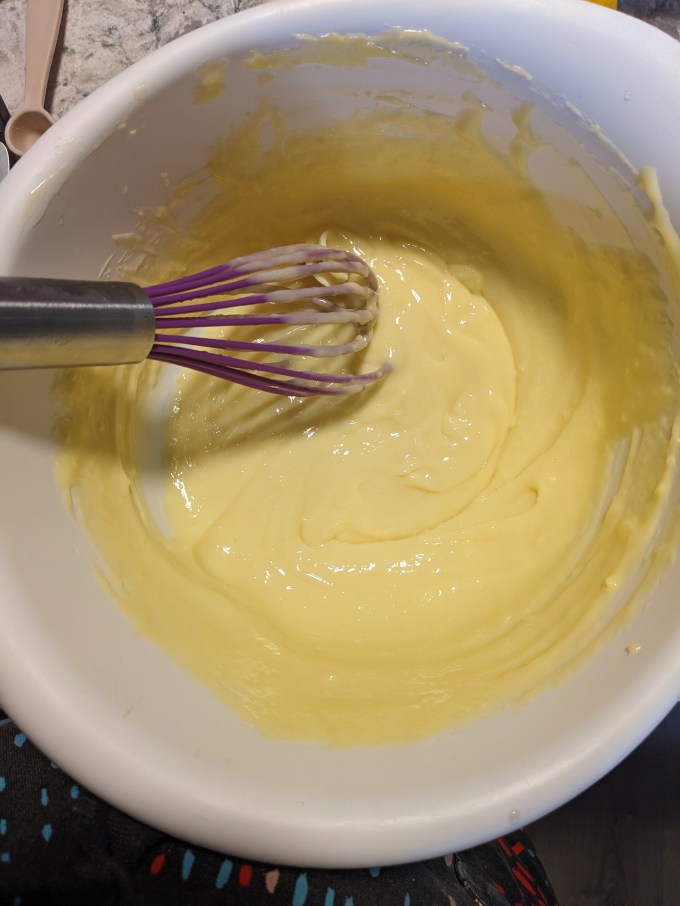
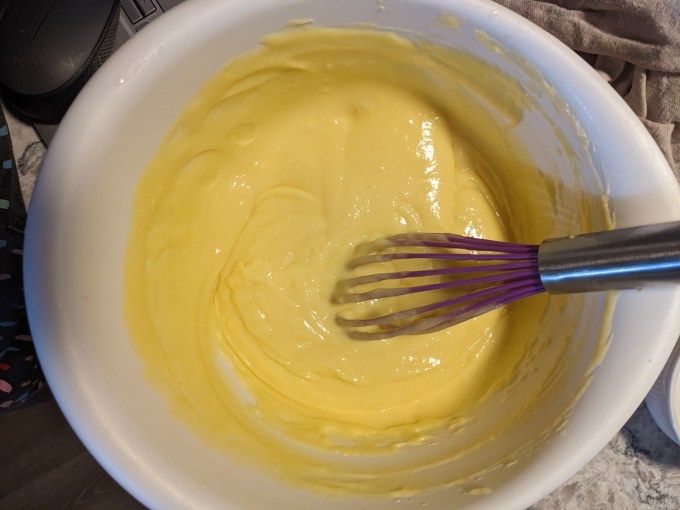
This is a standard pastry cream preparation. Egg yolks, sugar, cornstarch, and a little bit of milk are whisked together. The remaining milk and lemon zest are heated until steaming. Once again, the hot liquid is slowly whisked into the egg mixture to temper the eggs and prevent them from scrambling. Once combined, the mixture is returned to the stove and cooked until thickened. Vanilla is whisked in and the pastry cream is finished in the same way as the curd: sieved and cooled with parchment or plastic wrap pressed to the surface as it cools.


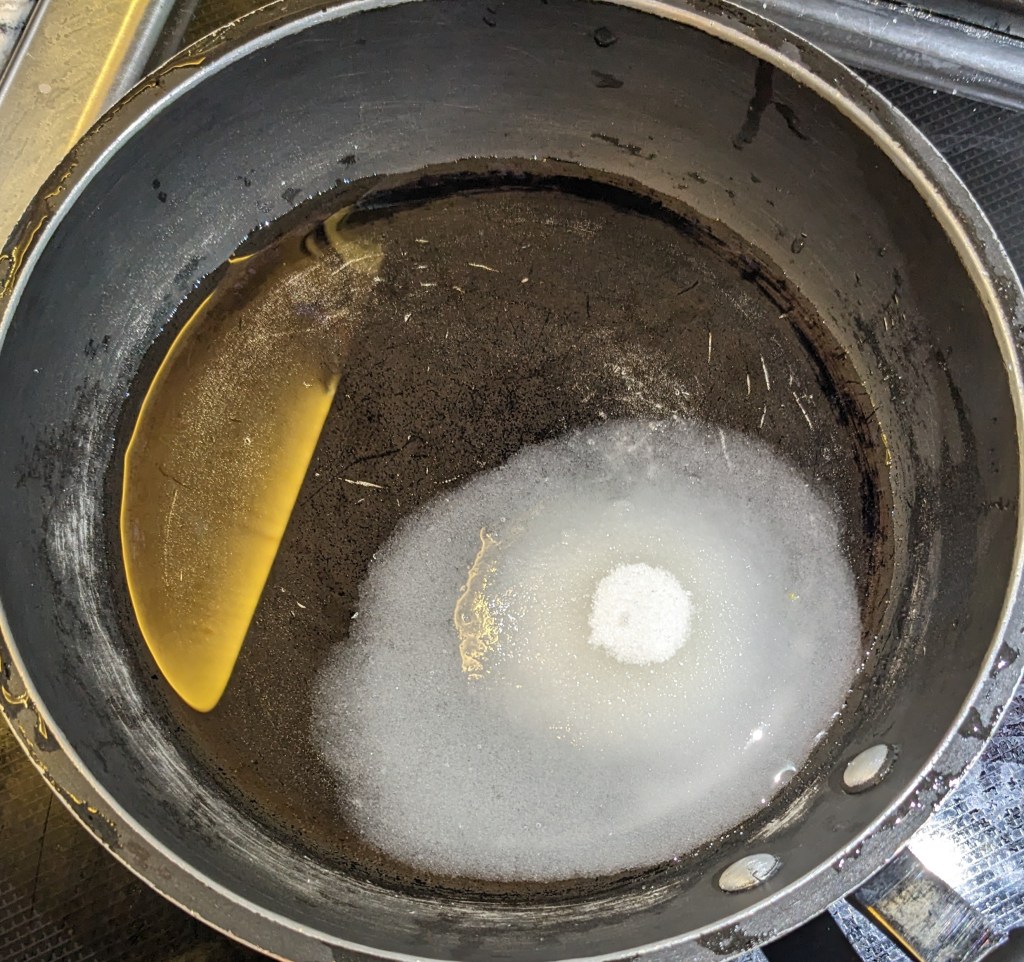
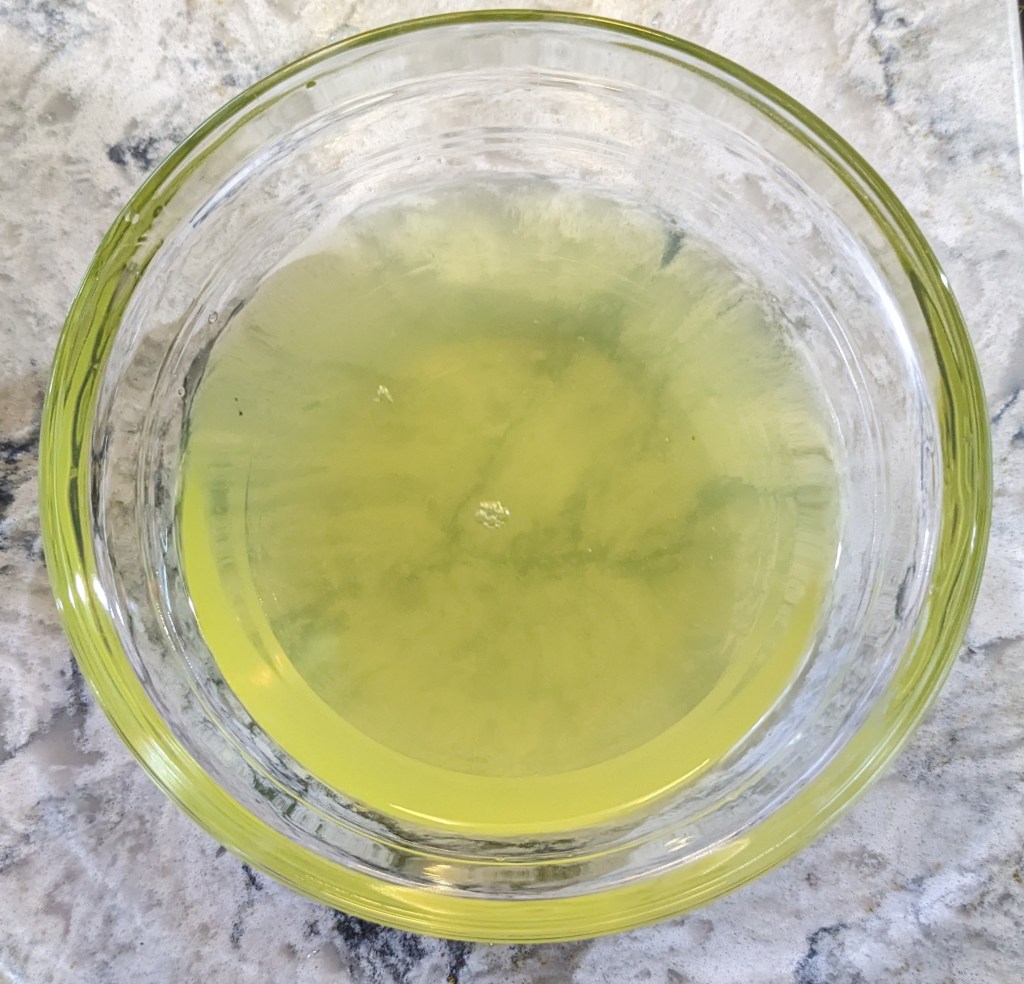
Step 5: Limoncello Syrup
Next up is a very simple syrup. Water, sugar, and lemon zest are cooked on the stove until the sugar is dissolved. Limoncello is stirred in and the lemon zest is removed.

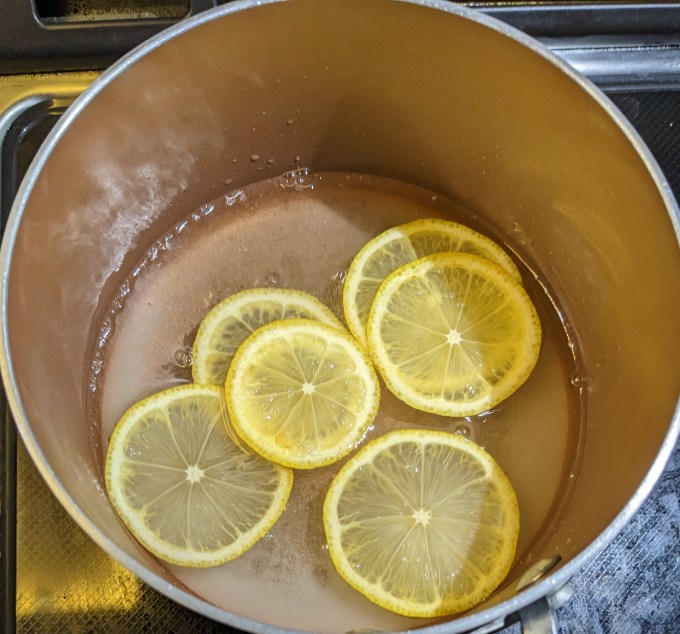
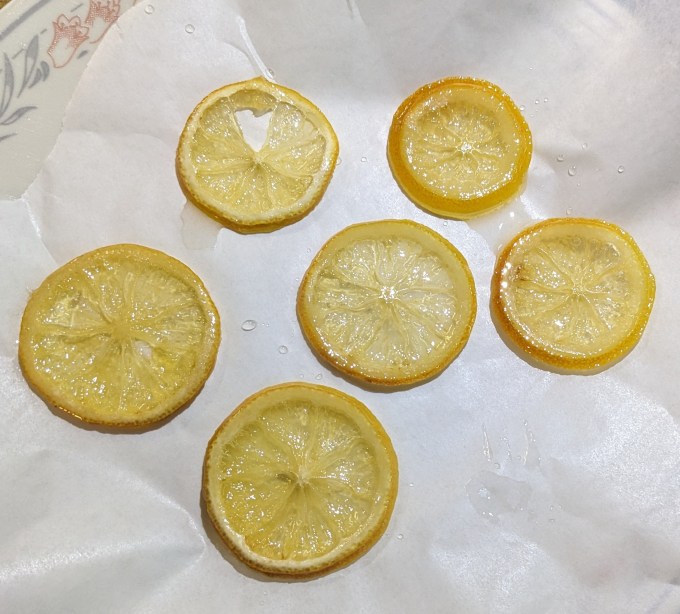
Step 6: Candied lemons
This is the same process of candying citrus used in the orange chiffon cake. Thin slices of lemon are cooked in sugar syrup until the peels are translucent, then left to cool.


Step 7: Assembly
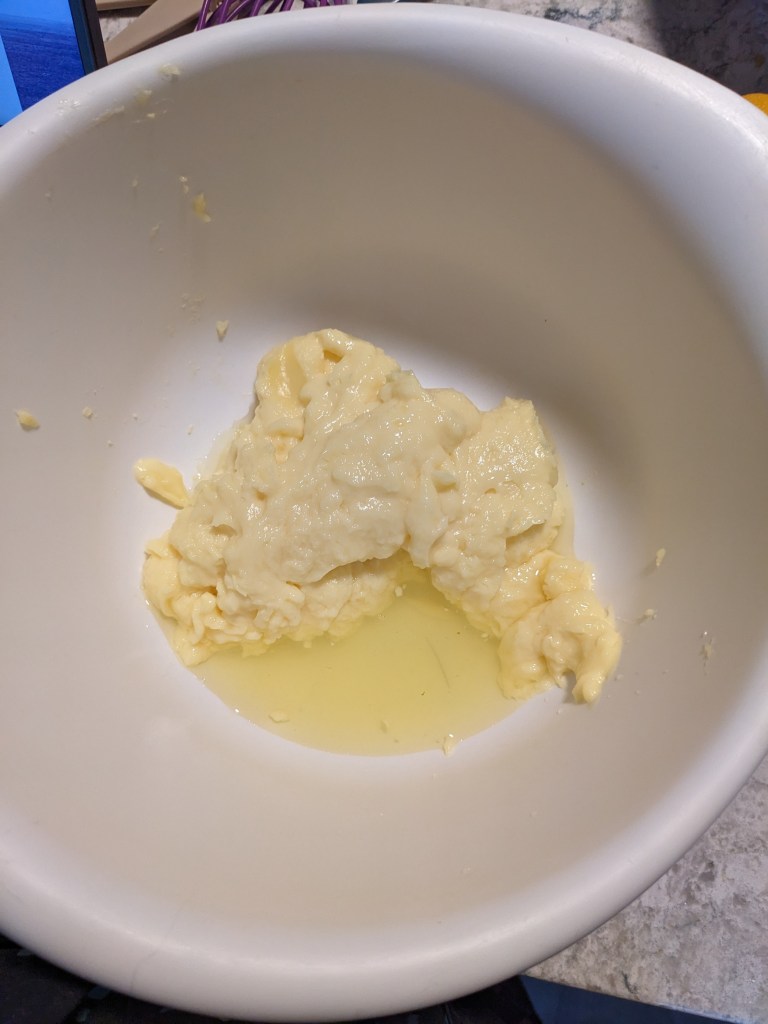
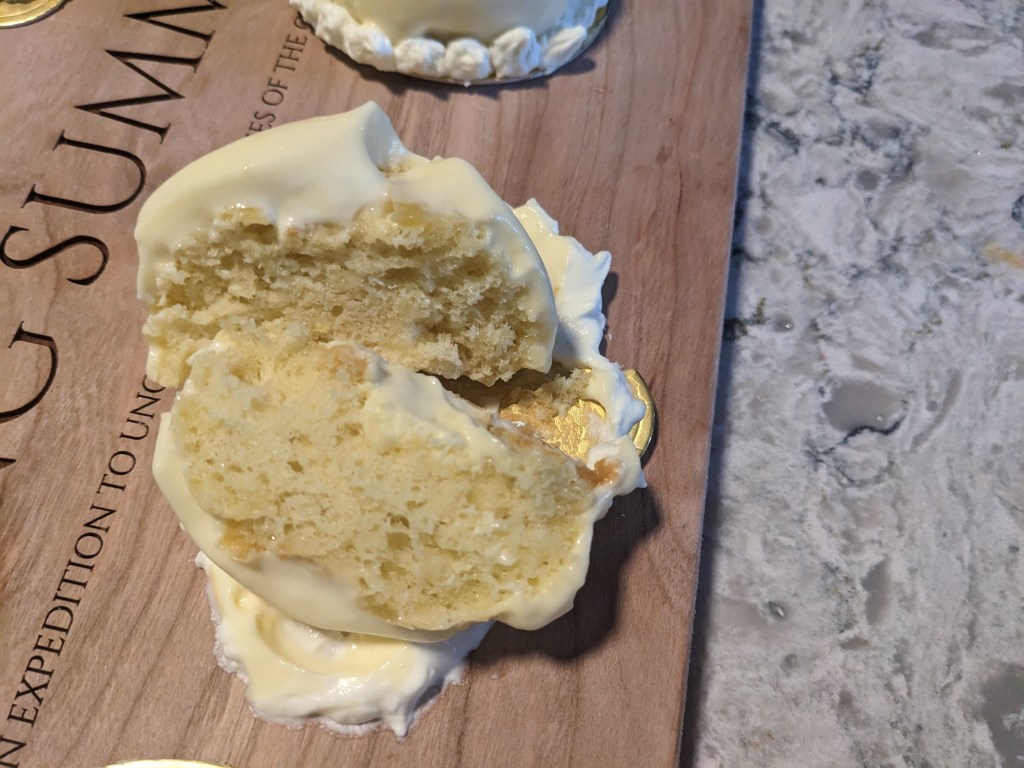
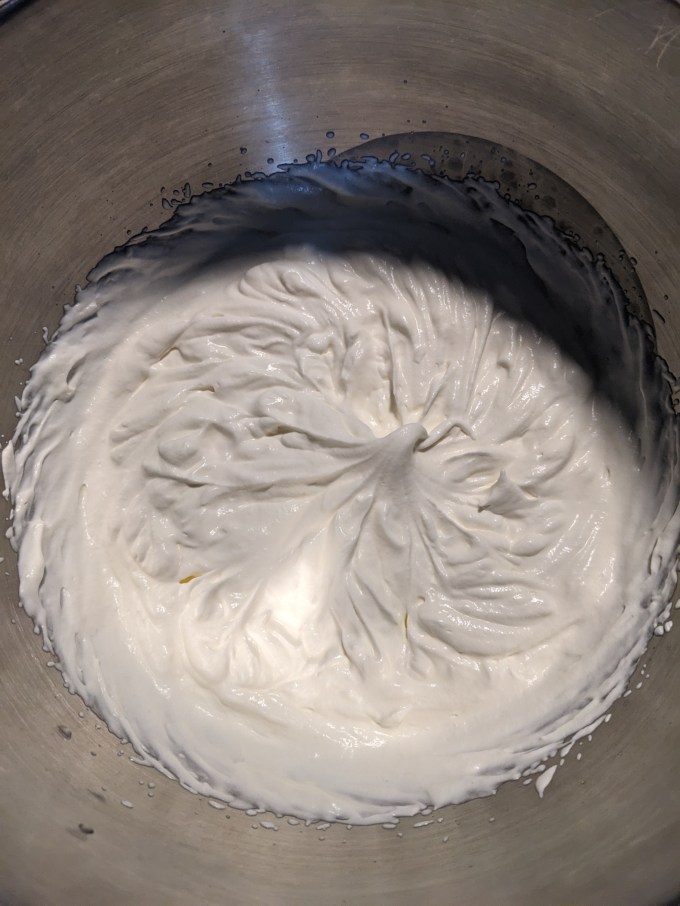
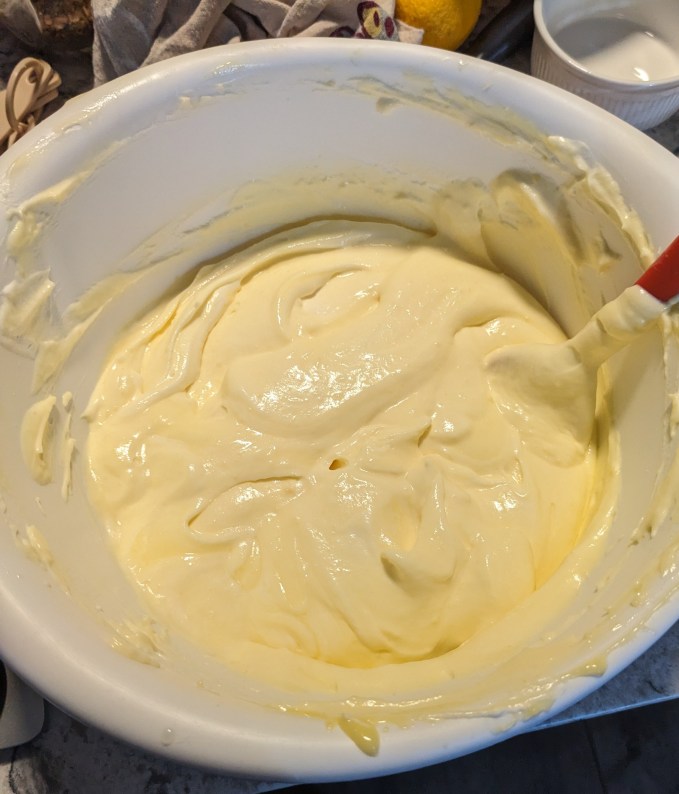
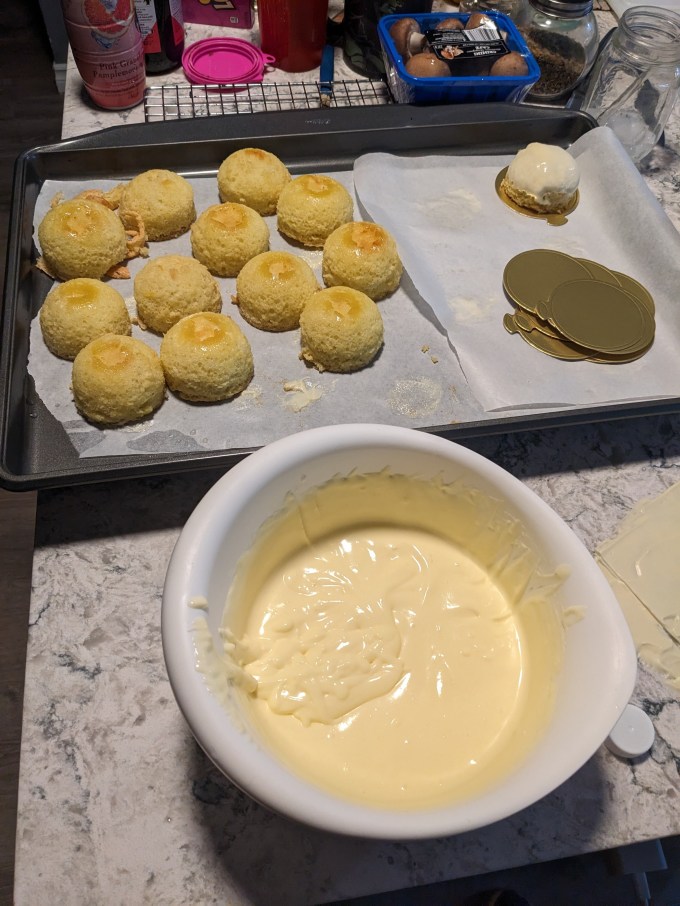
The cooled cakes are unmoulded. The lemon curd is whisked together with the lemon pastry cream. The lemon peel is removed from the infused cream prepared in step 1 and then the cream is whipped to medium peaks. The lemon curd/pastry cream mixture is folded into the whipped cream. This mixture is the cake filling.
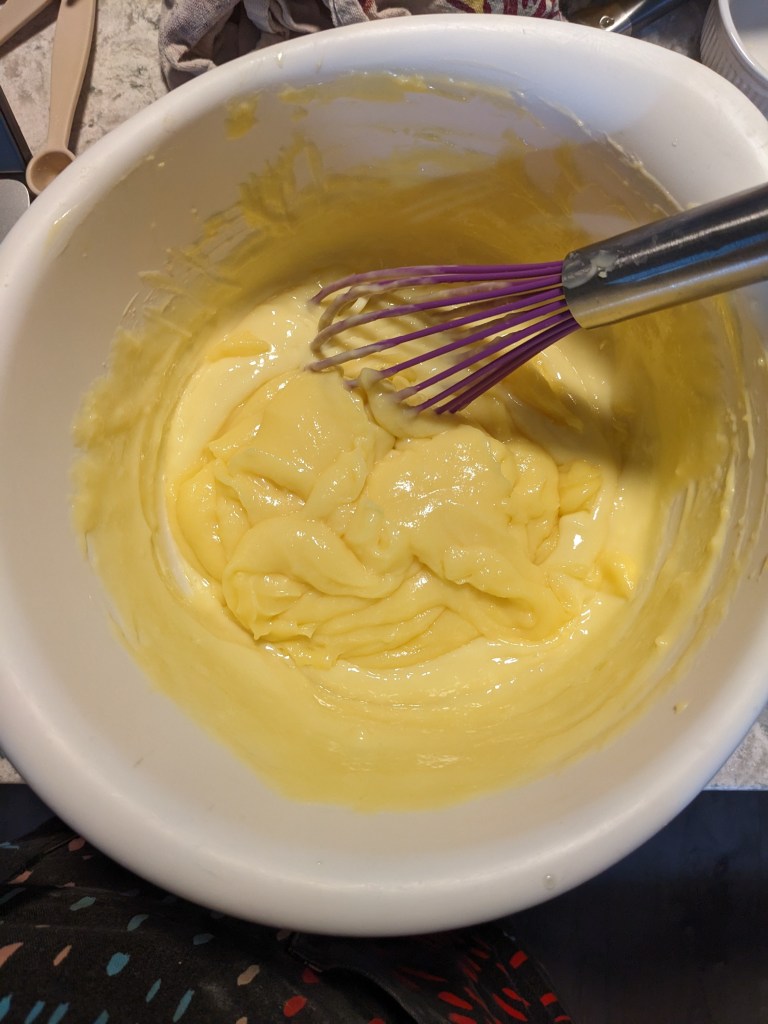

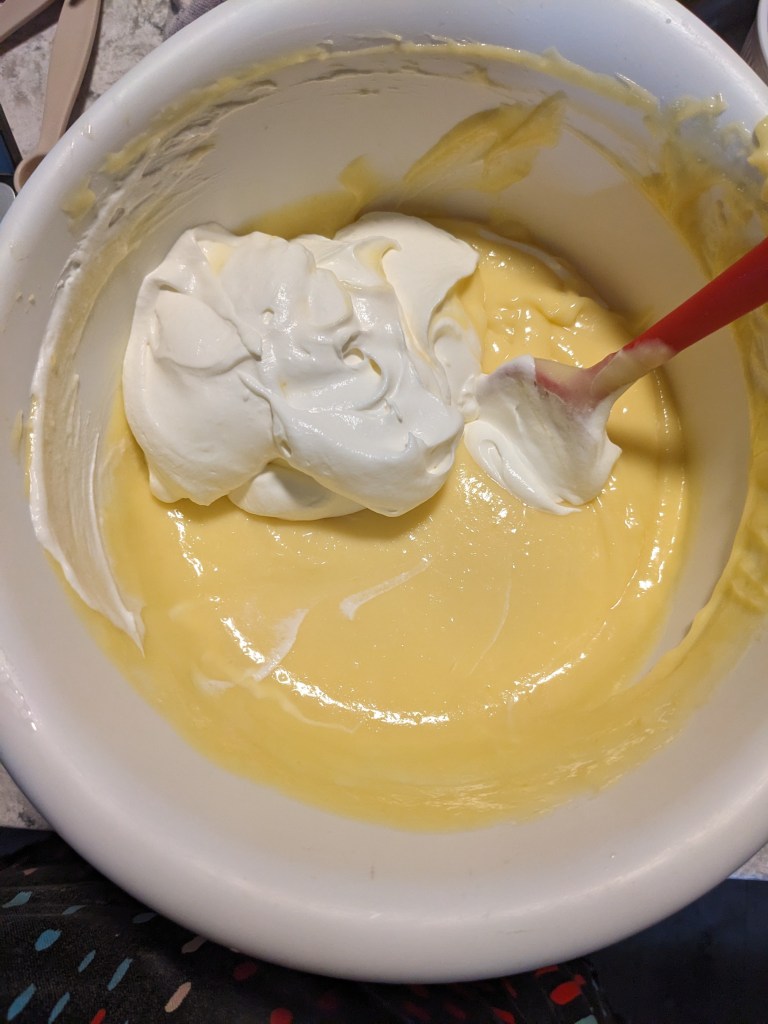


The cake filling is piped into the cakes. Once again I found I didn’t get quite the fill volume I was going for and once again I found myself following the instructions call for a star tip and wondering why I wasn’t just using my fill tip: that is what it is for. Perhaps one day I will actually remember this while the bake is in process.
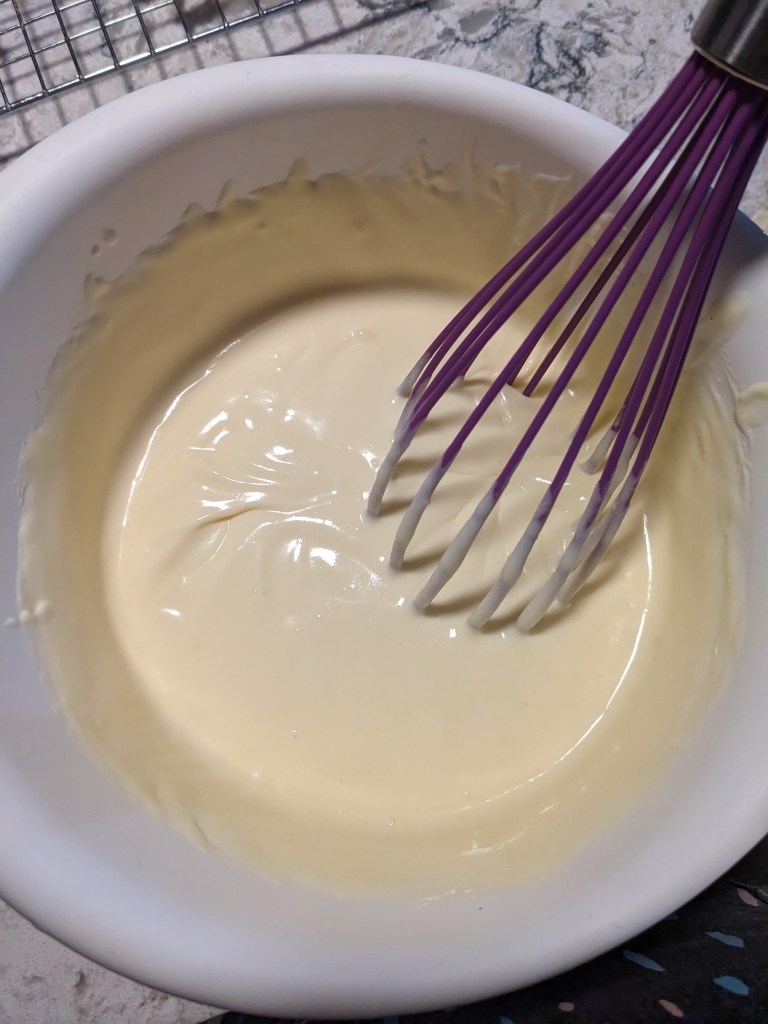
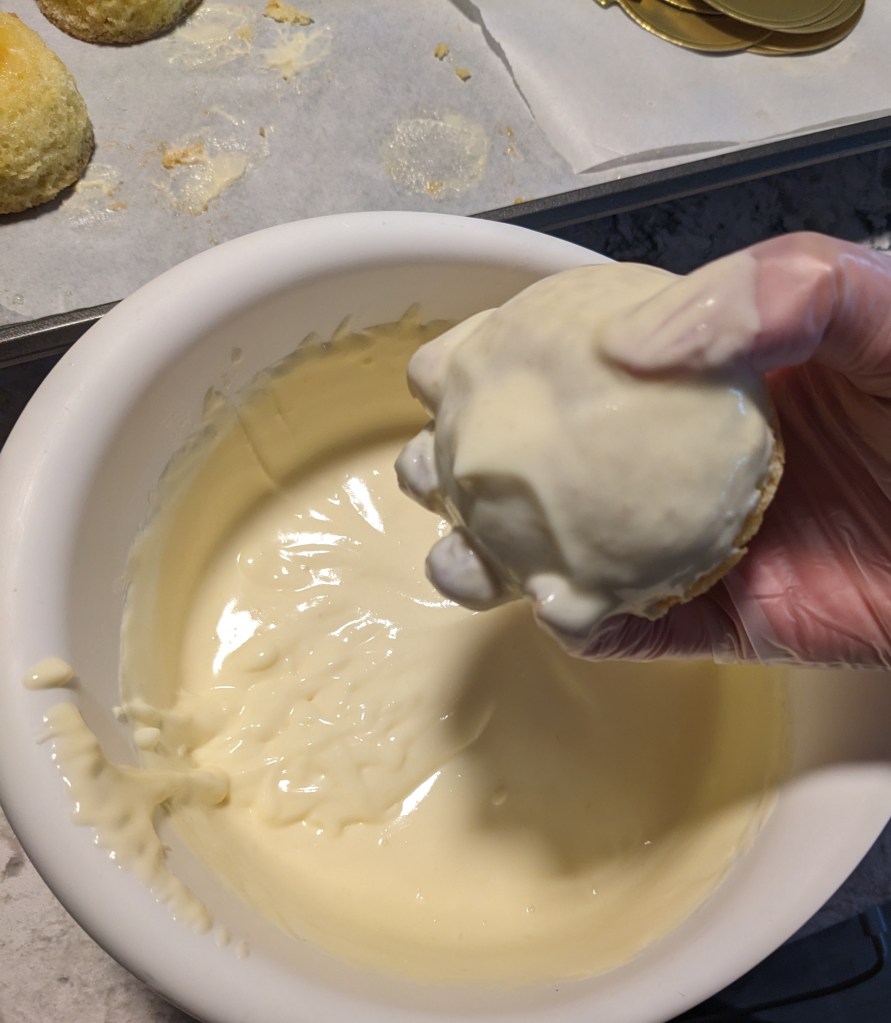
Once the cakes are filled, the remaining filling is thinned out with milk to make a glaze. Limoncello syrup is generously brushed on the outside of the filled sponges. The filled cakes are gently dipped in the glaze and placed on miniature cake boards to serve.

The recipe called for piping whipped cream around the edges and using white chocolate curls to decorate. I decided not to put the whipped cream around all of the units I made. Whipped cream needs to be served immediately and since Dave was delivering these to the neighbours, it just wasn’t worth the effort to try and decorate them and get them in front of people before the whipped cream melted. I also spent a few hours trying to do the chocolate curls but I couldn’t get them to come out so I gave up. I need to do some more research about making chocolate curls and white chocolate is easily the most difficult type to work with. As a consolation, I found the white chocolate was at least properly tempered once it cooled, but I just couldn’t find the exact right moment and thickness to spread it to get a proper curl. Perhaps I will sit down and hammer this out with myself some day but I would be lying if I said I had even a modicum of interest in doing so at the moment.
All of this is to say my finishing was on par with my usual level of apathy and I just put little triangles of the candied peel on top and called it a day. No one missed the whipped cream or the white chocolate and these little beauties were extremely delicious. A long and exhausting bake but definitely worth the effort for a special occasion.
Gallery


Between the final product and the bonus ice cream, this bake was a gift that kept on giving. When life hands you lemons, the prudent make lemonade, but why not turn those lemons into an epic two-bite cake instead? As the name suggests, this recipe is a show stopping celebration of all the beauty and delight a lemon has to offer. Wishing you all the puckering, popping, citrusy goodness there is to be found in lemons, both figurative and literal. Until next time.
Hey, bakers! Check out my BAKER’S PANTRY index if you want to deep dive on specific ingredients when attempting this bake for yourself

Ok gimmie some!! This looks absolutely decadent and delightful, also being a receiver of that awesome ice cream on a recent visit..soooooommmmme gooood! Cheers doll!❤️🫶🏼
LikeLike