
Hello and Happy New Year, Friends and Fellow Bakers! Here I am squeezing this in just under the wire in my effort to do at least one post per month (#technicallyontime). Go me. Today I am talking about Portuguese custard tarts, which are one of my most favourite pastries to eat.
I remember clearly watching this season of GCBS and getting super excited to learn how to make these (featured on Pies and Tarts week, recipe here). When I worked in social services, I had a Portuguese client and his mother was a wonderful and generous baker, but even she would buy these from the Portuguese bakery instead of making them. I was fascinated and intimidated. If this old-school, talented Portuguese Vovi couldn’t be bothered or didn’t know how to make them, then surely I would be out of my depth. I am more versed in French pastry and even then, as I have mentioned here previously, I was very squeamish about lamination. Add to the fact that making two-bite formats has never been my favourite thing to do, I figured this would be one to discover happily by surprise on party trays and call it a day.
Since then, I have not only made these successfully twice, but I have learned the fascinating history of this elusive and tantalising treat. According to Wikipedia, in the 1700s (and earlier), clerics would use egg whites to starch their clothes. This left them with an abundance of egg yolks which they would use to make pastries, and thus the world famous egg tarts were born. Eventually the political landscape changed and the monks started making the pastries as a full time job and ultimately sold the recipe to a local sugar refinery. This refinery-turned-commercial-bakery is where the original recipe still lives (in secret!) and is still run by descendants of the original owners. Today, the Pastéis de Belém makes over 20 000 tarts EACH DAY. Amazing!
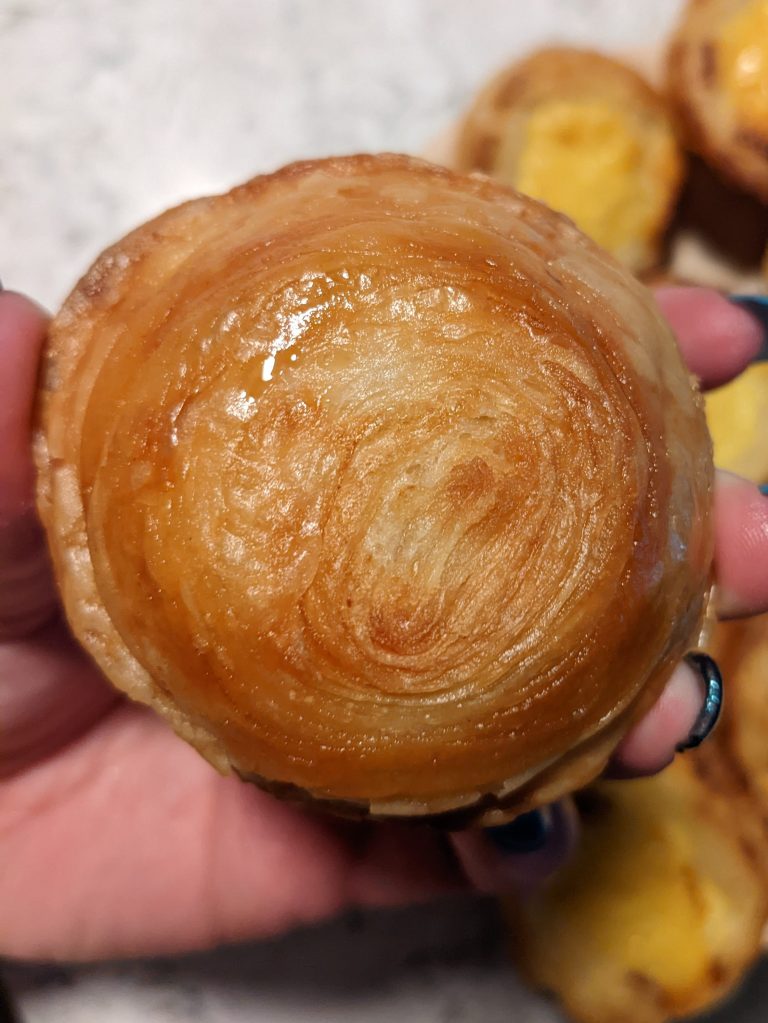
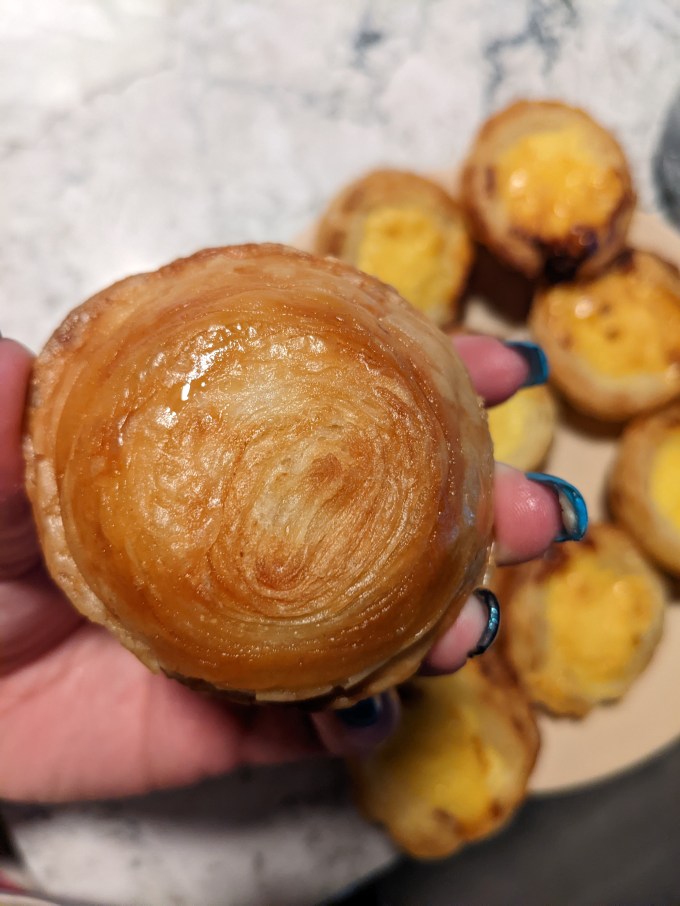
Even in the absence of this fascinating and impressive historical information, Portuguese custard tarts are interesting in their own right. Prior to this bake, I could not have told you how the tart shells are made, they are such a unique method and the eating experience is different from any other pastry I know. It seems similar to puff pastry but softer and they don’t puff with quite the same height. The mouthfeel has more of a chew than a crumble or flake which is truly puzzling but also captivating.
I also didn’t realise until I baked them that the custard method is surprisingly unusual as well. Now that I know their long and storied history, it makes a little more sense. Monks working with flour, eggs, and sugar had limited options to experiment with, especially in the 1700s. Such ingenuity, and I am sure they ate all of their terrible test bakes in the name of frugality (#bless).
For my part, this bake went fairly well. I had a lot of butter leak out in the oven, and I don’t have a baking stone which is recommended. Side note: I have kind of a bad attitude about baking stones. I think it’s irrational, I can’t really explain it. Part of me just knows I can manage without so why bother: the need arises so rarely. On the other hand, the more I expand my repertoire, the more applications I find for one, so maybe it’s finally time for me to get my head out of my ass just bite the bullet and buy the thing.
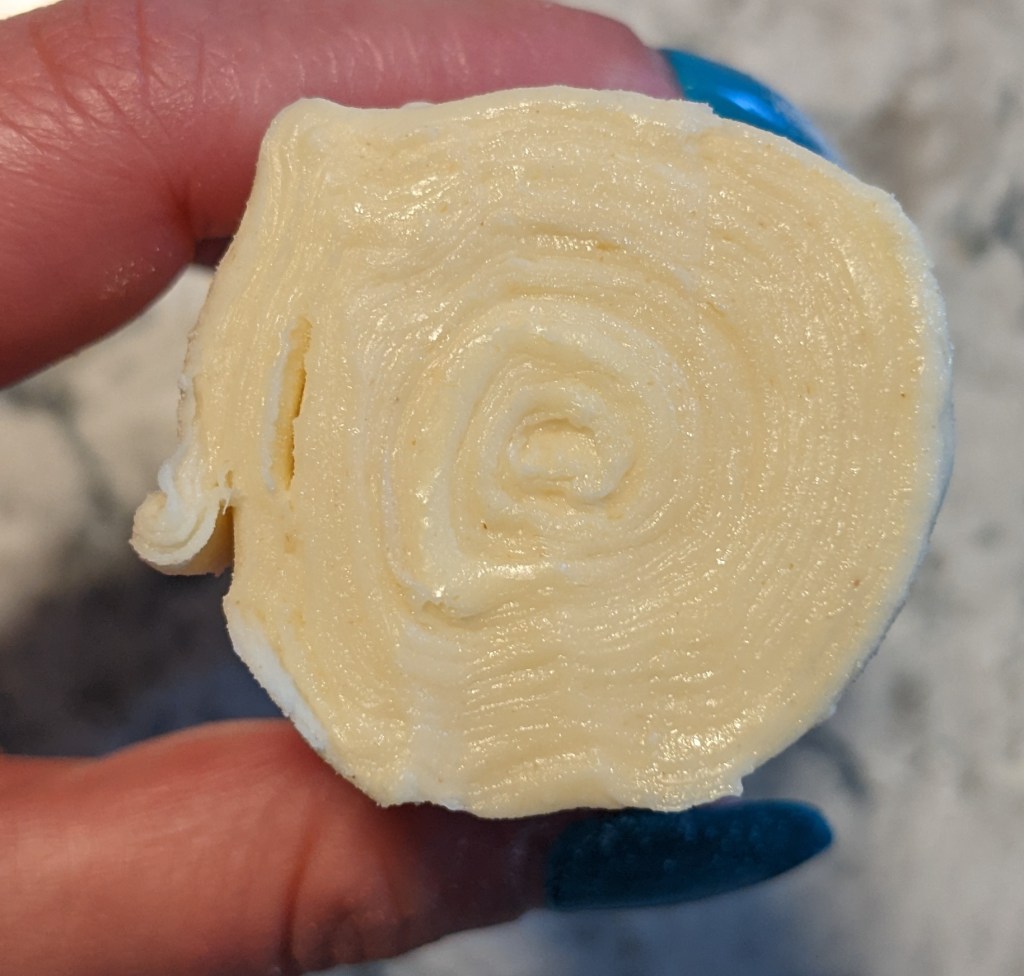
This pastry method is an interesting iteration of lamination, using room temperature butter and then rolling the dough into a coil to achieve more layers. The tart shells are filled with cross sections of the dough which means the pastry is heated laterally in the oven, which is completely different from the geometry of other layered pastries. The result is that characteristic, one of a kind crunch/chew mouthfeel that is so unique to this particular method. And so the curtain gets pulled back.

As I mentioned, I have made these a second time since doing them for the blog. I attempted to scale them 1.5x with so-so results. I realised once I was nearly done that butter in laminated pastry scales with surface area, not mass, so that is some new Baker math I need to ponder and research a little bit more. I am also curious to see if using the baking stone makes a difference, really. Time will tell.
The custard is FLOUR based, which I admit I would have been quite judgmental about if I heard of someone doing such a thing outside of the context of this recipe. I now stand here humbled; who am I to argue with monks from 300 years ago, this shit is delicious. The best part is the hint of lemon and cinnamon so prevalent in Portuguese sweets. As anticipated so long ago when this episode aired, I am truly delighted to have this one in the books for future use. This method is not a huge time commitment, the dough and the filling can be made ahead, and the widespread popularity compared with the need to get these at speciality shops makes them a perfect crowd pleaser for any occasion.
Step 1: Pastry Dough
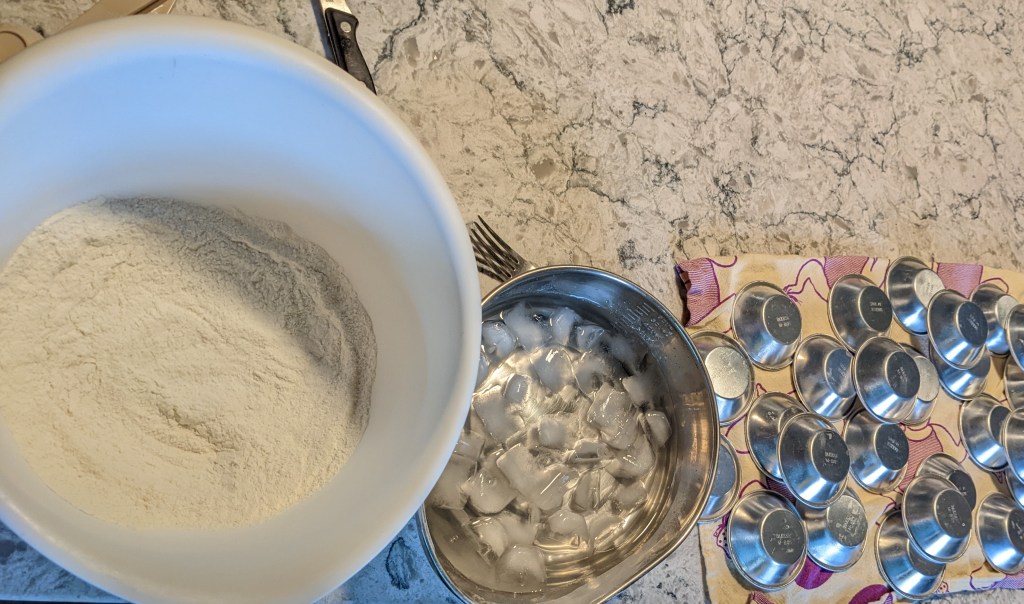
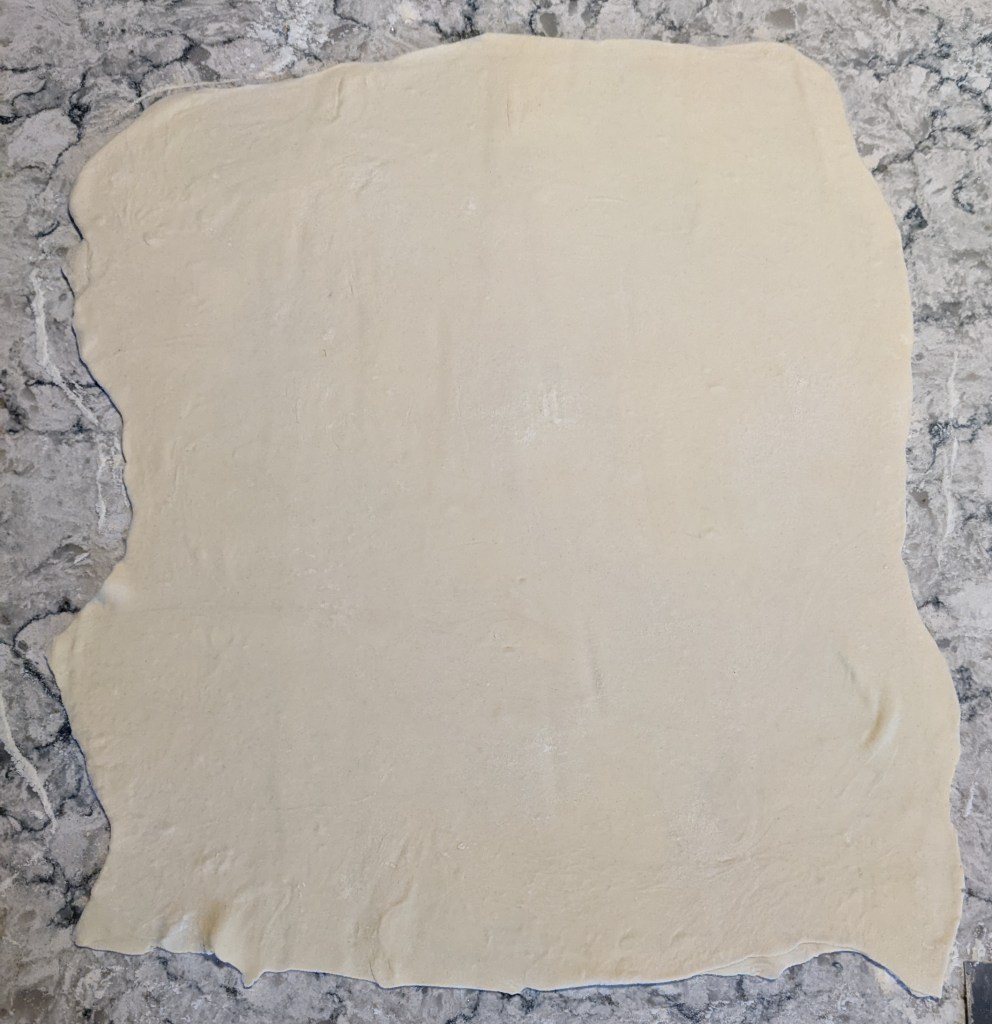
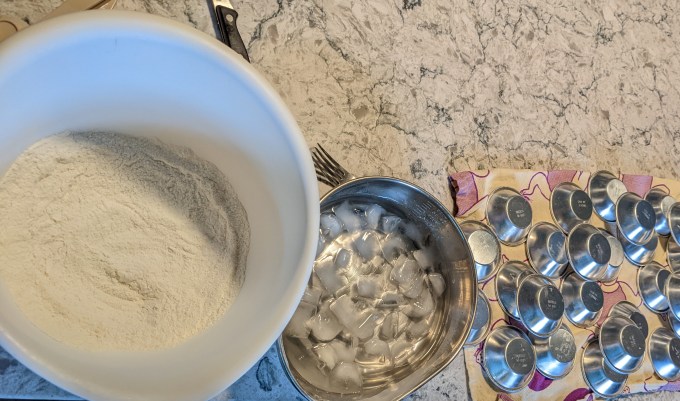
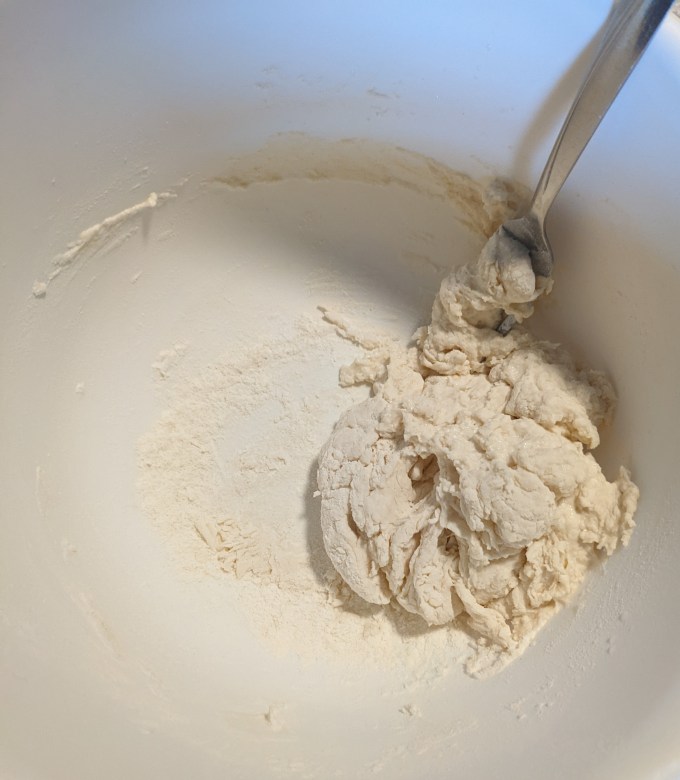
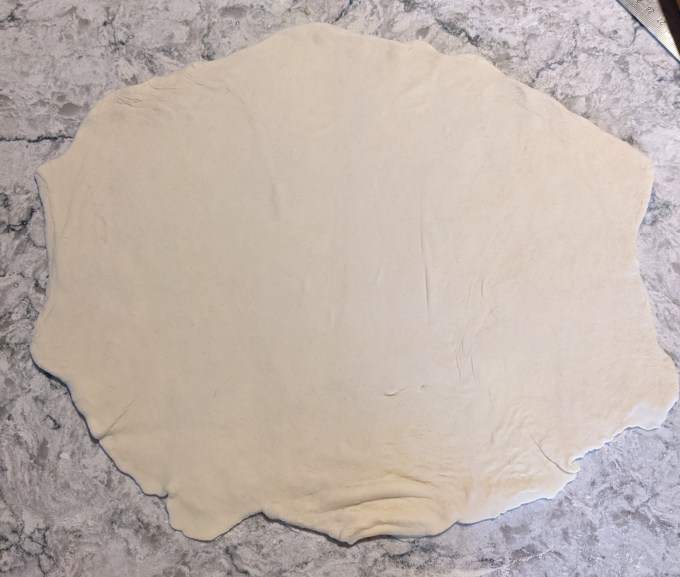
As I mentioned, this pastry is a different lamination method that results in a remarkably unusual final tart shell. Flour, salt, and cold water are combined to form a soft dough, then left to rest briefly.


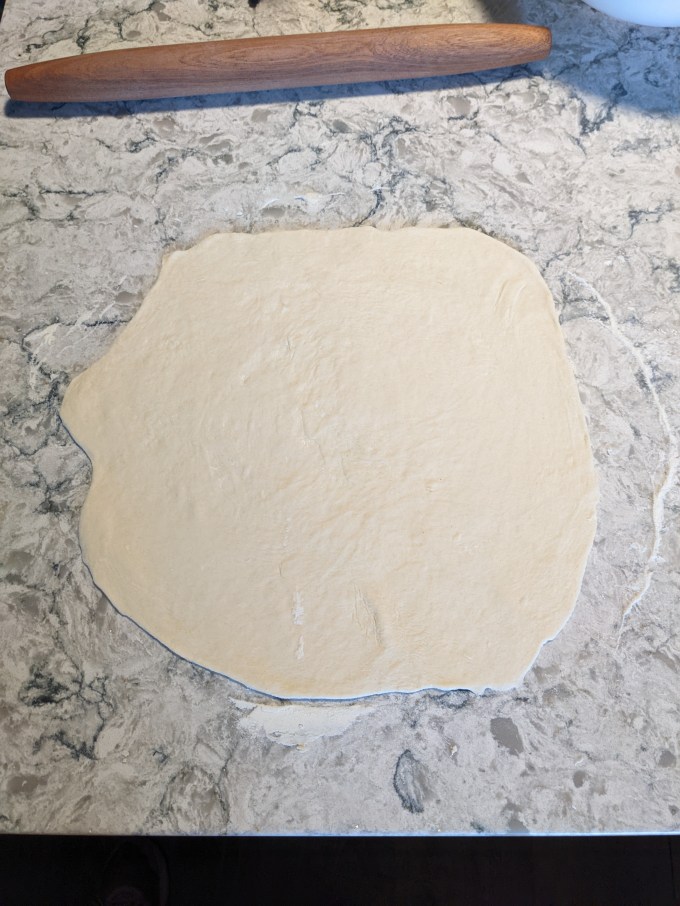
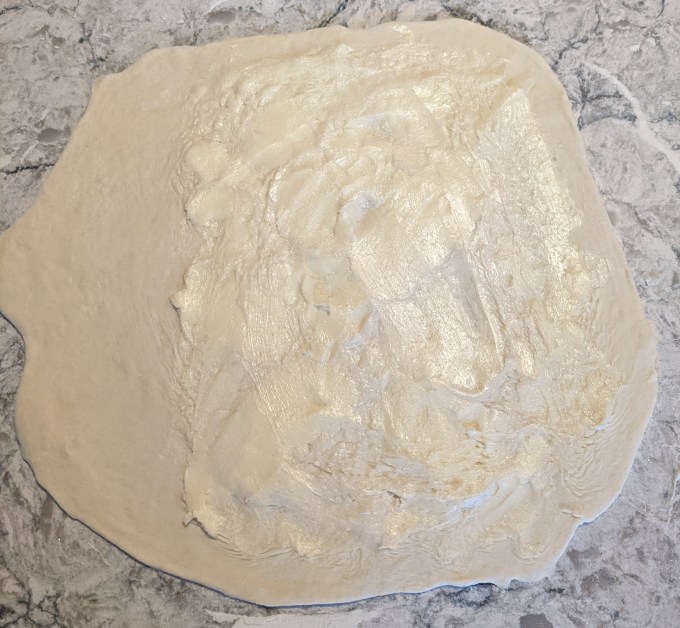
The dough is rolled out and then lamination begins. It is important to use butter on the high end of room temperature for this method. The butter should be soft enough to spread with a spatula or fingers. The second time I made these I actually used the butter softening setting on my microwave to get the consistency just right. I know I am not alone when I say I am microwave averse. There is this weird thing in baking culture where it’s okay to use the microwave as long as you apologise for it and know how to do the thing without it. I don’t know, I don’t make the rules. There are similar attitudes about food colouring, but I digress.
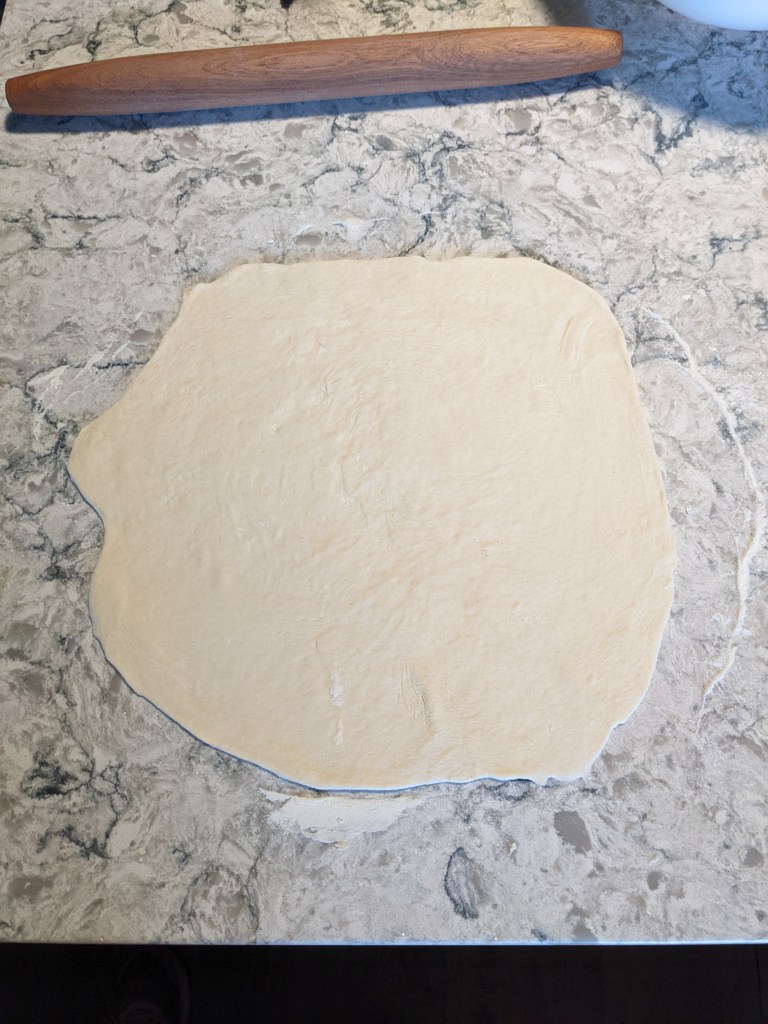
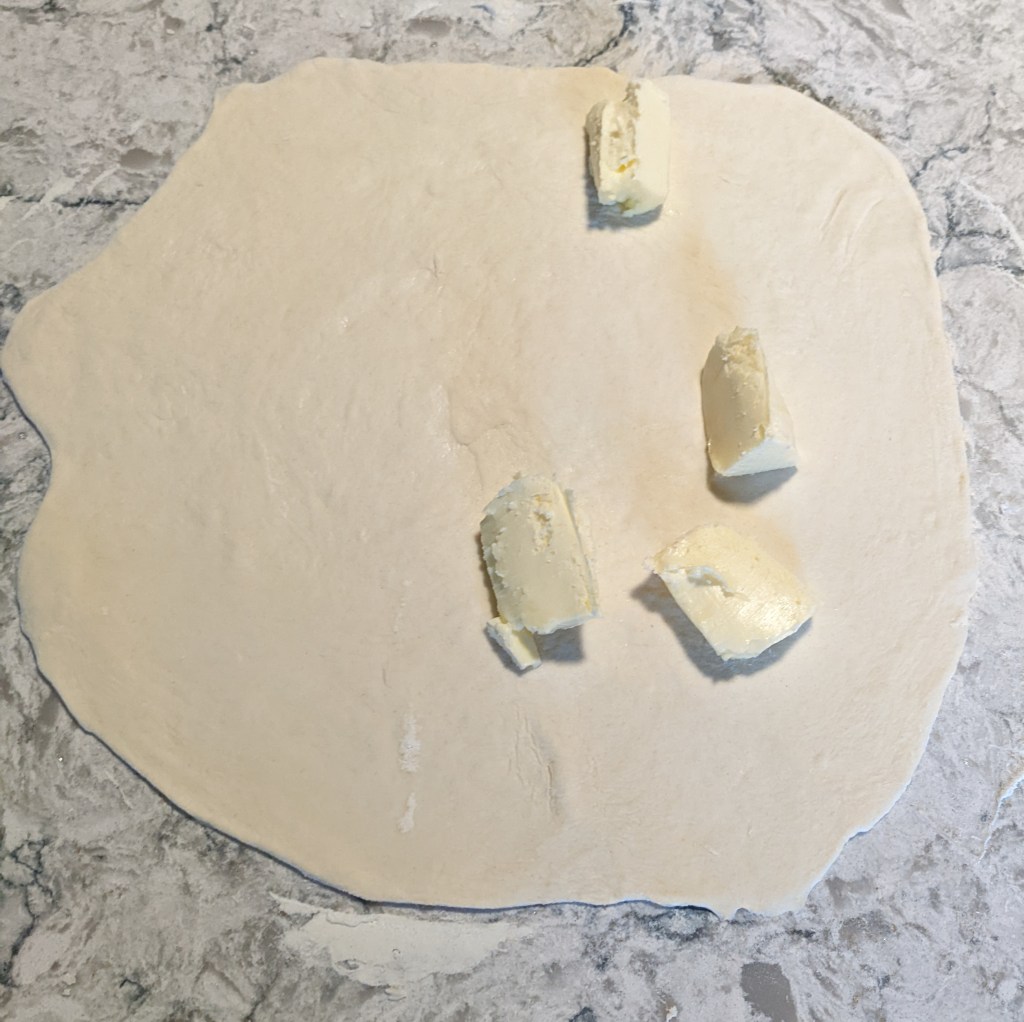
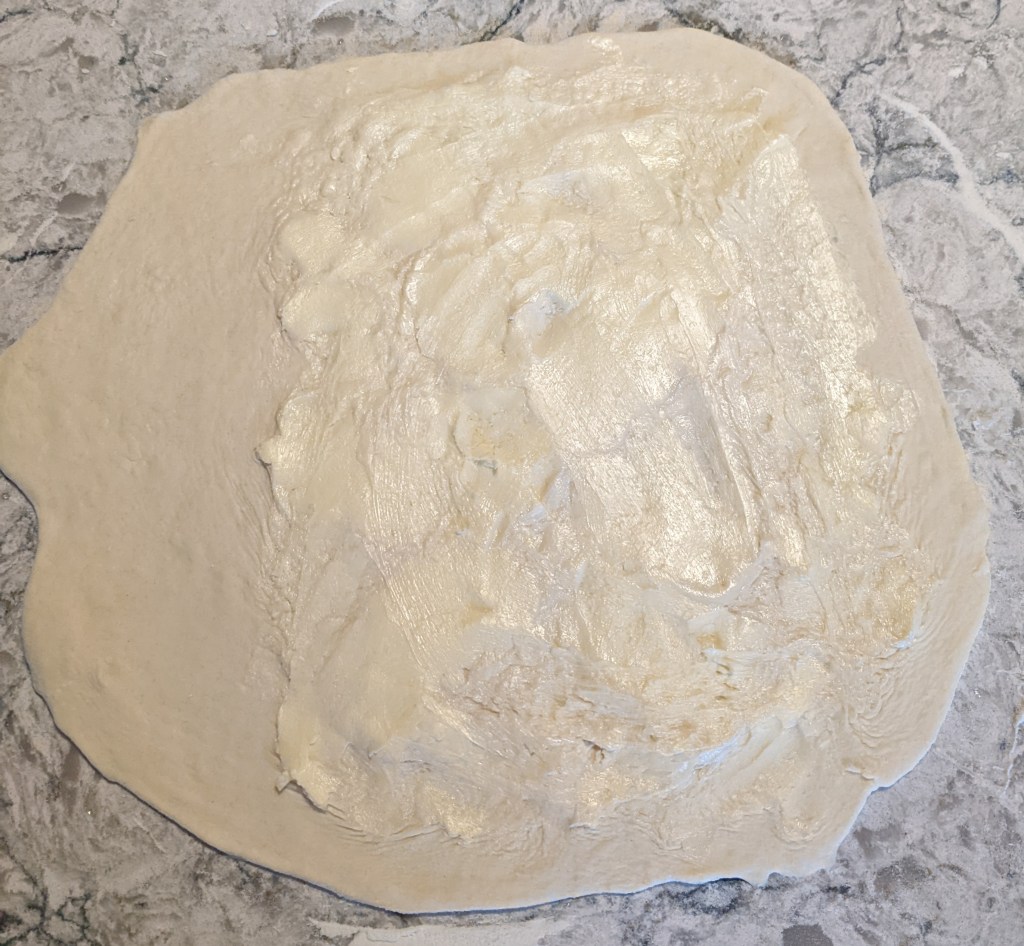
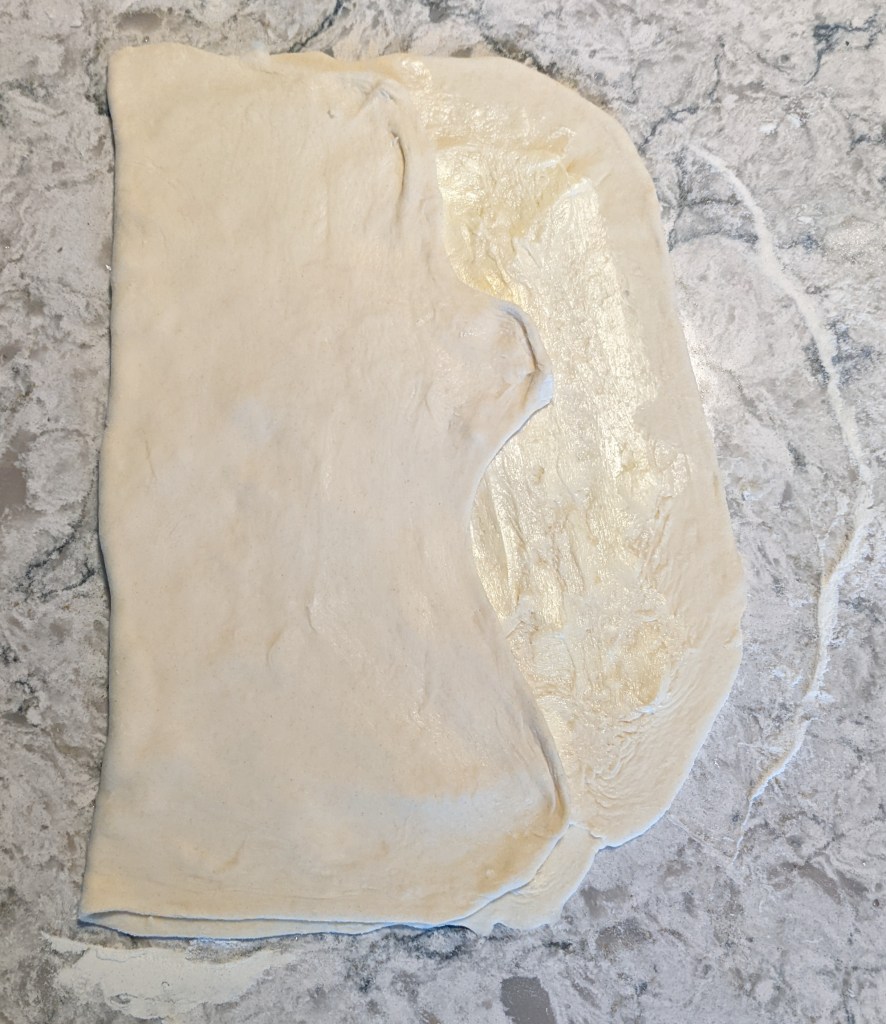
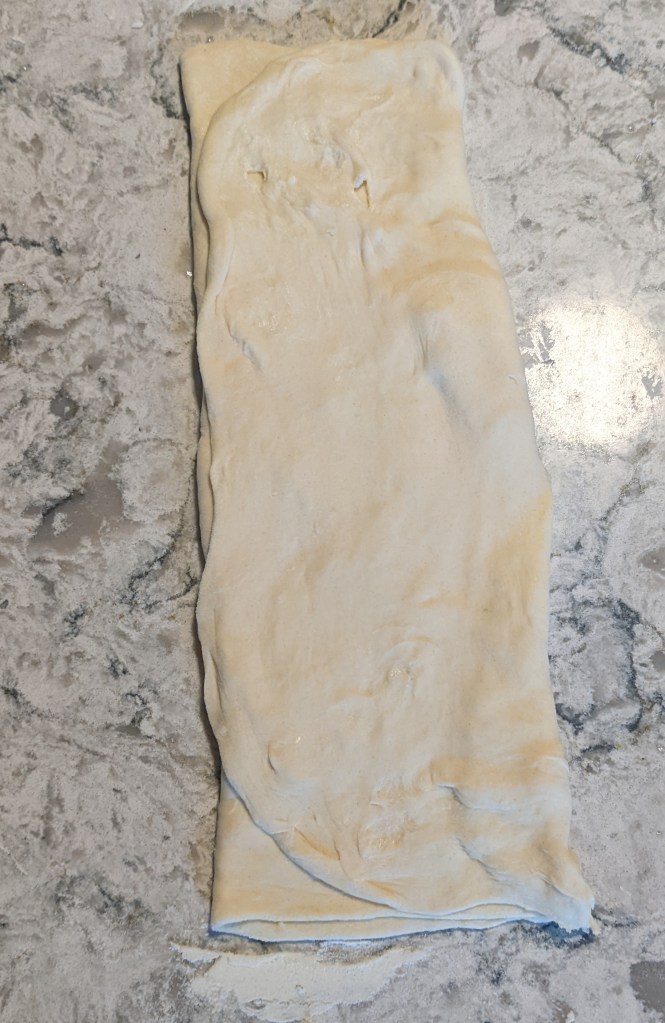
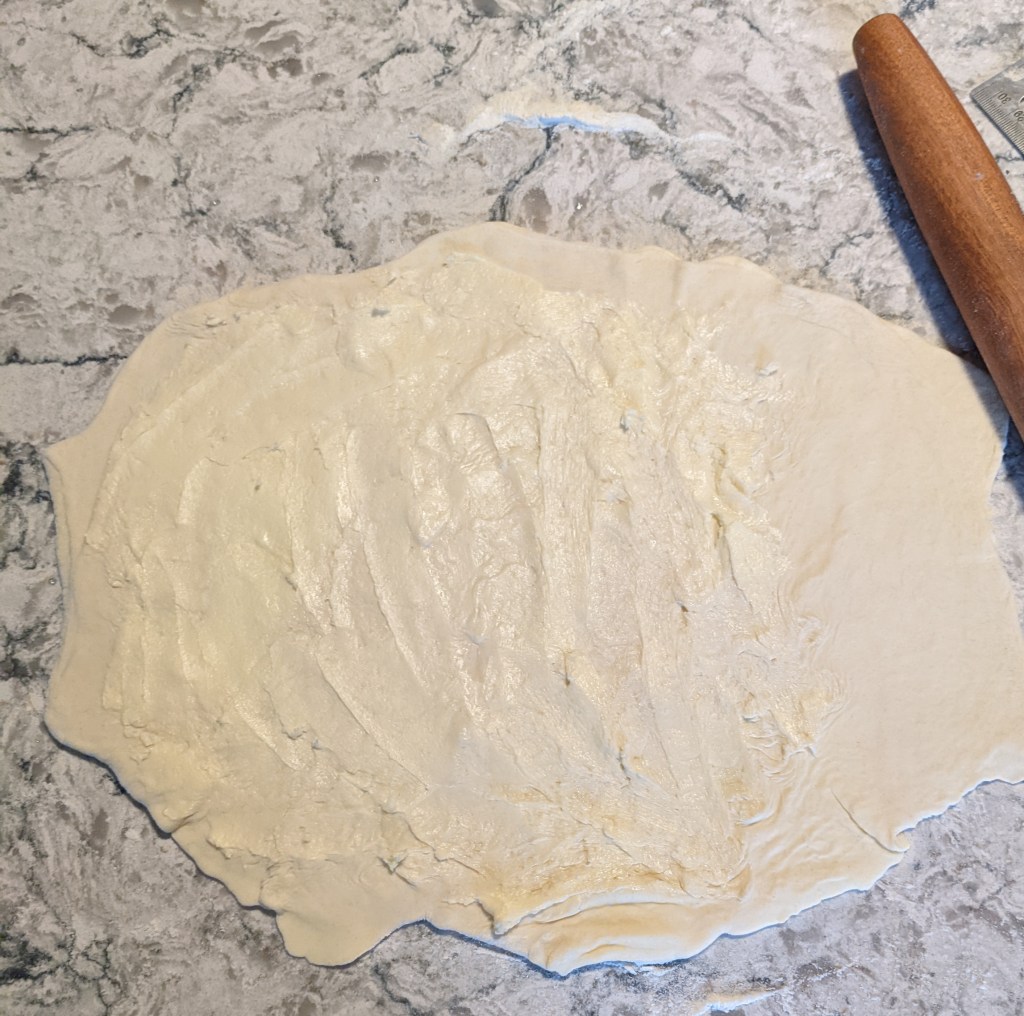
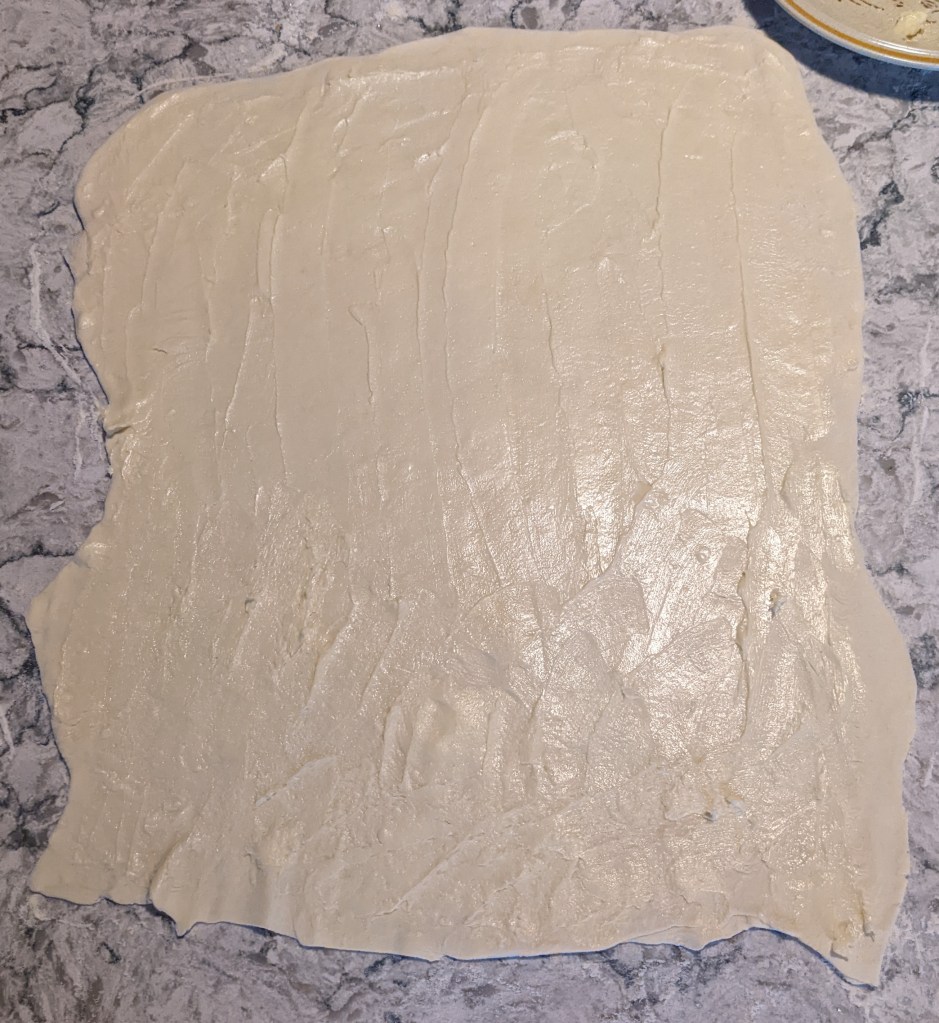
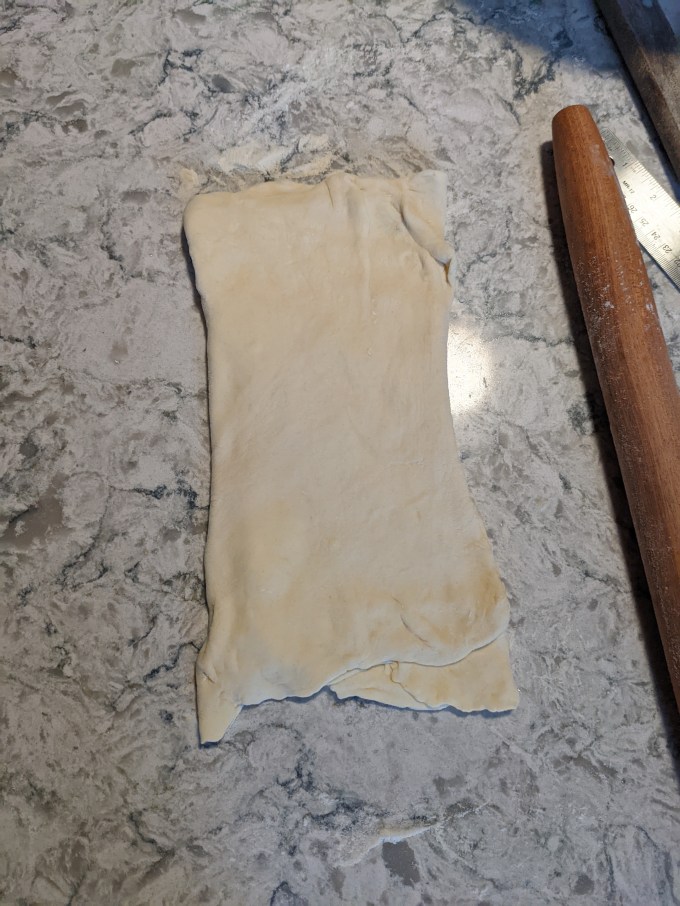
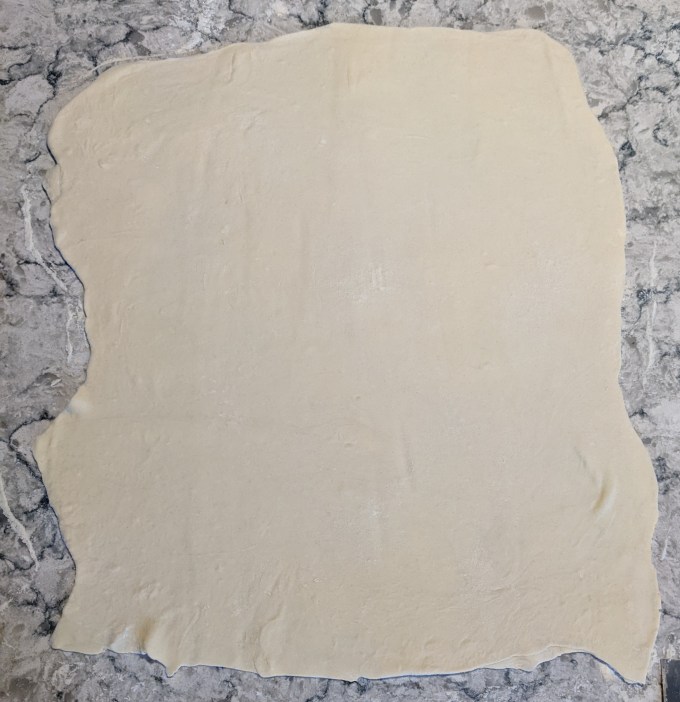
The pastry is rolled out quite thin, about 1/16 inch, almost like strudel. Butter is spread on ⅔ of the roll out and then a standard envelope fold as you would with French pastry. Amazingly, there is no need to rest the dough between roll outs. Just turn, roll out again, and butter and fold again. Finally, a third roll out and a thin layer of butter spread across the entire pastry.
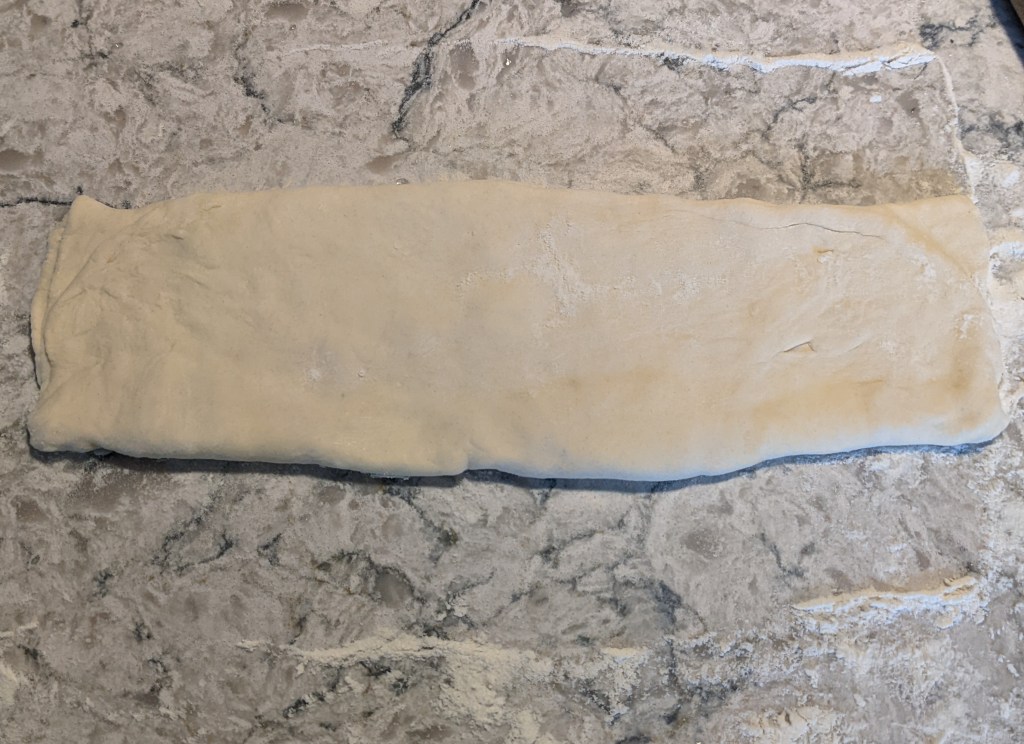


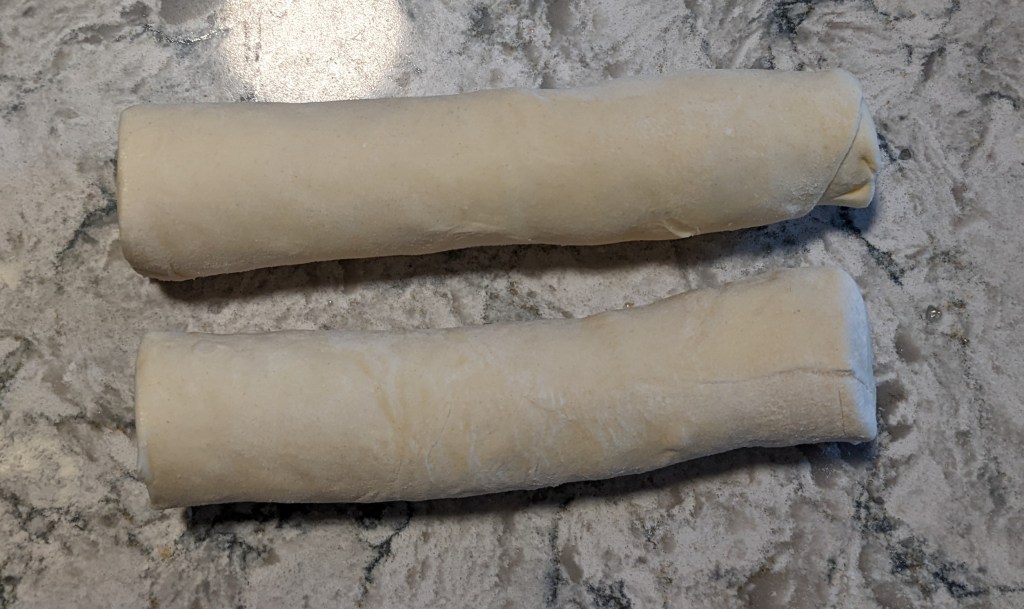
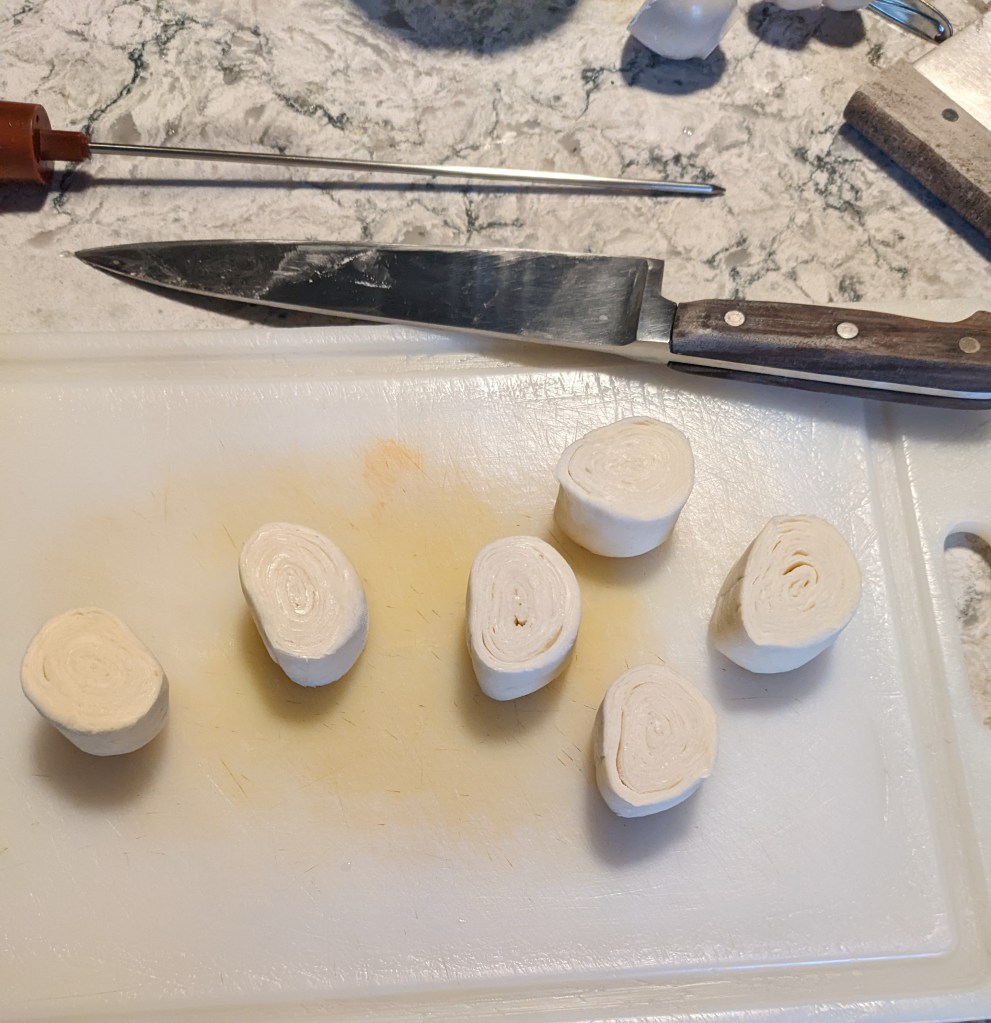
At this point the dough is rolled up into a tight cylinder starting at the short edge, as you would with a rondeau or jelly roll. The dough is split in half for easy handling and put in the fridge to firm up.

Step 2: Custard
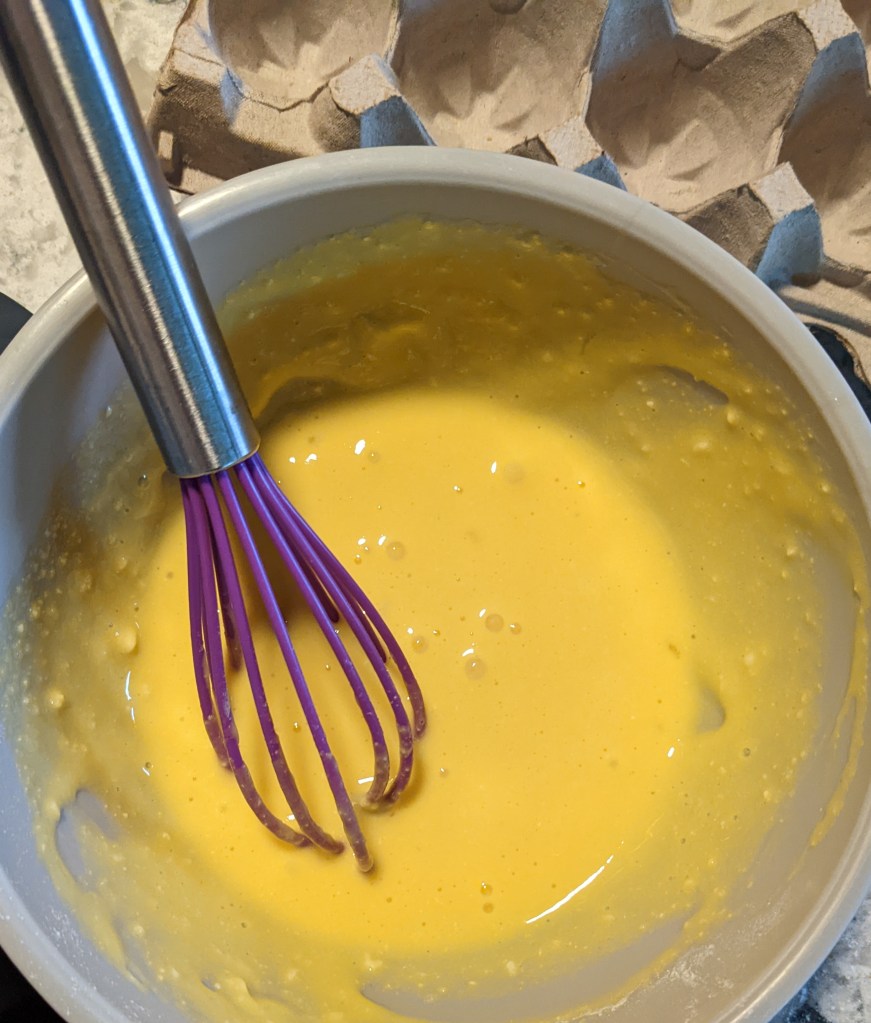
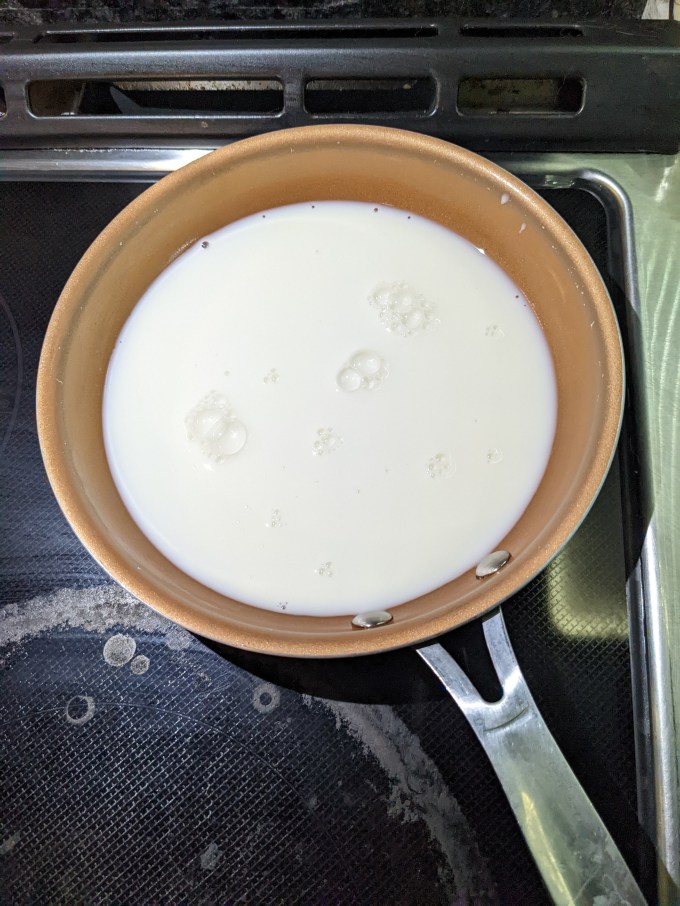
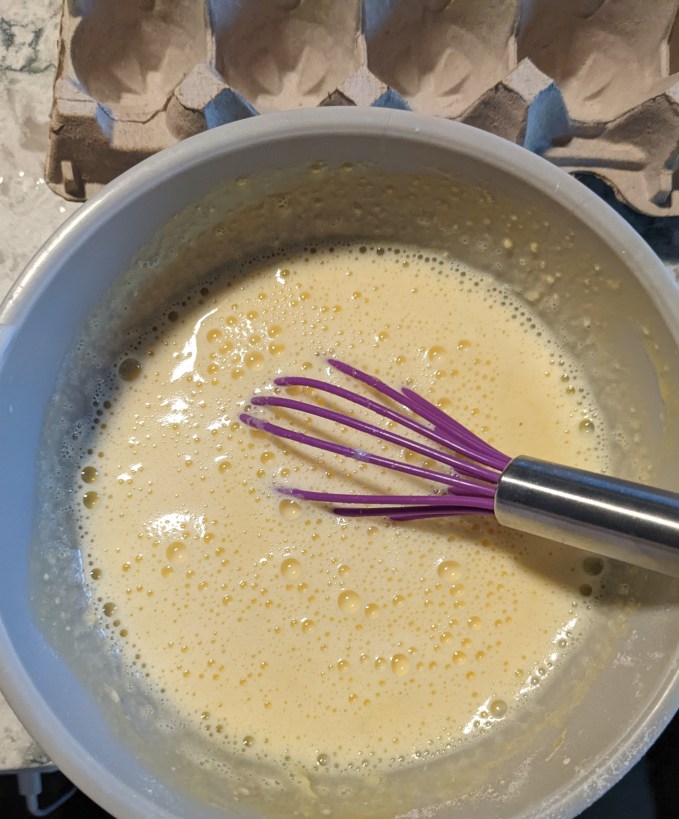
As I mentioned, this custard method kind of blew my mind but I am over it now and it is delicious. A little bit of milk is whisked with egg yolks and a bit of flour to thin them out. The rest of the milk is heated gently on the stove until scalded.


A small amount of the hot milk is whisked into the egg to temper them and prevent scrambling, then the remainder is mixed in to make the custard base. So far, so good.

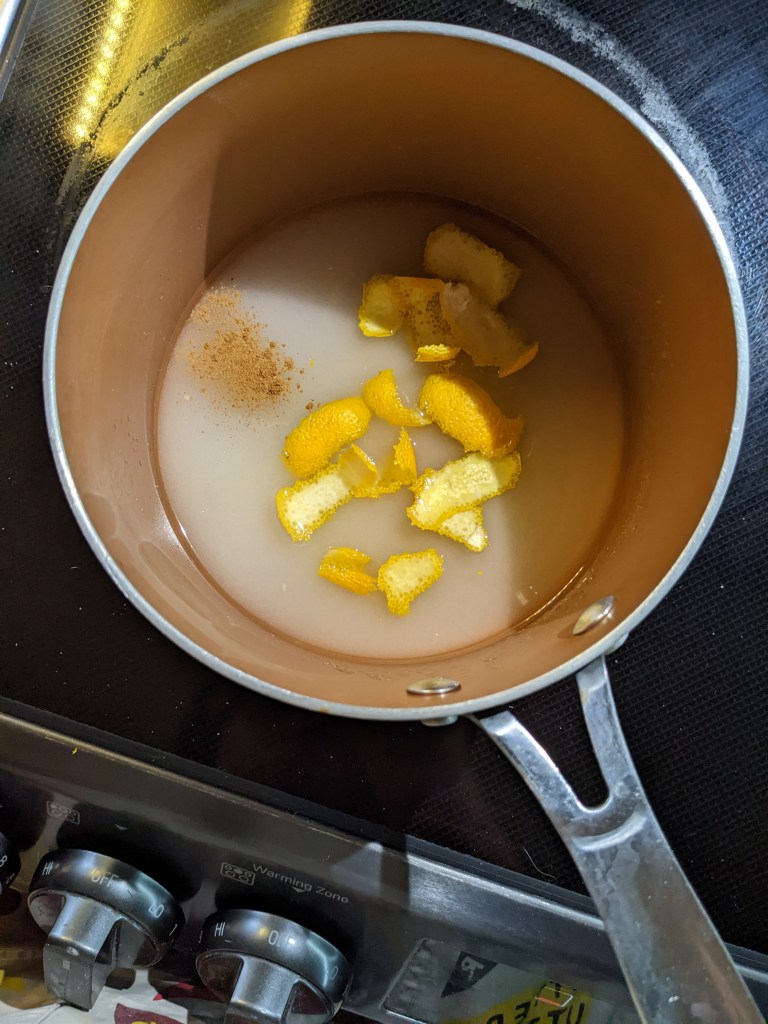
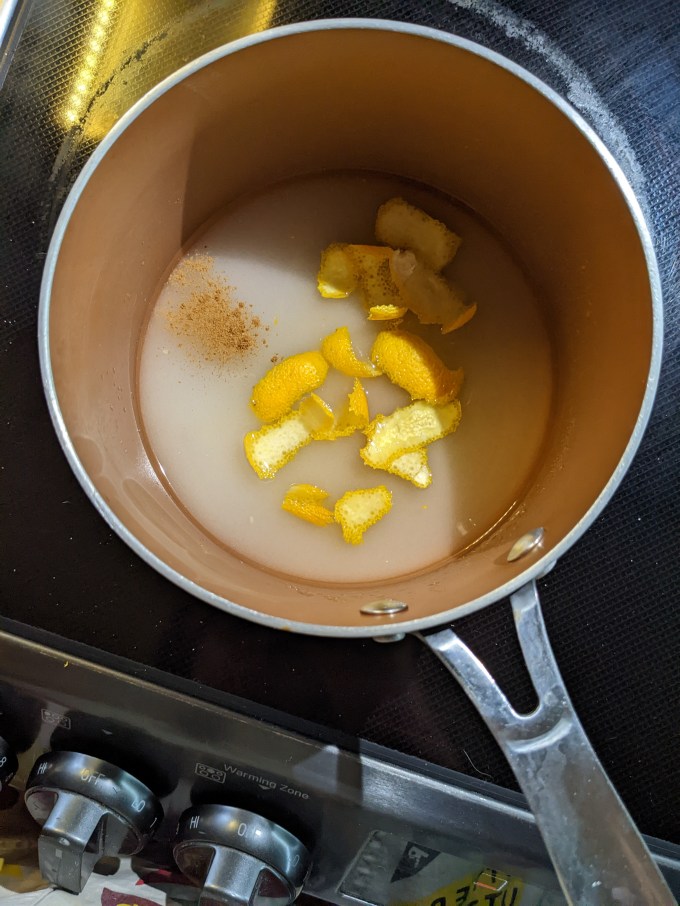
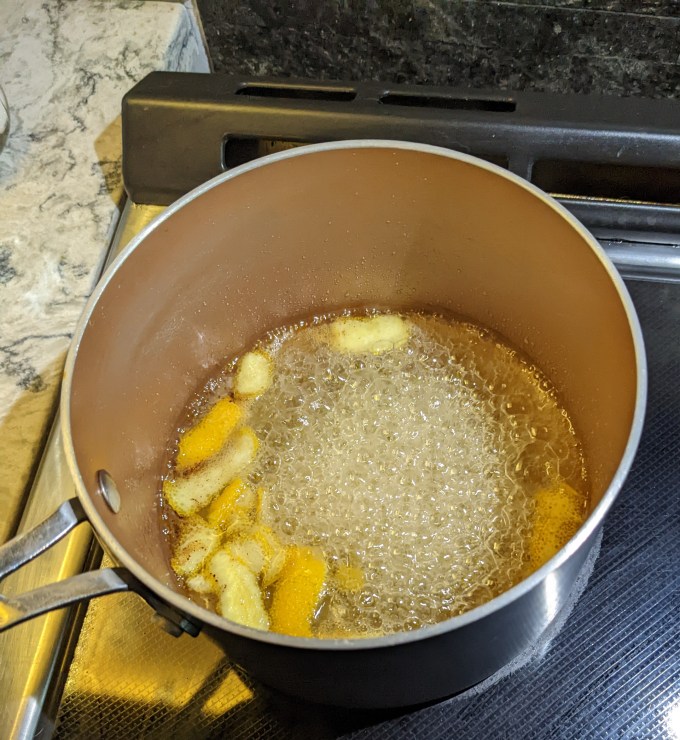
Sugar, lemon peel, water, and cinnamon are heated on the stove to 220F, making a simple syrup. The syrup is gradually streamed into the egg mixture, whisking constantly.

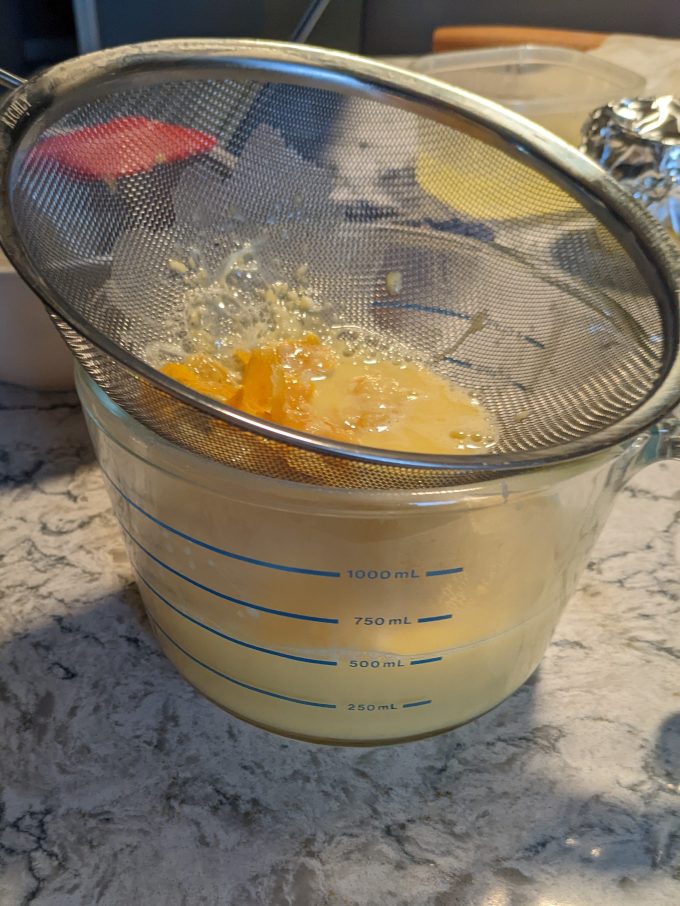
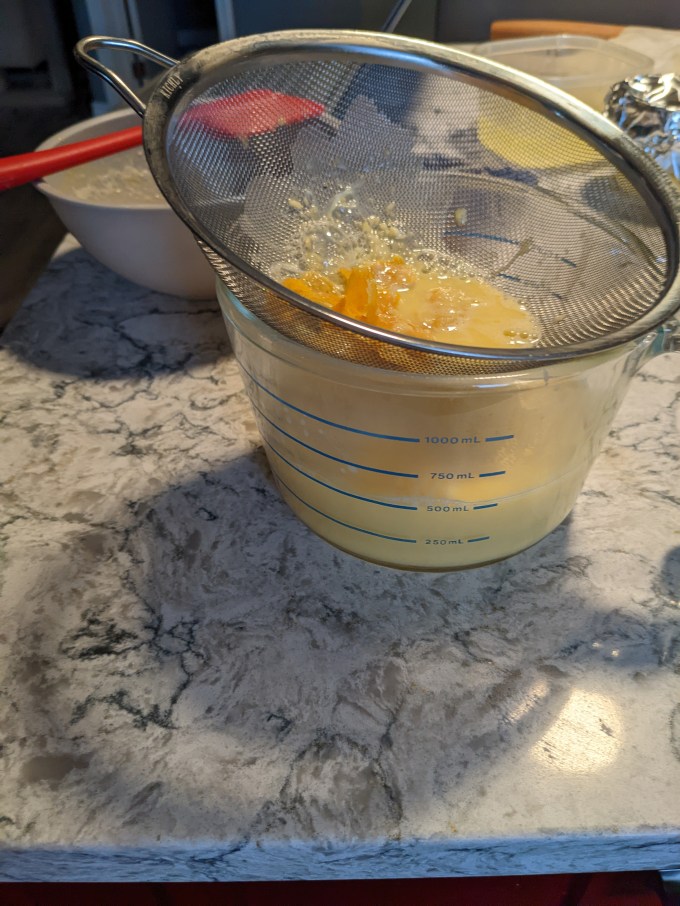
Once the custard has cooled slightly, it is sieved and then left to cool completely.
Step 3: Assembly
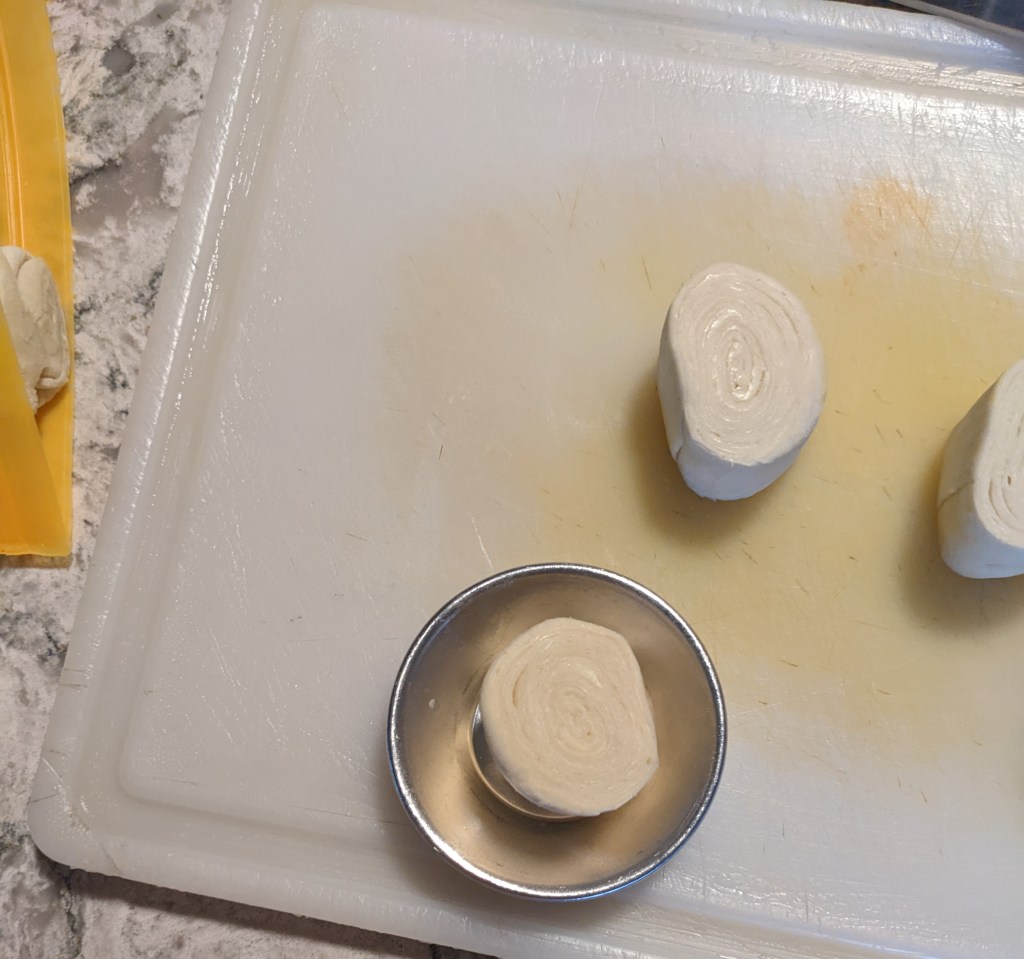
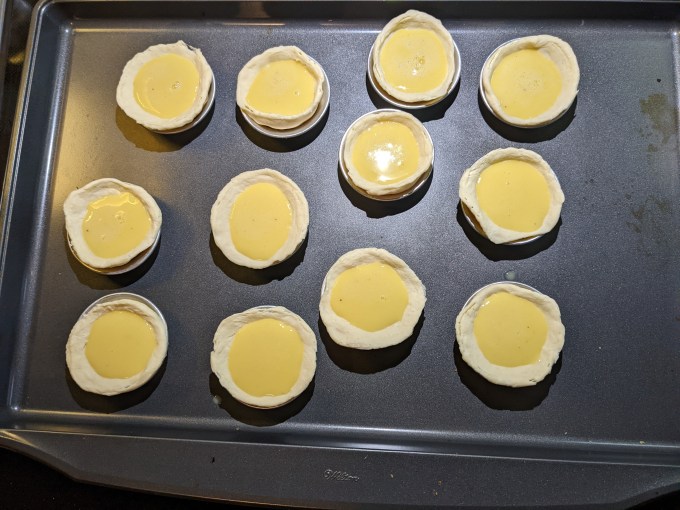
The chilled dough is sliced into roughly 1-inch coins then placed spiral side up in the tart tins. The shells are gently shaped into the tins using thumbs to spread them up the sides so they are protruding slightly over the edge of the tins. In my case, I had to shape them with my knuckles, since I had my long-ass Christmas nails on. I do not recommend making them this way; it was unnecessarily laborious.
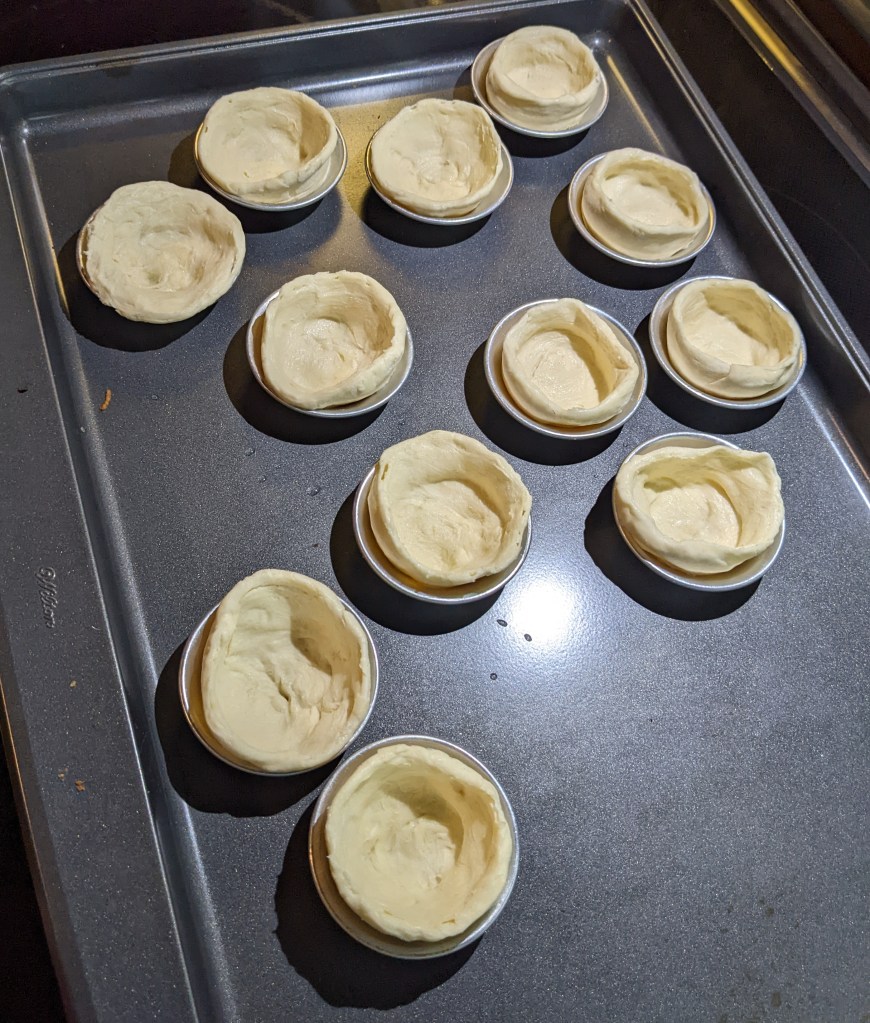
Once the shells are shaped, they are chilled to firm up. The goal here is to flash cook them from cold to try and maintain the shape as much as possible while the pastry puffs quickly in a hot oven. This version of the recipe calls to reshape them quickly part way through chilling.
After the chilling is complete, the shells are filled ¾ full with custard and then put directly in a hot (500F) oven, in the top third position. The tarts are baked until the pastry is brown and the custard is slightly blistered.

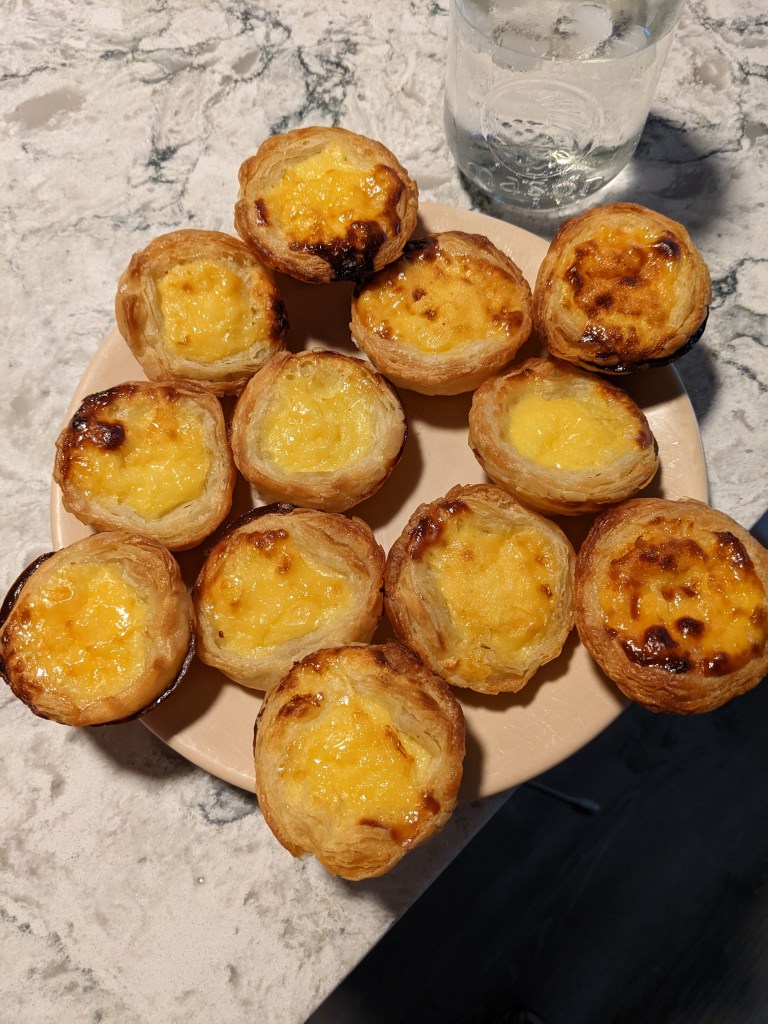
And that, my Friends and Fellow Bakers, is the surprisingly simple and eternally delicious Portuguese Custard Tart.
Gallery


I was so pleased to learn this method and I am looking forward to honing it a bit more to reduce the butter leakage I experienced both times. The custard also bakes up nicely by itself in a ramekin, I discovered, so any leftovers need not go to waste. It is always so fun to learn not only a new method, but one for a bake I truly enjoy eating (there are so few lol). Now I am bolstered, with a taste for more – onward, Fellow Bakers, higher we go!
Hey, bakers! Check out my BAKER’S PANTRY index if you want to deep dive on specific ingredients when attempting this bake for yourself
