Why hello there, Friends and Fellow Bakers! It is finally time to discuss the first ever CARAMEL week on GCBS. Caramel is much like meringue in the sense that it is a true delicacy: every good baker has to be able to do it and no matter how many times you practice, it’s terrifying EVERY TIME. Once again the CBC is pure sadism rolled in sugar as we watch the sweet and wonderful bakers sweat it out over one of baking’s cruelest mistresses for an entire episode. This was the most stressful episode of the show to watch from this and all other seasons (so far).
Unsurprisingly, the technical bake of Double Caramel Doughnuts (recipe here) was completely diabolical. As I expected, the recipe itself is very straightforward, but the bakers had a lot of missing information and the time constraint was close to impossible. Add the pressure and anxiety of making two different caramels and well, that’s just good television.
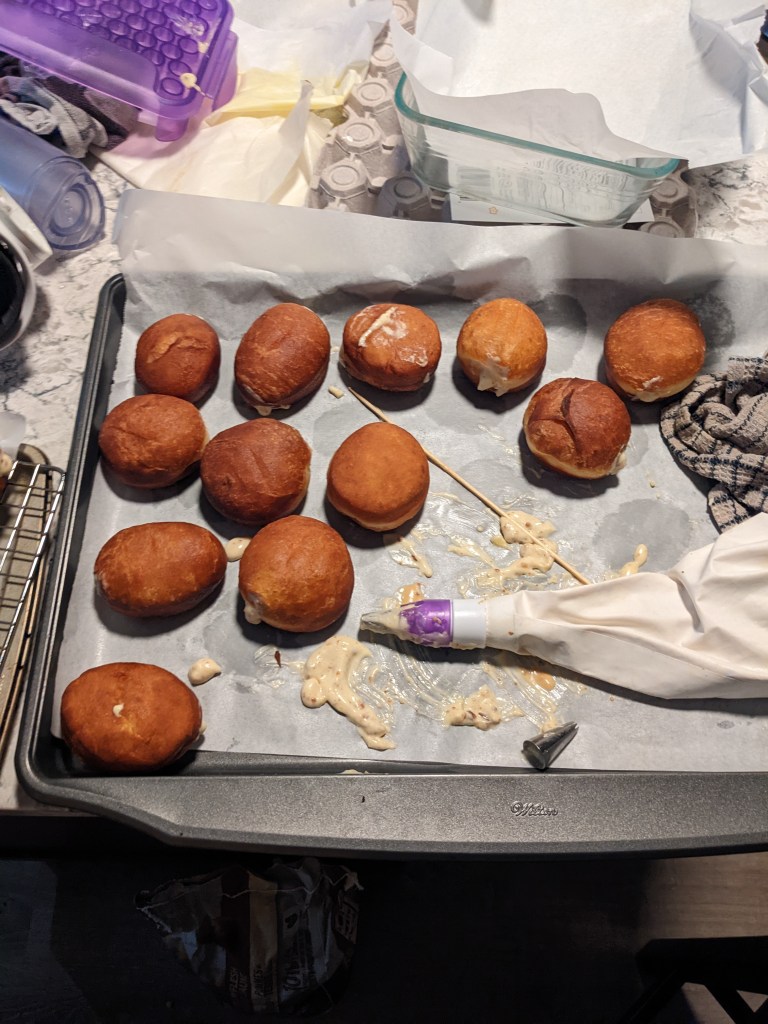
My notes on this bake are the usual mix of finicky nonsense. I rolled the dough too thin which means I made too many units. They turned out fine but they were too small. The element I had the most difficulty with was filling the doughnuts, which kind of surprised me. I think I let them cool for too long. It would have been easier to fill them as I was waiting for them to fry. Instead, I fried all of them and then started filling once the first few were cool. I also might have tried poking around inside with a skewer just to see how the fill worked out that way. I am used to filling choux pastry, which basically hollows itself out for you. Doughnuts are more like a dinner roll so the crumb is much sturdier when set (thanks, gluten xo). I also followed the recipe instruction to use the star tip for filling these, which is a strange choice since the pastry cream has ground up pralines in it. I had set up my piping bag to use a coupler with the star tip. My long filling tip doesn’t fit on a coupler, so I wasn’t able to just swap the tips out without setting up and filling a second bag, which would have deflated the cream, so I just toughed it out and basically failed. This also had the unfortunate result of wasting at least half the batch of pastry cream because I didn’t use enough of it to fill the doughnuts, despite making too many. Win some, lose some.

The recipe called for cutting the pastry cream with whipped cream, which is a combination called Diplomat cream. I know a lot of bakers like to use Diplomat cream to stretch out their batches and save expenses. Personally, I prefer plain pastry cream; it sets up more like pudding and works better in fillings because it has more structural integrity. This version of the recipe had gelatin in the pastry cream to offset the softening effect of adding whipped cream, but I think it would have been better to incorporate the gelatin into the entire mixture, which would have resulted in a more stable cream all around. Instead, we have our nice firm, extra stable pastry cream folded into soft peaks whipped cream, which has none. In other words, we have a mess. Great recipe development as usual, CBC.
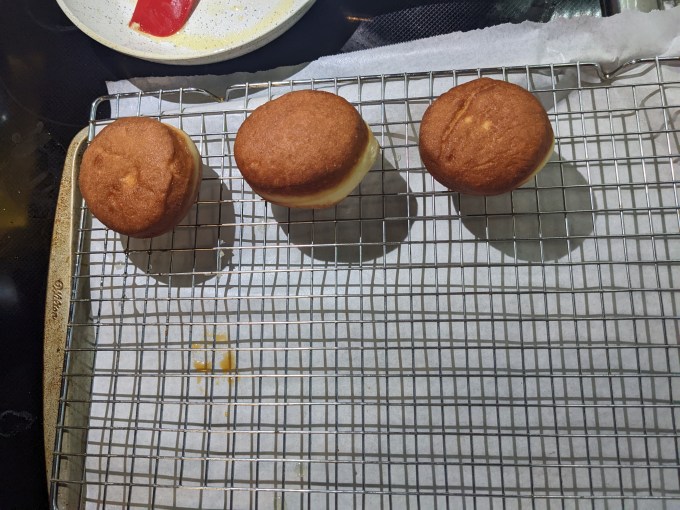
Piping bag woes notwithstanding, there were some highlights. The dough is simple and elegant. It came together quickly, proofed nicely, and was easy to roll out and cut. My deep frying came out textbook with a nice white ring around the centre of each doughnut, which shows the dough was properly proofed and the oil was the correct temperature. I was particularly pleased with the dark caramel glaze, made using a “dry caramel” which looked terrifying on paper but was actually a snap to do. I will definitely keep that method in the tool kit for future use.
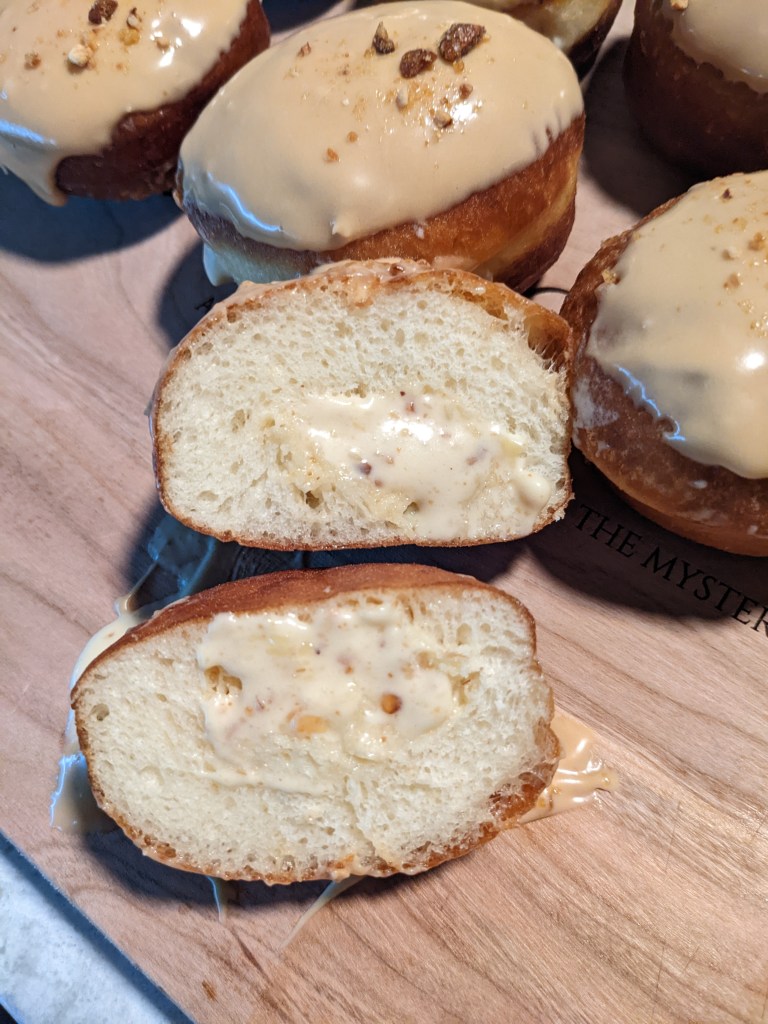
As an eating experience, these were a crowd pleaser for sure. I don’t go in much for doughnuts myself, but there is no denying this was a highly gourmet take on a simple snack. This totally hit the optimal intersection of my personal baking Venn diagram, which is to say the balance of actual effort vs. perception of effort by audience vs. deliciousness relative to any commercially produced analogue was exactly where the magic key to my elusive serotonin lies.
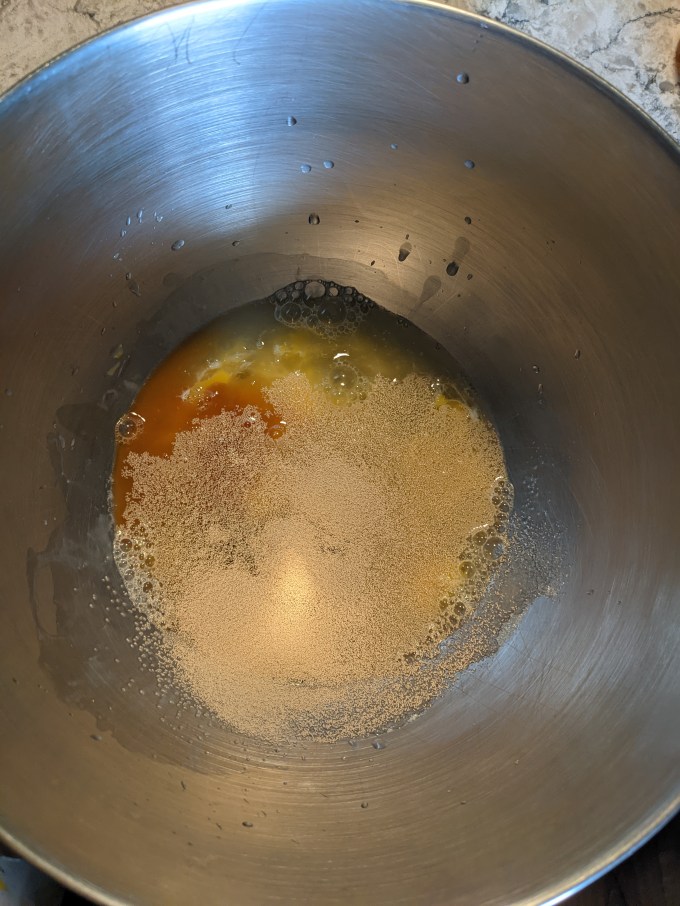
Step 1: Dough
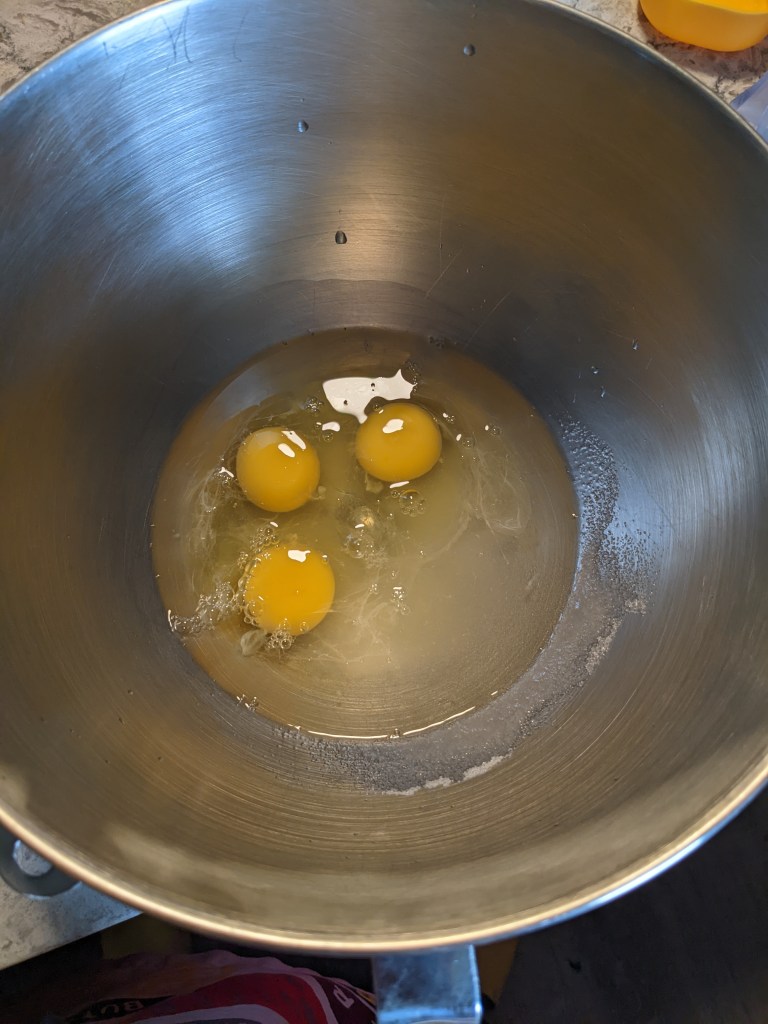
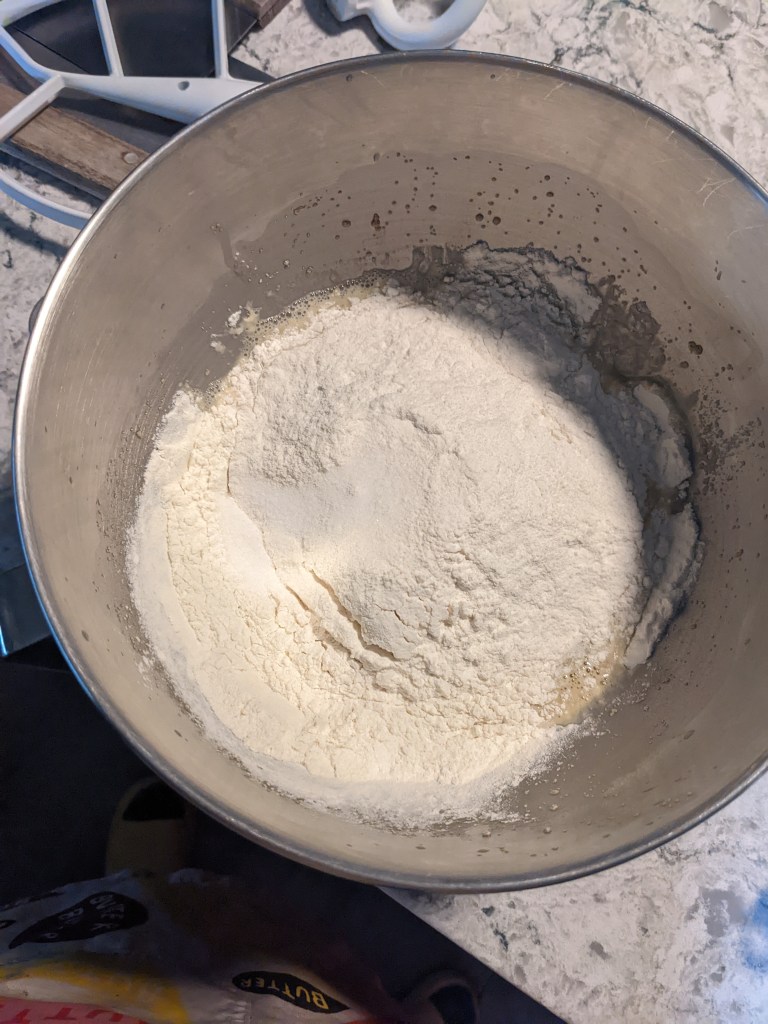
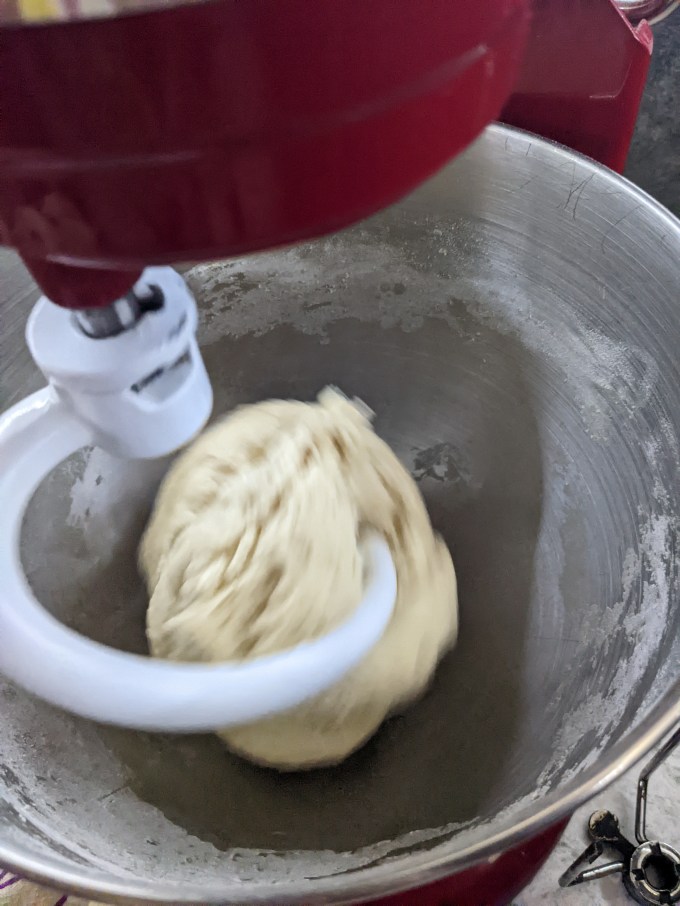
This is a simple direct dough enriched with eggs and butter to make it a bit more soft and fluffy. The eggs and water are busted up a bit together, then the sugar, yeast and vanilla are beaten in to create a base. The flour and salt are added and then the dough is worked until it comes away from the sides of the bowl. The butter is added gradually, and then the final dough is worked a bit longer so the butter is fully incorporated and the gluten is well developed. The final dough is soft and elastic; tacky but not sticky.


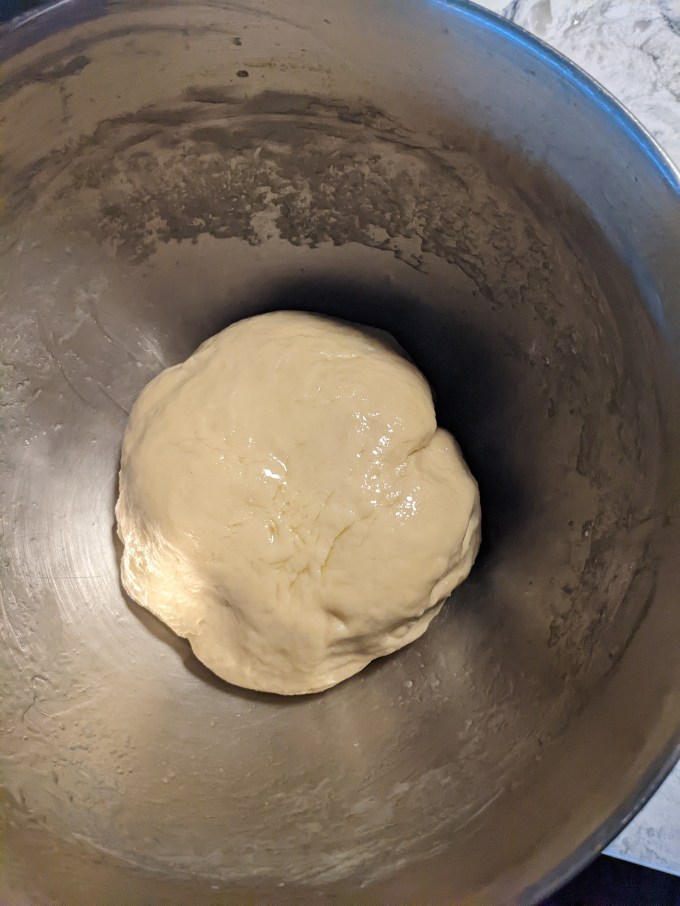
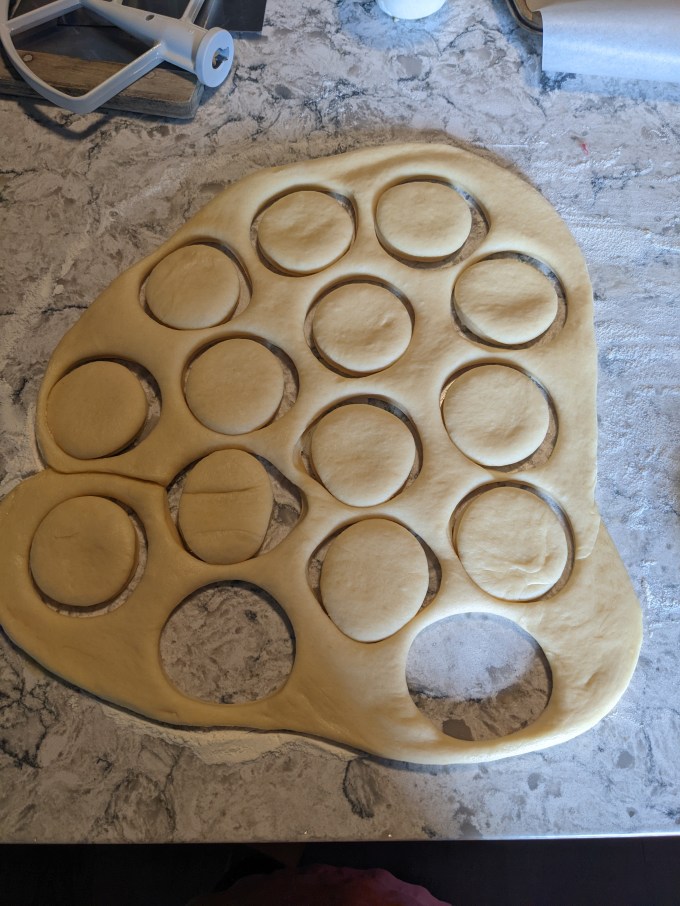
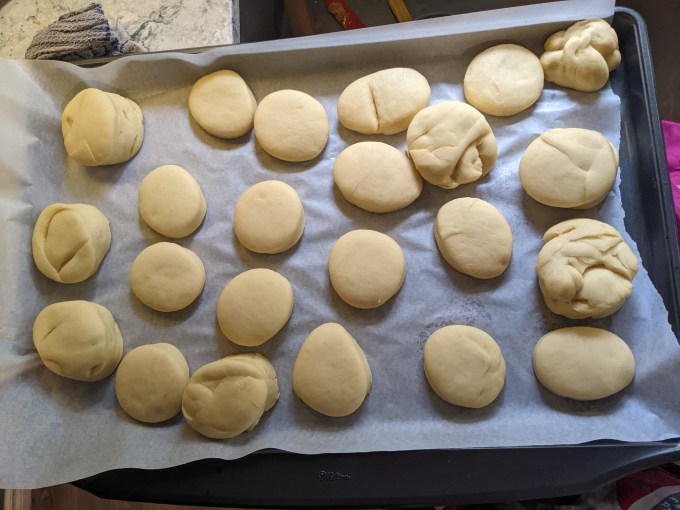
The dough is left to proof until doubled in size. Once proofed, the dough is punched down and worked slightly until it is a rough disk shape. The disk is rolled out to ¾ inch thickness and then the doughnuts are cut using a 2 ⅝ inch round cutter. The cut doughnuts are put on a sheet for second proof.


The recipe called to re roll the trimmings and for a yield of 13 total units. I had more than 13 before I even got into working with trimmings, so I think I rolled my dough a little too thin. My final pastries were a nice snack size, so more practical in my opinion. I didn’t want to over work the trimmings either, so rather than truly re rolling them out, I just sort of mashed pieces together and used these lumpy ones separate from the 13 I was meant to produce. The end result was more of a fritter shape on the units made from trimmings, but they were just fine to eat and cooked evenly, so I have no regrets.
Step 2: Hazelnut and Almond Pralines
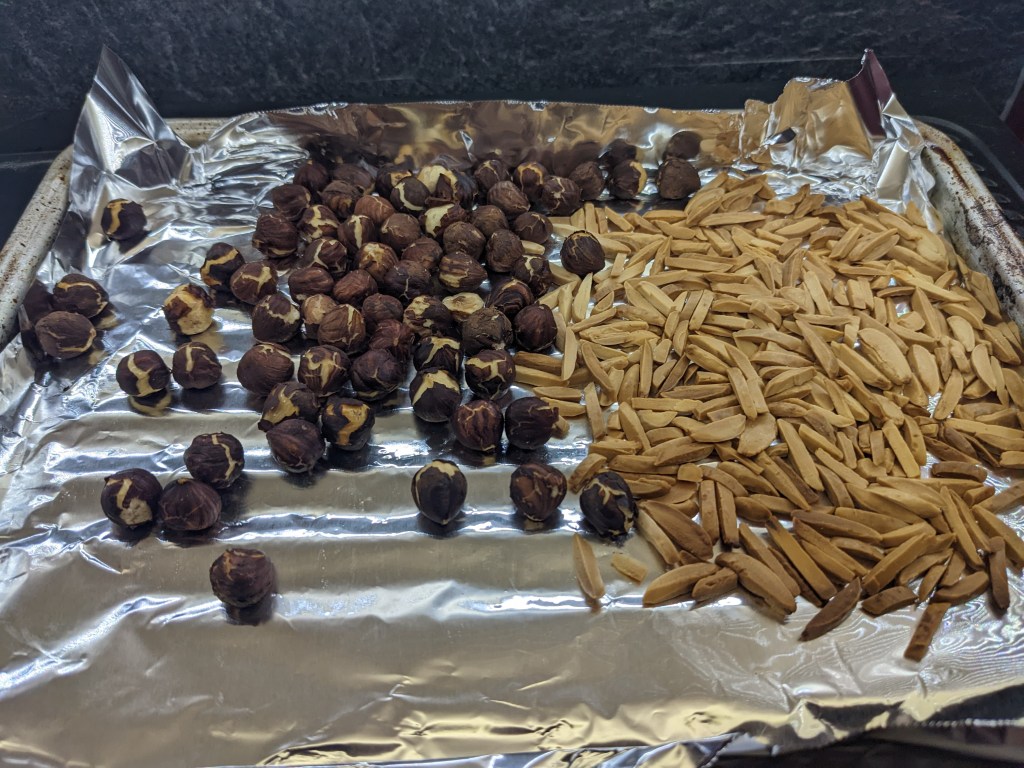
While the dough is proofing, pralines are made from scratch. The recipe called to toast the hazelnuts but not the almonds for some reason. I decided to go a little rogue and toast both. The almonds are maybe a smidgen too dark, but praline is supposed to have a slight burnt sugar taste anyway. A marginally over-toasted nut is easily forgiven in this instance. Once the nuts are toasted, the hazelnut skins are removed by rubbing the nuts together in your hands, causing the skins to come free and peel away from the nuts. It’s serving very “warming your hands over an open fire” kind of vibes to get the skins off.

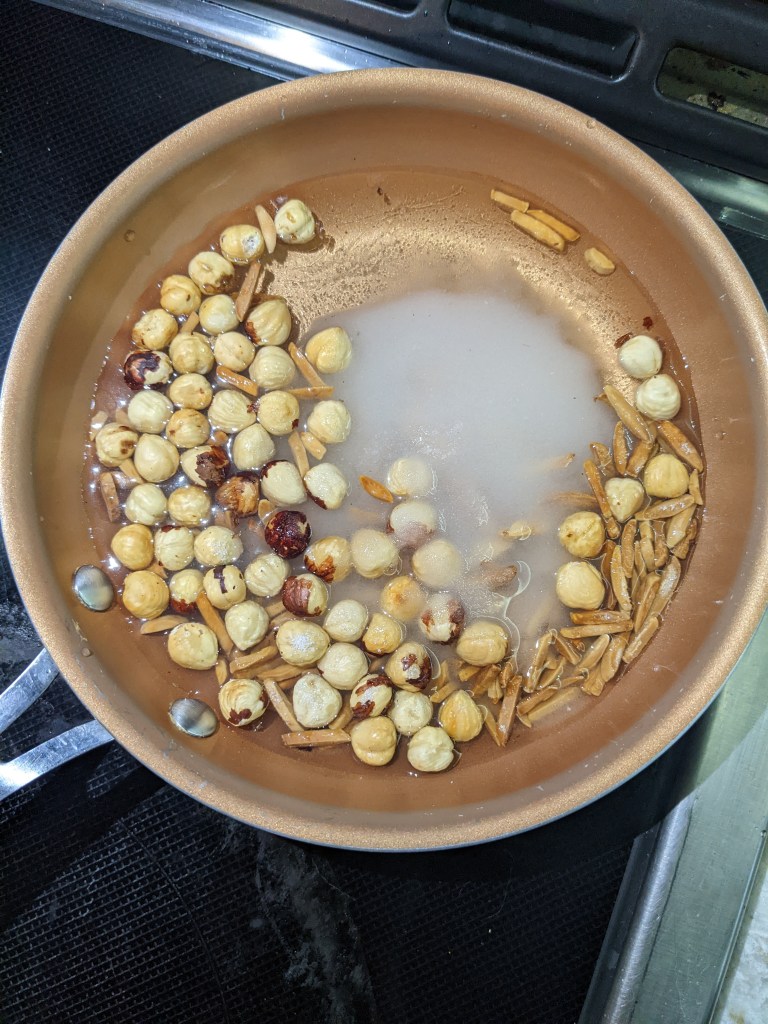
Sugar, corn syrup, water, salt, and the whole toasted nuts are heated together to create the hard, caramelised sugar that becomes the praline. This is the same process as making nut brittles. This is the most difficult part of this bake. It is highly exacting work to precisely hit the correct temperature with this kind of sugar work. If the temperature is too low, the praline will not have the distinct caramel colour or flavour, and it will not harden fully. If the temperature is too high, the sugar will burn and the flavour becomes acrid (and good luck getting that shit out of the pan). This temperature change from too cold to too hot happens in a matter of seconds. In order to execute it, the baker must watch the pot with complete focus the entire time or risk losing the whole batch. In addition, just getting the sugar into a liquid state is its own unique challenge where the edges of the pot need to be carefully monitored and managed until the crystals are fully liquefied. It only takes one small sugar crystal showing up in the liquid at the wrong moment to cause the entire thing to seize and then you have to start over. Using corn syrup significantly improves the odds of keeping the liquid sugar crystallised, but there is still a risk of crystallisation and the process requires a lot of focused attention. Imagine doing this while you have to multitask on television with a time constraint and you should have some idea why watching this challenge wasn’t even a good time.


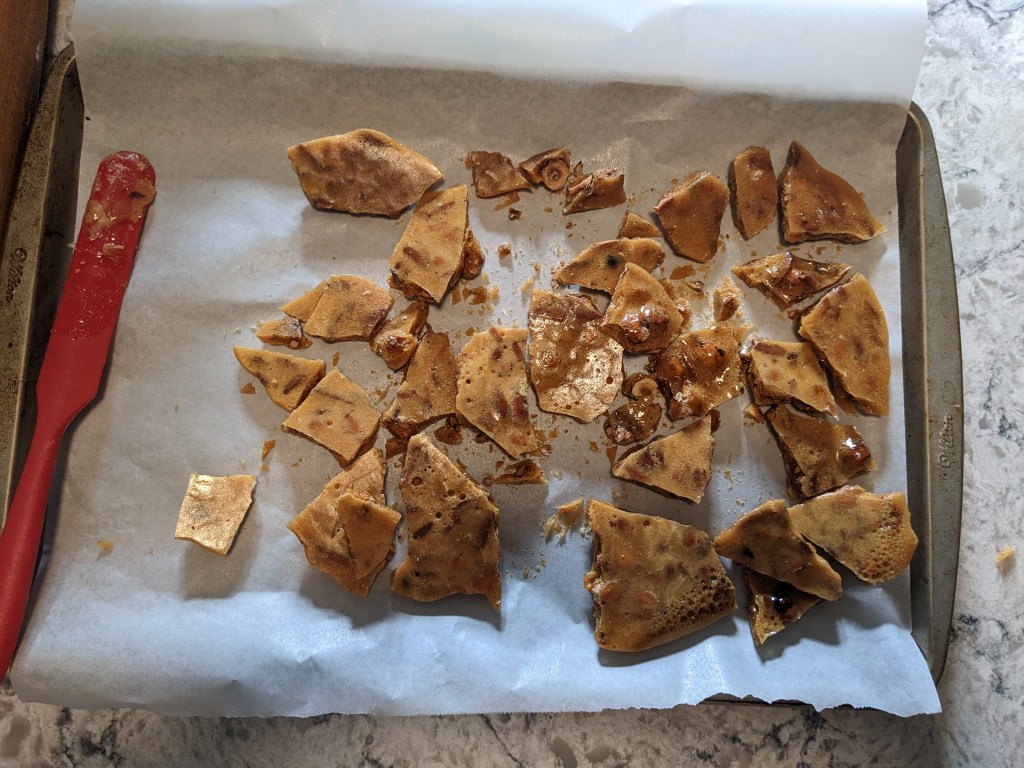
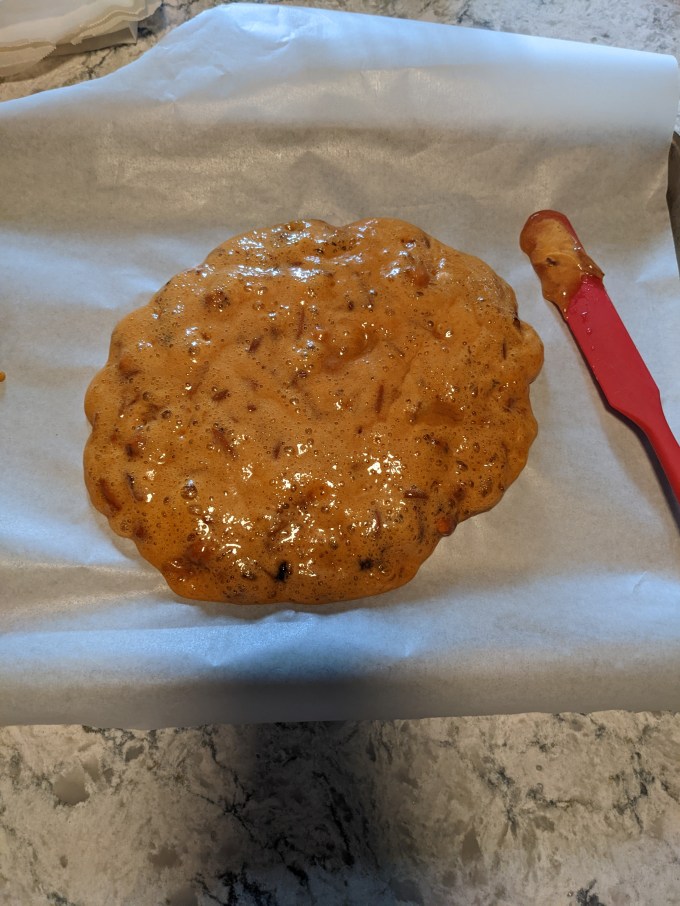
Once the praline mixture is at the correct temperature (between 300 and 310F), a small amount of baking soda is rapidly stirred in, then the mixture is turned out onto a lined pan. Baking soda reacts with liquid sugar to release carbon dioxide gas. More soda = more bubbles. This is the same process as making honeycomb toffee or Korean dalgona candies (which had a moment after their appearance on Squid Game); the only difference between the three is the ratio of soda to sugar which impacts how much the candy puffs up as it hardens.
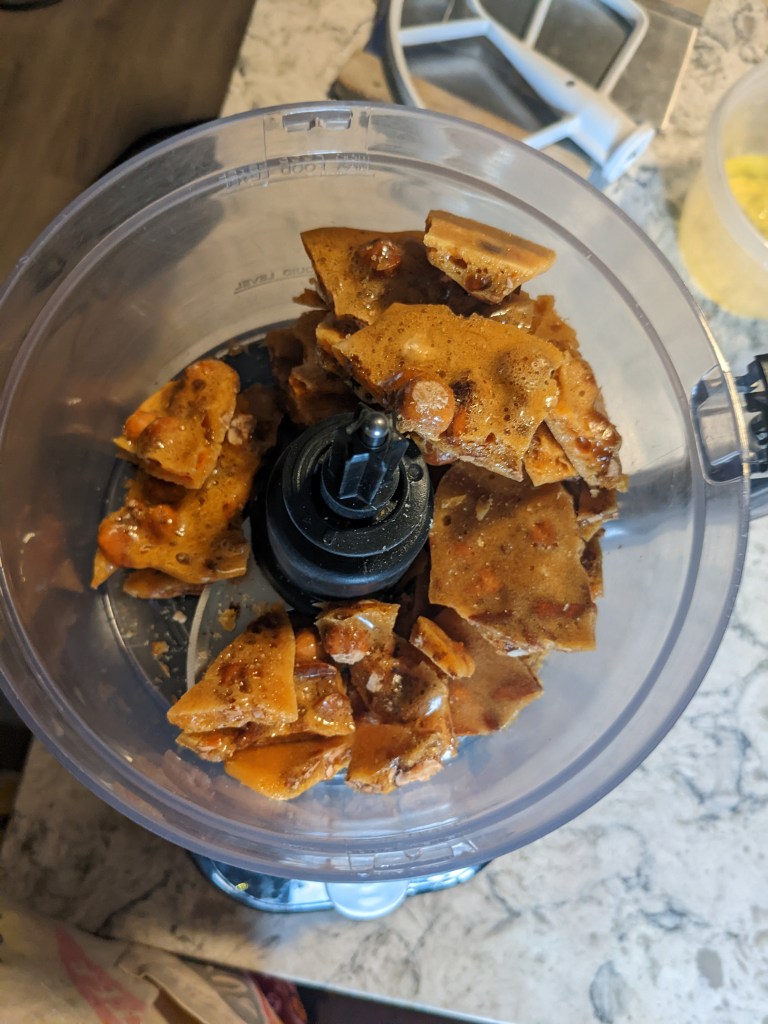
Once the praline is fully hardened, it gets blitzed in the food processor to fine crumbs. Some larger pieces are reserved for decoration.

Step 3: Diplomat Cream
As I mentioned, Diplomat cream is a popular choice with bakers as it helps stretch the cost of pastry cream considerably while also making it richer, which is an amazing 2-for-1 trade off that rarely happens in the culinary world. With that being said, if you ask me I will take plain old pastry cream – to eat or to work with – any day of the week. I find Diplomat cream is too rich for my taste and it thins the pastry cream so much, it really needs to be stabilized with gelatin if it isn’t being eaten immediately. Not the end of the world, but not my personal first choice. I bake frugally enough that I don’t need to cut costs on pastry filling. There are different strategies and priorities for each baker, no judgment against the Diplomats among us. Not in this economy! Do you, boo!
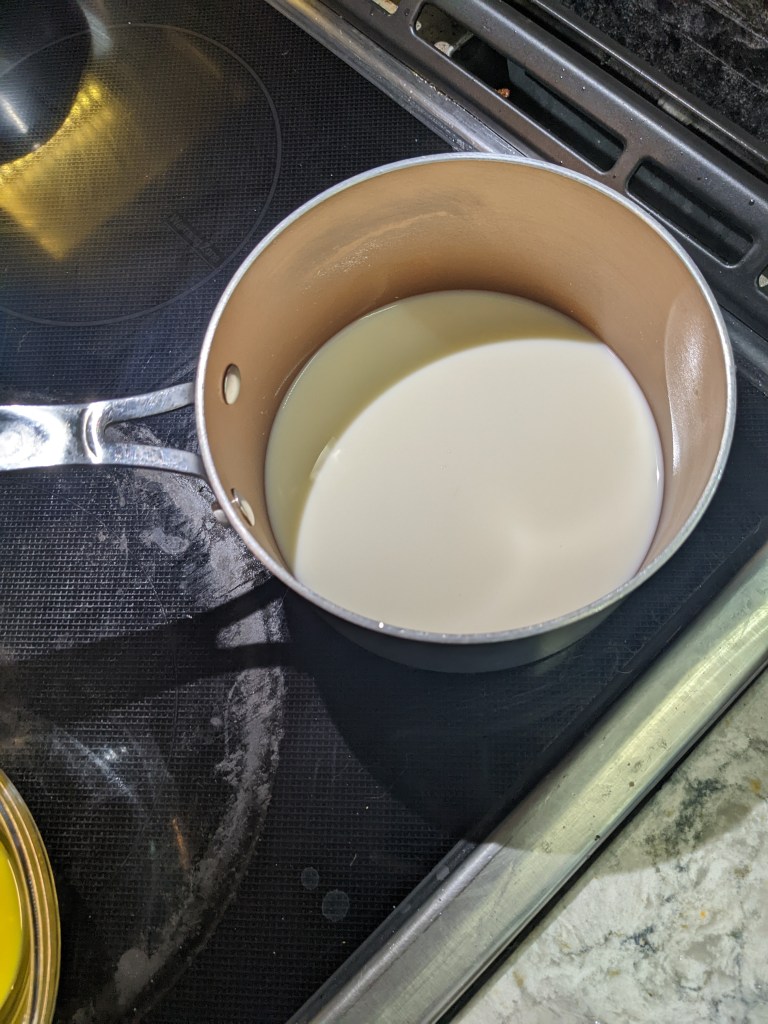
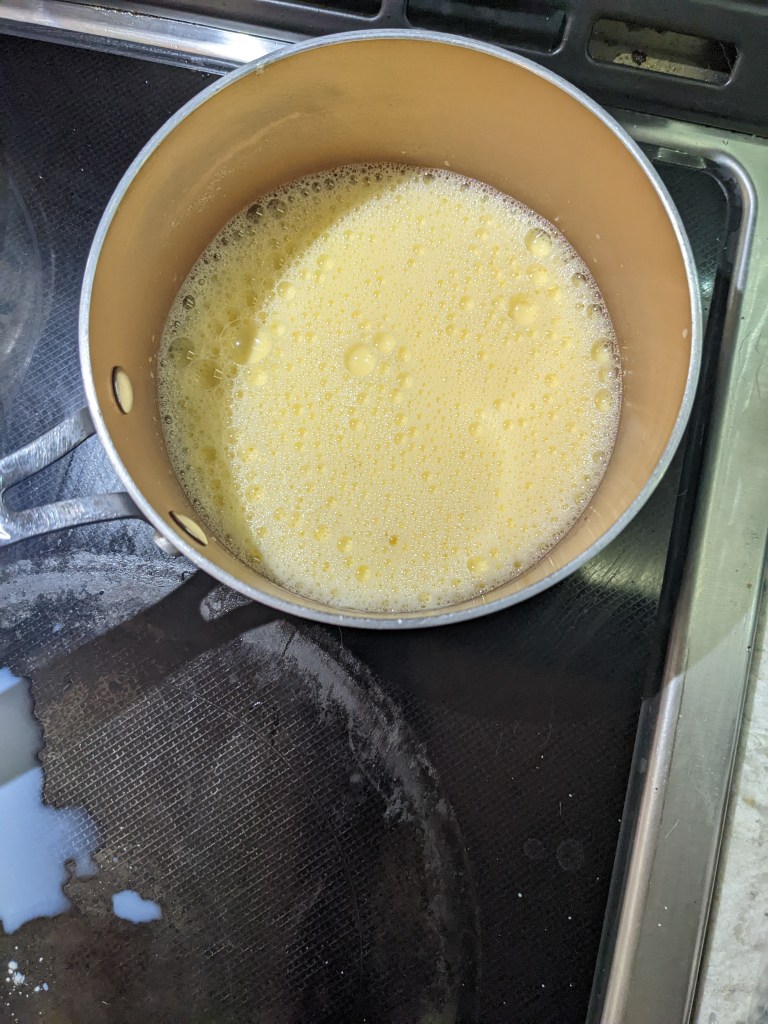
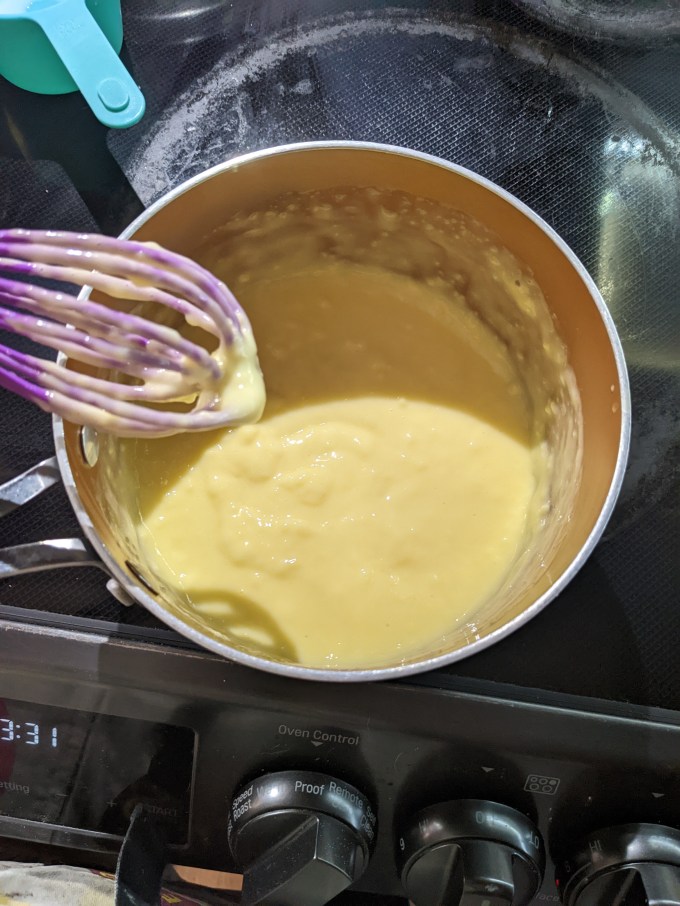
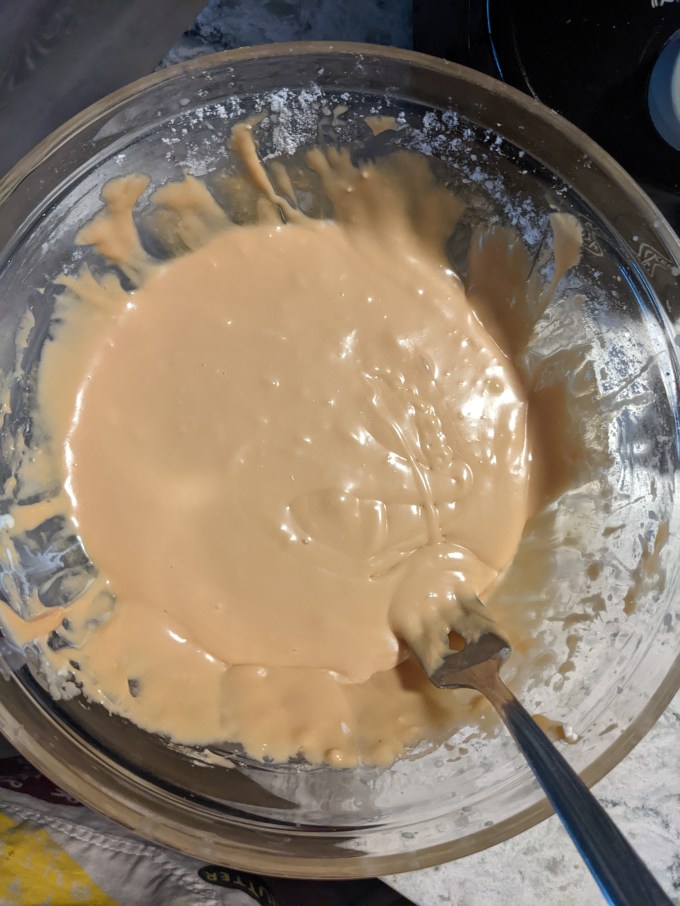
This version starts with basic gelatinized pastry cream. Gelatin is bloomed in water while milk is warmed on the stove. Eggs, sugar, cornstarch, vanilla, and a bit more milk are whisked together. Once the milk is scalded, a small amount is whisked into the eggs to temper them. The warm mixture is combined with the rest of the milk and everything gets put back on the heat. Whisking constantly, the cornstarch thickens the mixture, and that is the story of pastry cream. The bloomed gelatin is whisked in and the pastry cream is put in the fridge to set.


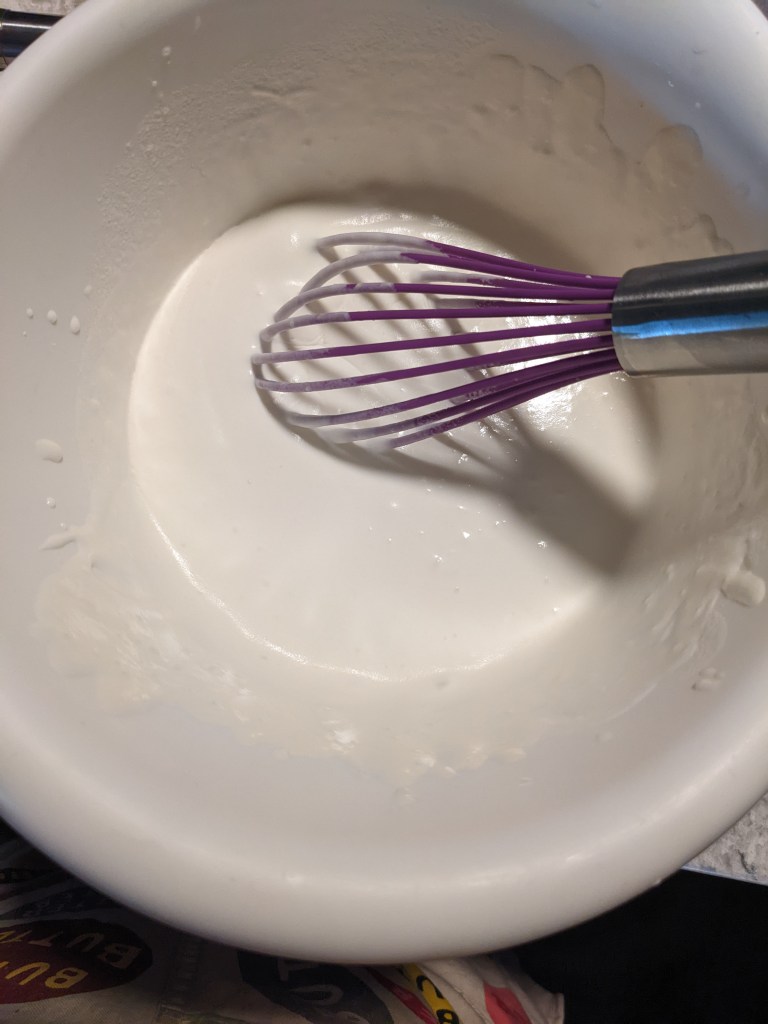
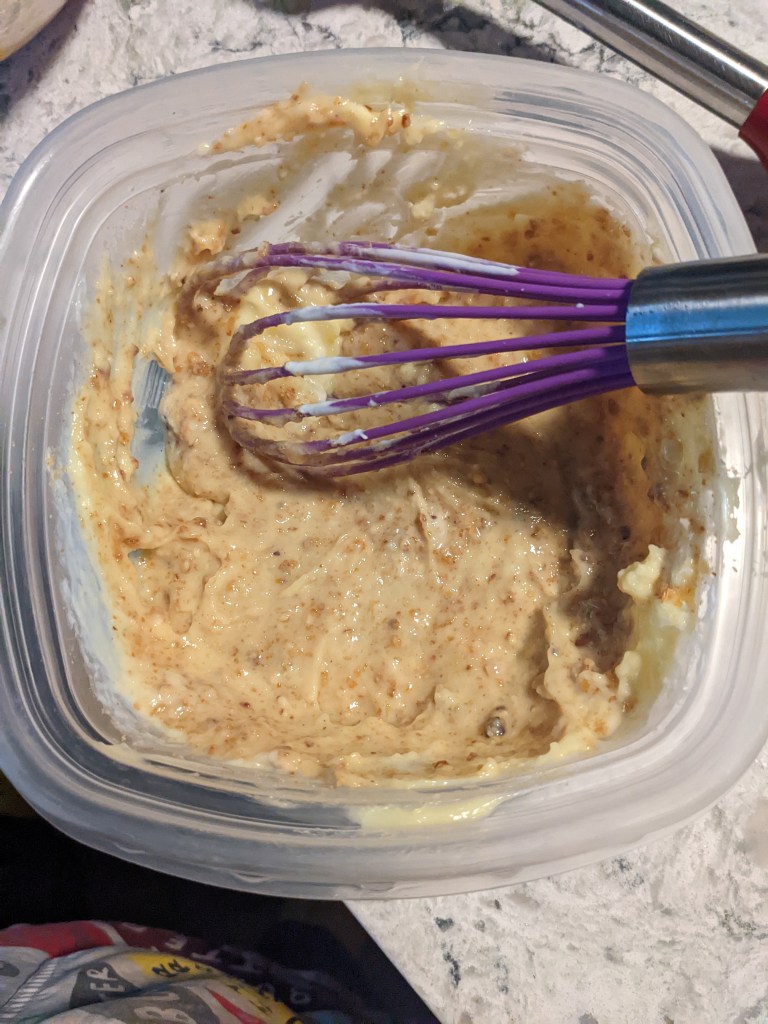
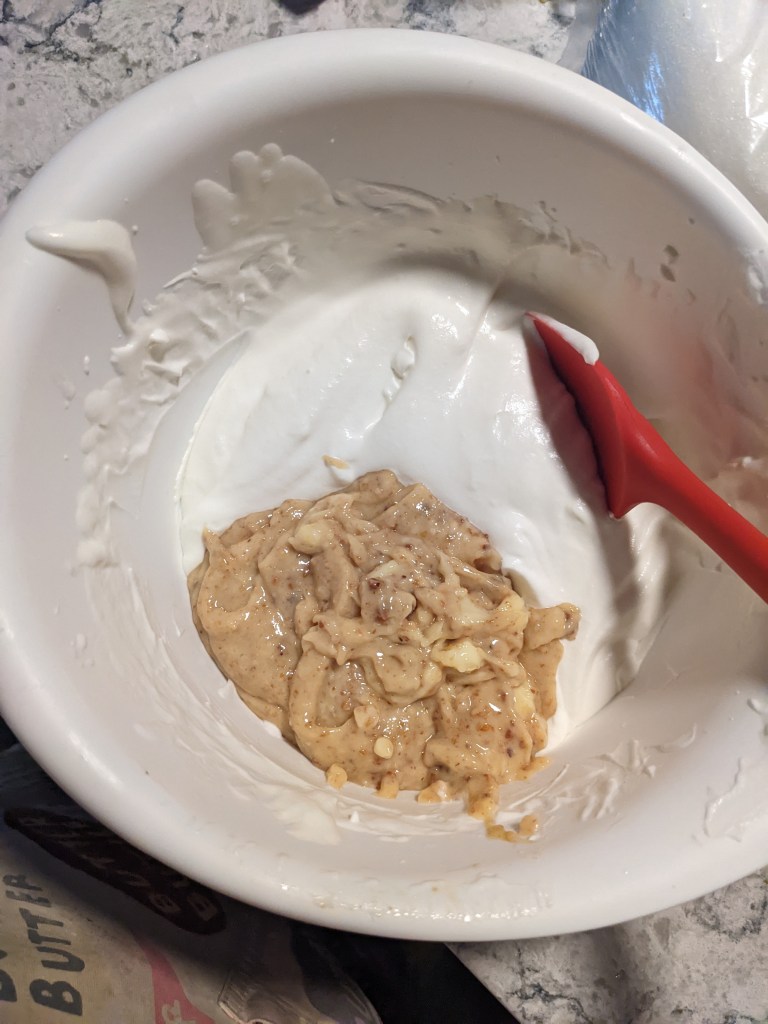
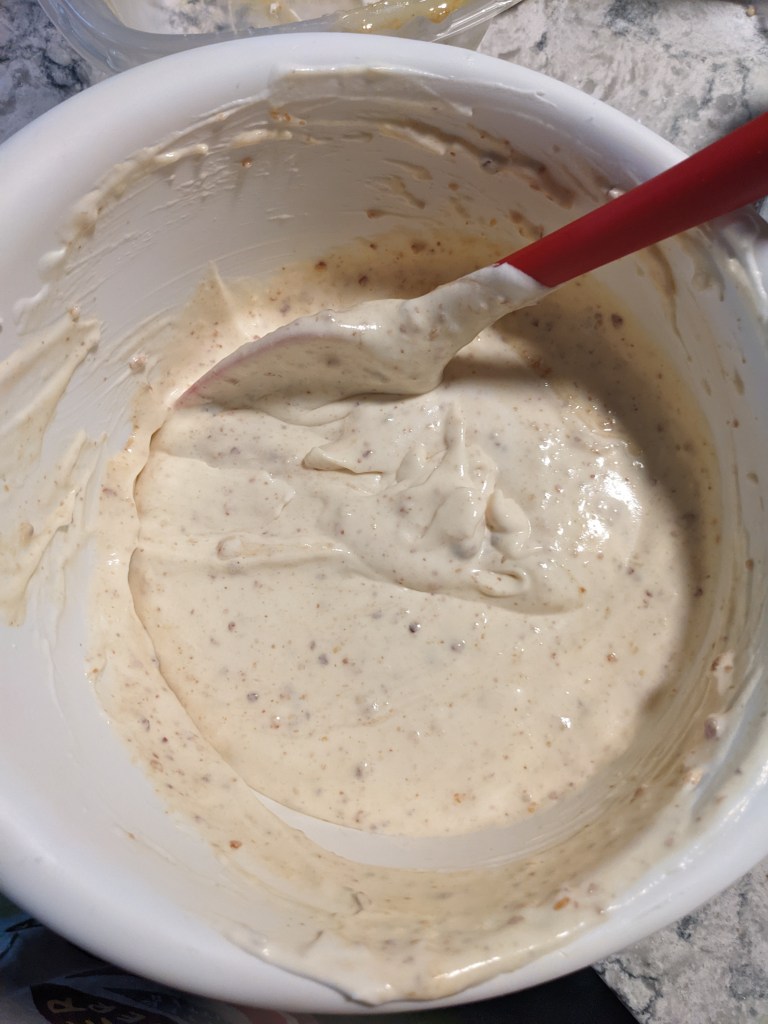
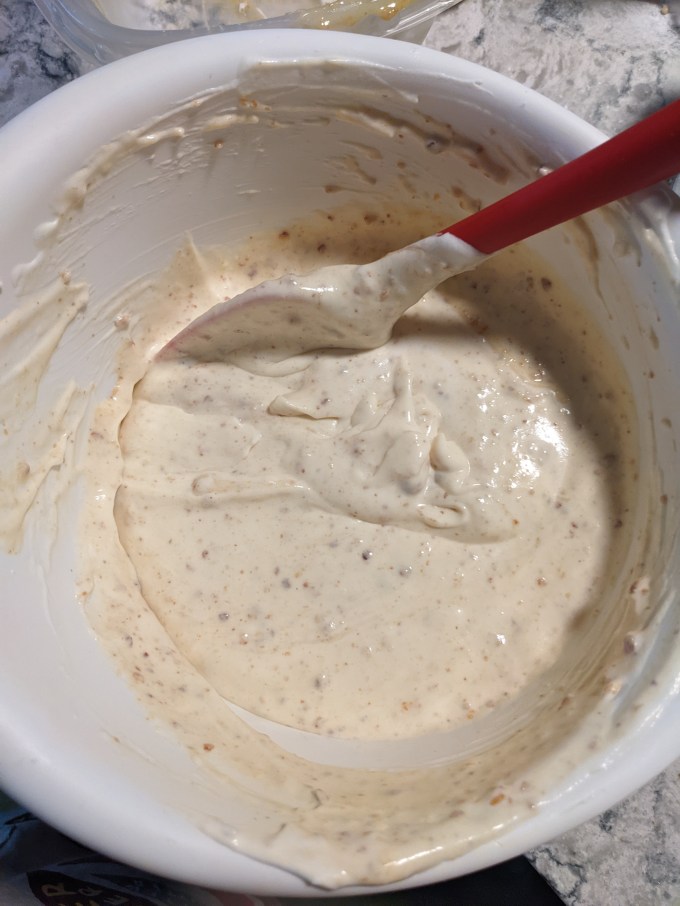
To make diplomat cream, heavy cream is whipped to soft peaks. The chilled pastry cream is stirred to loosen and then the cream is folded in along with a portion of the blitzed pralines.
Now, here is where I would depart from the CBC recipe if I ever make this again. If I was going to go for diplomat cream instead of pastry cream (which as I mentioned, is not a likely choice I would make anyway), I would have whipped the cream to much stiffer peaks and I would add the gelatin at the end when folding the two creams together. I would also chill the whole thing in the pastry bag so it is set and stiff prior to filling. This would have helped the cream to hollow out the doughnuts a bit more and I would have been able to fill them fuller and more easily. Also the whole thing would have just been **easier** but the CBC is not known for making the lives of bakers easy, I think we can all agree on that.
Step 5: Dry Caramel Glaze
This was the most terrifying aspect of this bake, at least on paper. It’s the kind of thing where the whole entire thing can be destroyed in seconds and it can happen any time. There is no moment of safety when you are out of the woods with this kind of sugar work until you are entirely off the stove. Amazingly, now that I have executed this, I have to say it was not so bad, turned out great, and will likely use this method again (!). How far we have come together.
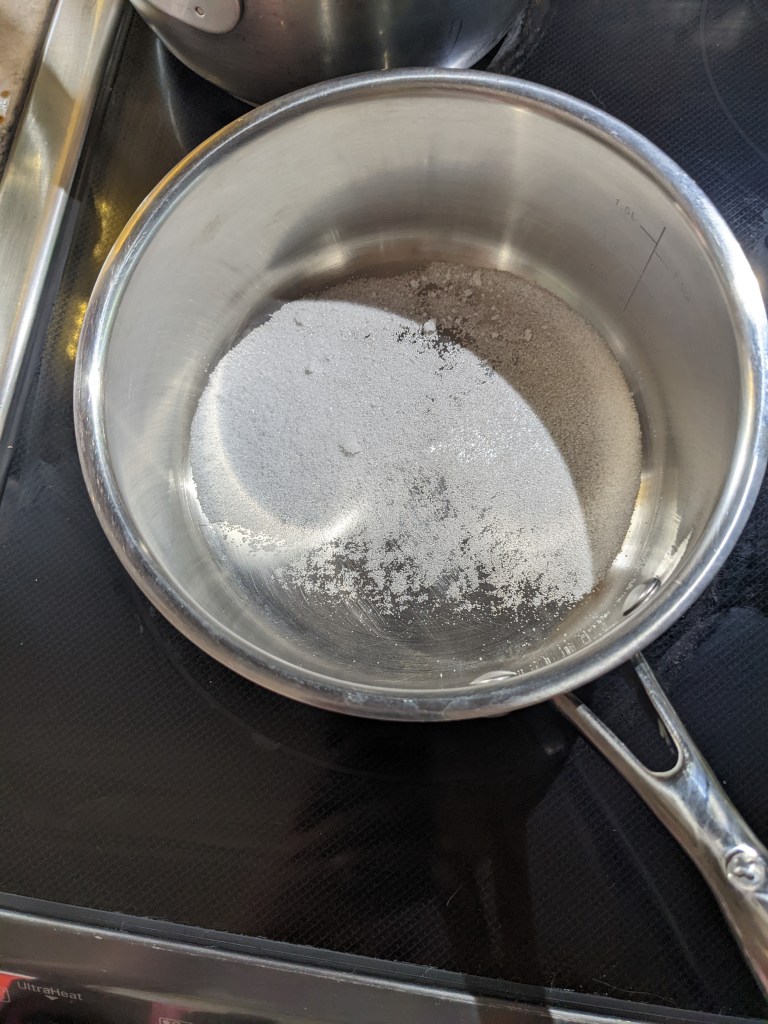
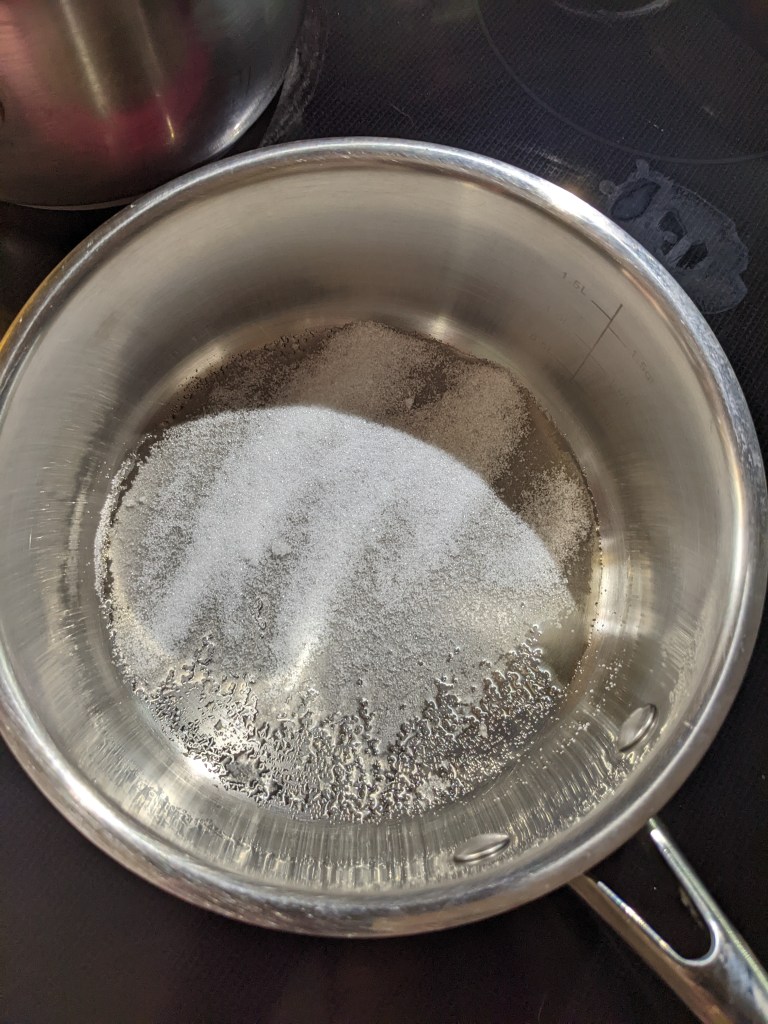
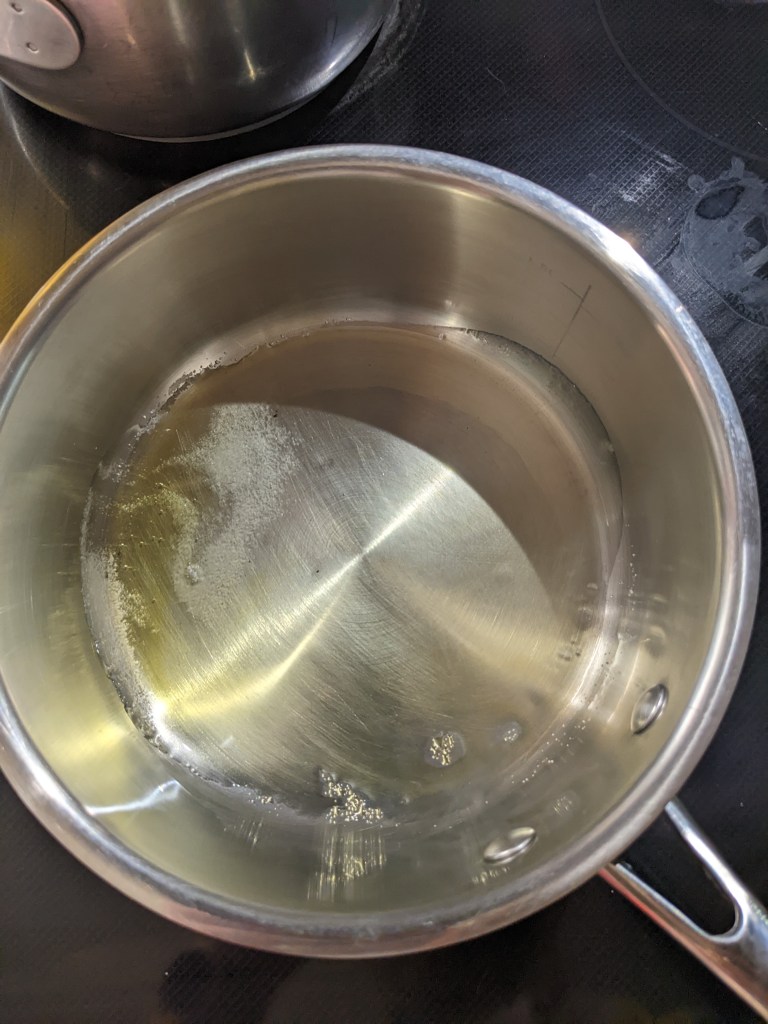
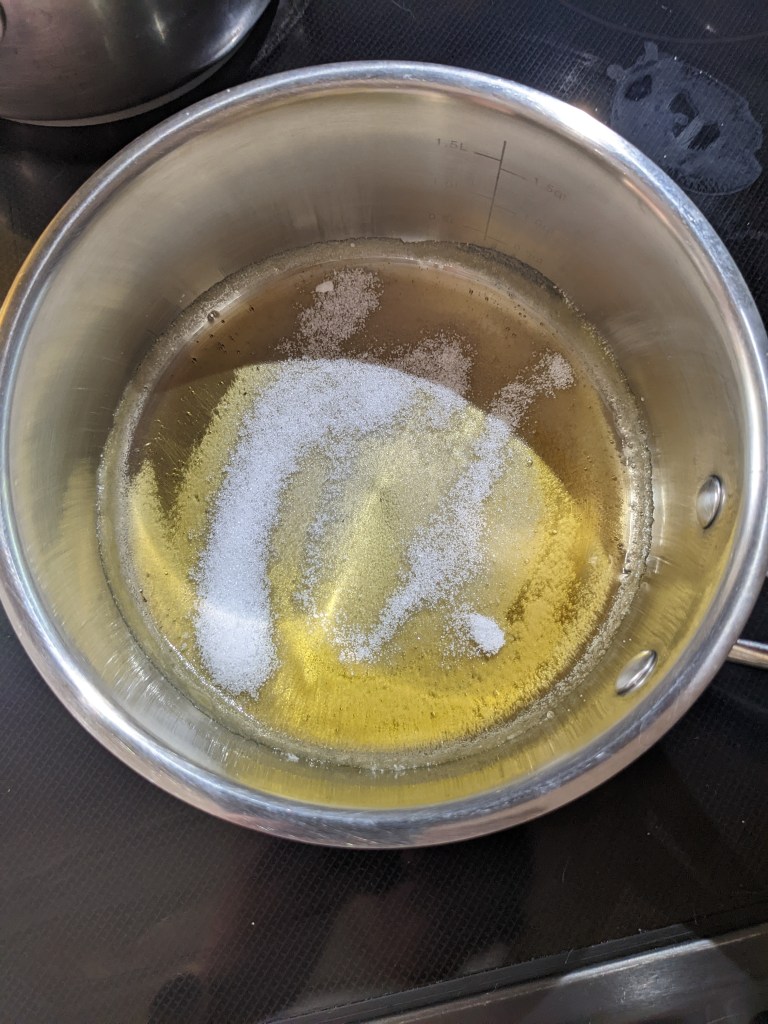
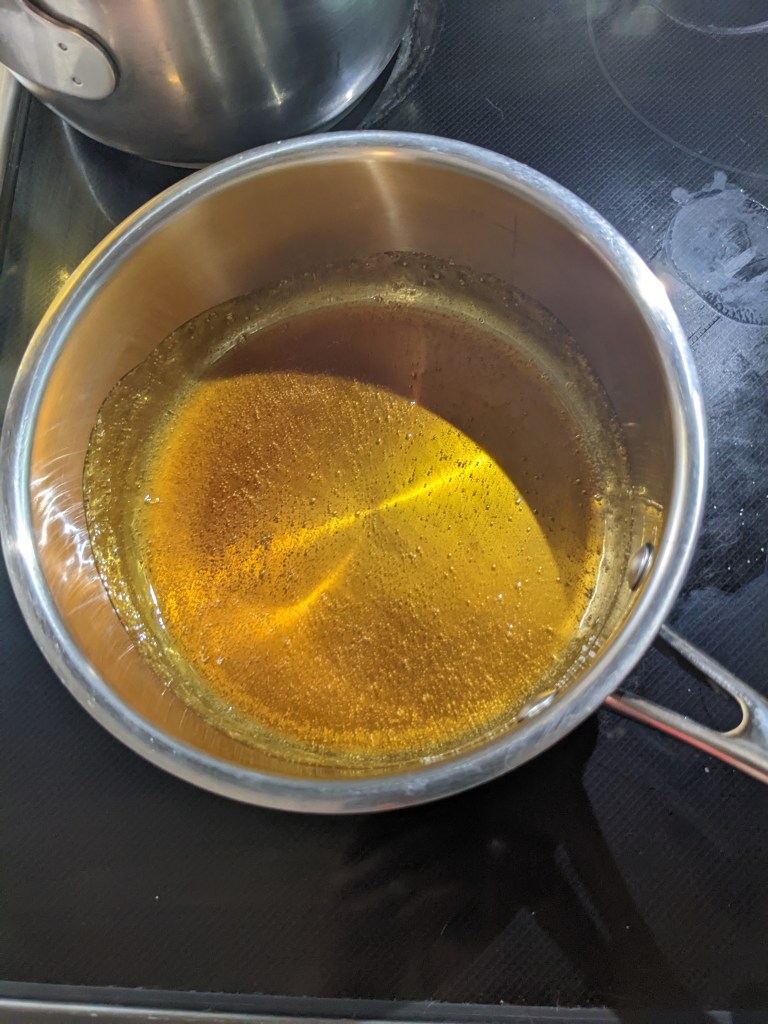
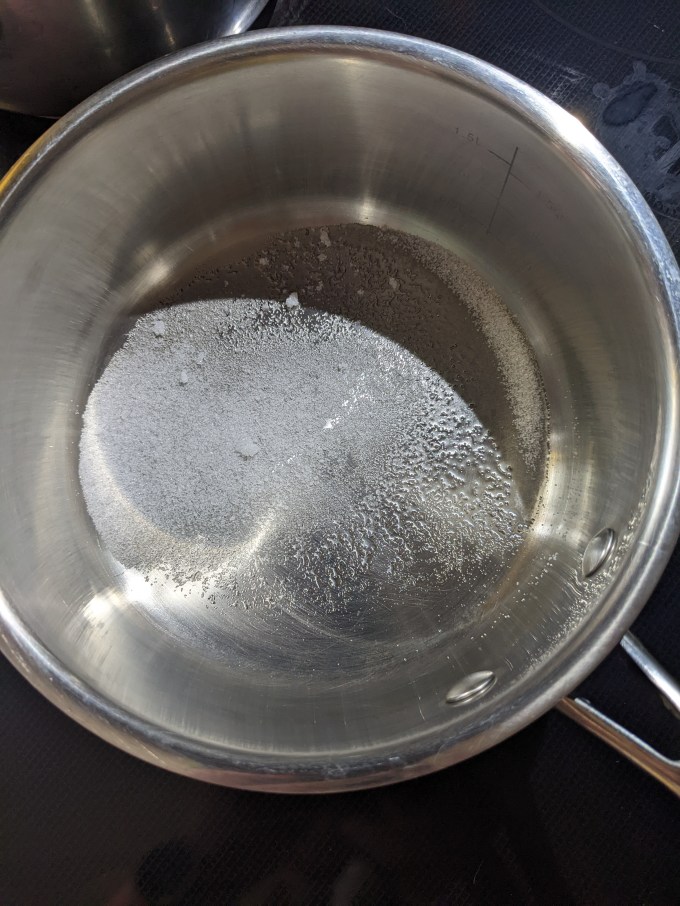
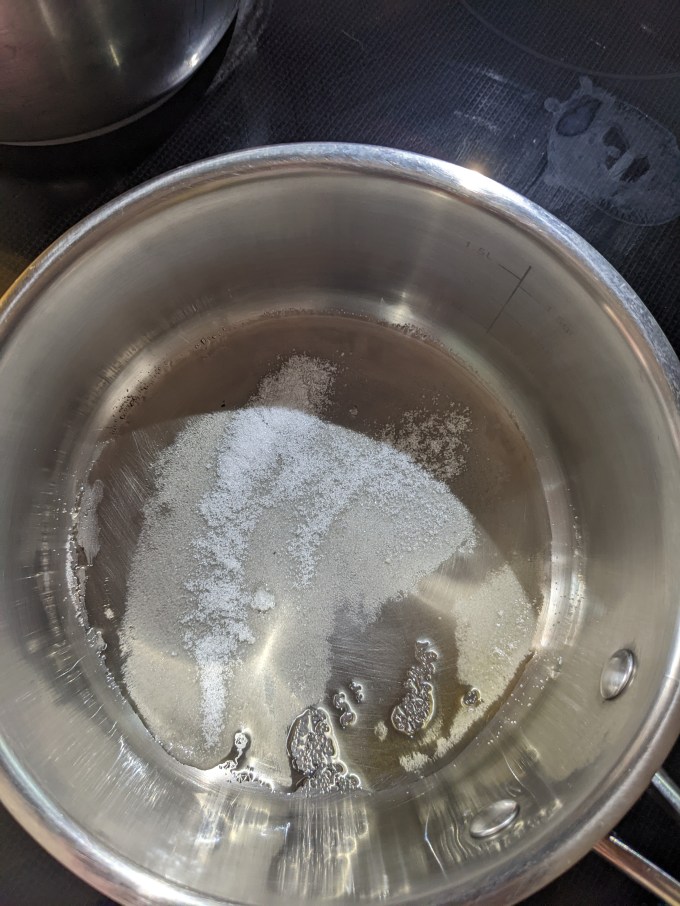
A heavy-bottom saucepan is heated to medium-high-ish temp and then a few spoonfuls of sugar are sprinkled directly into the pan. Once the sugar liquifies, the pan is spun to spread it evenly around and more sugar is sprinkled in. This process is repeated over and over until all of the sugar is melted. Then it is only a matter of seconds before the whole batch caramelises. You could stop this caramelisation at any stage depending on taste, but the CBC recipe specifically called for a dark caramel, which I agree is the best choice. It is also the most risky choice… you have to pull this sucker off the stove **just** before it’s gone too far.


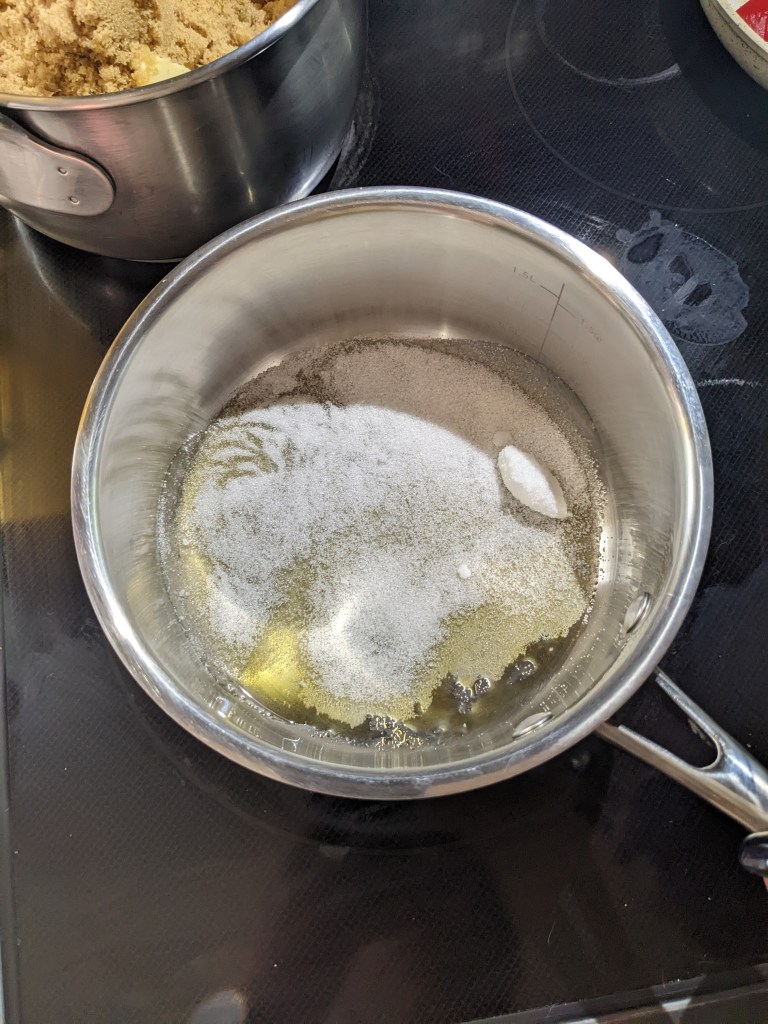

It is important to have the full quantity of sugar measured out beforehand for this method and to take your time. The pot must be watched with complete focus. MULTITASKING IS NOT POSSIBLE. JUST DON’T DO IT. DO. NOT. LET YOUR EYES LEAVE THE POT. NOT FOR A SECOND. NOT FOR A FRACTION OF A SECOND. THE SUGAR IS LOOKING BACK AT YOU, WAITING TO STRIKE WHEN YOU BREAK FOCUS. These are dark and spiteful gods, believe me.
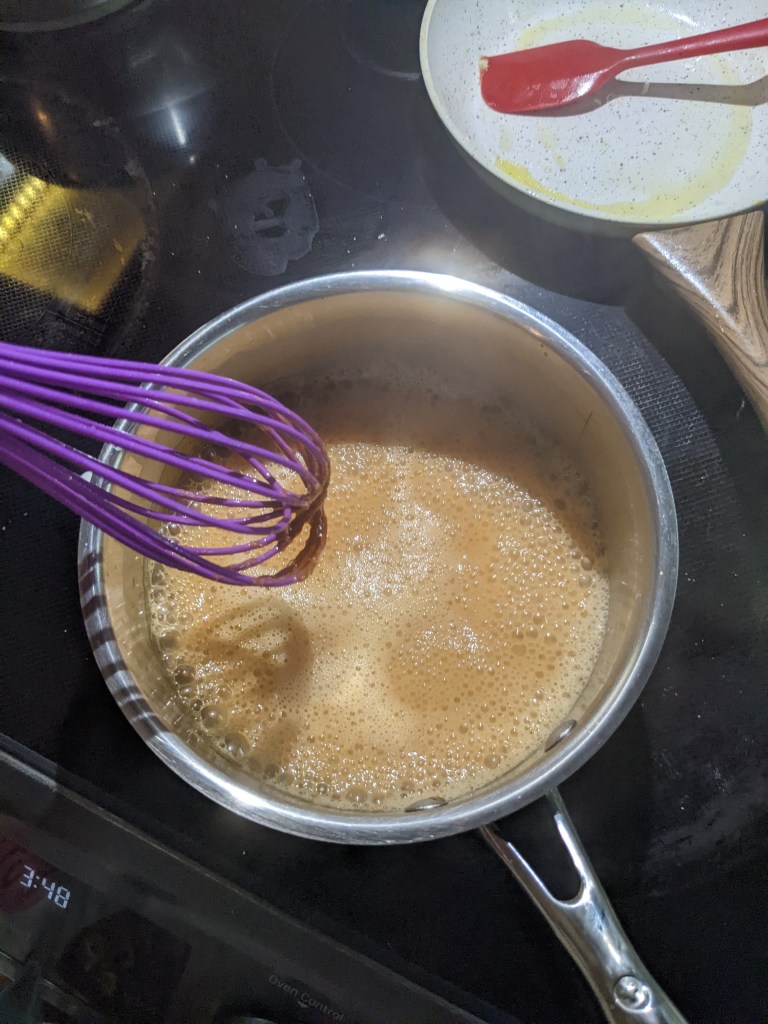
Once the caramel is ready, a little bit of heavy cream is added and then the mix is heated again until everything is smooth and incorporated. Once the glaze is cooked, a little bit of butter is stirred in and then icing sugar is added until the glaze has the right consistency for dipping.


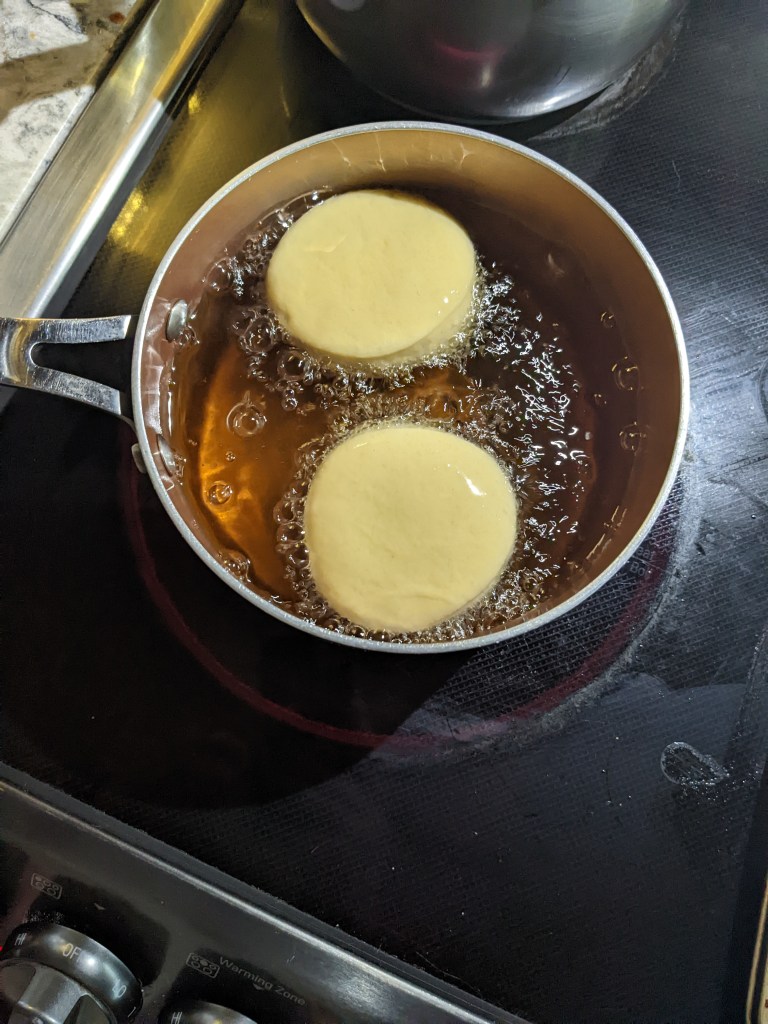
Step 6: Frying and Assembly
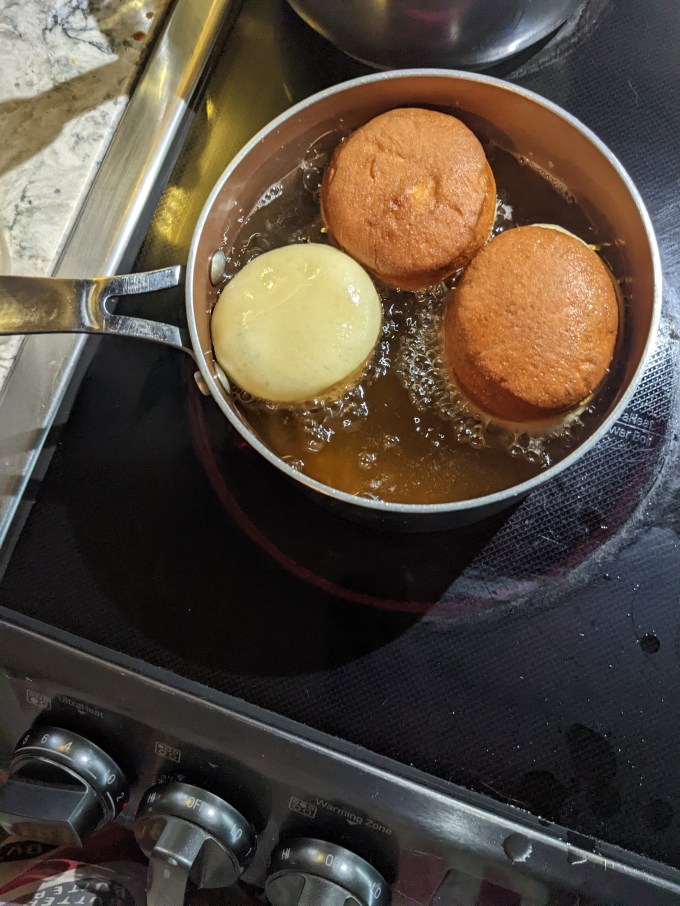
Once the cut doughnuts are proofed (approx 1.5x times original size), deep frying oil is heated to 350F. The doughnuts are fried on one side til golden, then flipped and fried on the other side. The hot doughnuts are drained on paper towels and left to cool. As I mentioned above, I would fill these while they are still slightly warm if I was making them again.


The doughnuts are filled with the praline Diplomat cream using a piping bag. The recipe called for the star tip which is totally bizarre to me since there are solids in the filling and the FILLING TIP is designed SPECIFICALLY FOR THIS PURPOSE. I obeyed the recipe like the oldest child I am if only to be proven right (natch). It was a hollow victory as these self-imposed moral high grounds usually are. ANYWAY.
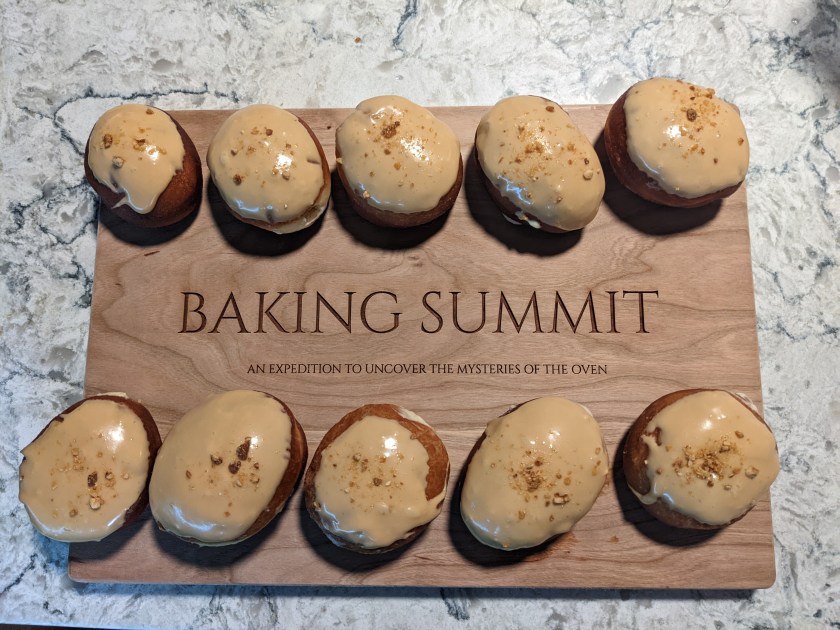
The filled doughnuts are dipped in the glaze and then large pieces of broken praline are sprinkled on top as a garnish, and thus concludes the first and most diabolical caramel week, courtesy of GCBS.

Gallery


All in all, this is a delicious and doable version of doughnuts that could be easily adapted for other flavourings and fillings. The glaze and the filling could also be recycled in many other bakes, so this particular GCBS recipe is a great one to have on hand. I am also pleased with how much I have increased my own level of comfort with caramel, compared to earlier days of this project where I would build in time to re make caramel if needed, so prepared was I to fail. Every time I look back on a bake and see where I have improved or built confidence is the ultimate for me, so this was a definite win. Until next time!
Hey, bakers! Check out my BAKER’S PANTRY index if you want to deep dive on specific ingredients when attempting this bake for yourself

As usual, fantastic!
LikeLike