
Hello and happy Spooky Season, Friends and Fellow Bakers! Here we are, the time is at hand. Halloween decorations are UP, the new season of GCBS season is ON, and we here at Baking Summit have SHOWED UP to get a piece of allllll the action!
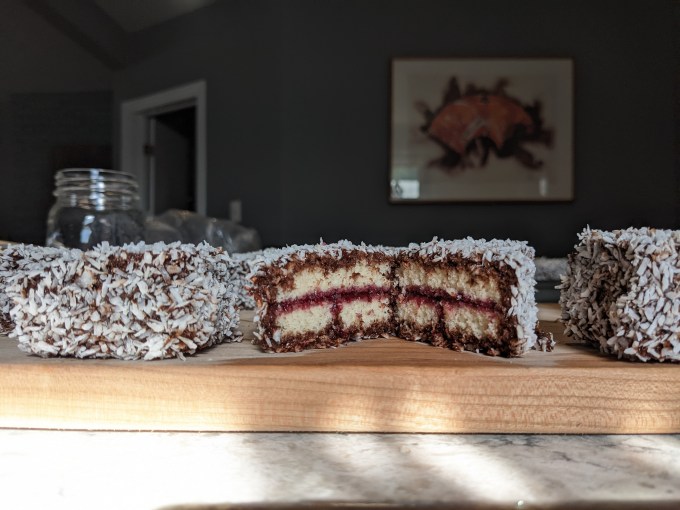
So. Lamingtons! It was only a matter of time before GCBS dipped its toes into something from the Antipodes, our colonial brothers all the way over yonder in Australia. I had never heard of Lamingtons before this episode of GCBS (recipe here). The basic concept is a two-bite, square, white cake (sponge or butter), glazed in chocolate and rolled in coconut. The GCBS version is a slight variation with raspberry filling between two layers of cake.
First and foremost, this bake was a redemption for me. Lamingtons are quite similar to Fondant Fancies, and I wasn’t totally happy with how my version of those turned out. I just didn’t get the lift I was looking for on the cake for the fancies, so my final product was not as CUBIC as I wanted. As far as redemptions go, this one is a banger. I am very pleased with how this bake came out – I think I executed all of the components correctly – and the final product is picture perfect.
I made one modification on my version of this bake: once again I was unable to find frozen raspberries and I am unwilling to use fresh for this type of application. So I substituted cherry for raspberry in my jam. I think raspberry would have tasted better, but the cherry turned out just fine.
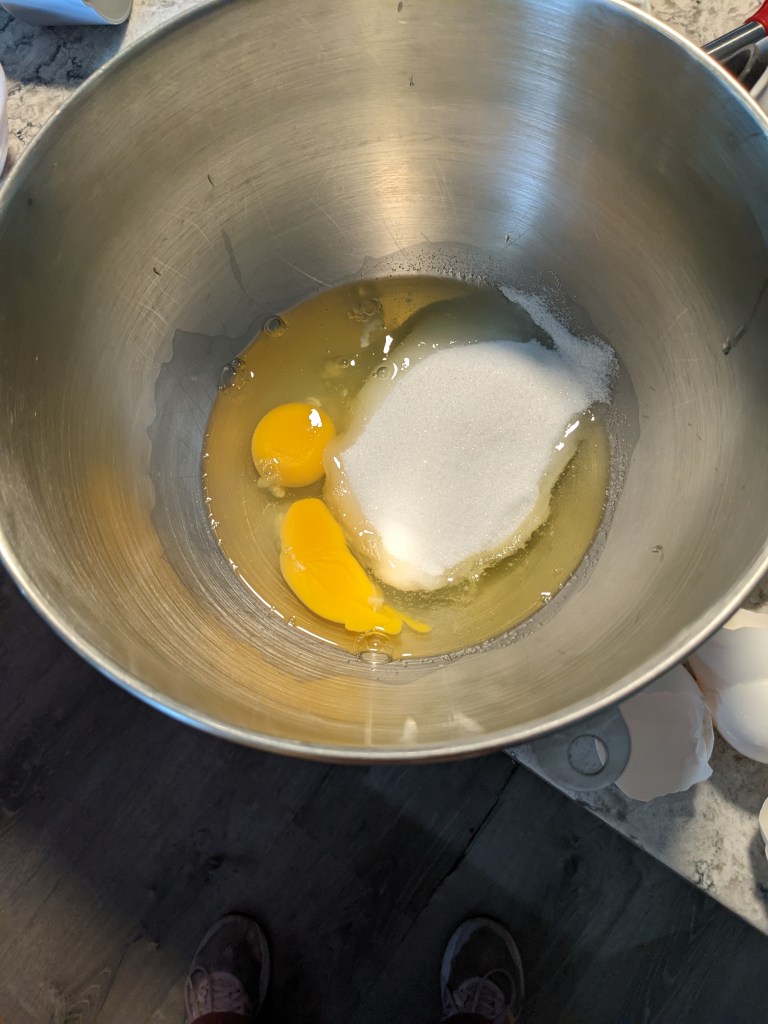
This sponge method is one I have never done before. A combination of whole eggs, egg whites, and sugar are gently heated over double boiler before whisking to full volume. It’s very similar to the meringue method for Swiss meringue buttercream (featured here on Baking Summit). Gentle heating before aeration stabilises the proteins in the eggs which makes the final cake batter more structurally sound. Although this method takes more steps than more traditional versions of sponge cake, it is less likely to fail so it would be a good choice for someone who is just starting to get familiar with making sponge. The other advantage to this method is the added stability gives the batter more capacity to hold up fats. This particular version is a “butter sponge,” which has the nice aeration of a sponge cake, but the added moisture and richness of butter cake. The best of both worlds.
Another noteworthy aspect of this bake is the chocolate glaze. I have never seen or used a glaze like this before. It was sort of like a watered-down ganache. I know there are a few methods out there where water gets added to chocolate so it isn’t totally unheard of, but whenever we start talking about mixing chocolate and water I get a little wiggy. I did a little bit of light research and from what I gather, I think the glaze is slightly watery on purpose. The lamington cake is supposed to absorb some of the glaze so it’s more incorporated into the crumb than it is meant to drape the cake like icing, which creates a unique texture in the final product.
Overall this is a pretty simple bake. It came together without incident and the final yield is decent. This would be a good choice for a get together or as a treat to bring in to the office. The assembled cakes travel well and last for at least a few days at room temperature. I was also happy that the recipe didn’t have a ton of excess components leftover which has not always been the case with these CBC versions (in particular the Opera cake had more than double the amount of French buttercream required, which is about 1/2lb of excess butter on that bake! Ridiculous!). I dipped all of the cake trimmings in the glaze once I was finished with the full size cakes, so I didn’t have any wasted cake or glaze at all. I am happy to be getting back into my blogging routine and it was super fun to come out of the gate with a great bake I can feel good about putting up. So let’s get into it!
Step 1: Cherry Jam
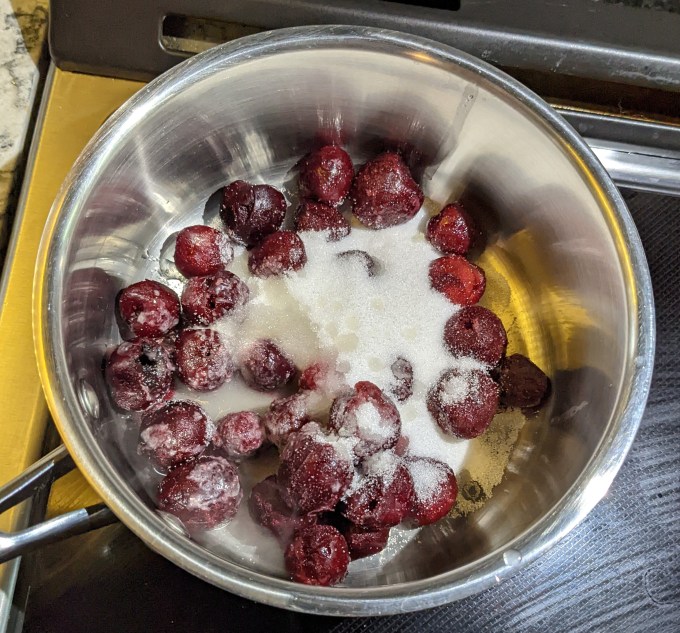
Would this even BE a GCBS recipe if it didn’t have us making raspberry jam from scratch? As I mentioned, I couldn’t find frozen raspberries at the single store I went to. I could not be bothered looking elsewhere This kind of bake really does not justify treating out of season fresh berries like scraps, so cherries it is! I followed the recipe as written, substituting frozen cherries and reducing the sugar slightly. I also increased the lemon juice a little bit because raspberries are more tart than cherries. I admit I am a bit of a light touch with sugar anyway. I prefer my bakes to be on the less-sweet side, especially when they are glazed or iced like this one is.

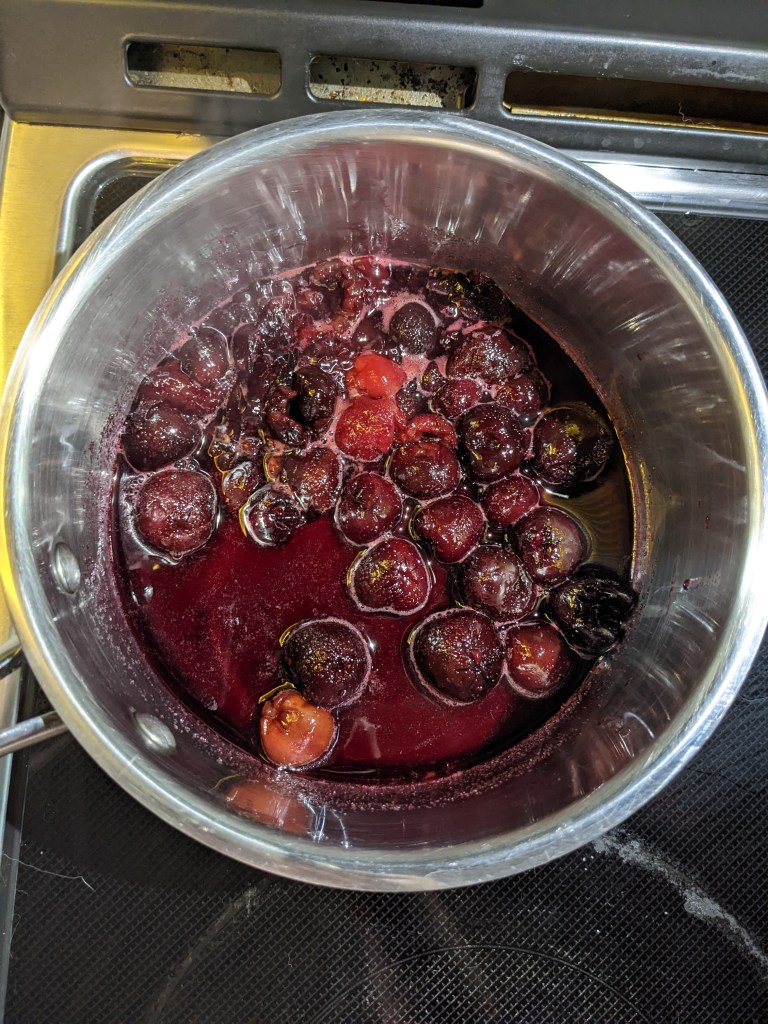
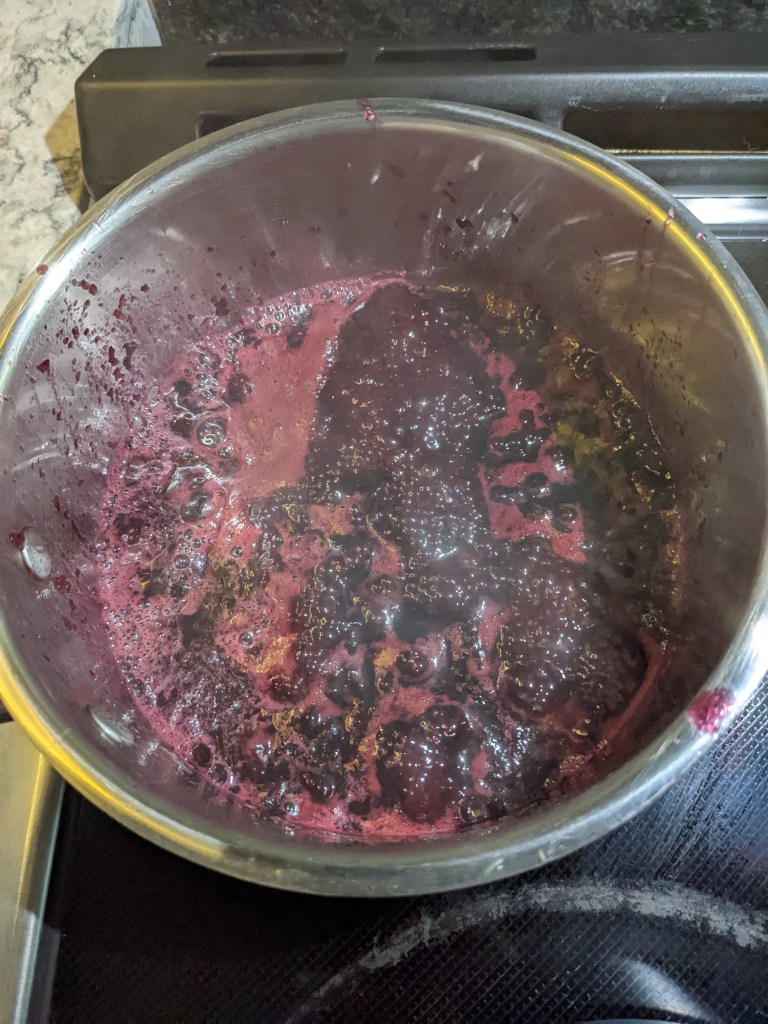
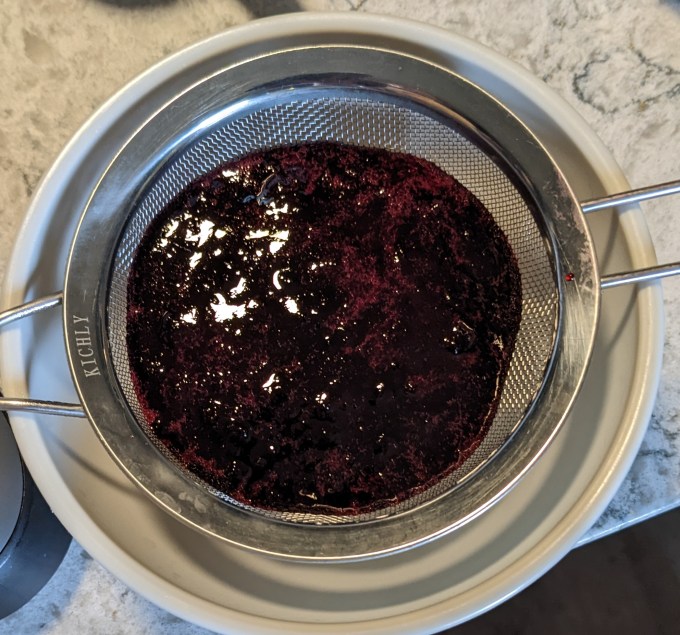
Anyway, other than slight adjustments for taste, this is a very simple jam where the frozen fruit is just boiled down with sugar and lemon until it’s a paste. Cherries don’t really self destruct so completely the way raspberries do, so I blitzed them a little bit with the immersion blender just to bust them up a little bit more. I also sieved the mix which was called for with the raspberries. The jam is supposed to be a “partially strained” raspberry jam, meaning the seeds are to be sieved out and then a small portion put back in. Since cherries don’t have seeds, that part of the instruction doesn’t really apply to my version. I sieved it anyway, but I ended up putting most of the solids back in, so I don’t think I would bother if I was doing it with cherries again.
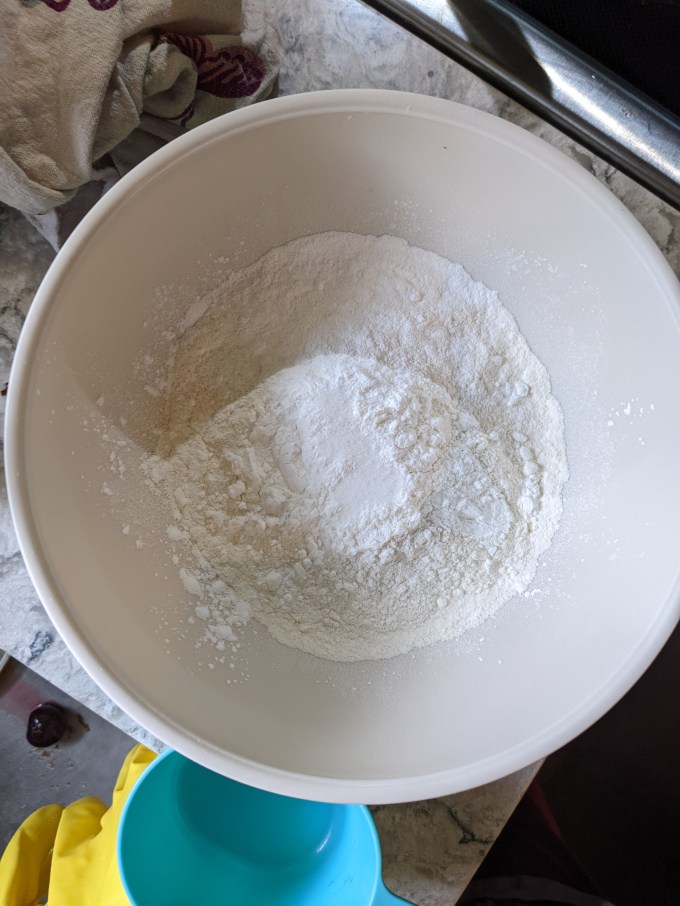
Step 2: Butter Sponge
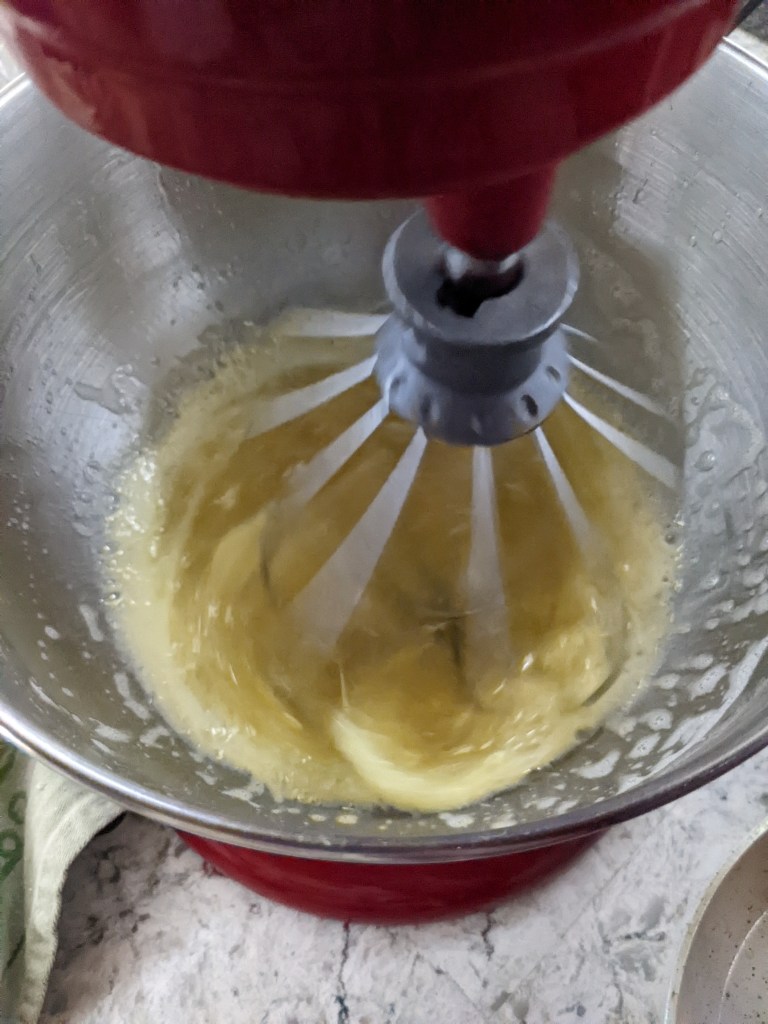
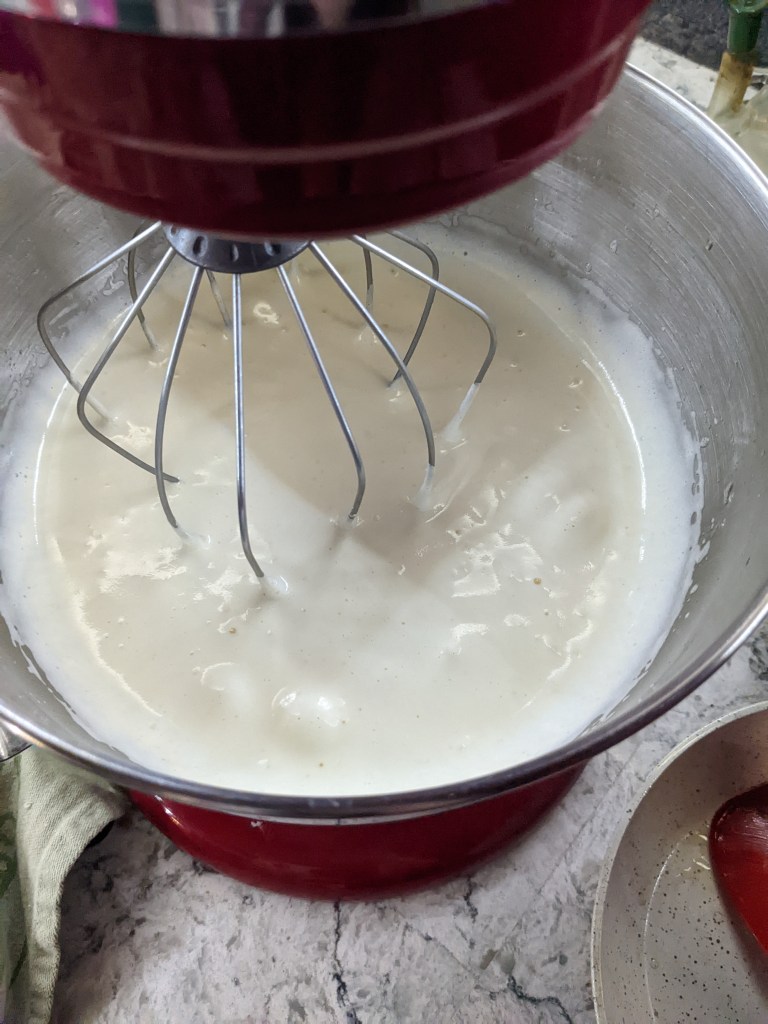
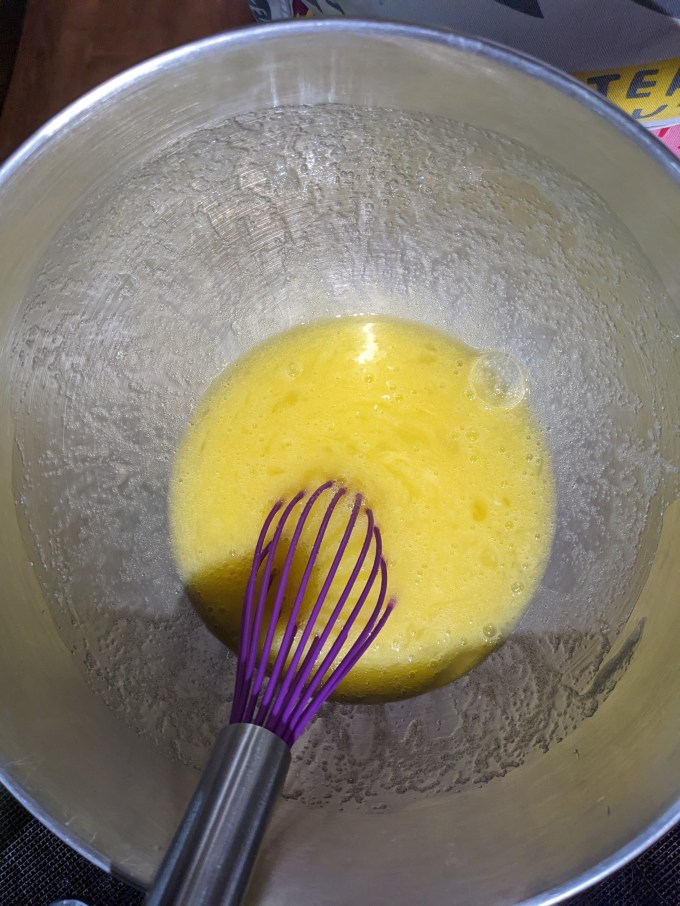
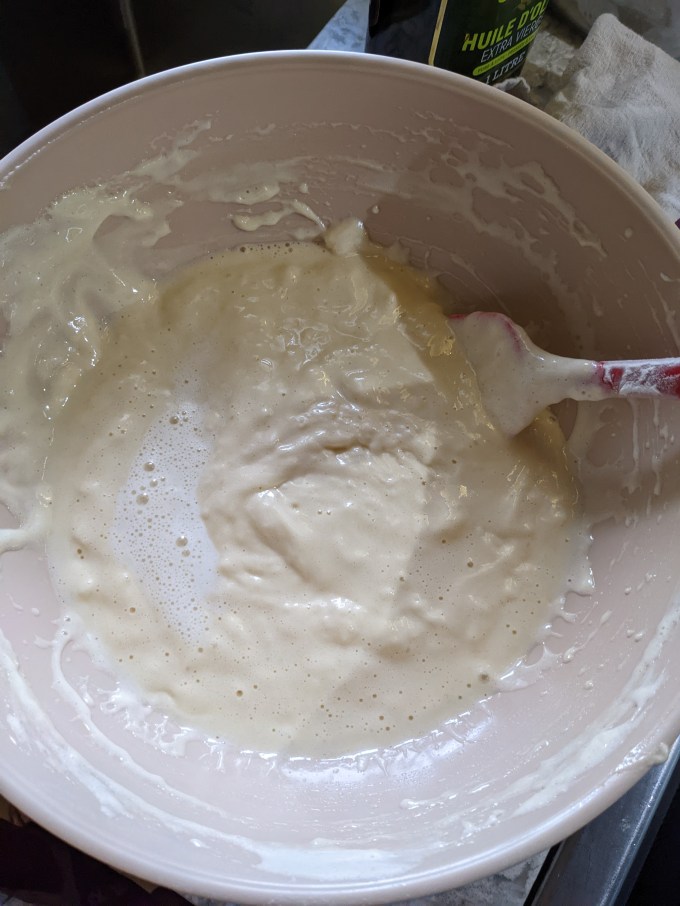
This sponge method is a clever way of incorporating more butter into a sponge and results in a nice, moist cake that is spongy but still has structural integrity. Whole eggs, egg whites, and sugar are whisked and gently heated over a double boiler until the sugar is dissolved and the mixture reaches 120F. Once the eggs are at temp, they are moved to the stand mixer and whisked on medium high until tripled in volume.

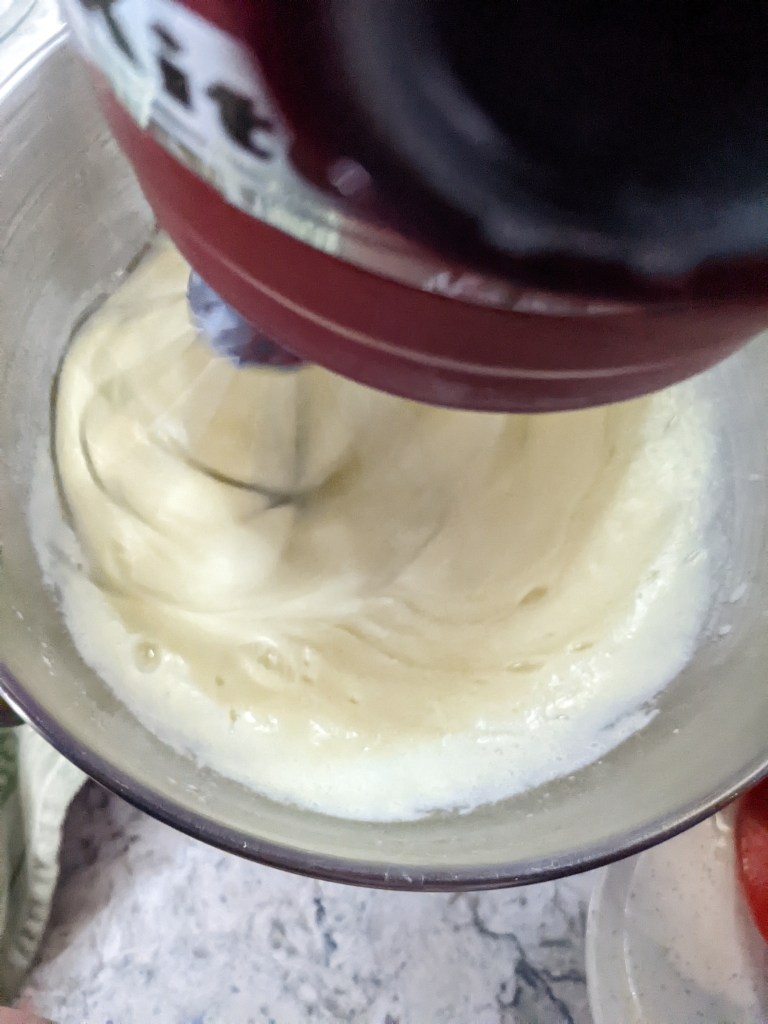
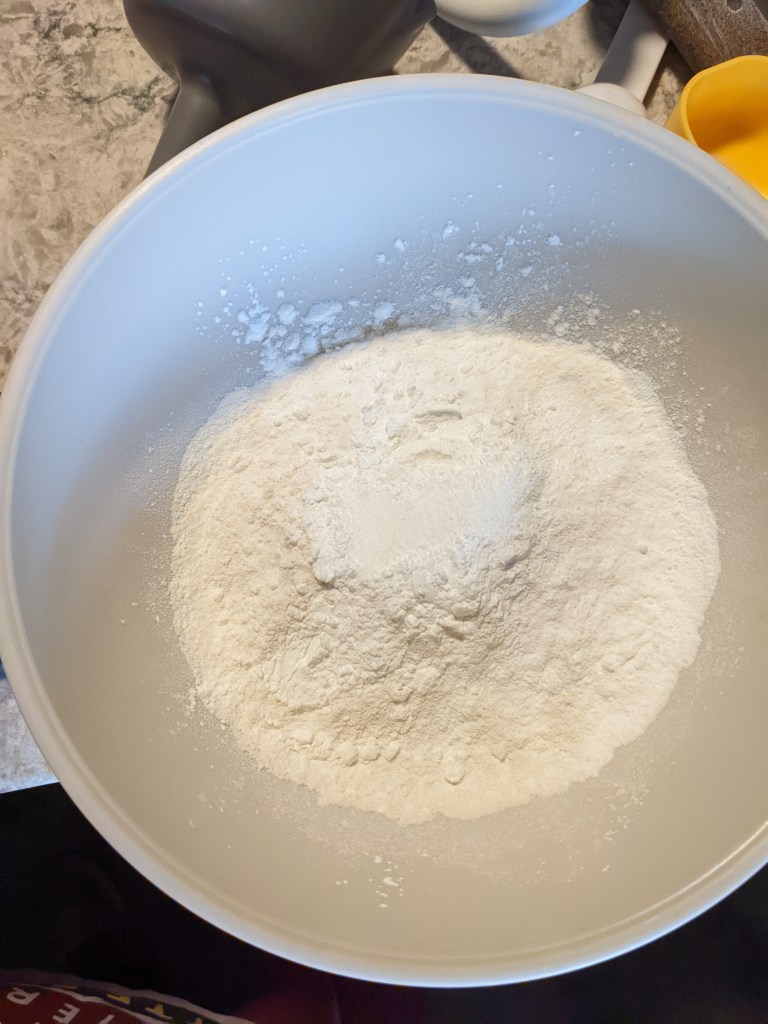
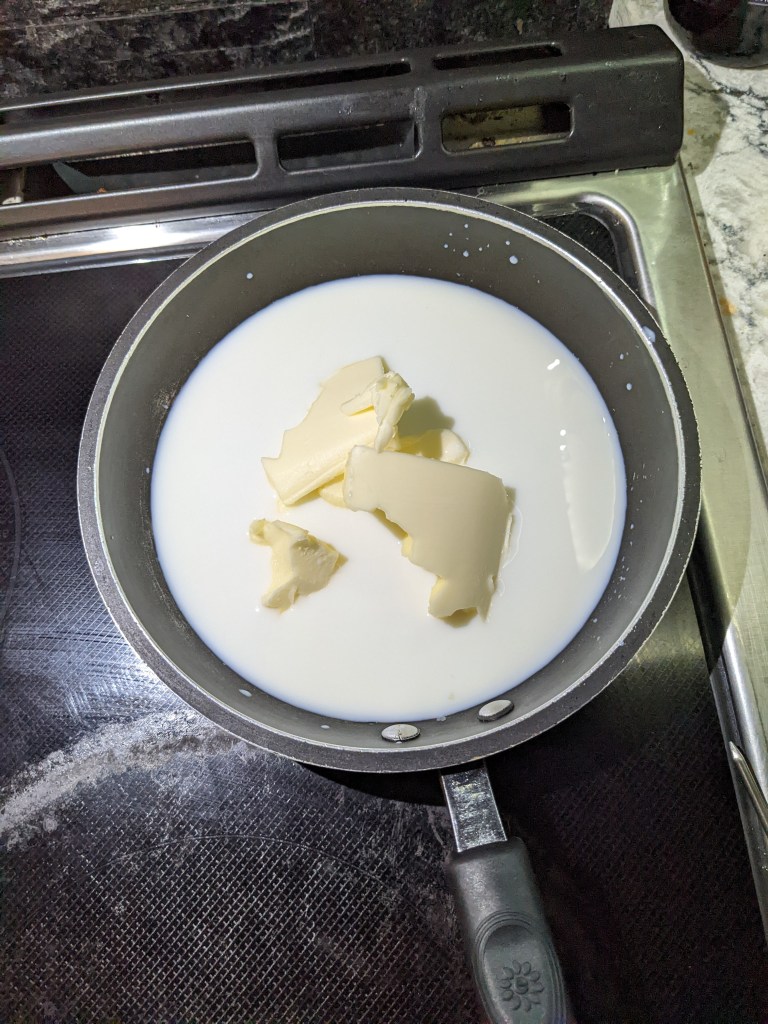
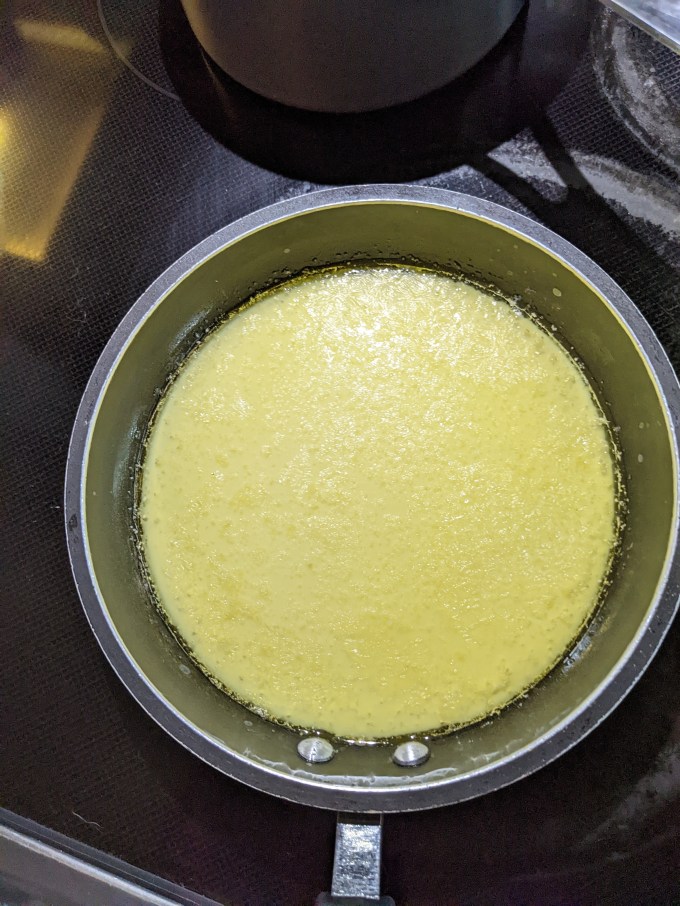
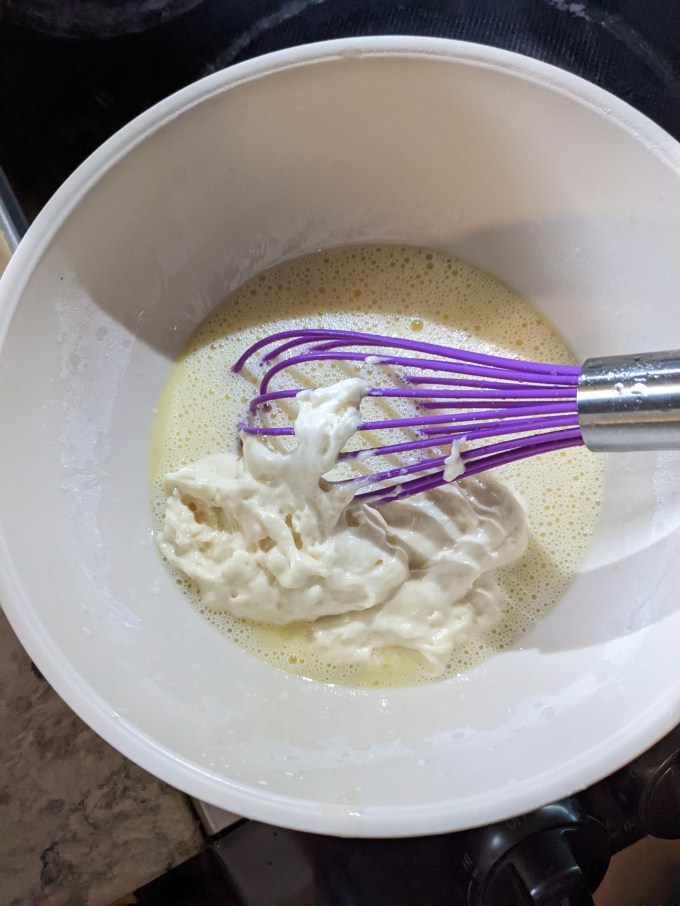
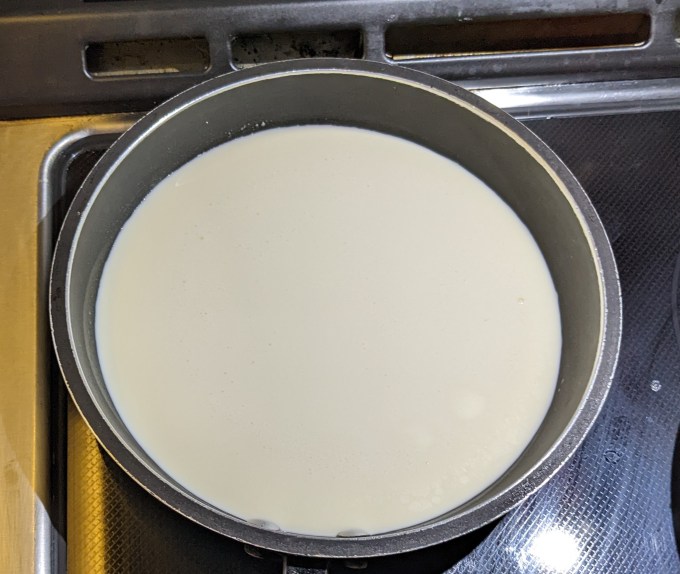
While mixing, the dry ingredients are blended. Butter is warmed with milk until the milk is steaming (this is called scalding) and then vanilla is stirred in. About ¼ of the aerated eggs are combined with the warm milk. This is to temper the heat so the batter doesn’t get shocked and collapse or turn into scrambled egg by adding the hot milk all at once.

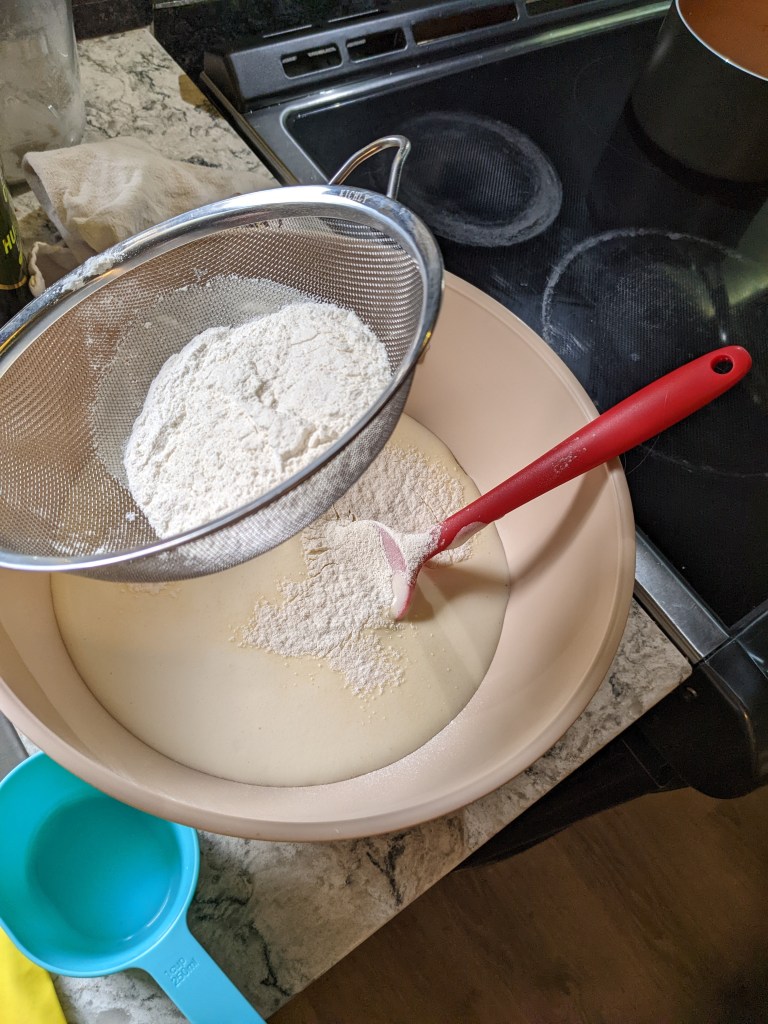
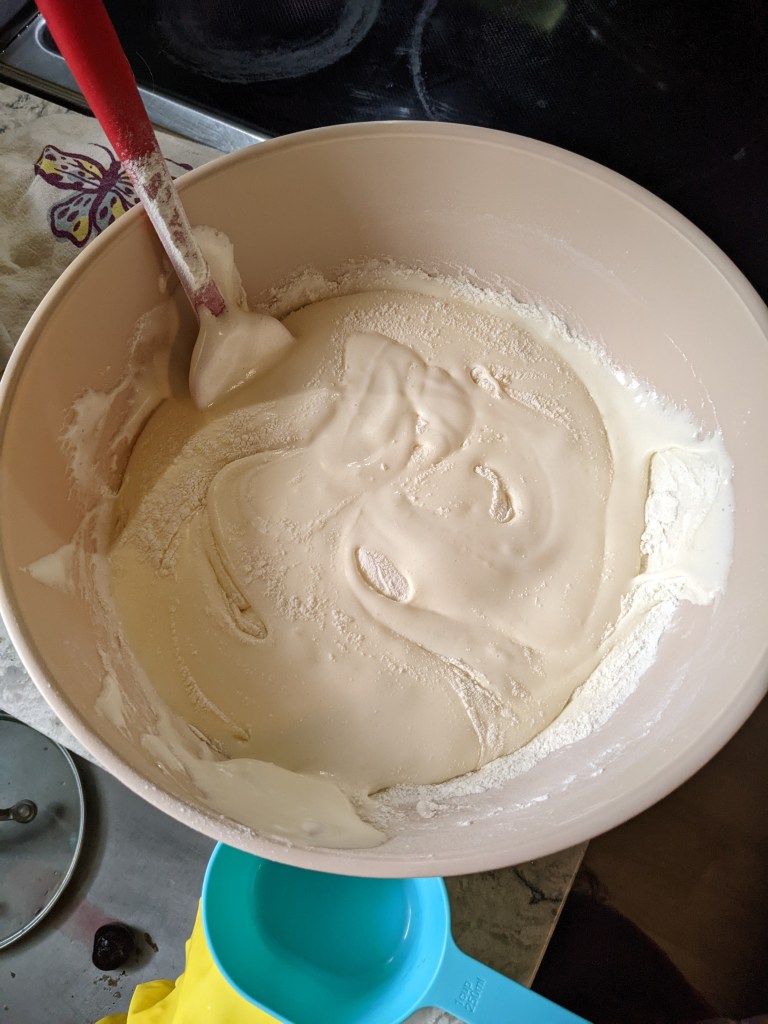
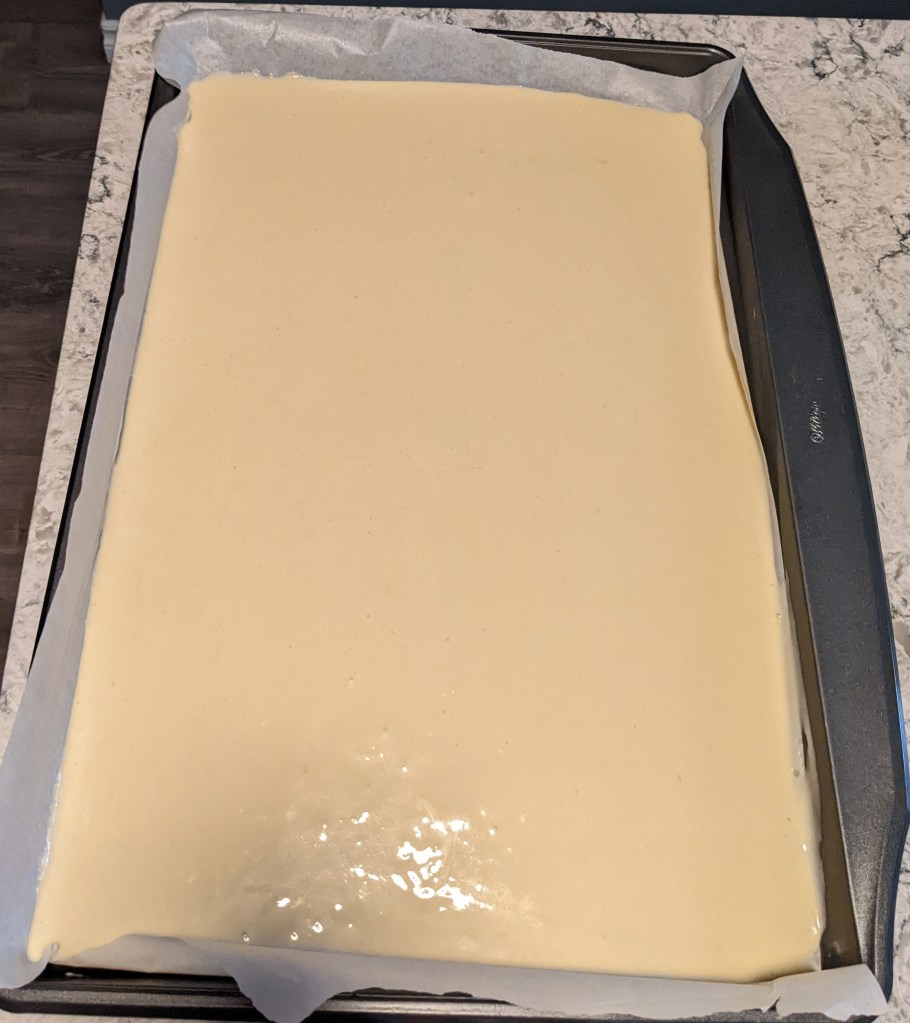
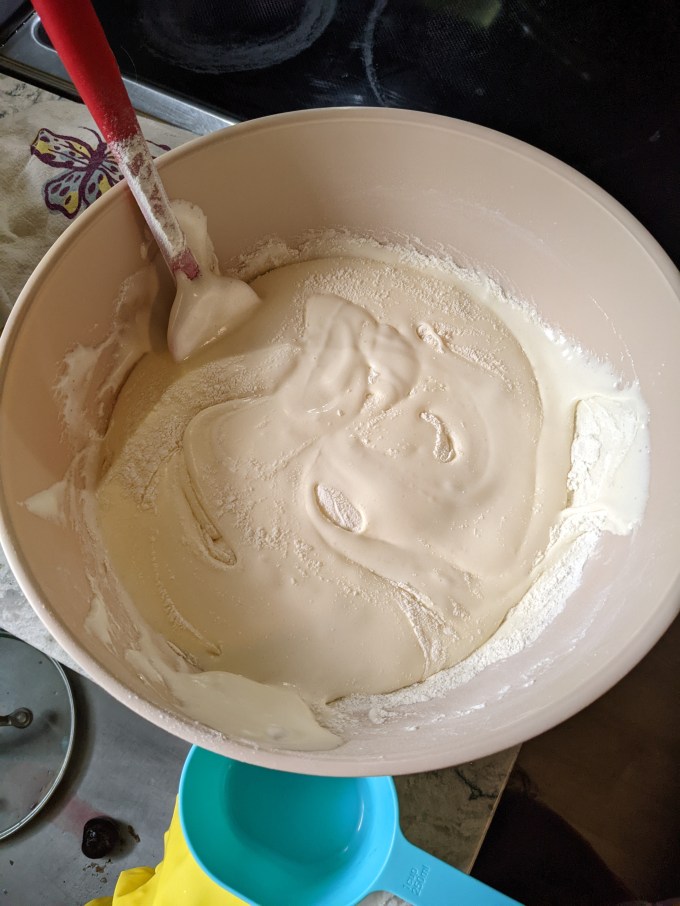
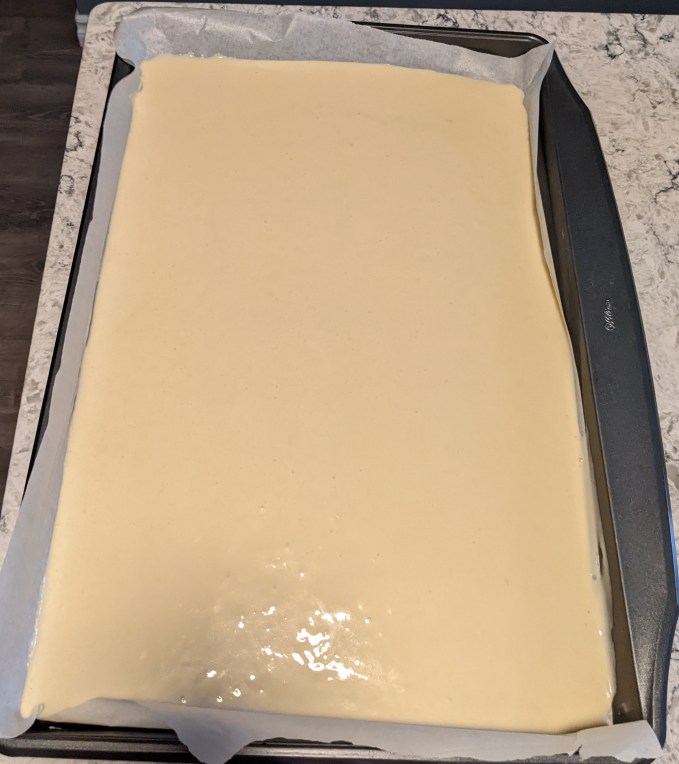
The tempered mixture is folded into the aerated eggs, making the batter base. The dry ingredients are folded into the batter, and then the entire batch gets turned out onto a sheet pan and it’s into the oven we go.

During my rewatch of this episode, I noticed two of the bakers thought their cakes might be over done, including the person who won the challenge. I think this is likely because the bake time turns out to be a bit long here (which is counterintuitive since the eggs were already heated, but I digress), clocking in at about 20 minutes vs the 16 I would have guessed if you asked me before reading the recipe.
Step 3: Chocolate Glaze
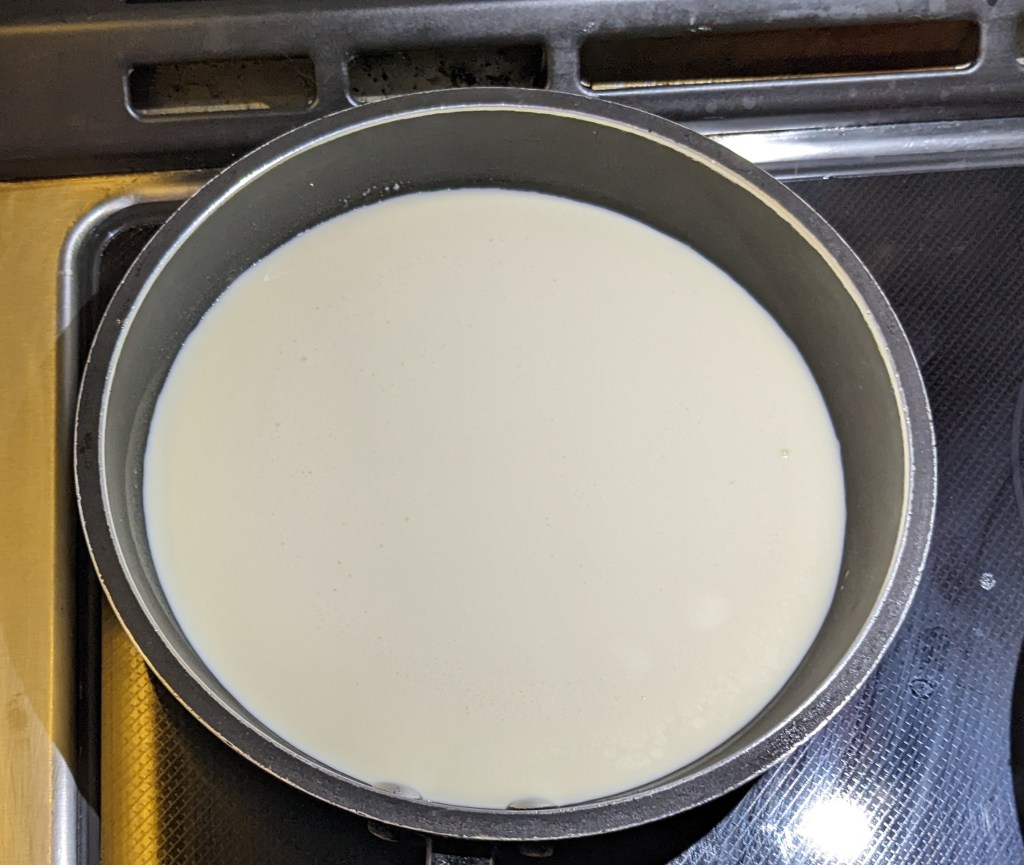
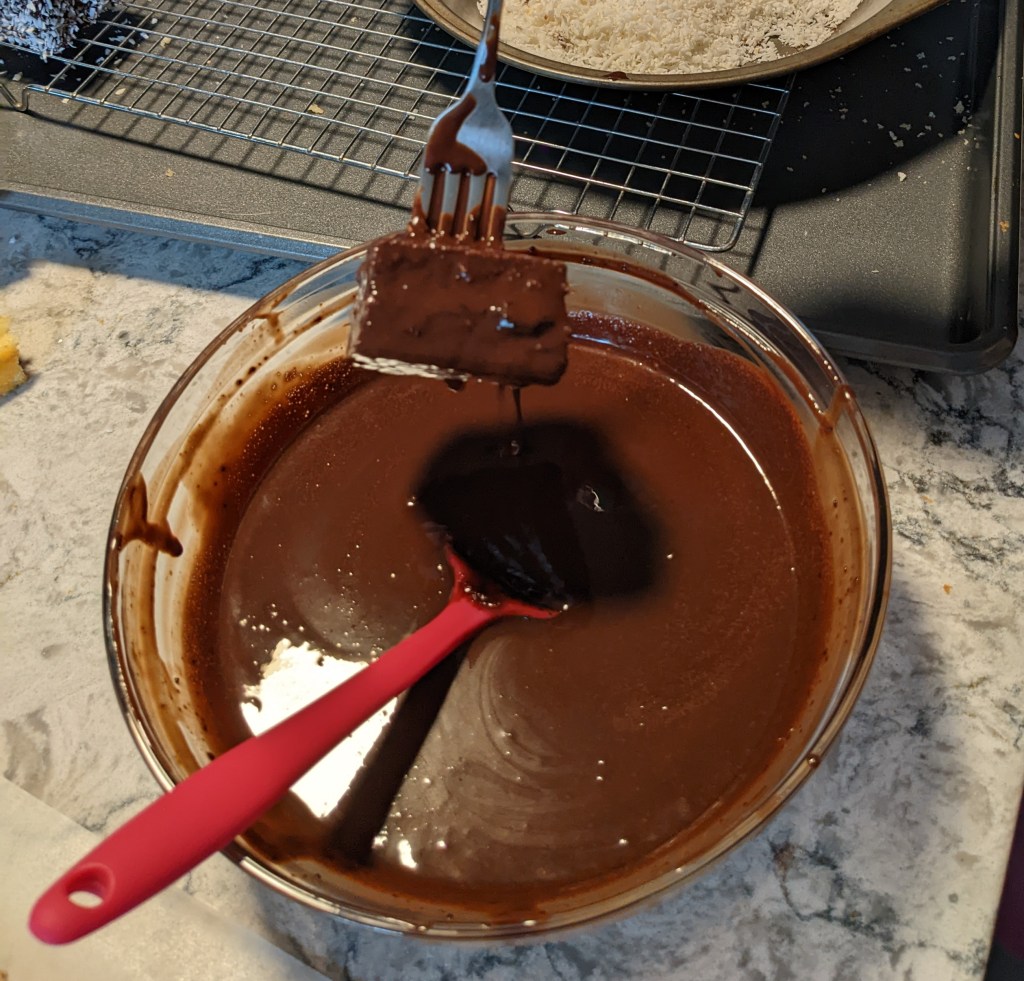
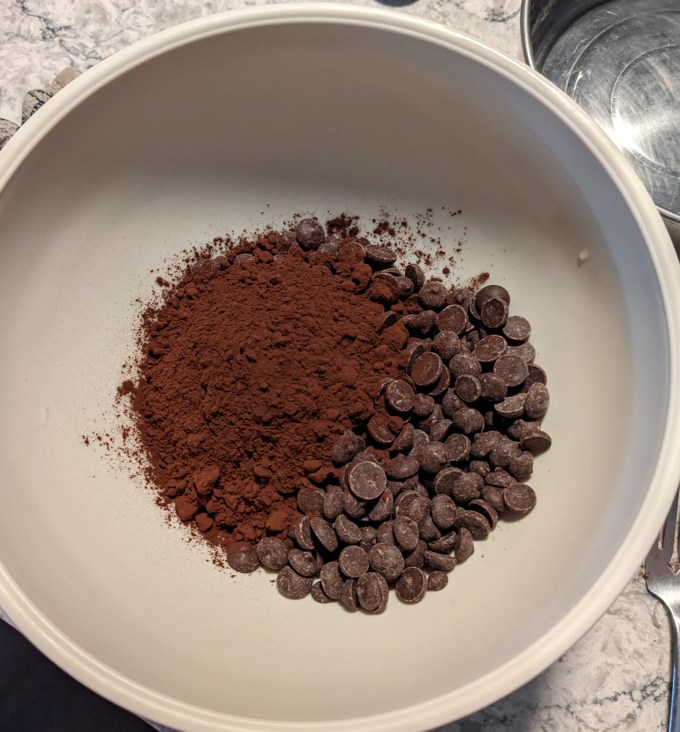
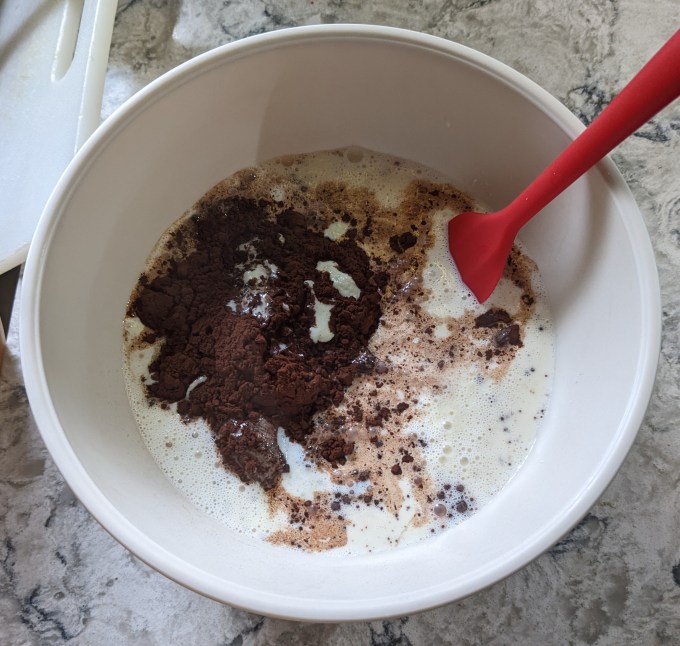
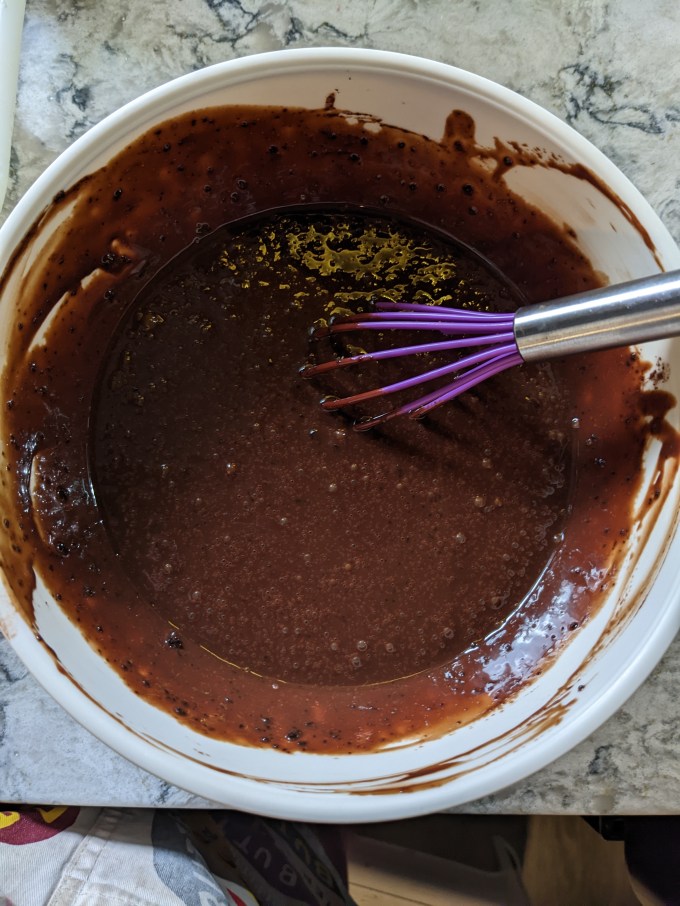
The method for this chocolate glaze is basically the same as ganache with cocoa added. Heavy cream is heated to simmer and then poured over all of the other ingredients: chocolate, cocoa, corn syrup, and a pinch of salt. The mixture is left to sit for a few minutes and then it is all stirred together. A little splash of boiling water is added to help dissolve the cocoa.


The instructions then said to sieve the glaze before use, which I did, but I don’t think it really helped. If I was doing this glaze again, I would probably sieve the cocoa when it is added to the bowl in the first place and then try sieving the mixture at the end as called for just to see if there is any difference.
Step 4: Assembly
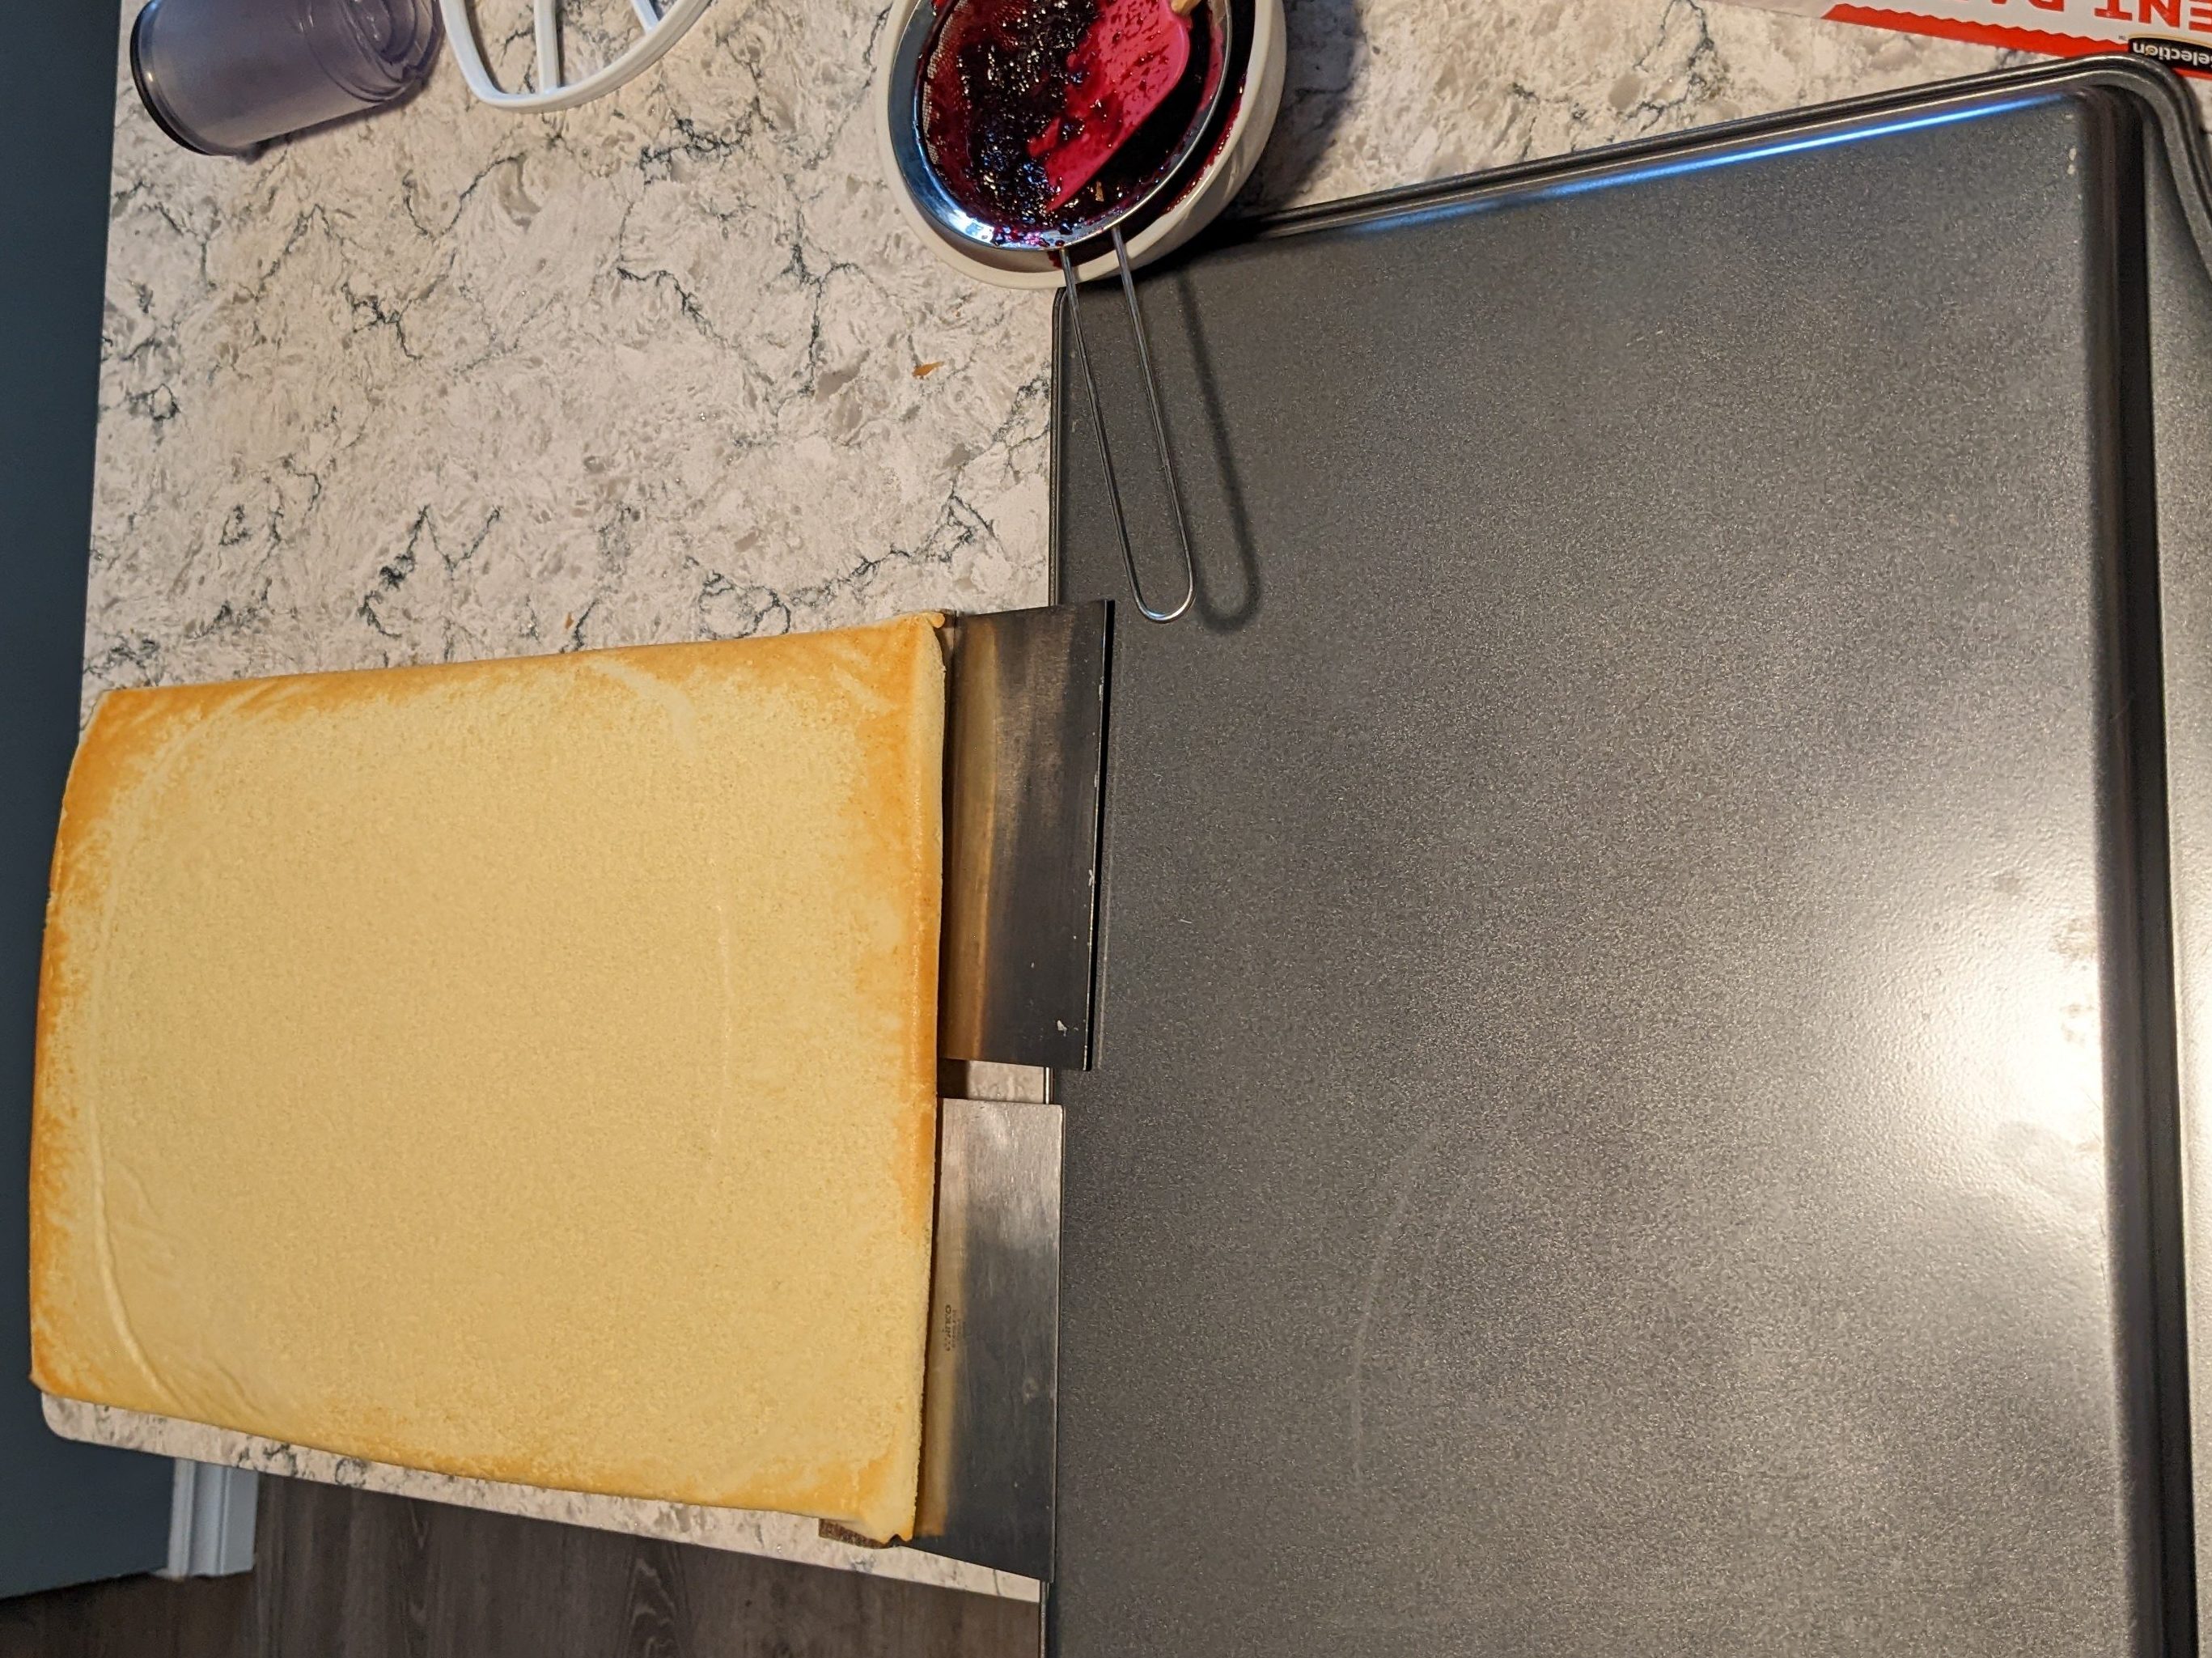
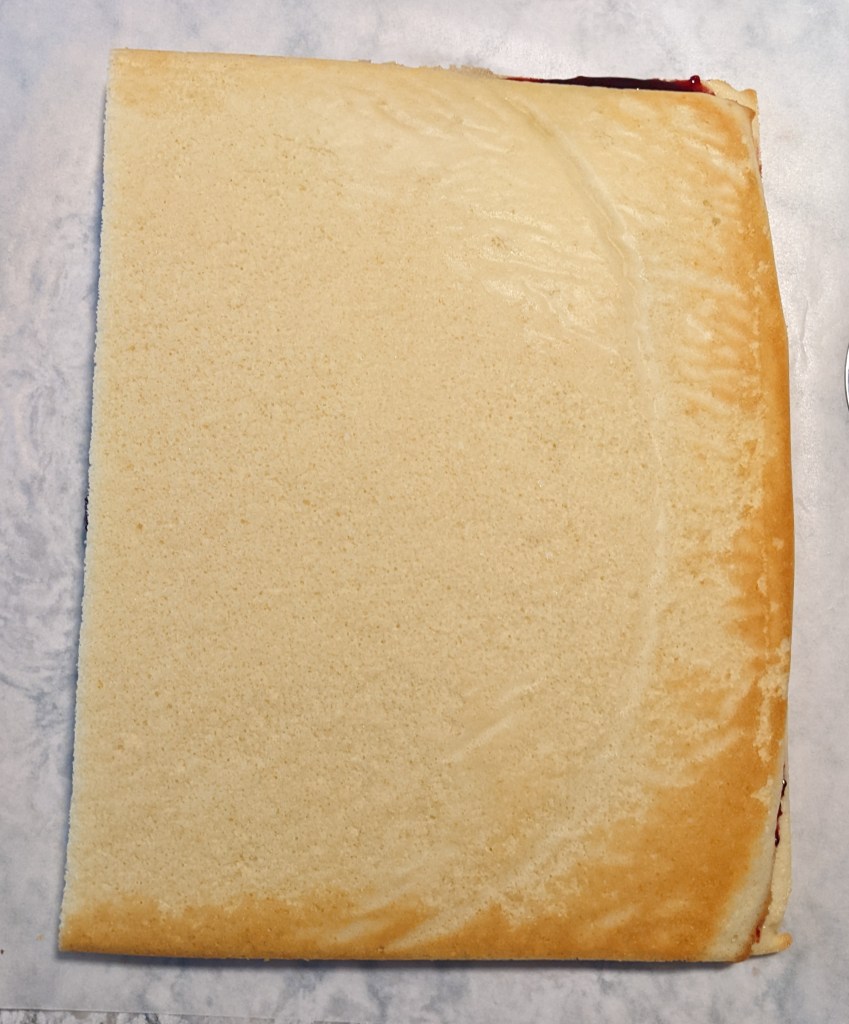
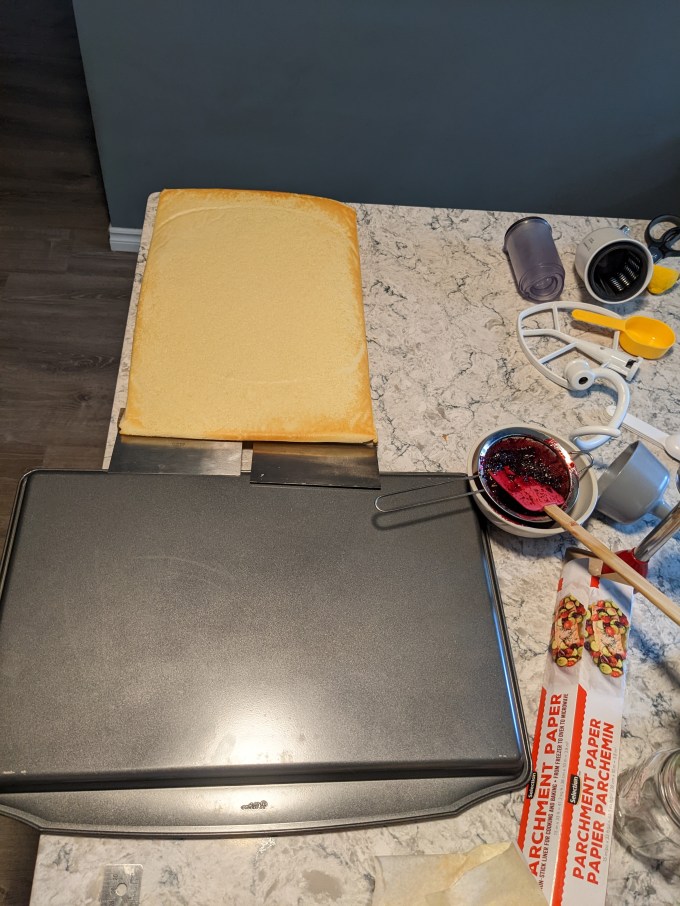
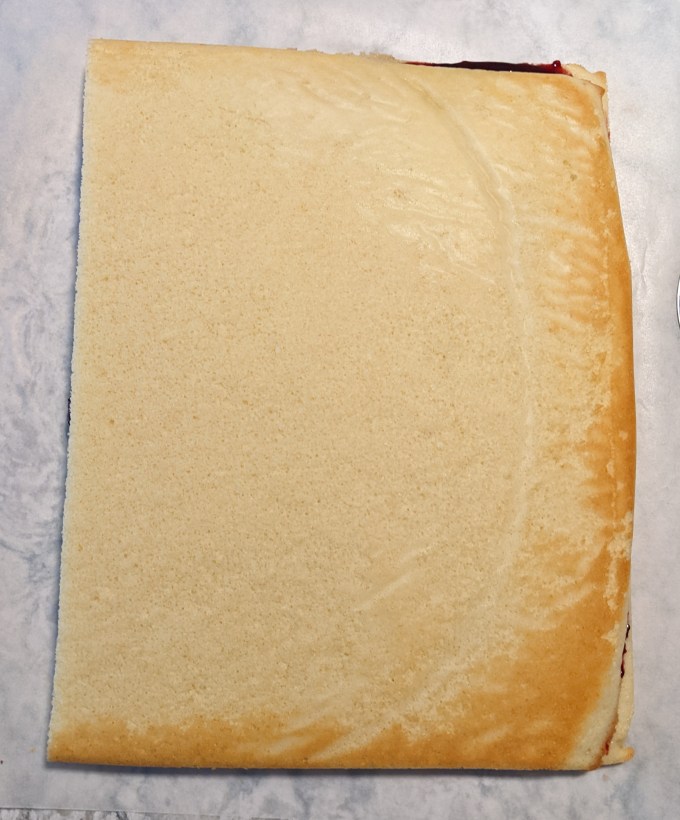
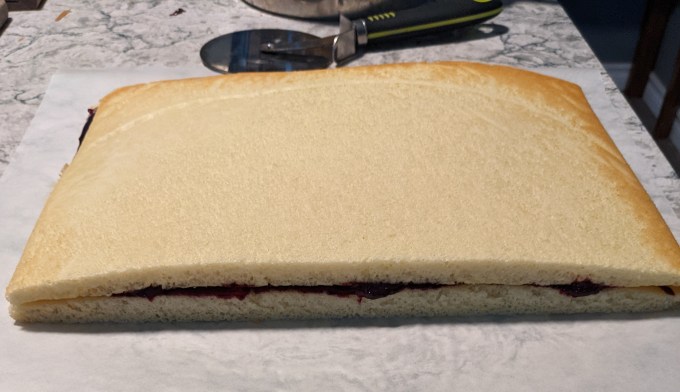
The instructions had some complex cooling steps that involved flipping the cake twice and using two cooling racks. I only have one cooling rack and it isn’t as big as this pan, so I did some ad hoc engineering to keep the cake level while it was cooling so it wouldn’t set with a bend in it.
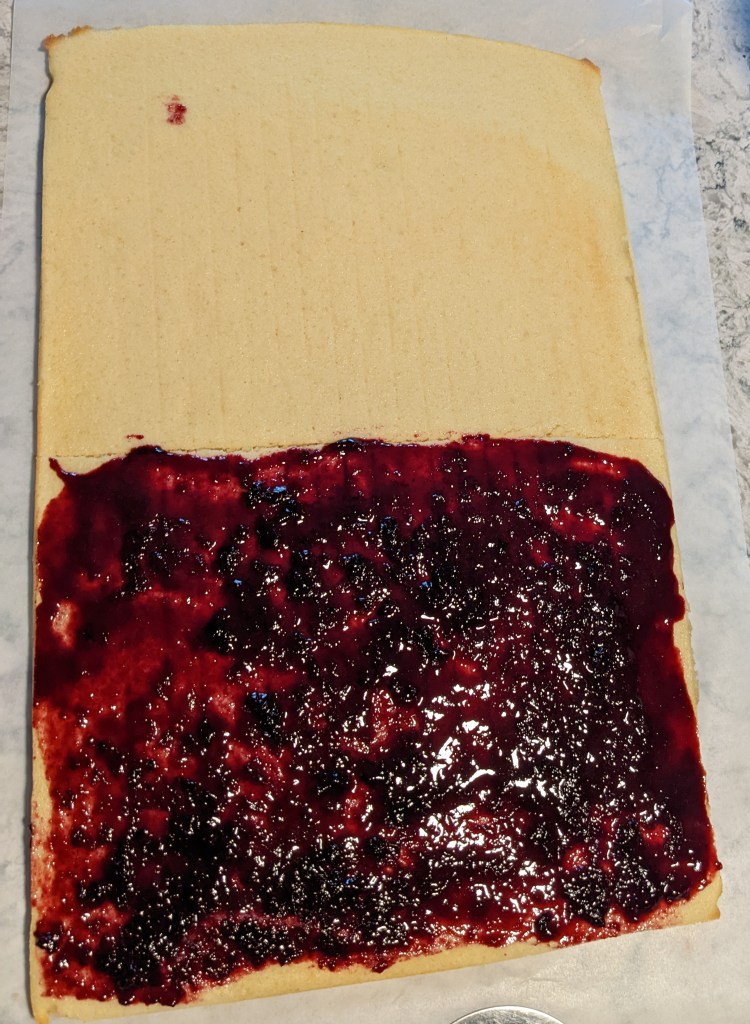
Once cooled, the cake is cut in half crosswise and one half is spread with the jam. The other half is placed on top of the jam and then the cake is cut into 2×2 inch cubes.
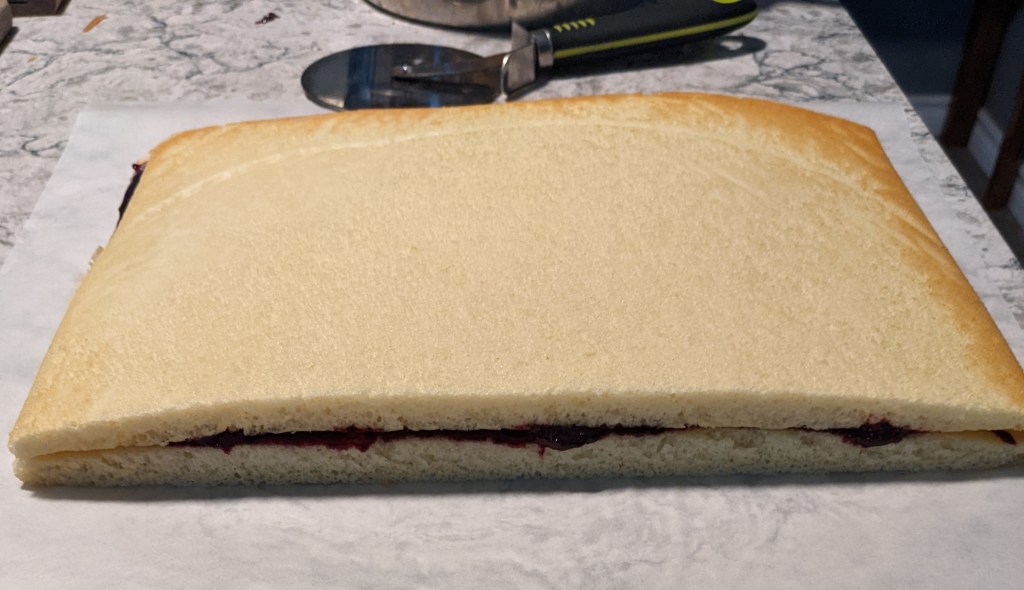
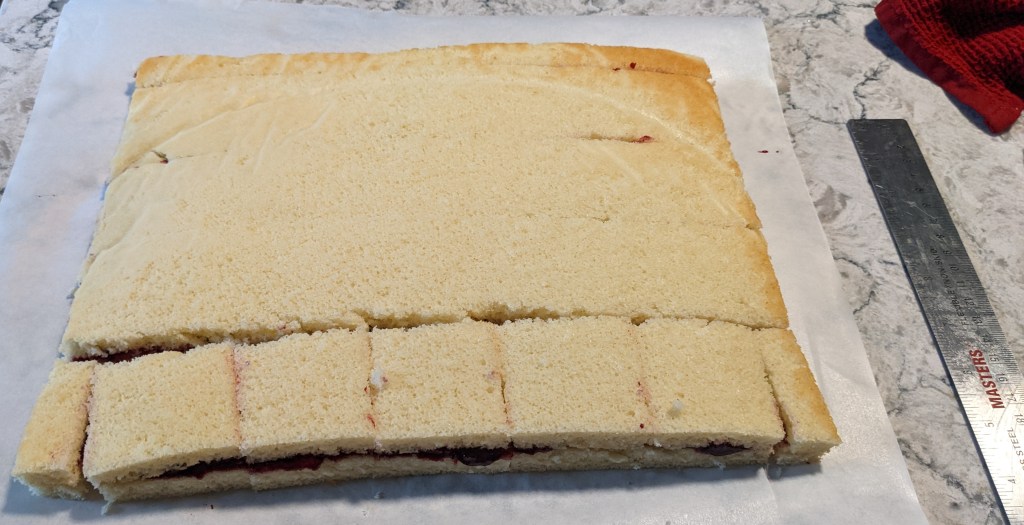
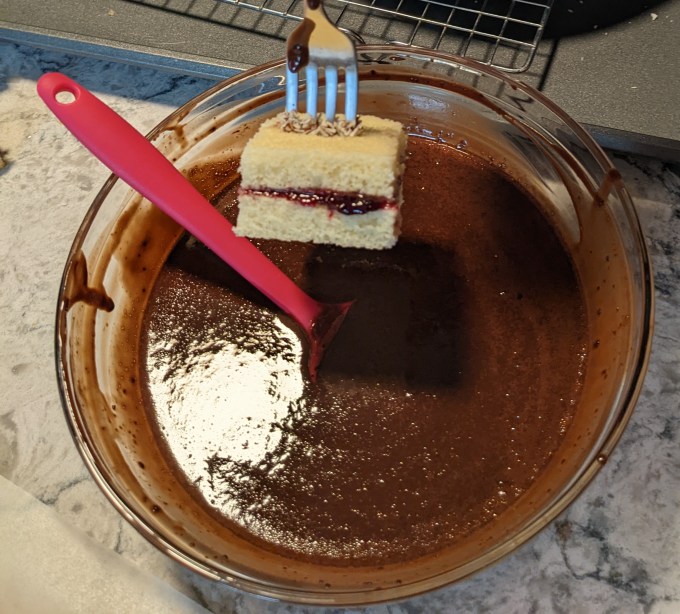
I noticed in the episode that the person who won the challenge spread the entire cake with jam, then cut it into strips and sandwiched the strips together. I considered doing it that way, but I thought: Why flip 11 or 12 small pieces of delicate cake when you can flip only one piece and possibly ruin the whole thing? The baker’s paradox so often a tragic gamble. But not this day! Following the instructions by working with two large halves worked just fine and the glaze kind of helps cover all sins in the end anyway.The cubes are lifted with a fork and dipped in the glaze so they are covered on all sides.

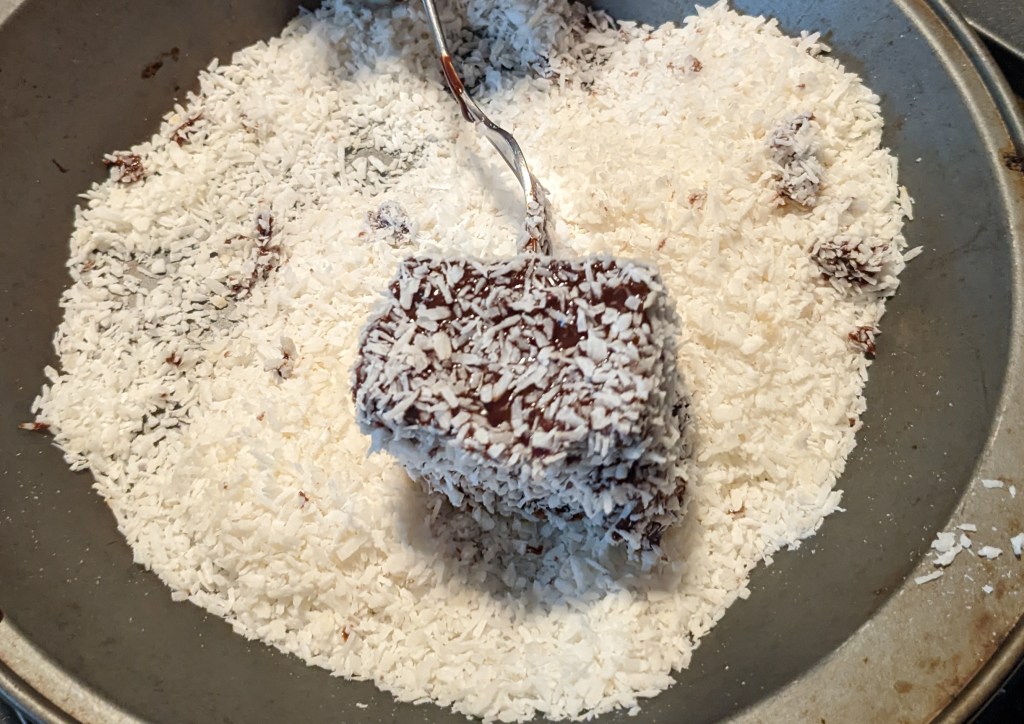
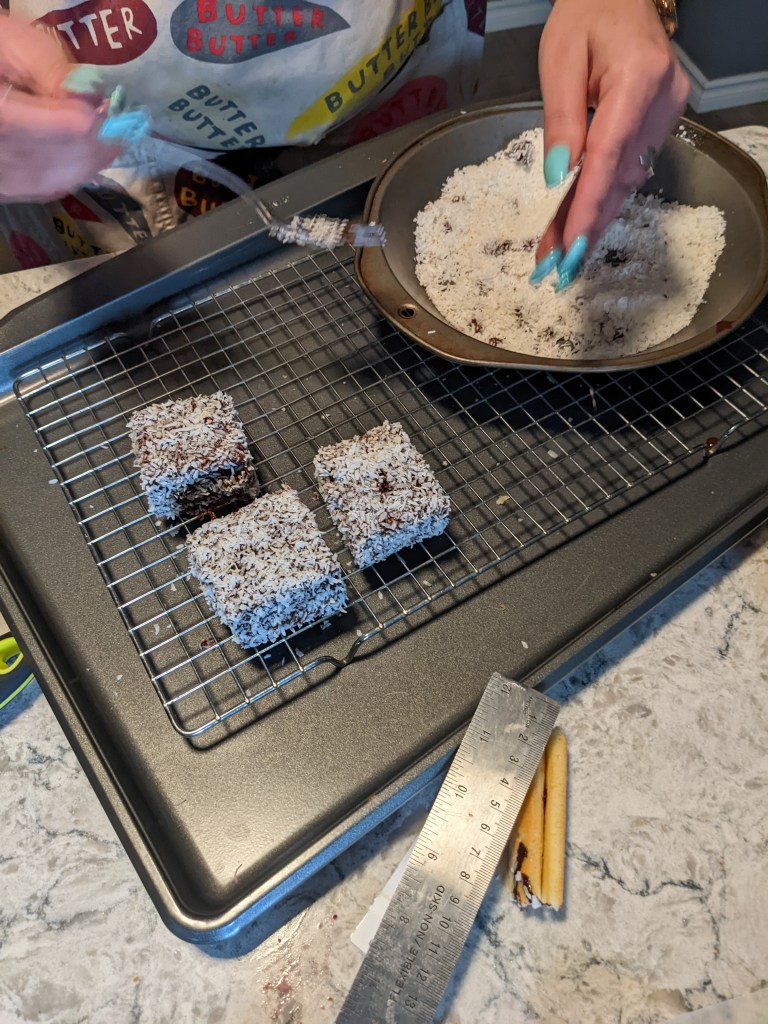
The dipped cakes are then rolled in unsweetened coconut and put on a rack to set. I expected the glazing process for this to be more difficult, but it all went very smoothly. The cakes are not as fragile as I expected and they held up well to this level of manipulation.


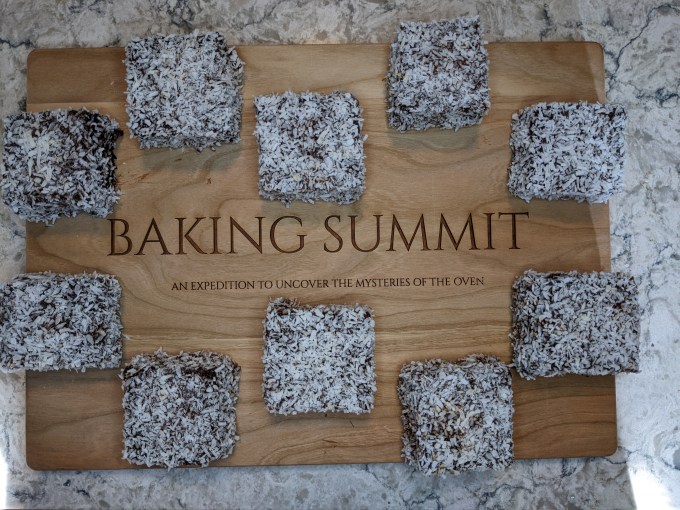
So there we have it, the first bake from Season 5 is in the can. Season 5 of GCBS is particularly dear to me, because it was in tandem with this season that I developed Baking Summit. I am so delighted and humbled by how many of the amazing and talented bakers from that season (and others!) have taken an interest in Baking Summit and to those of you who are reading this, my sincerest thanks. It certainly feels a little bit different to be in DMs with contestants about bakes they actually did on TV and I am so appreciative to those bakers who have taken the time to chat with me and share in what I have accomplished here. So onward we go, sights and spirits high!
/
Hey, bakers! Check out my BAKER’S PANTRY index if you want to deep dive on specific ingredients when attempting this bake for yourself

Neighbours loved the last bake, as usual.
LikeLike
Upon first observation of this little gem one would think simplicity but not a word in a bakers vocabulary I’m assuming !very detailed and intricate… I would like to sink my teeth into one right now … and enjoy the taste sensation ! Another winner❤️
LikeLike