Hello and welcome back, Friends and Fellow Bakers! I can not believe it, now that I have completed this bake, we only have TWO more Technicals to go before I have accomplished my goal of executing all of the Seasons 1 – 4 technical bakes in one year! Amazing stuff! I look forward to sharing more about my future plans for Baking Summit in the coming weeks.
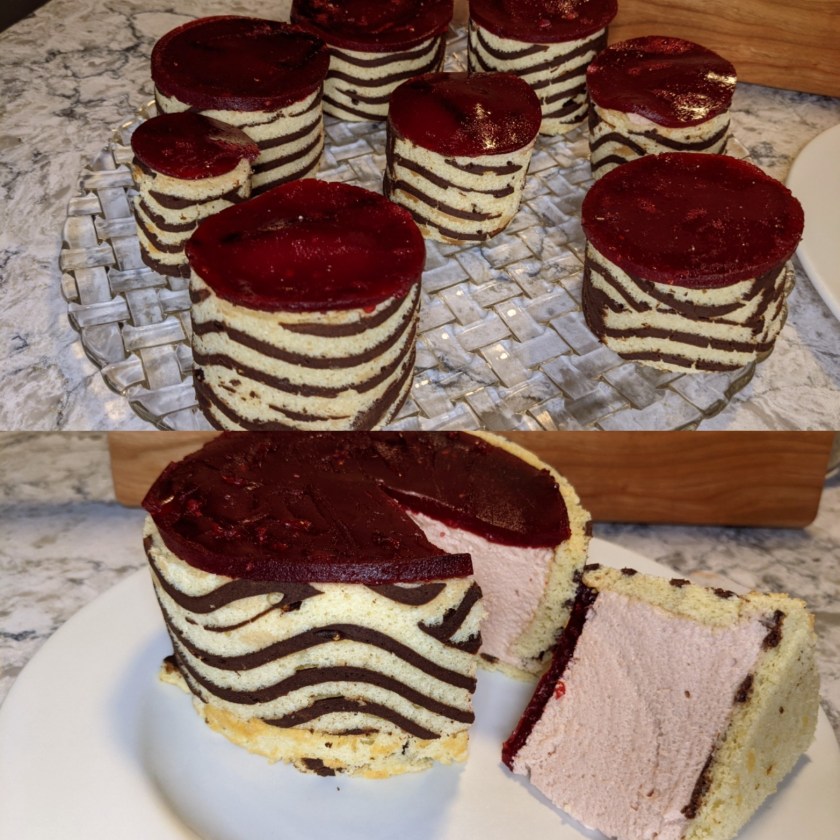
In the meantime, let’s talk about these little mousse cakes (recipe here), which were featured on the Season 3 Semi Final episode of GCBS. The theme of this episode was French Patisserie, so the skills needed here are traditional French methods of mousse and sponge cake with the classic single serving Patissierie window type of presentation. This version had the added challenge of baking chocolate stripes into the sponge.
This technical was harrowing to watch. All of the bakers in the episode are capable of executing this bake perfectly. No question. The challenge was in the fact that they only had 2h 15 min to do this in. ABSOLUTELY DIABOLICAL. I was able to turn out a version of this that I am extremely proud of and you know why? Because I worked on it one element at a time for a whole entire day. Less than three hours given was insanely sadistic. Well played, CBC. Well played.
This bake is coming late into this project because I admit I was intimidated by it. I have made mousse many times with varying success. I feel like I don’t have a strong handle on what the texture of mousse is supposed to be like before it sets. There are also different methods to consider which adds to the complexity of it. I still feel like I am early in the learning phase of mastery of mousse and I don’t practice it often because who the hell serves mousse to people? It’s one of those things that is expensive and a lot of work and easy to completely bomb, so I just steer clear. I like to force the odds in my own favour when I am baking for others, and this is not it.
I took some liberty with the portions on mine. The CBC recipe was to make 12 uniform 2.75 inch single servings. I shopped a little bit for 2.75 inch cake rings and the only thing I was able to find would have cost me like $36 for 12. I don’t think so, not for cake rings I will definitely not use unless I decide to make these stupid things again. Instead, I bought a 12 piece set that had 12 DIFFERENT cake rings. Between this set and my circular cookie cutters, I was able to make 4 pairs of different sized rings and one large 6-inch cake. It all worked out just fine and I didn’t need to scale any of the recipe components to make it work (and I didn’t have a terrible amount of waste, either).
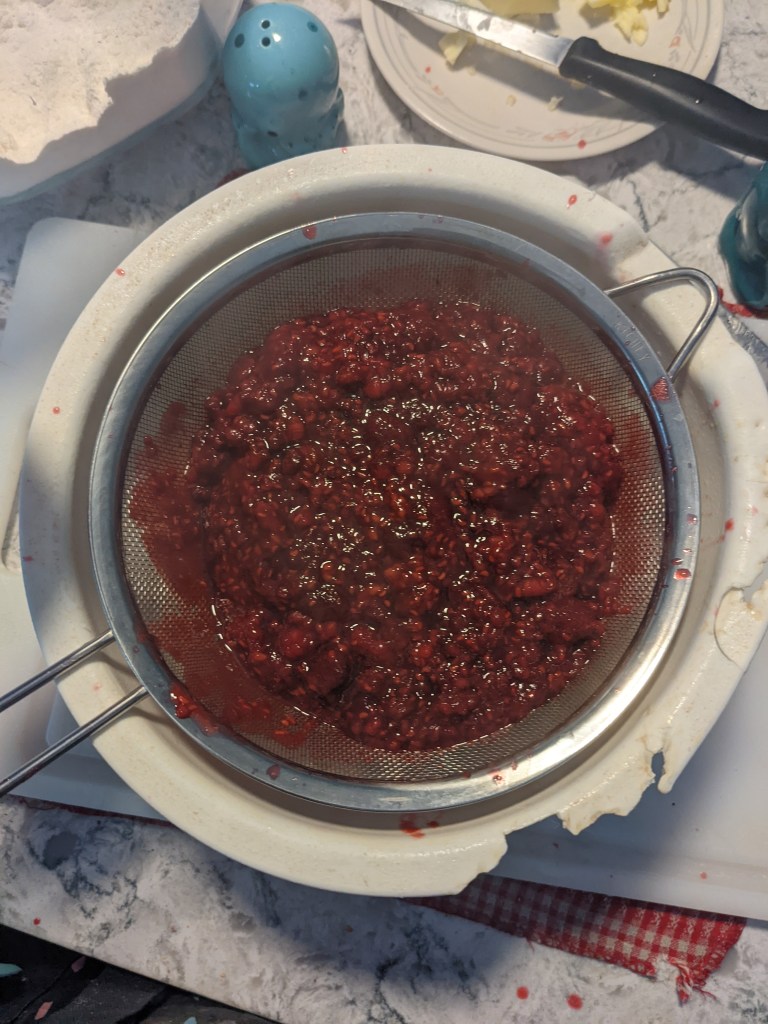
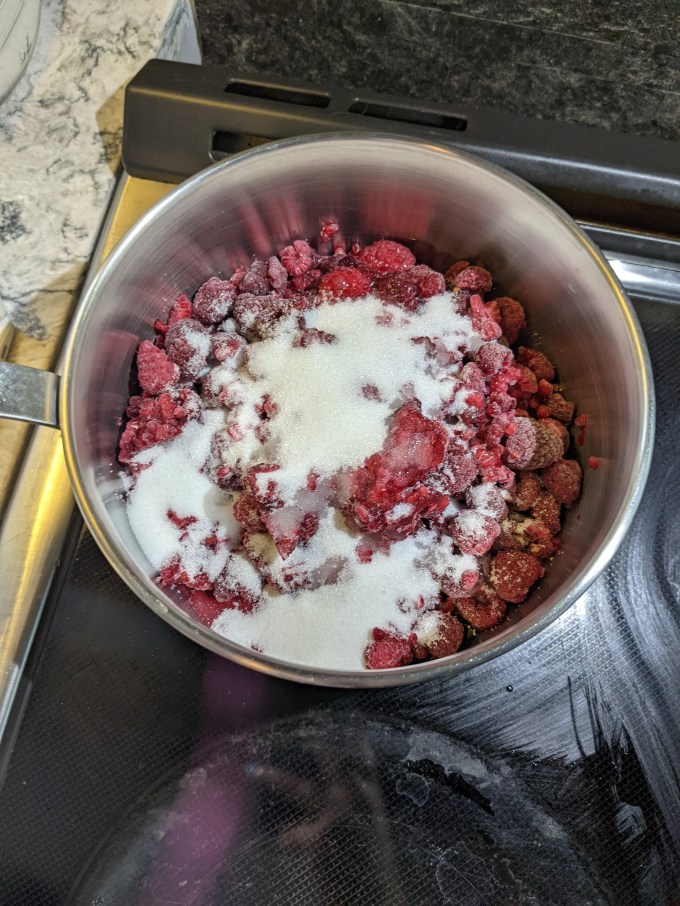
Step 1: Raspberry Gele
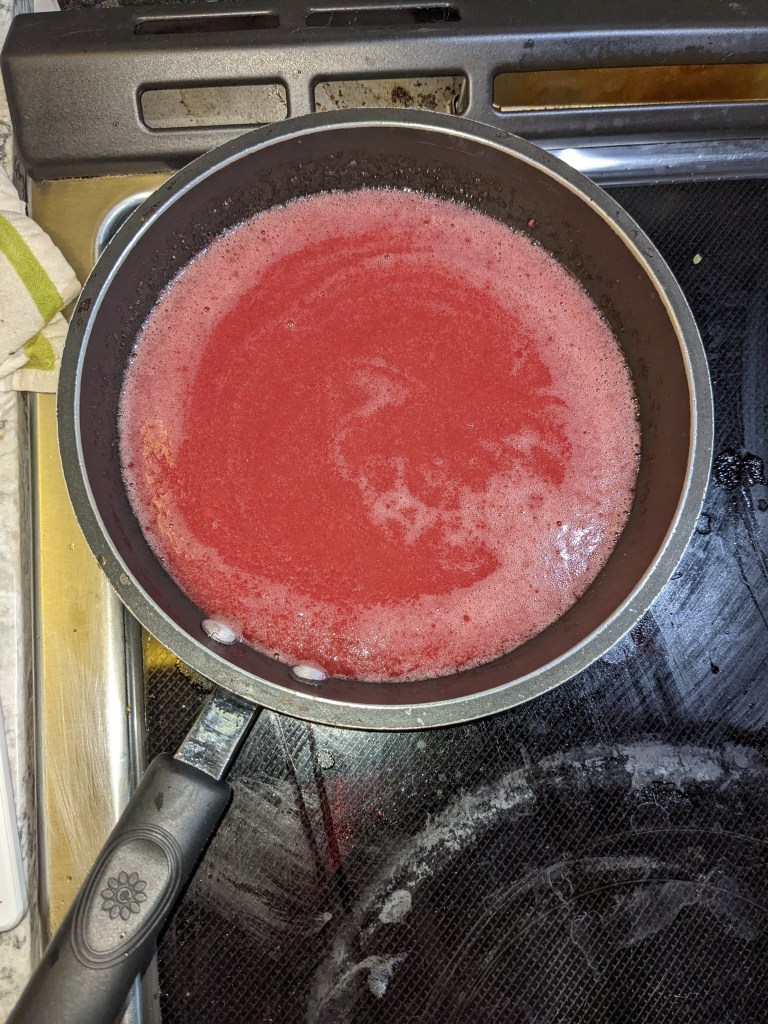
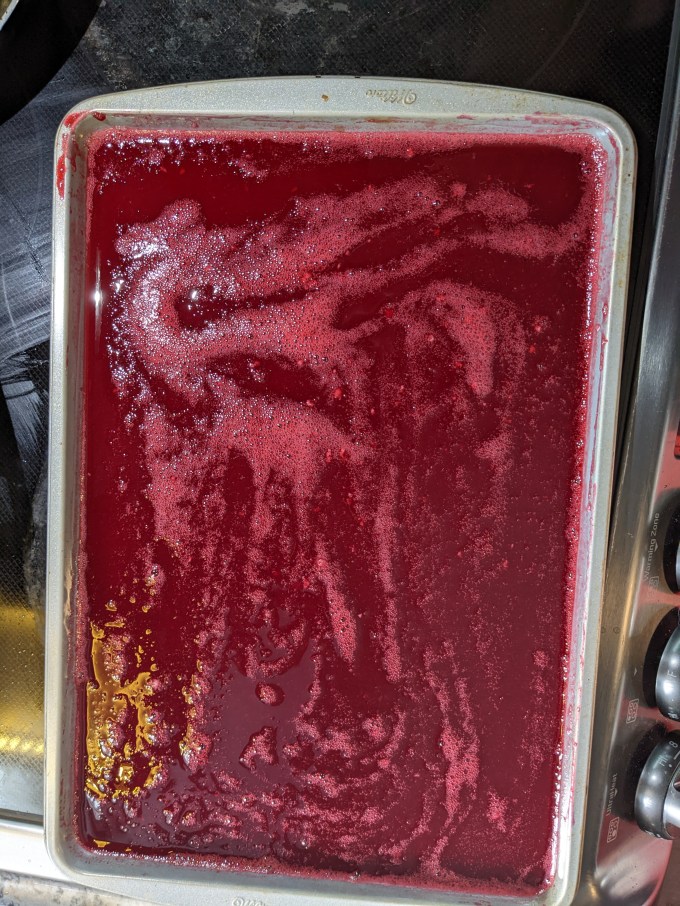
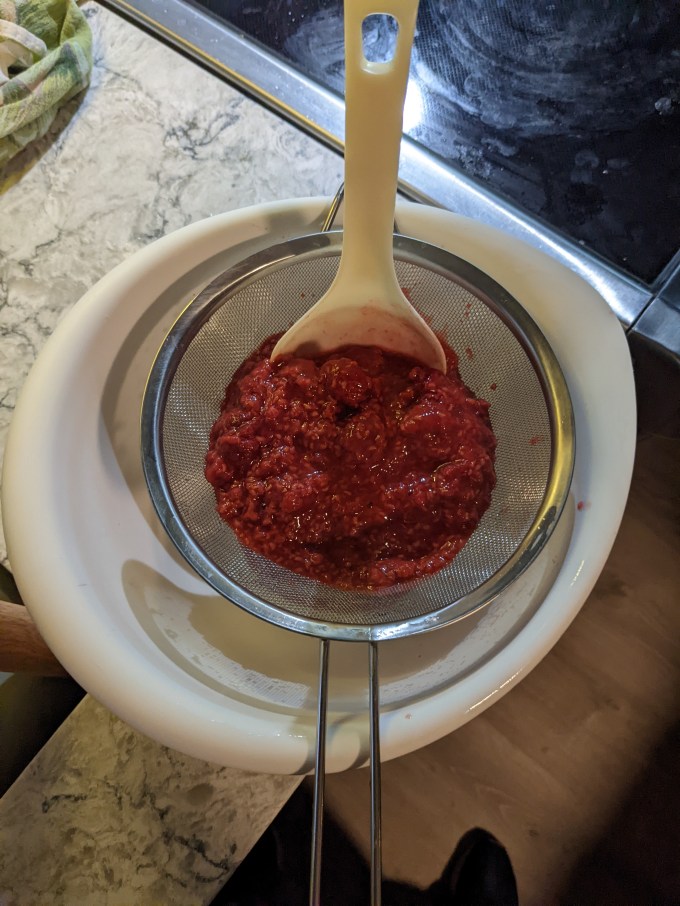
This gele is pretty straightforward. Raspberries and sugar are boiled on the stove until the berries are broken down. The mix is pressed through a sieve to remove the seeds and pulp. While the raspberries are cooking, gelatin sheets are bloomed in cold water. Once the pureed berries are cooled slightly, the gelatin is squeezed out and stirred into the warm berries. I was a little short on gelatin sheets, and I thought it was best to use the correct number for the mousse and add a bit of powder to make up for the shortage in the gele, so I added about a tablespoon of powdered to the hot liquid. The gele is poured into a half sheet pan and put in the fridge to chill.

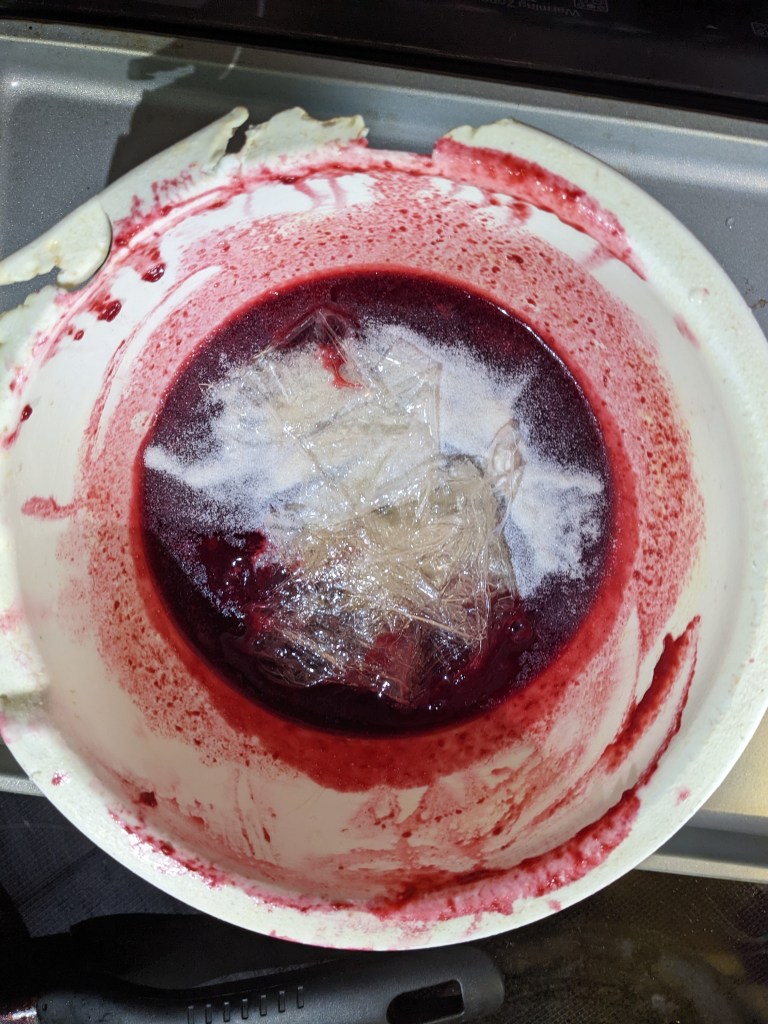

One thing I would like to do better next time is to get rid of the foam on top of the gele. I got it looking half decent, but it wasn’t smooth like glass. I think if I had sieved it into the pan, I would have had better luck. Also I had to whisk it a lot to blend in the powdered gelatin, which didn’t help. I probably should have added the powder when the raspberries were still cooking. Live and learn.
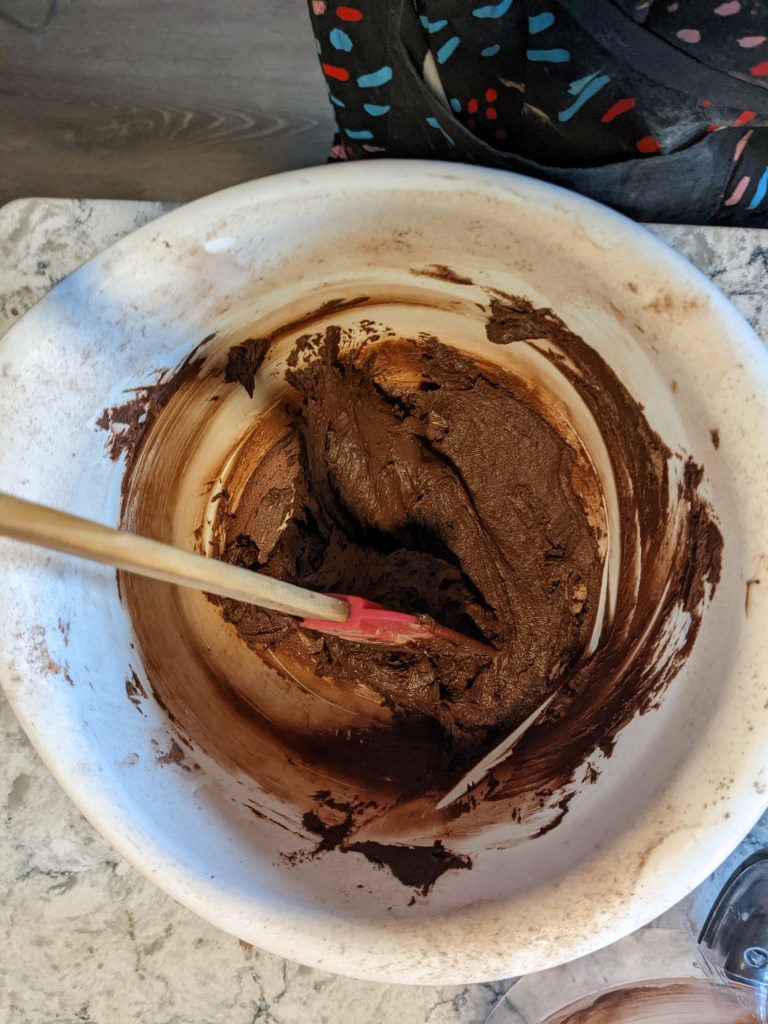
Step 2: Decor Paste
This decor paste is used to create the chocolate stripes that are baked into the sponge. The recipe called to mix this using the hand mixer. I do still have a working hand mixer, but I only have 1 beater for it and the last time I tried using it, it was disturbingly loud. I can’t decide if I want to replace it or just go without, since I do 90% of my work using my stand mixer and the other 10% using the food processor. There is a crazy part of my brain that is like BUT WHAT IF THERE IS A BIZARRE SITUATION WHERE YOU JUST REALLY NEED A HAND MIXER AND NOTHING ELSE WILL DO? I have yet to convince myself there is no such case, and I can not justify buying a new one. Maybe I should look around for a used one.
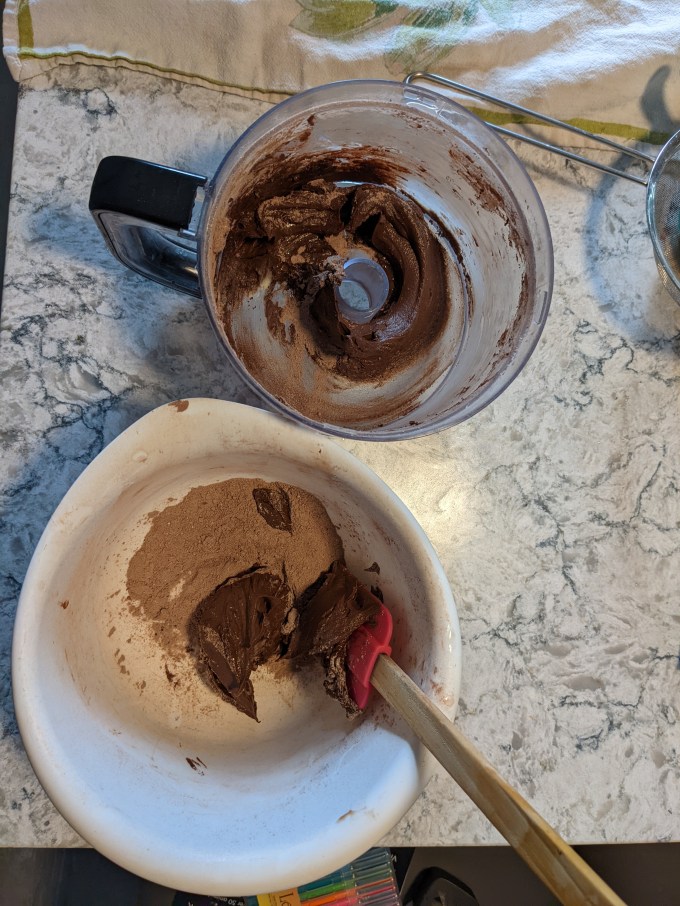
In any case, once again I was able to do this method in the food processor and my nearly dead hand mixer limps on for another day. Butter and icing sugar are creamed together. In a separate bowl, cocoa and flour are combined. The dry ingredients are added to the butter mixture, alternating with egg whites, until all of the ingredients are fully combined.


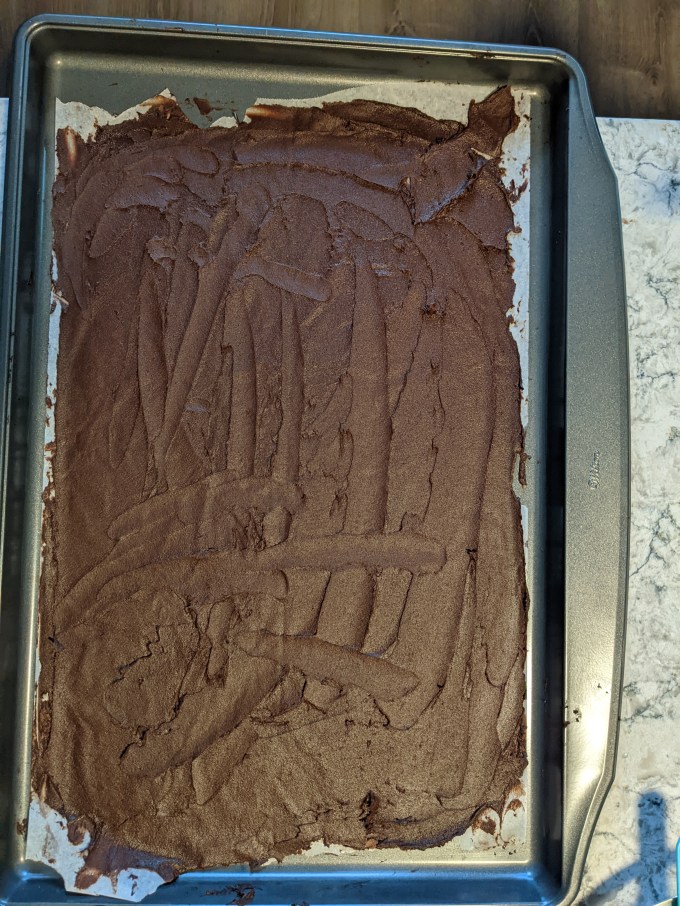
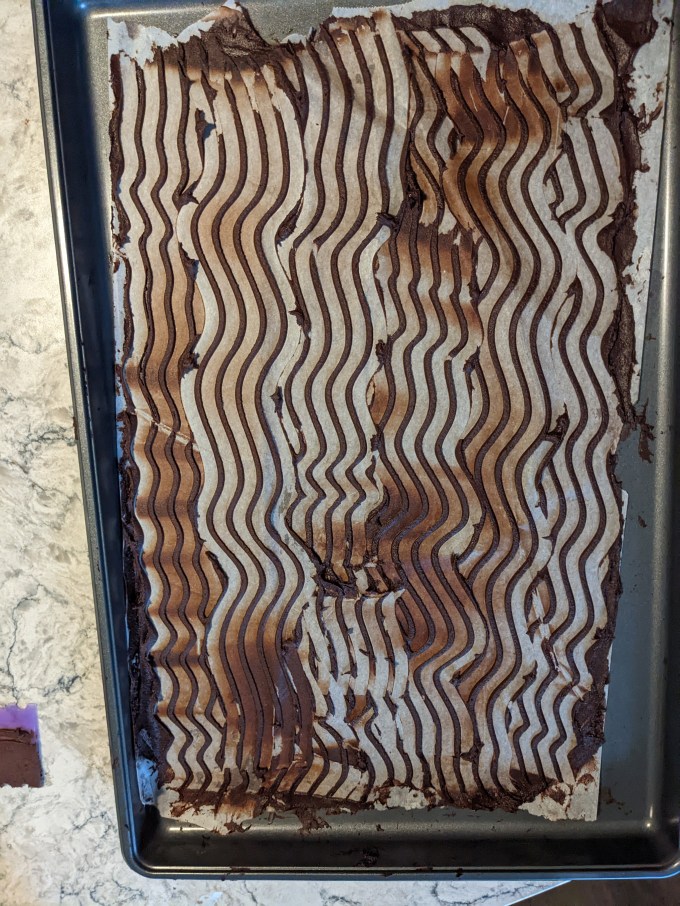
The paste is then spread onto prepared baking pans and a cake comb is used to create the wavy stripes that will appear on the outside of the cakes. The paste is quite sticky and difficult to work with. I think this is one thing that tripped up a couple of contestants on the show. The proportions of the ingredients in the recipe are correct, so don’t give into temptation to thin it out by adding more liquid, I found the easiest way to get it spread onto the parchment was to drop scoops of the batter onto the parchment around the centre line of the paper working out longitudinally until I had enough batter down to fill the whole paper evenly. Then I folded the paper in half lengthwise, smooshing the paste between the two halves of the paper. I used my hands and rolling pin to spread the paste between the two sheets and then unfolded the paper. The paste is sticky enough that it still needs to be spread with a spatula once the paper is opened up, but I found this at least got a base coat of it spread across the entire surface of the pan. It was easier to spread the paste over a layer of itself than it was to spread it across the dry parchment. Once the pans are prepared and the stripes are looking satisfactory, they go into the freezer to chill until completely firm
Step 3: Joconde
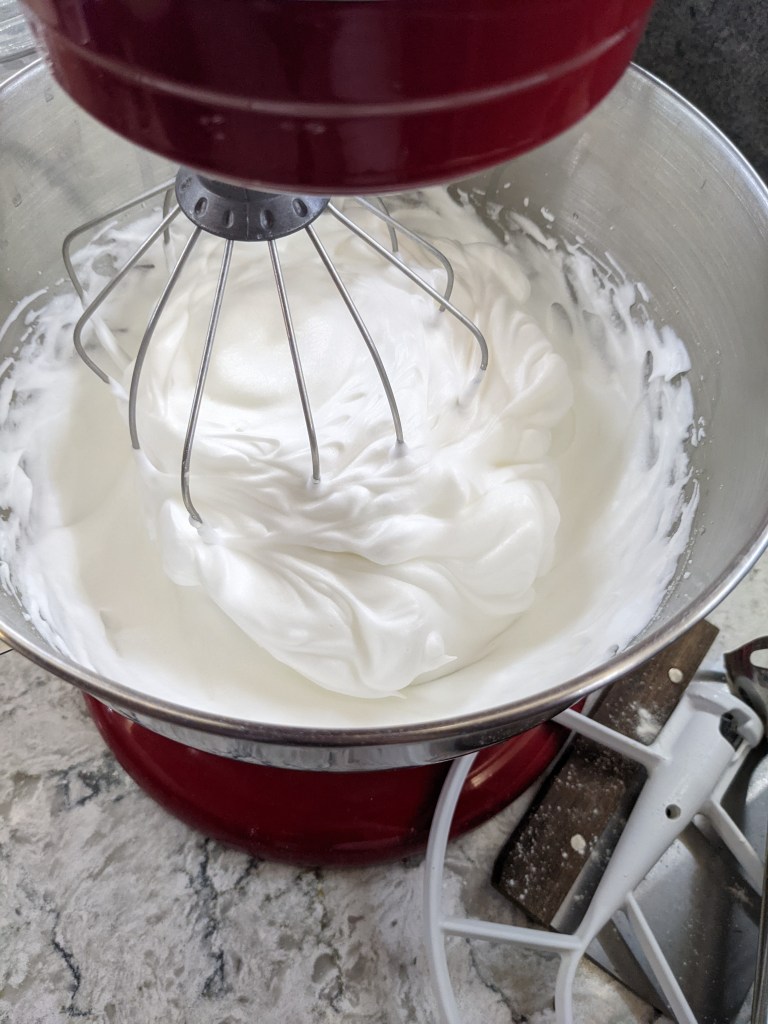
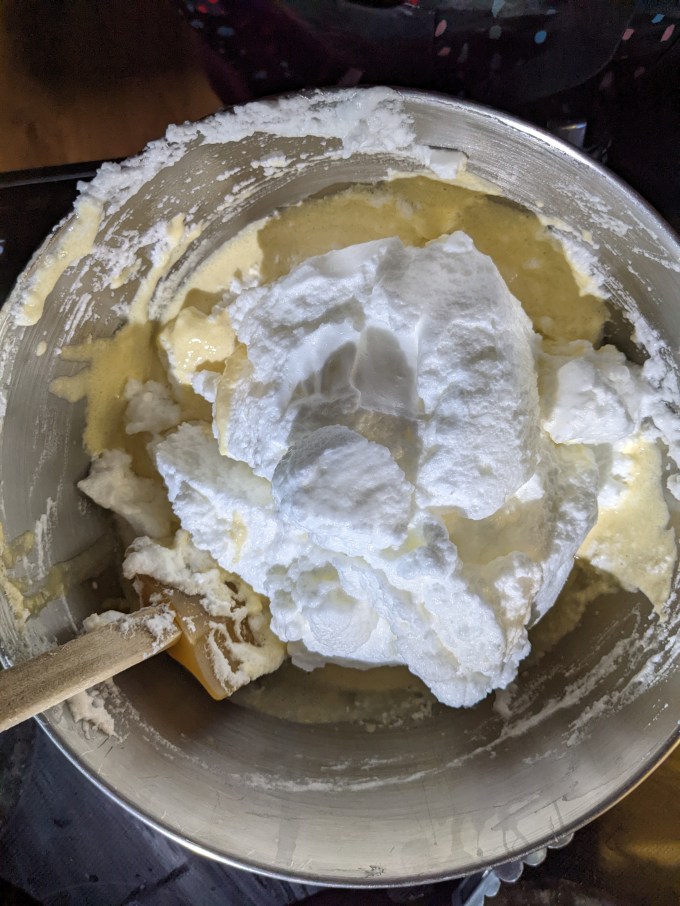
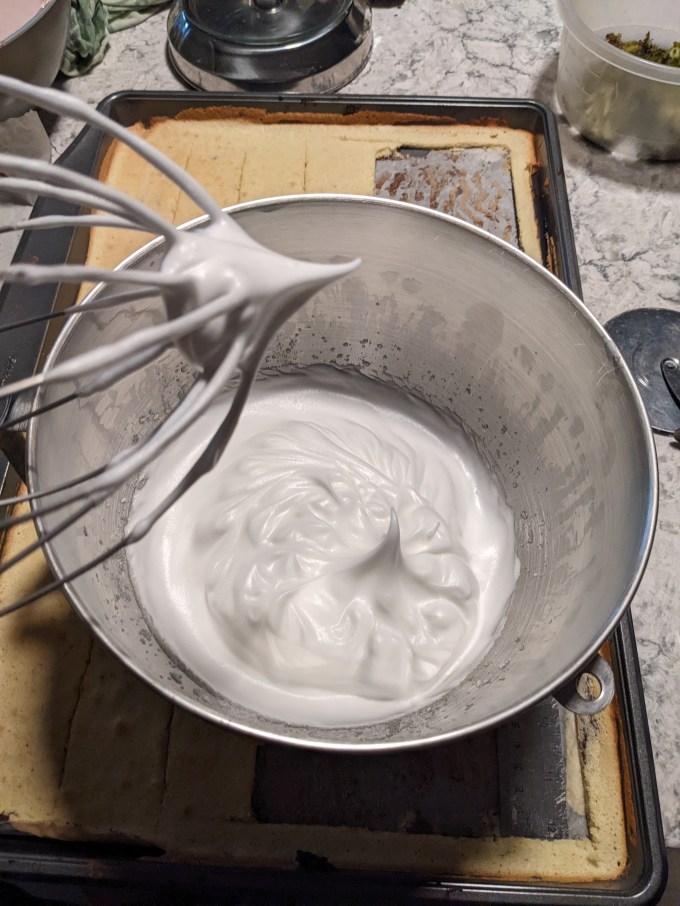
This was a slight variation on jaconde and I didn’t hate it. Egg whites are whisked to soft peaks, sugar is gradually added, and the meringue is whipped till glossy and holding stiff peaks.
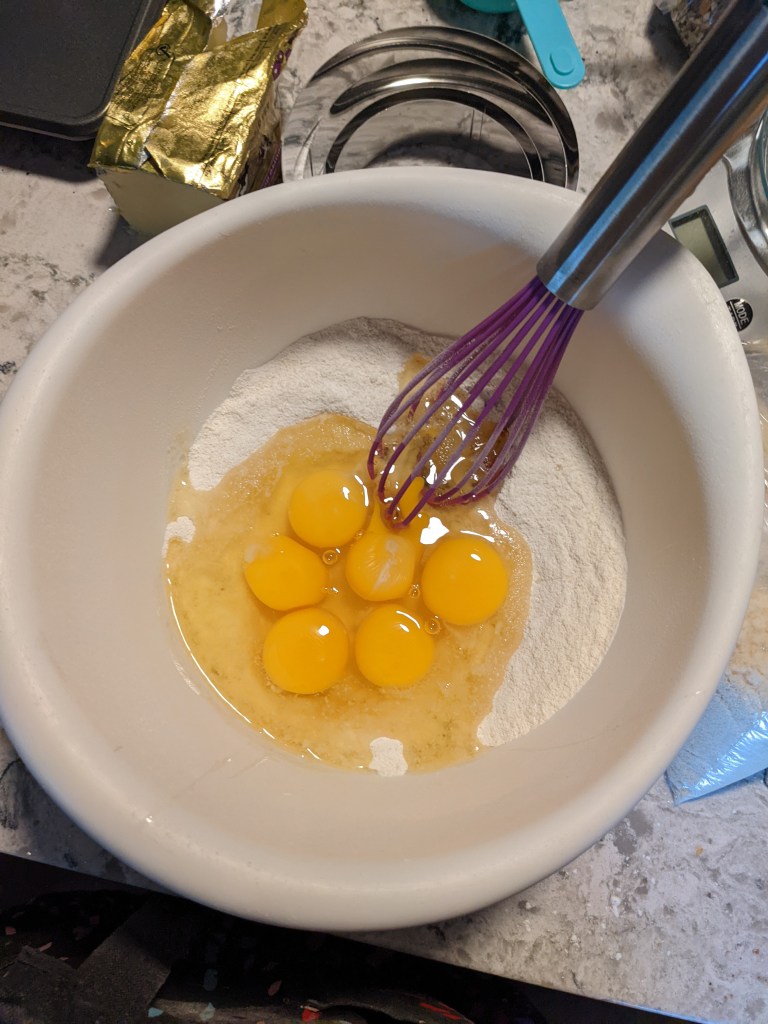
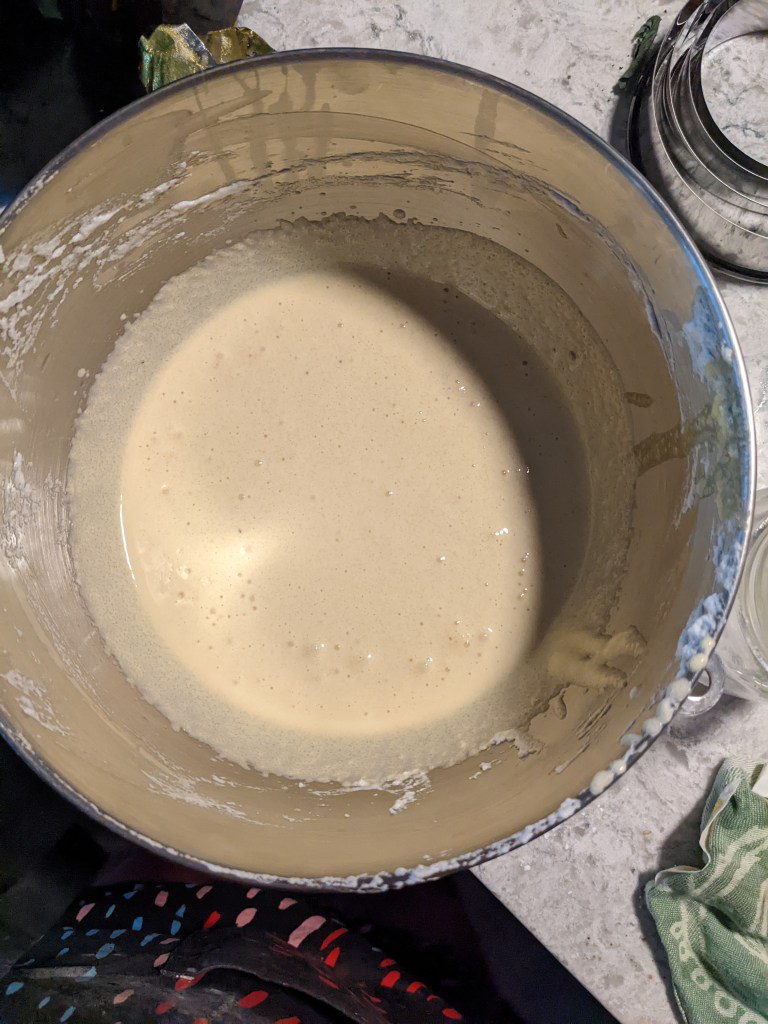
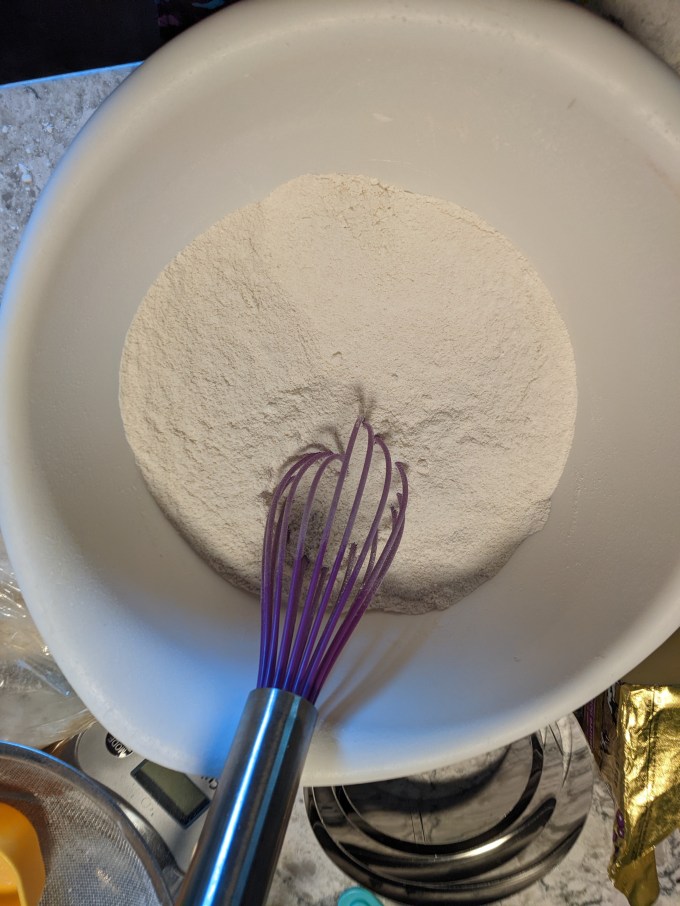
Flour, icing sugar, and ground almonds are sifted together. Whole eggs are beaten into the dry ingredients until thick and pale. This is where I would call this a variation on joconde. In my previous experience with this sponge, the flour is left out of this part and I have never used icing sugar instead of granulated. Usually the meringue is folded into the almond/egg batter base and the flour is folded in at the end. This version had the flour in with the batter base, then the meringue gets folded in and the final batter gets no further dry ingredients. Part of why this works is because this version uses cake flour instead of AP flour. Cake flour has lower gluten content than AP flour so it can be mixed longer/harder than AP flour without becoming too glutinous and impacting the final cake crumb.


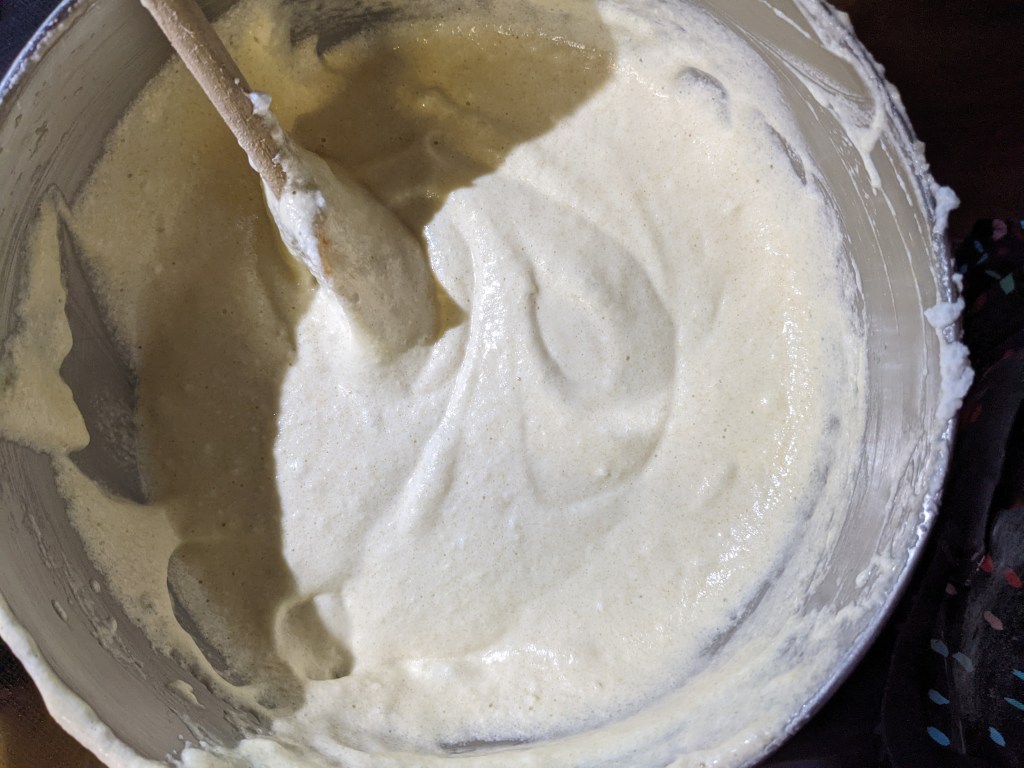

The final batter was a little more loose than what I usually make, and it worked well in this application. It was easy to spread it over the decor paste without overworking it. Both elements worked really well together and I will keep this pair of recipes in my toolkit. The combination had a big aesthetic payoff for way less effort than it appears. Work smarter, not harder, I always say.
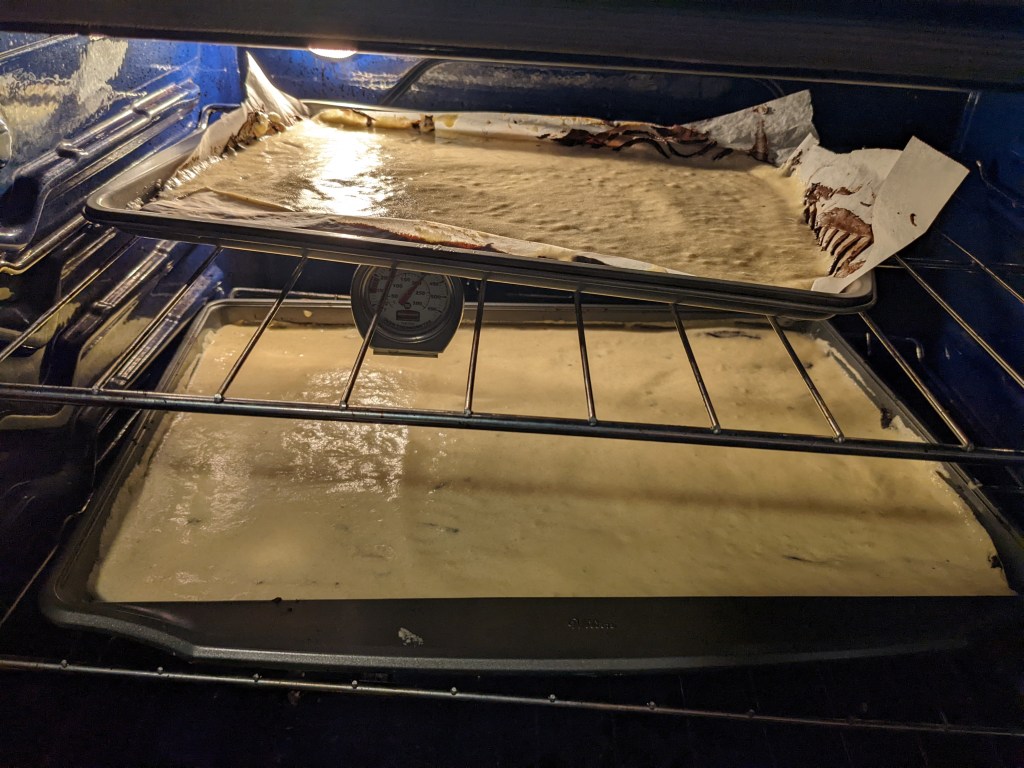
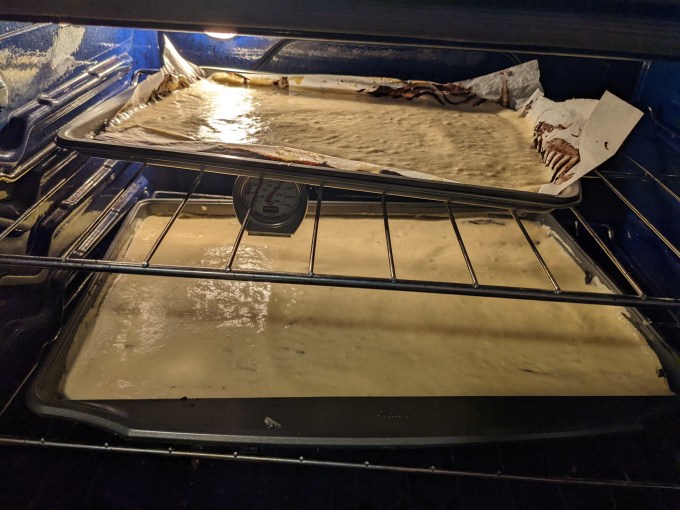
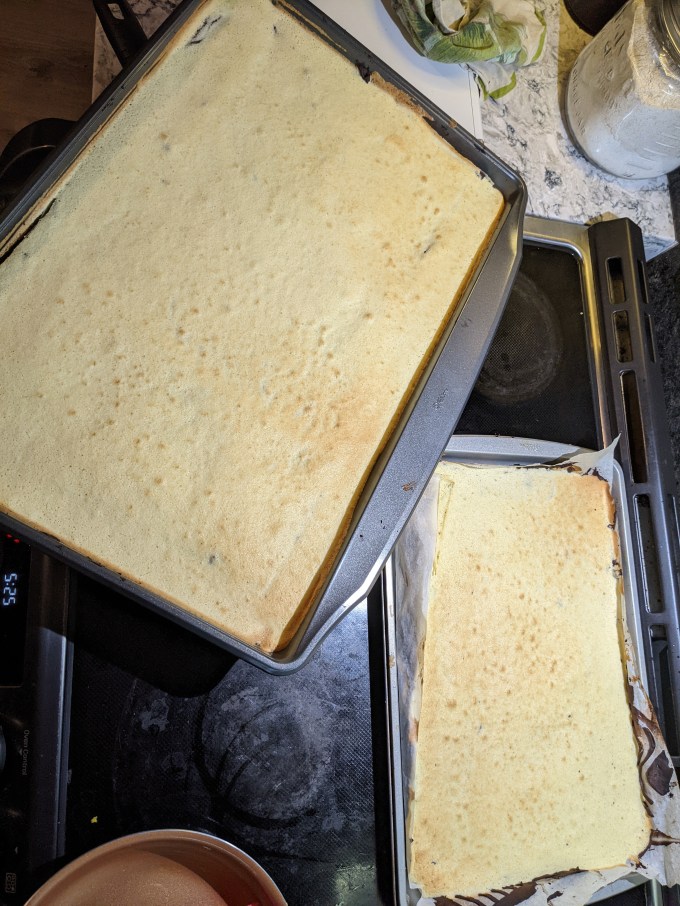
Anyway, the batter is spread over the chilled decor paste and the pans are baked until the cakes spring back when pressed. The pans are cooled for a few minutes and then the warm cakes are turned out to cool completely.
Step 4: Pre-assembly
The cooled cakes need to be pre-cut for final assembly. Once the mousse is prepared, you have to get it into the cake rings quickly before it sets.
In the CBC version where they were making 12 cakes all the same size, they had one sheet of cake that did not have the decor paste. This cake was cut into disks to make the bottom of each individual cake. In my version, I just put the decor paste under all of the sheets I made, so all of the sides of my cakes had the stripes, including the bottoms.
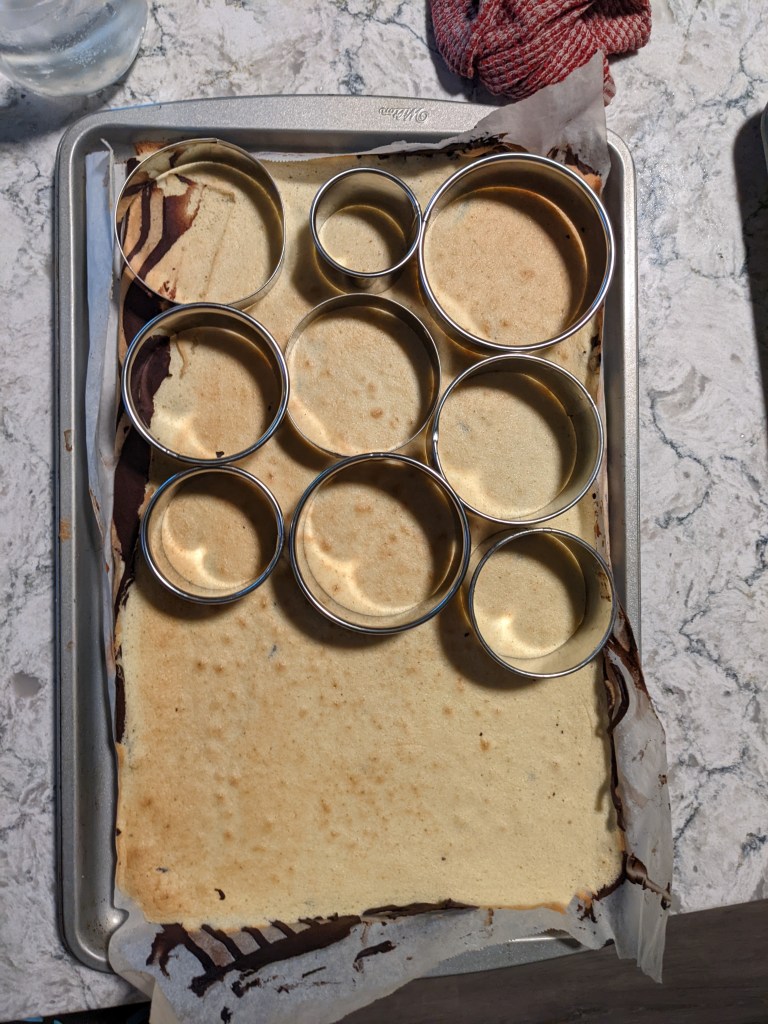
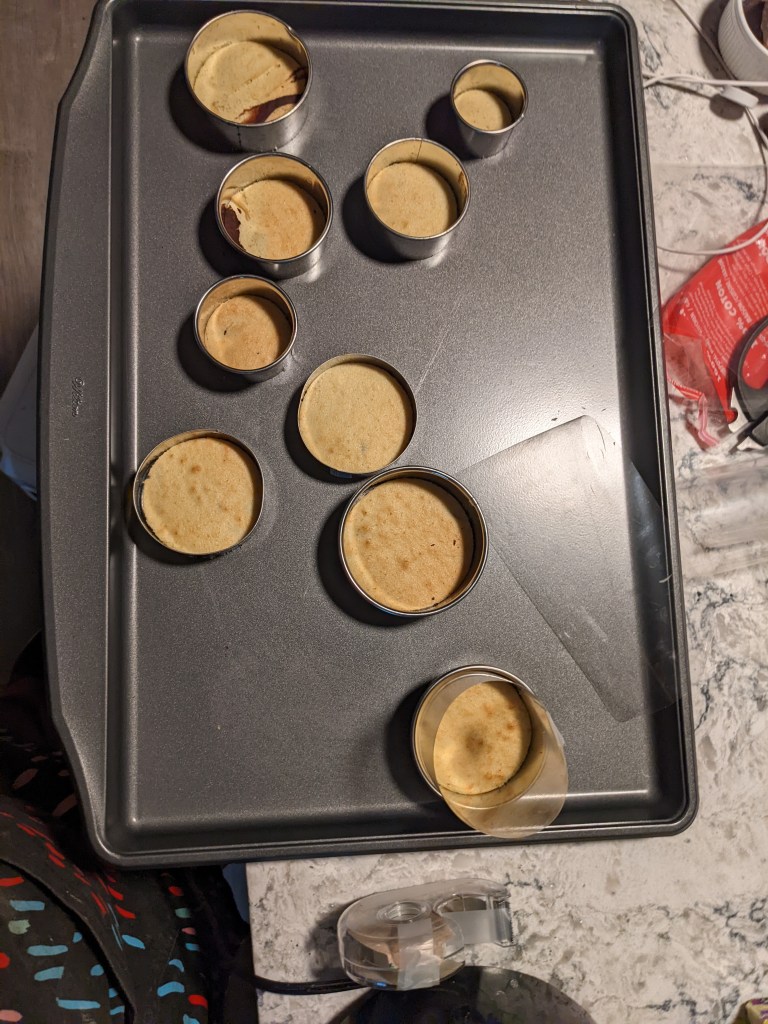

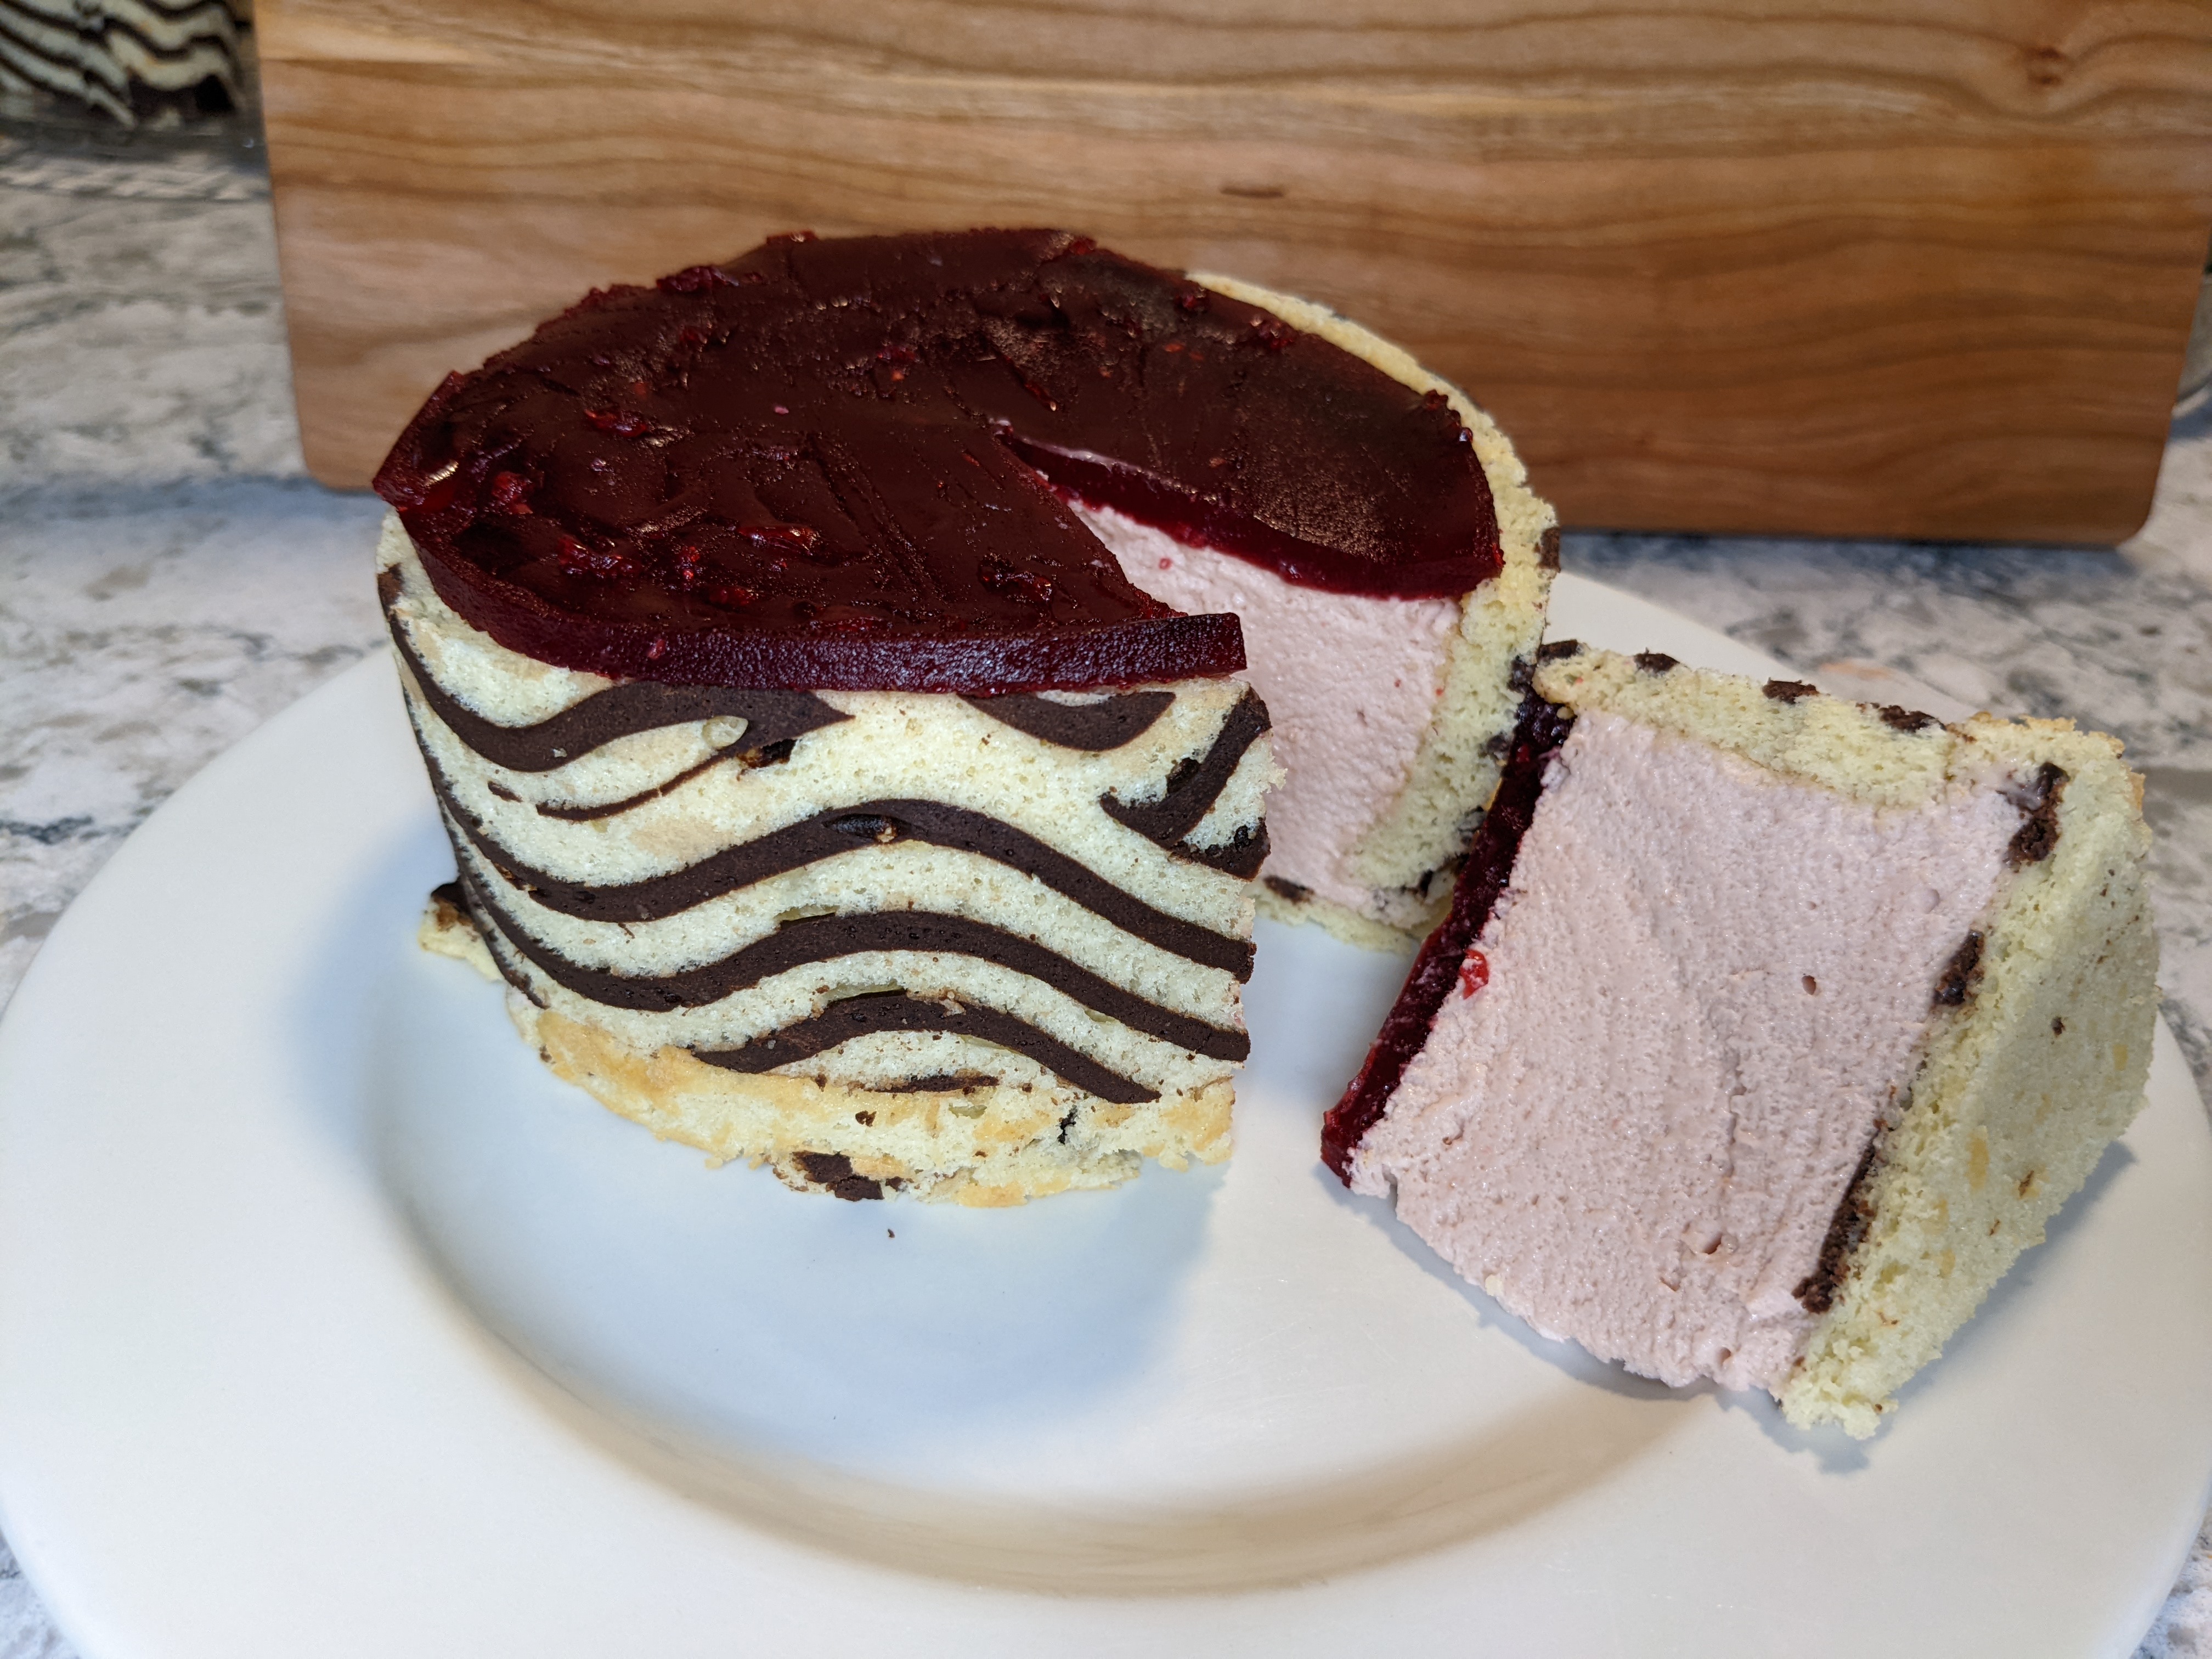
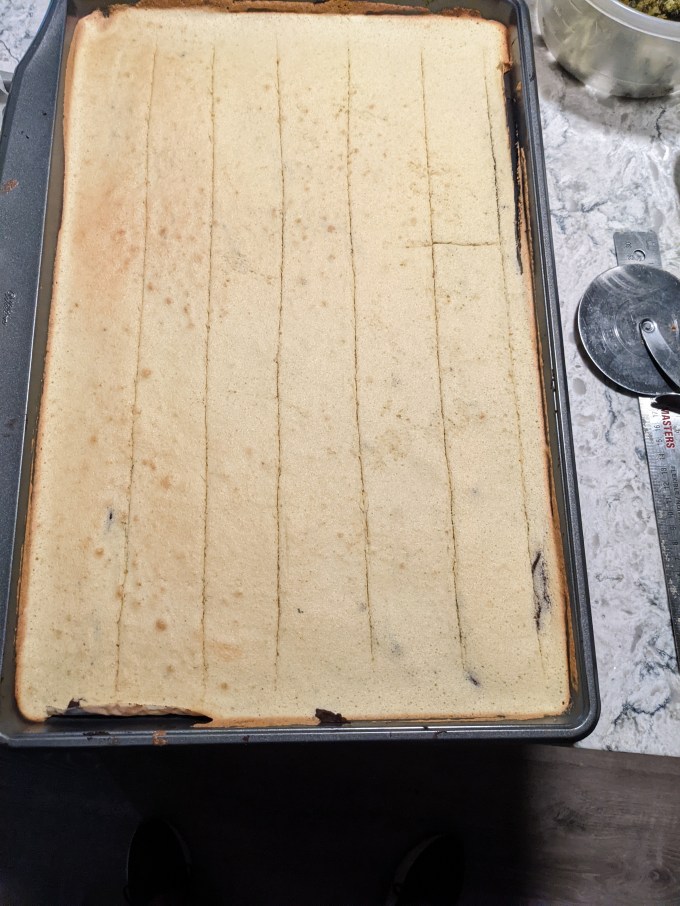
The cake disks are pressed to the bottom of cake rings (or in my case, cake rings, cookie cutters, and one six inch ramekin) lined with acetate sheets. The remaining sheets of cake are cut into 2-iinch strips. The CBC version calls for making 2 x 8.5 inch strips to make the 12 identical cakes. Since I was make various sizes, I just measured my strips for each individual case. I was pleased because I was able to fill all of my cake rings with a single continuous strip of cake, which made my final presentation really neat and clean. The six inch, larger cake was the only one I needed to fill with two strips and that still came out looking clean because of the larger surface area.
Step 5: Mousse
Alright so here comes the scary part. Mousse. What is it supposed to look like before it sets? How much flexibility is there to that? WHO KNOWS? NOT I! But I’m circling the answers; with each folded egg white, slowly, gently I approach enlightenment.
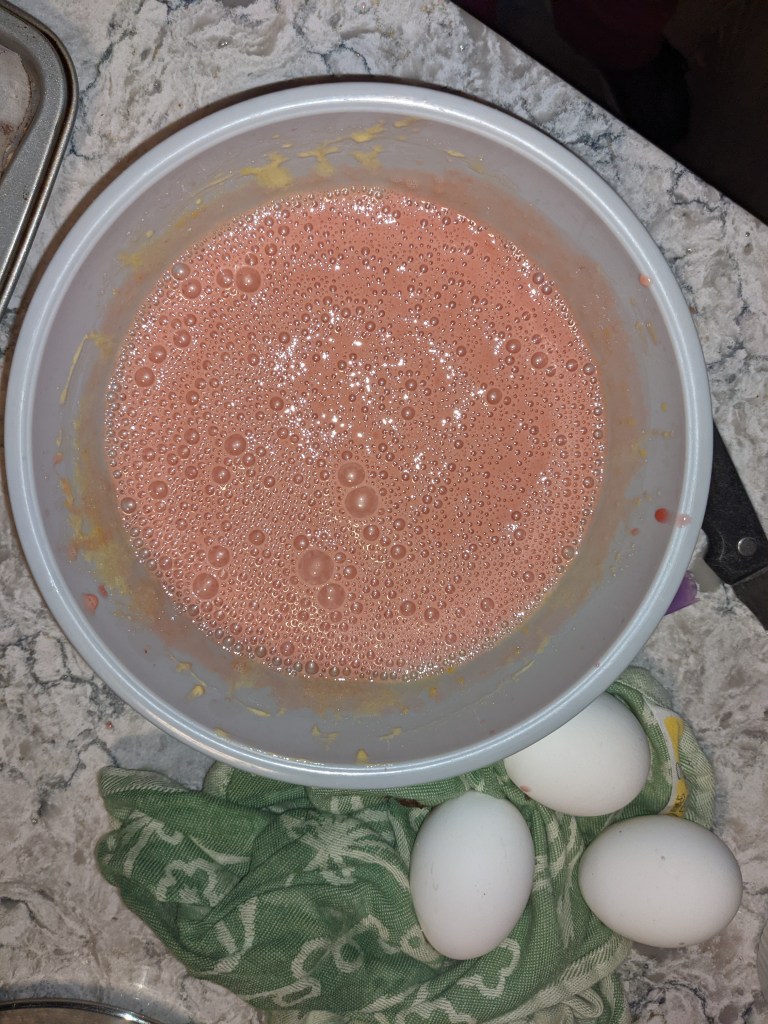
Raspberries are boiled and sieved in the same process used to make the gele. Bloomed gelatin is warmed in a small amount of water until melted. The melted gelatin is stirred into the cooled raspberries (note: I cooked my raspberries for this step because I was using frozen. The recipe calls to press fresh raspberries through a sieve without cooking them. I believe the end result here is the same. I just made sure my liquids were all at the temperature they should have been if I was following the recipe exactly).


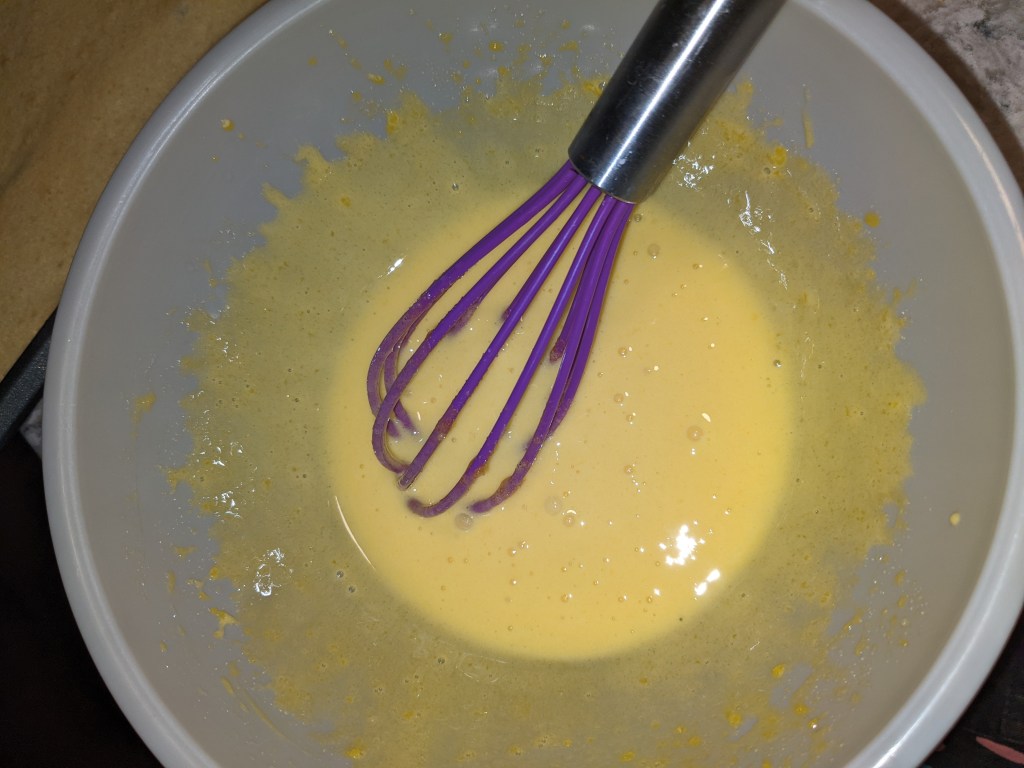


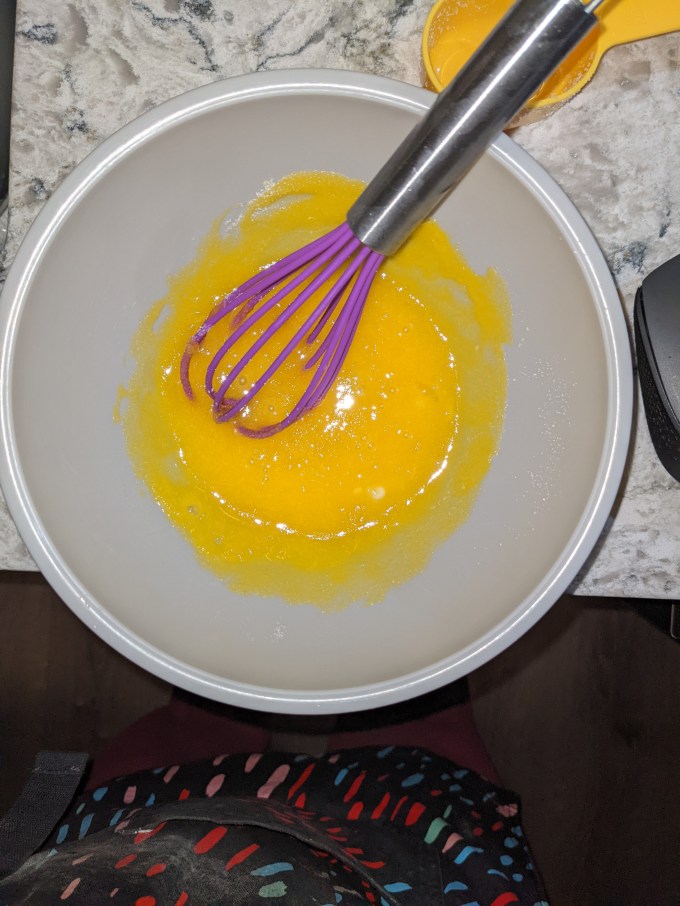
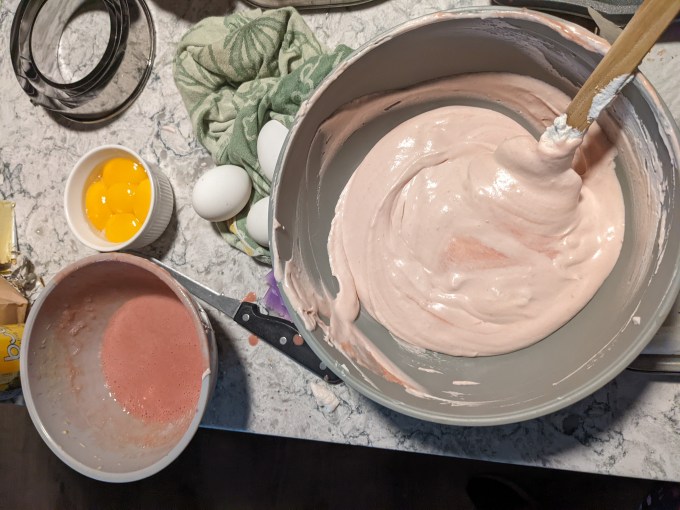
Egg yolks and sugar are beaten until pale and thick. The raspberry mixture is added and combined. Heavy cream is beaten to stiff peaks and the raspberry mixture is folded in. This is where I started sweating a bit. I know how the final mousse is supposed to be when it’s set, but the mix at this point feels very loose and I am worried about deflating the cream too much. I just tried to take it very slowly and get everything combined. By the time I was done, I was feeling cautiously optimisitic.
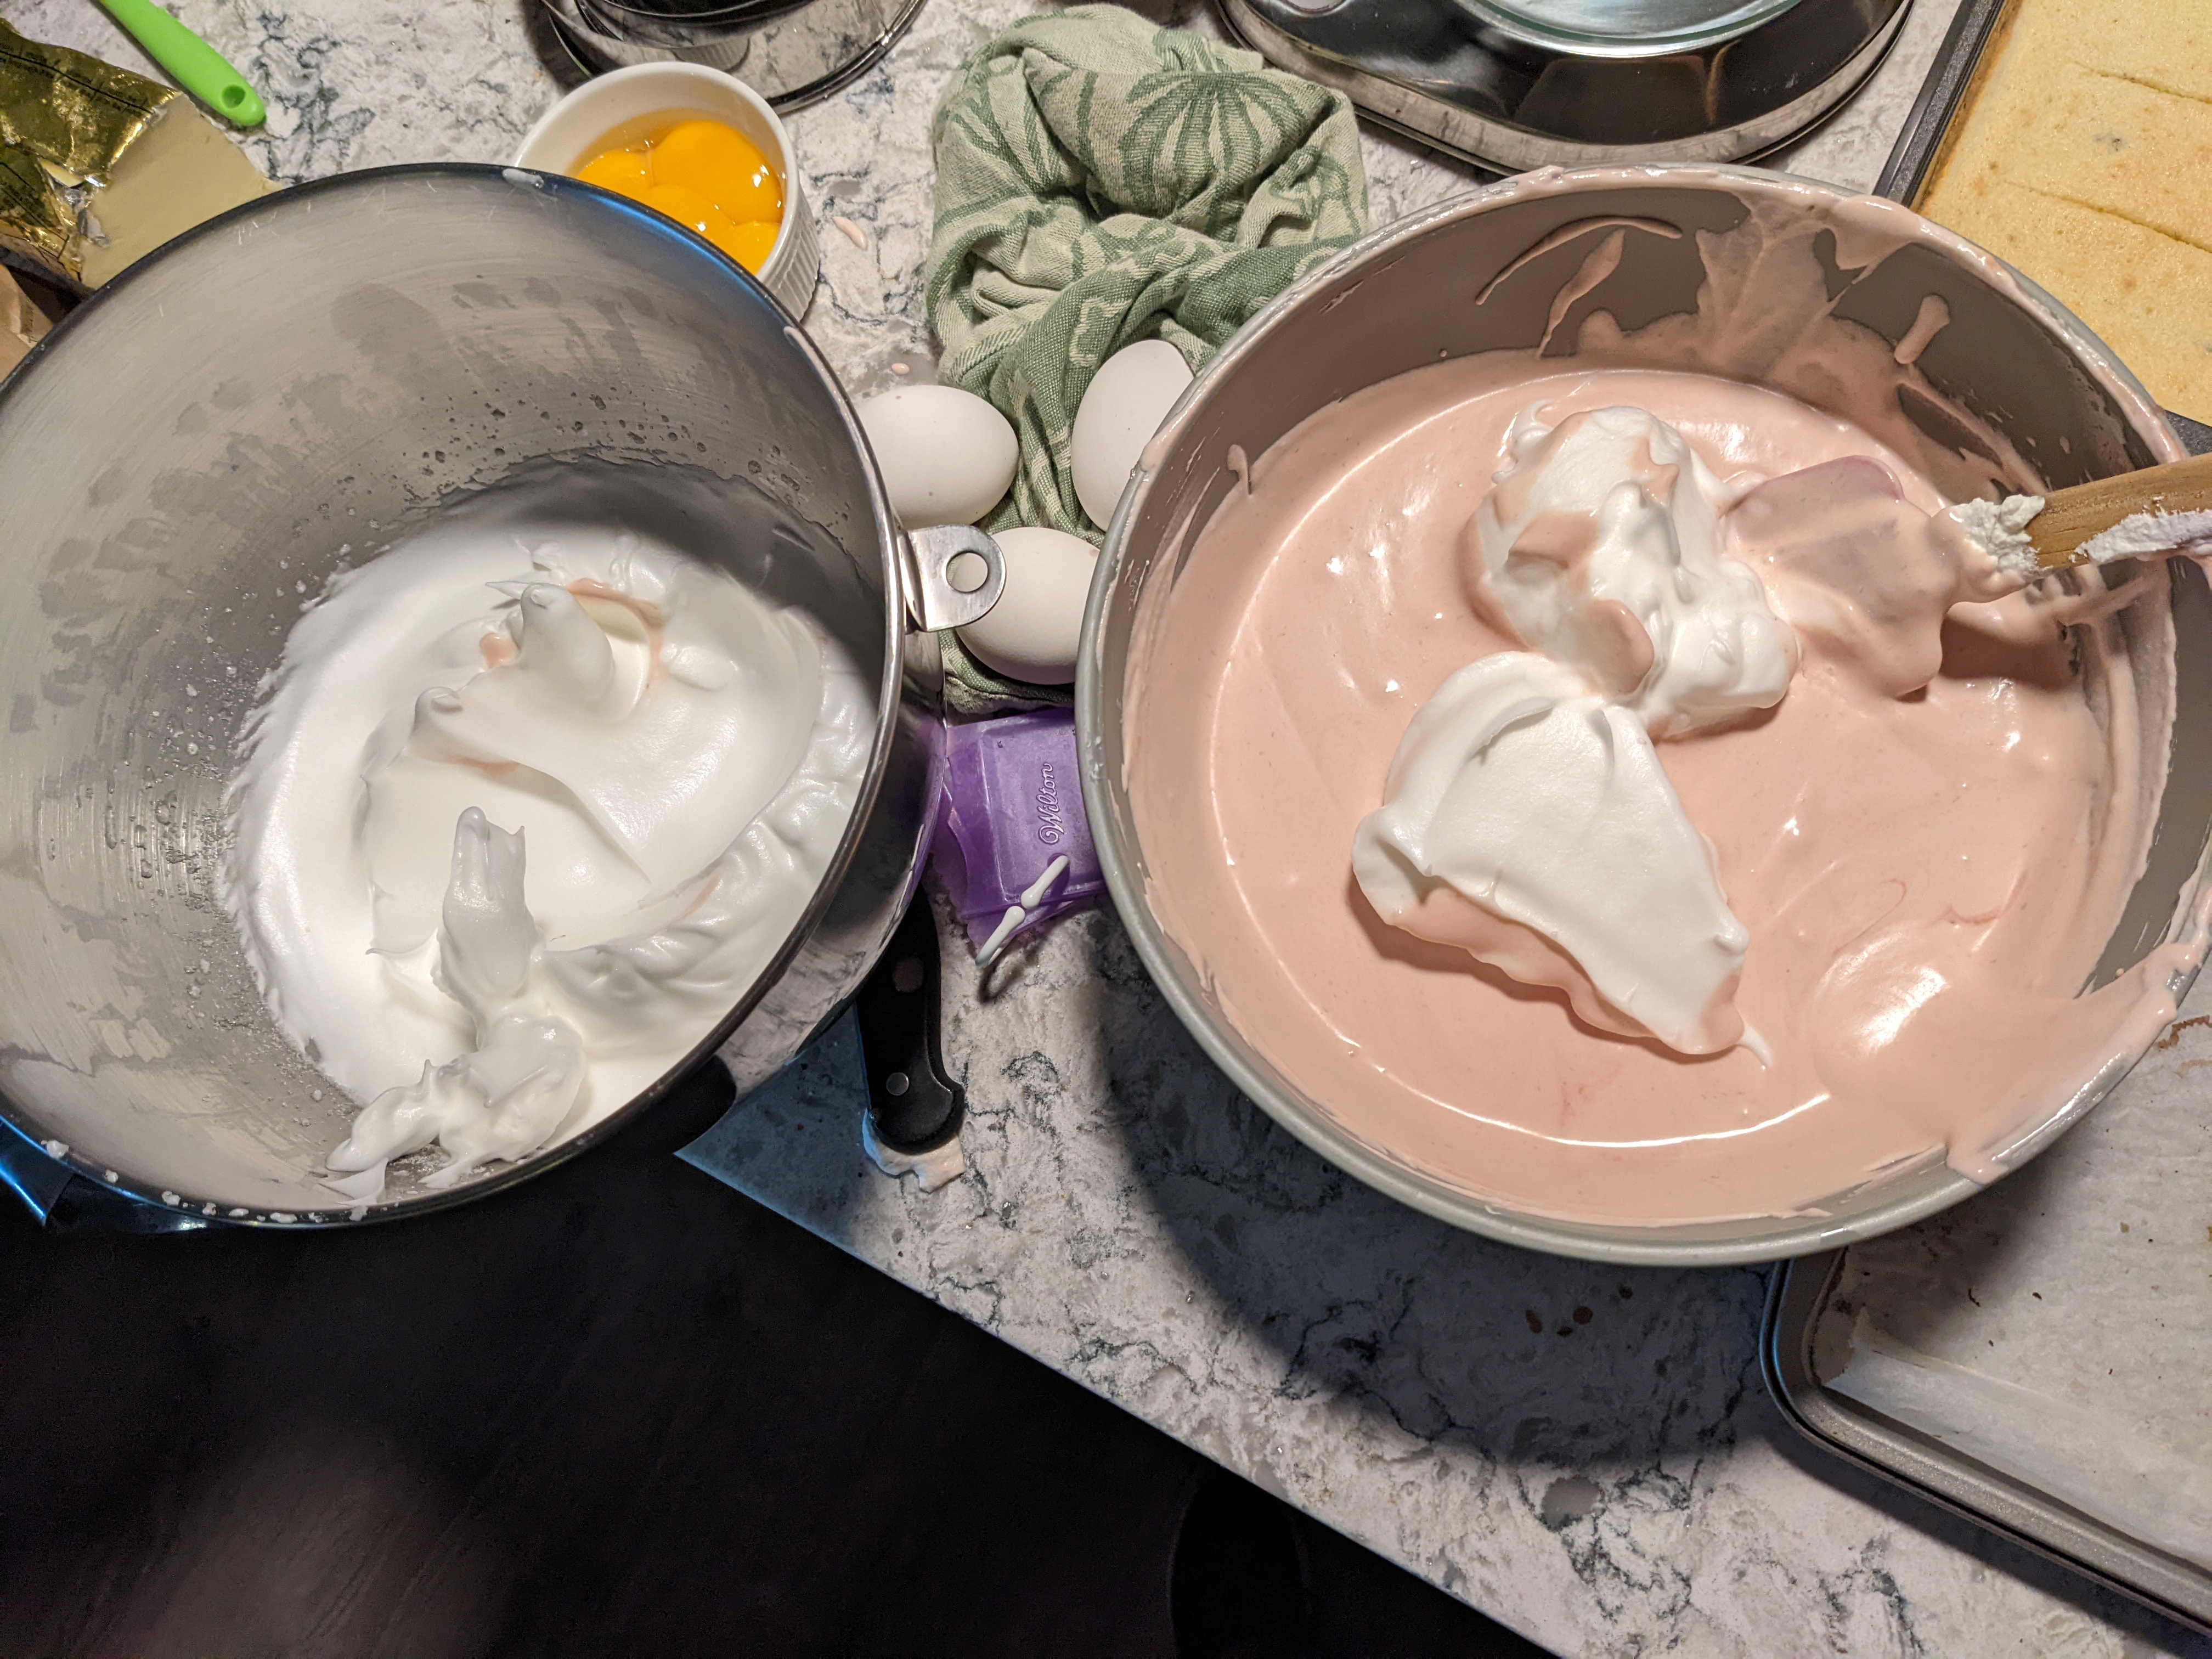
Next, egg whites are beaten to soft peaks and sugar is gradually added. The meringue is whipped until stiff and glossy, then folded into the mousse.

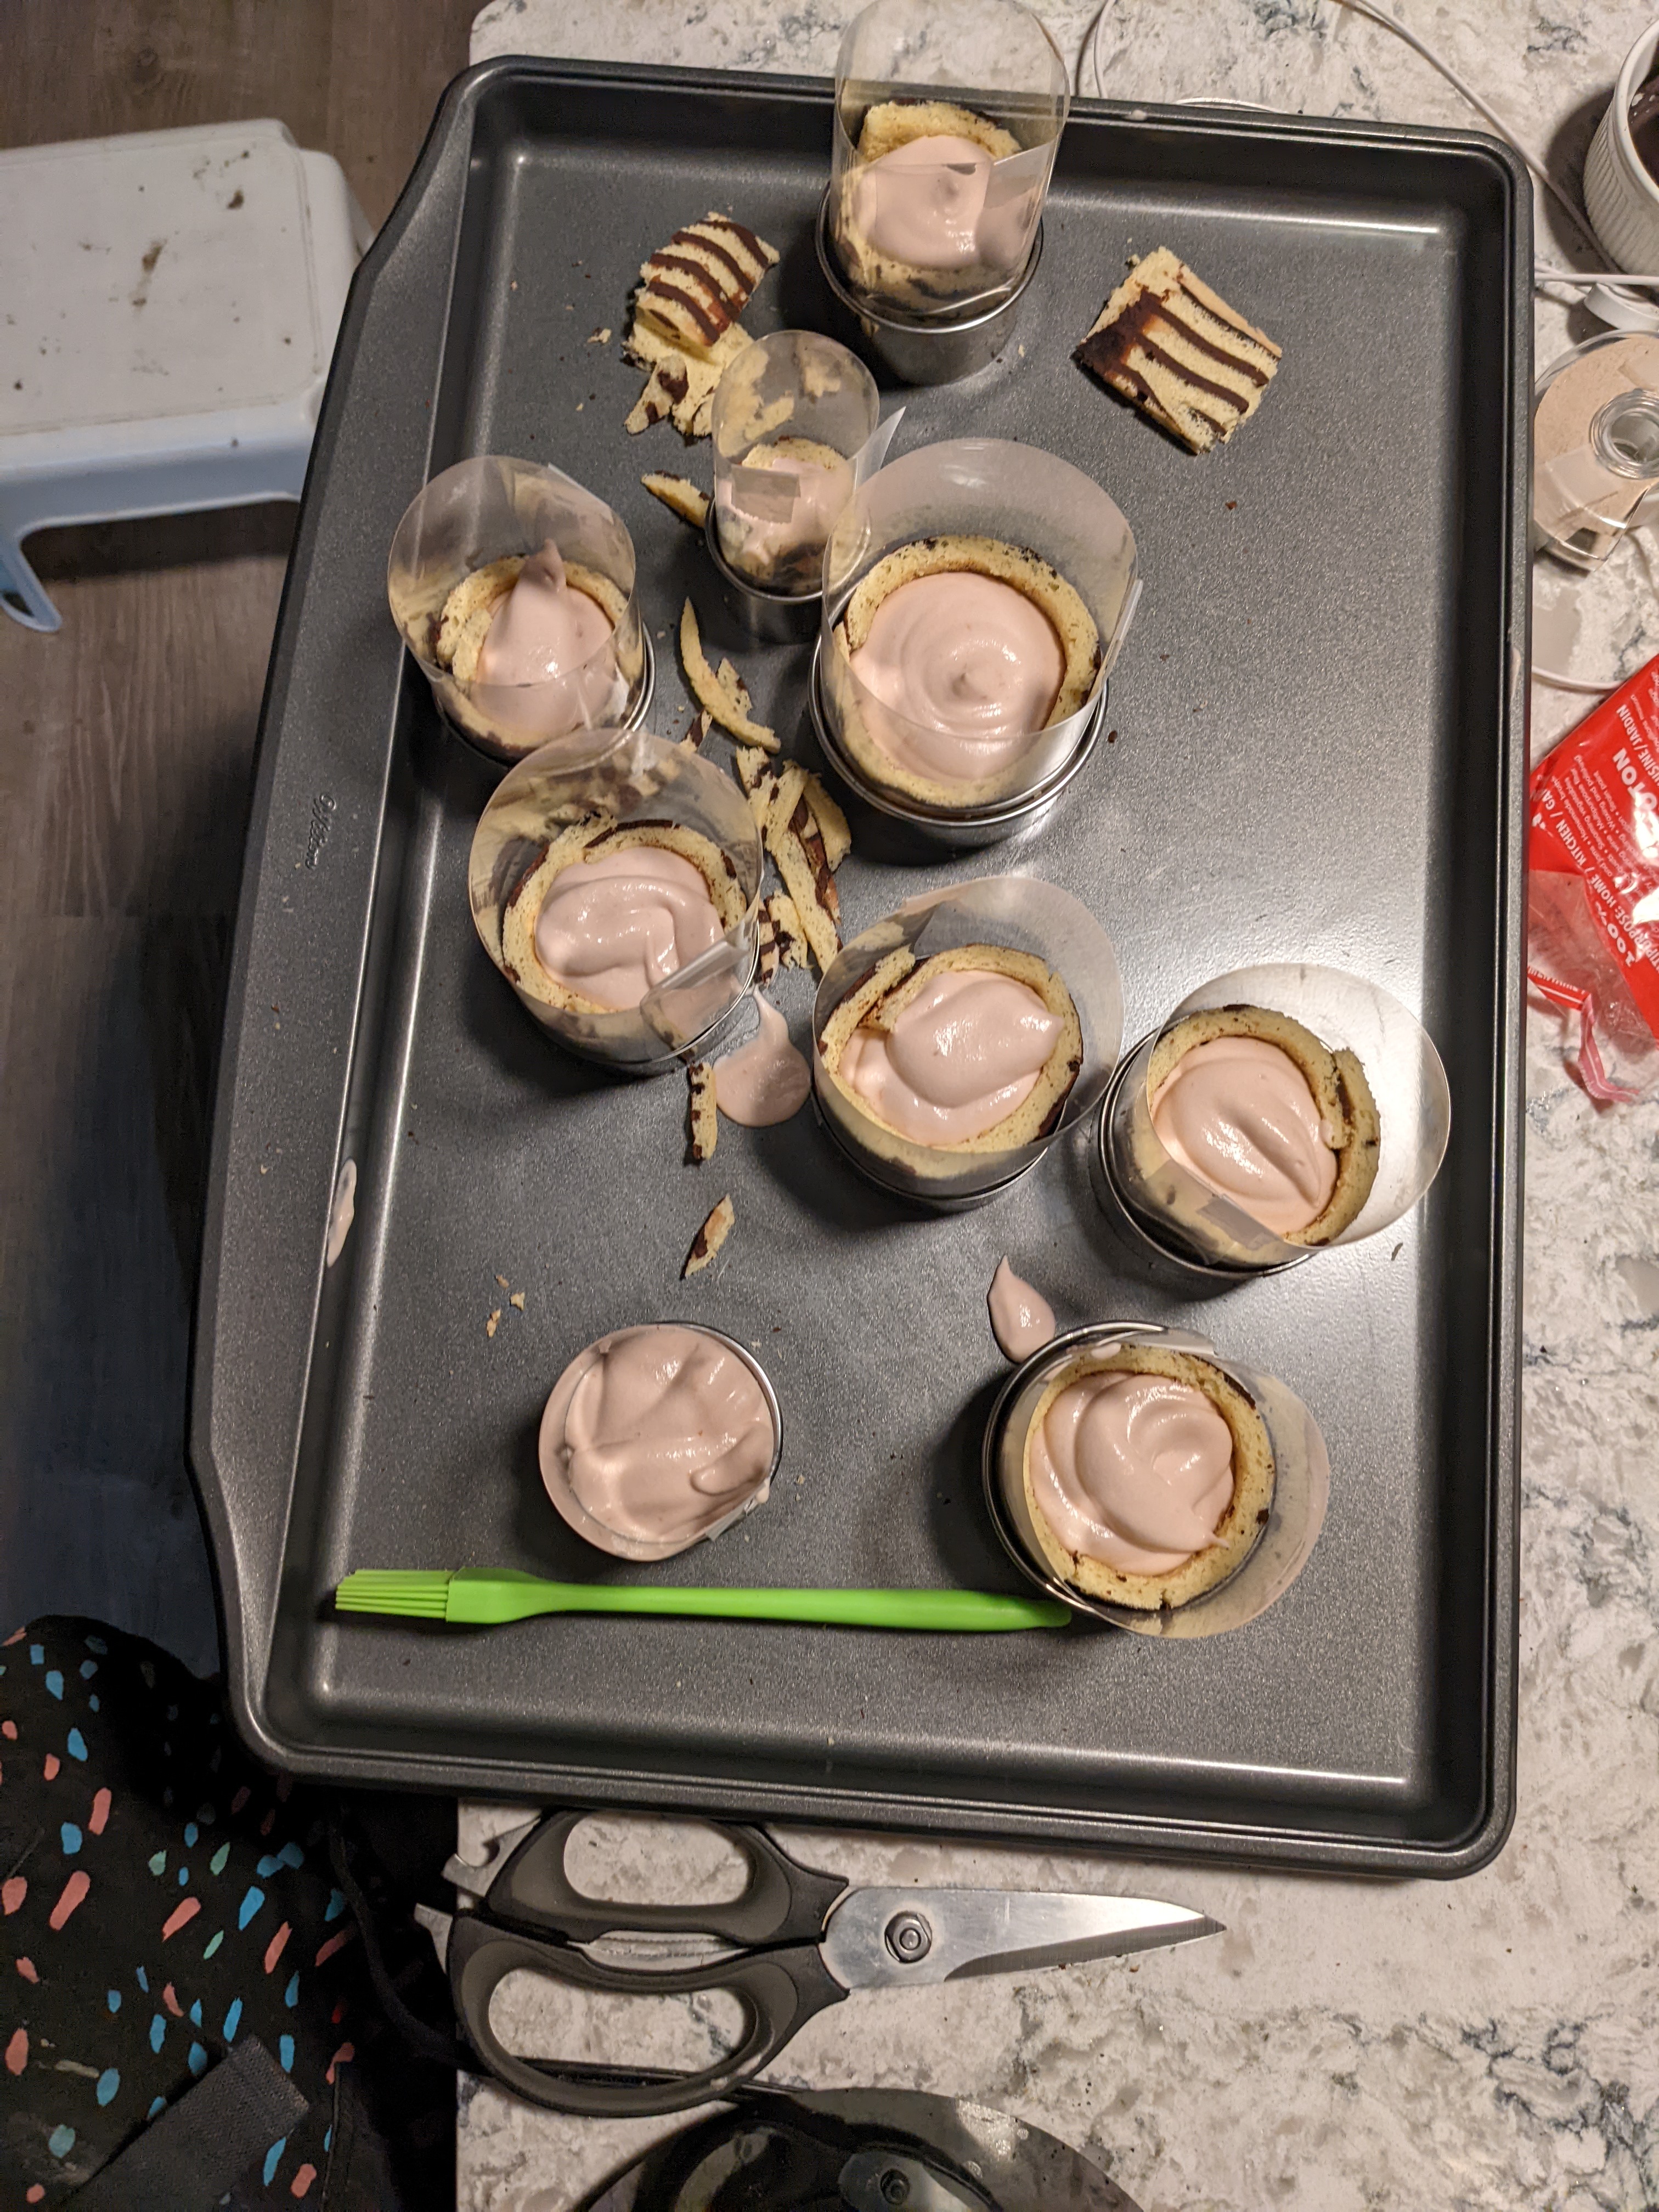
Step 5: Assembly
The mousse is poured into the prepared cake cylinders and put in the fridge to set. Once fully chilled, the gele is cut into disks to match the cake diameters. The acetate and cake rings are removed from the outside of the cakes, and the gele disks are placed on top. And voila! Another French Patisserie is in the bag!
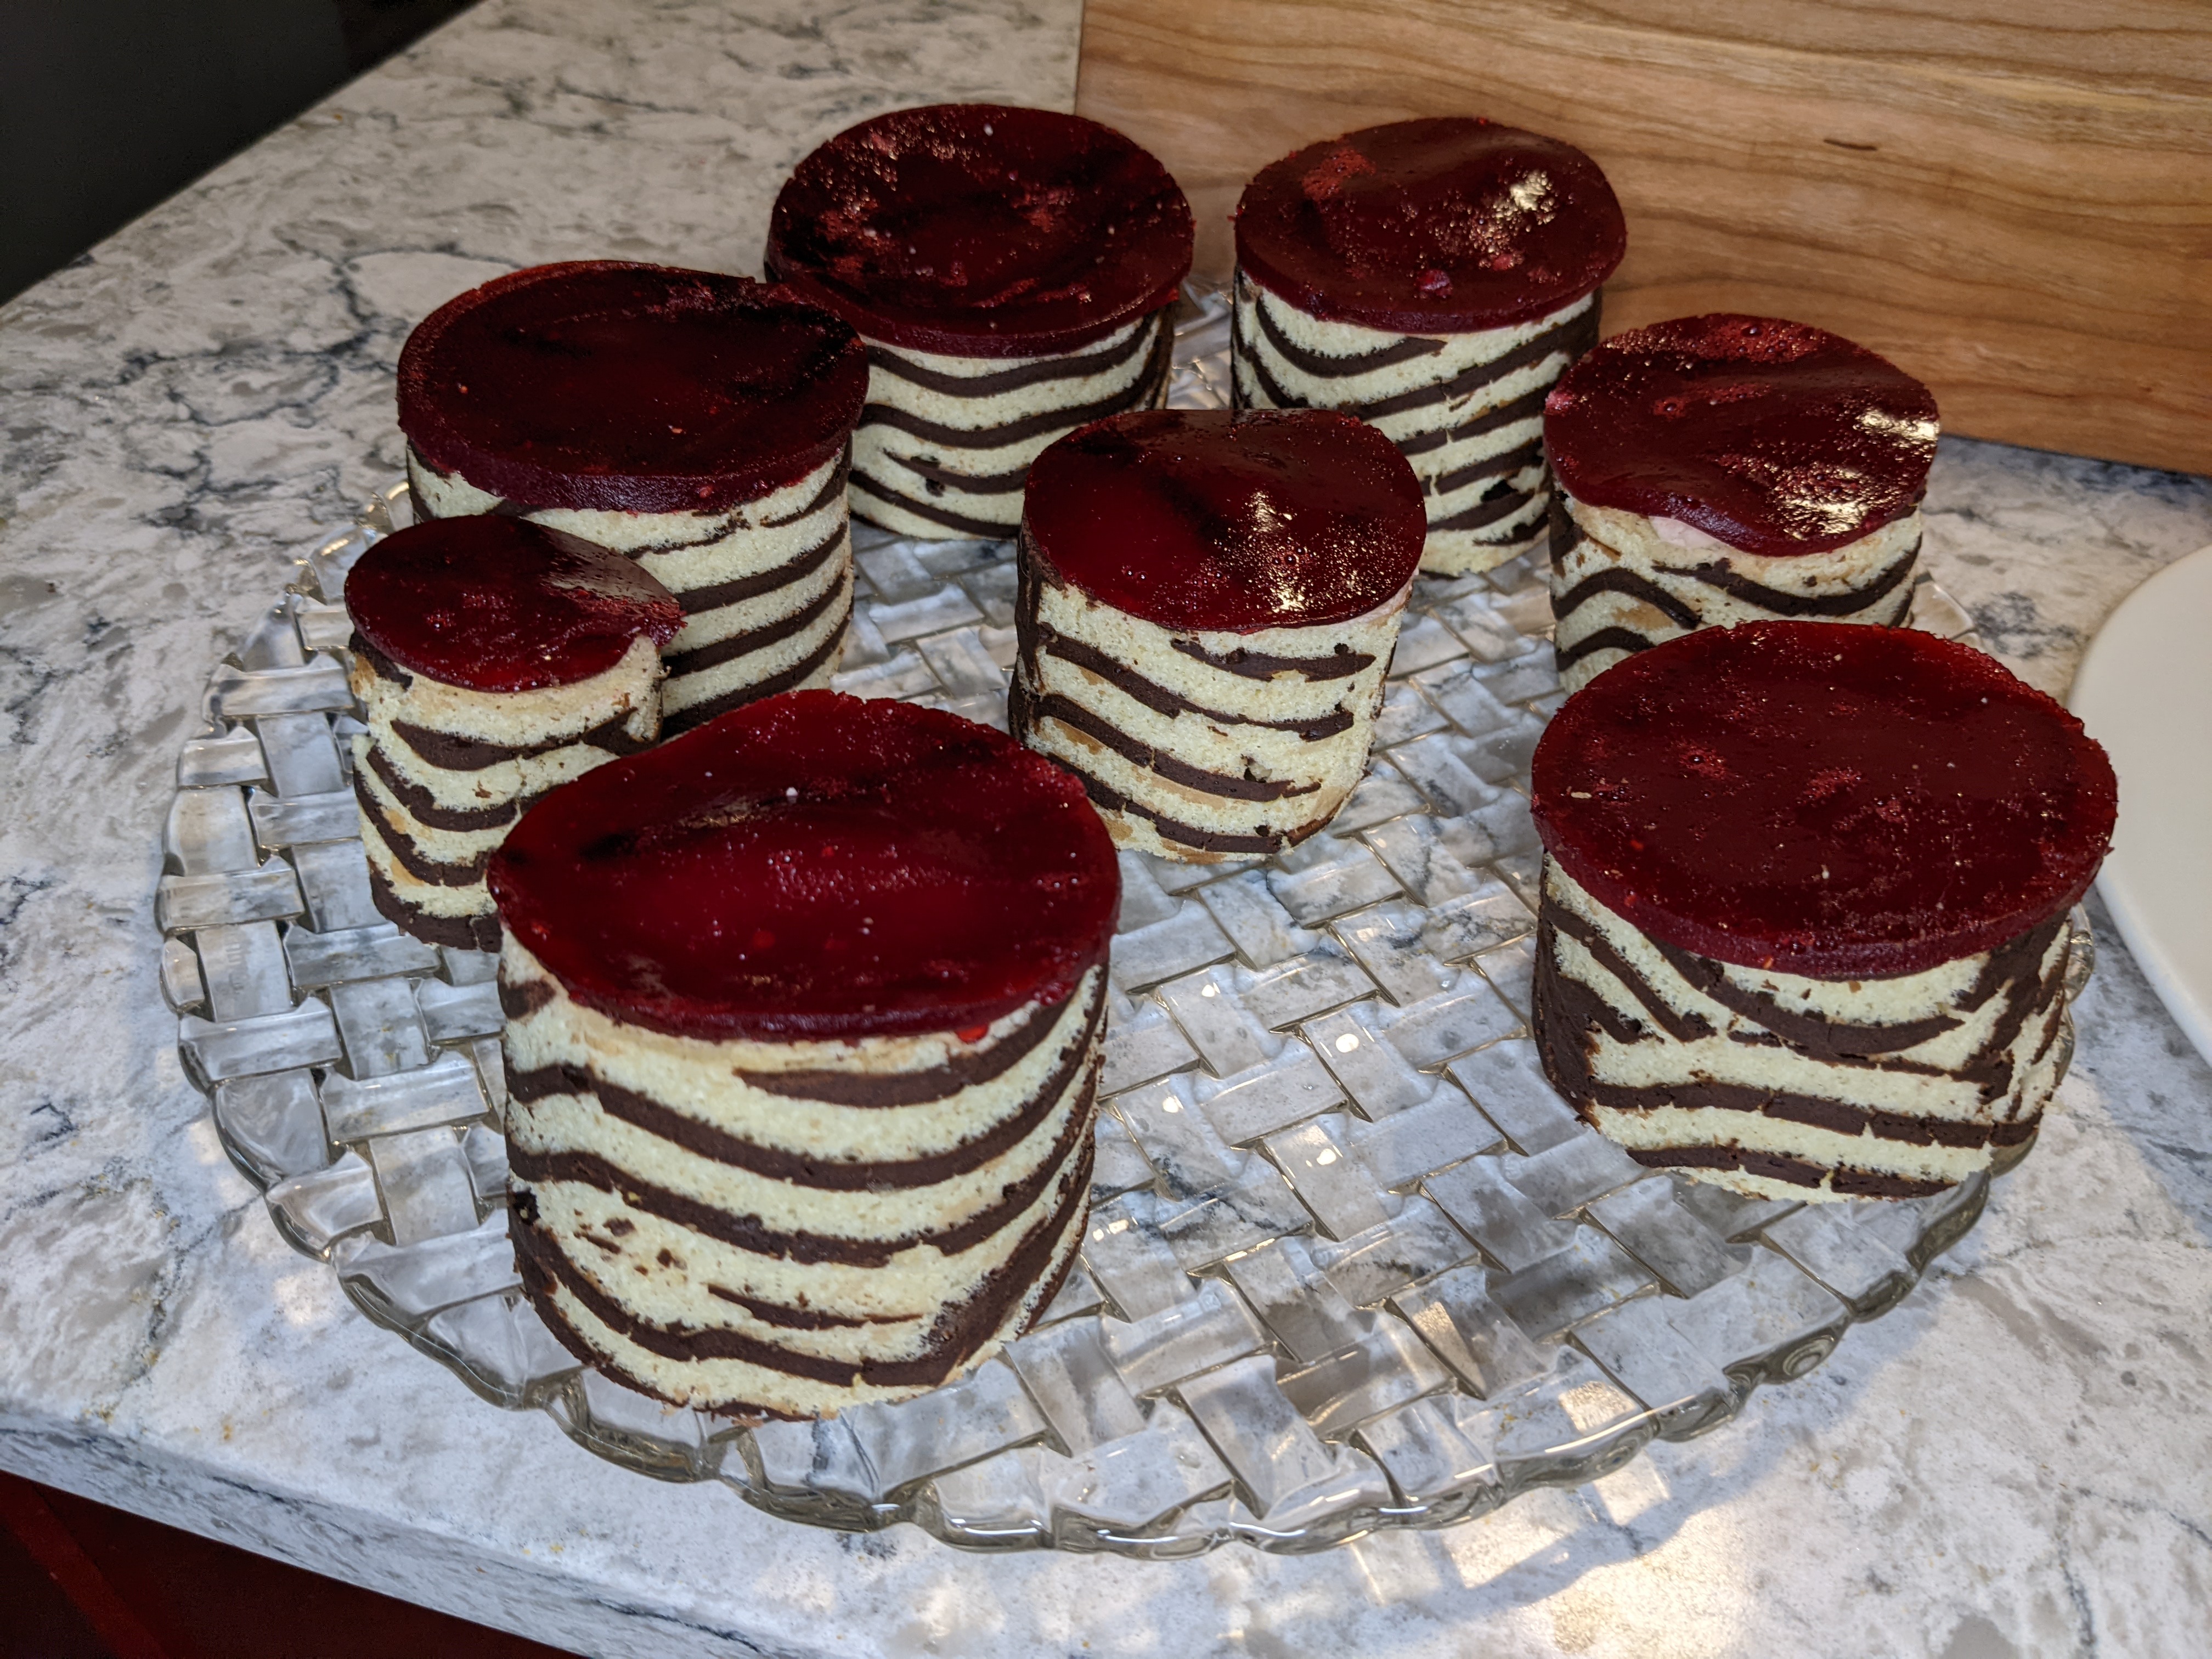
Gallery


I don’t often say this, but I am really proud of these. I think the Chocolate Passion Charlotte helped me get a lot more comfortable with mousse (mostly because I kind of bombed that one lol) and I paid very close attention to the textures of the components in the clips on the show. The sponge and the stripes turned out very clean and uniform and I had no problem bringing everything together. I still think I need a lot more practice to feel comfortable doing mousse with any kind of predictable repeatability, but I have made big strides towards that goal for sure. Moments like this make this project really rewarding. If nothing else, I wanted to come out of this a better baker than I went in, and these are evidence in hand that I have achieved that. Until next time!
Hey, bakers! Check out my BAKER’S PANTRY index if you want to deep dive on specific ingredients when attempting this bake for yourself

Well, I;m super impressed with your baking Chloe!!!! This last one looked very challenging with so mnay steps and artistry!
LikeLike
Awww I love these. I really admire your dedication to baking, coming from someone who started baking and decorating about 2 years ago. your work is admirable!! Well done!
LikeLike