Hey there Friends and Fellow Bakers! I am back and we are getting very close to the end of the list of bakes I have to cover for this project! As of this writing, I have completed all of the bakes from Season 3 and there are only 5 bakes left for me to write about which will bring me to the end of the first four seasons of GCBS. Have no fear, the end of the list will not be the end of my posts! I have lots of fun stuff planned and I will come back around and work through Season 5 of GCBS eventually.
Today we will be talking about Chocolate Passion Charlotte (recipe here) which was the technical bake for the semi final episode of season 4 on GCBS. This is the second of two Charlottes I had to do for my project (click here to read about the first one, which was a Pear Charlotte).
Traditionally, a Charlotte is similar to a trifle. It is layers of cake, cream filling, and fruit, presented as a free-standing dessert supported by lady fingers wrapped around the outside. This version is a bit of a stretch in terms of the concept. Instead of fruit and cream filling, it has two layers of different mousse, with passion fruit flavoured ganache in between the layers. The only thing that really makes it similar to a Charlotte is the lady fingers around the outside and the fact that it was unnecessarily difficult to put together. Amazing stuff.

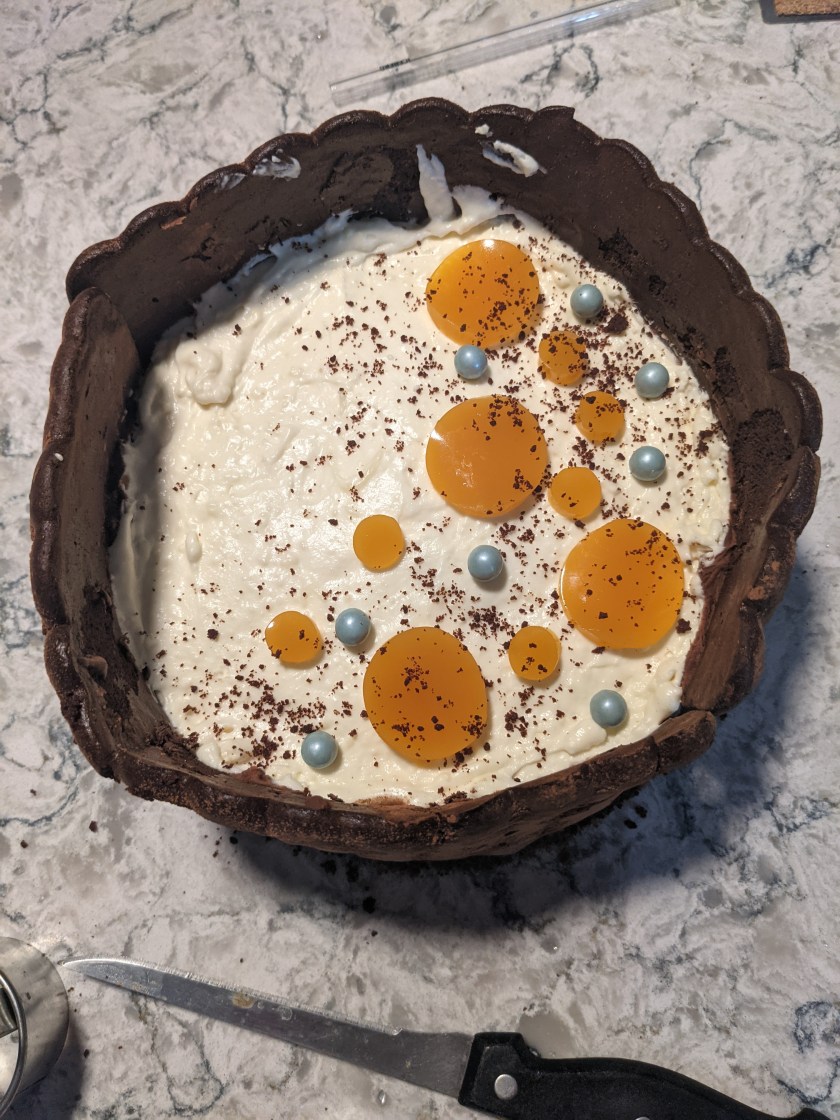
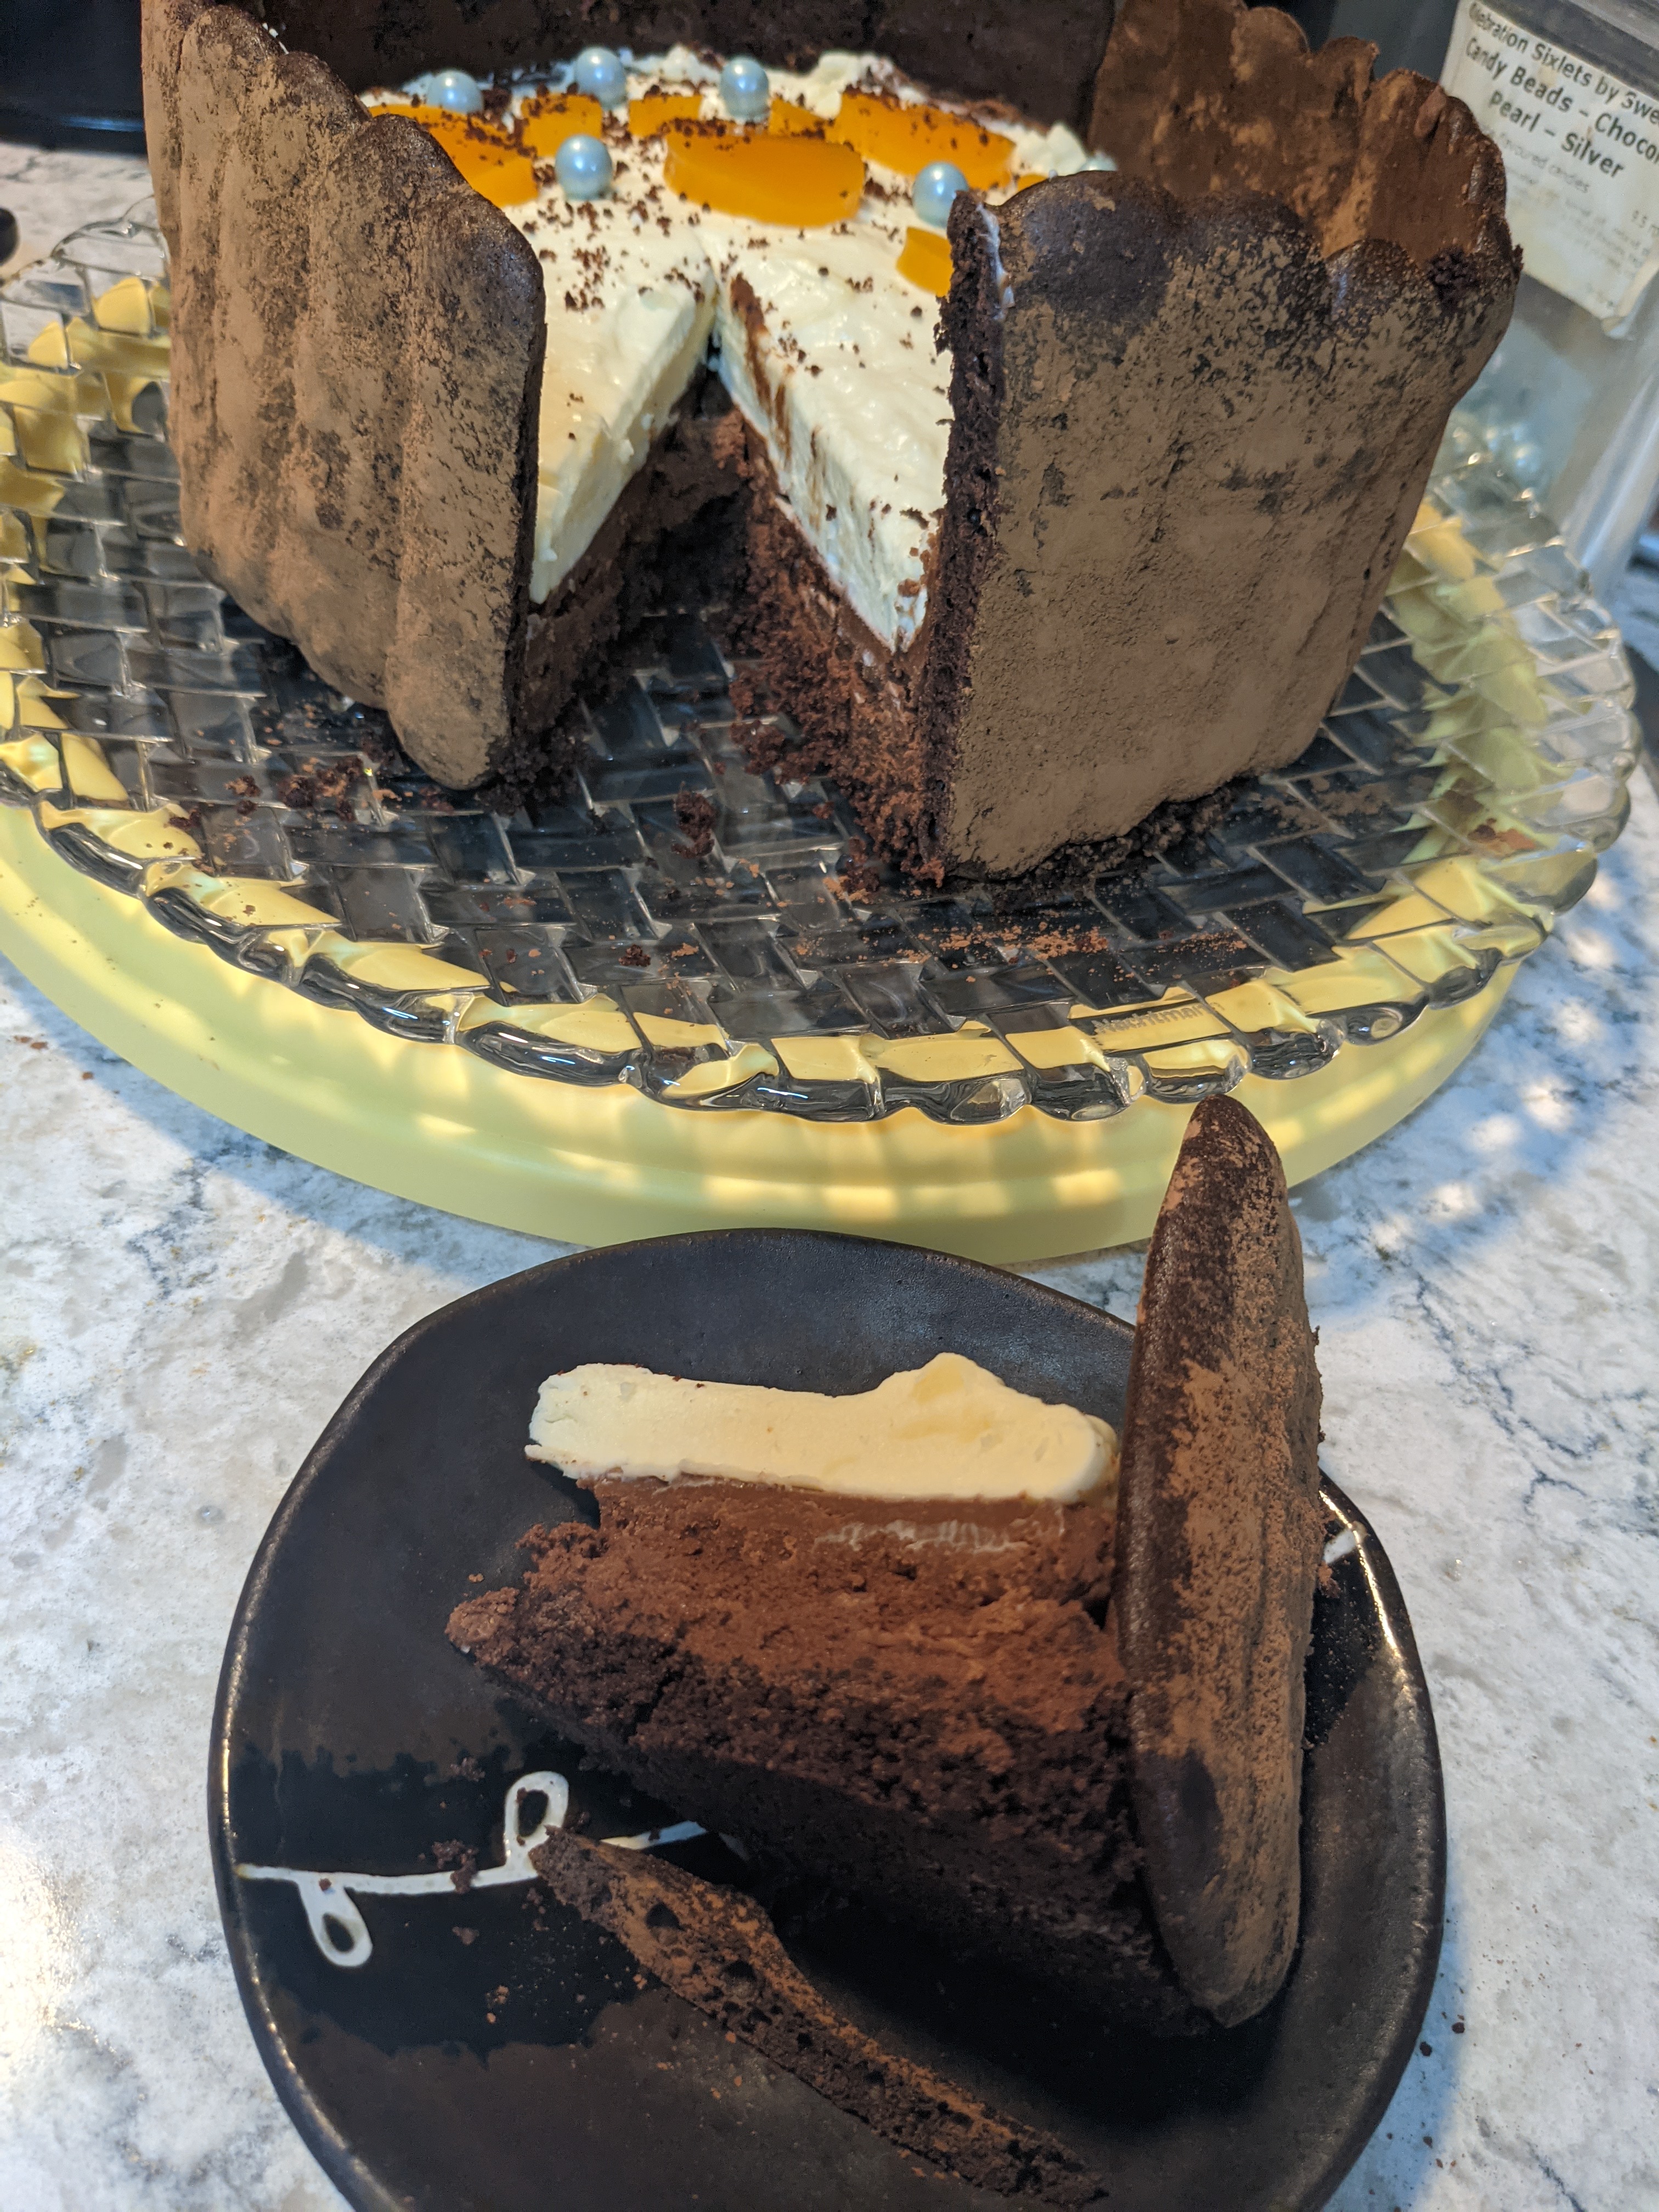
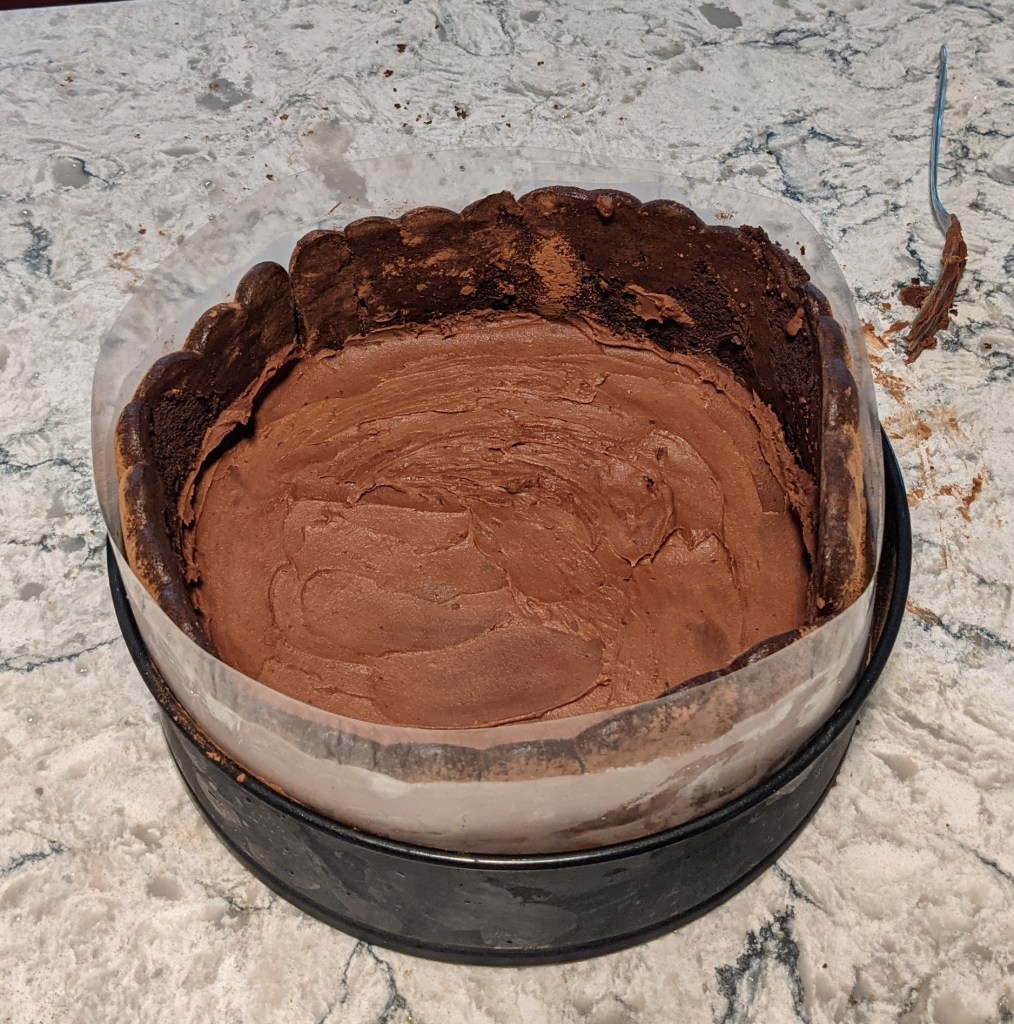
This Charlotte is simpler than the pear one, but I still had a bit of trouble with it. The main component of the recipe is the mousse, which is made by creating a mousse base and then dividing it into two to create the two different flavours. The recipe didn’t give a lot of indication of how the texture of the mousse base combined with the melted chocolate was supposed to be. So what ended up happening was the chocolate mixture for my dark chocolate mousse was too thick and the chocolate mixture for my white chocolate mousse was too thin. I was able to play around with the white chocolate and get it right. The dark chocolate mousse ended up not having enough volume in the end because the chocolate weighed down the whipped cream. It all tasted great but it was frustrating. As you can see in my photos, the mousse did not fill the cake as much as it should have. This left the lady fingers extending above the final assembly much further than they should have been.
Deflated mousse and struggles with white chocolate aside, this was a pretty tasty little cake, perfect for the chocoholics among us. I was impressed with how the passion fruit worked with the chocolate in terms of flavour. I love passion fruit intensely and it is well established that I am not a fan of chocolate. The combination of the two was so different from what I was expecting. It was almost an entirely different flavour all together. As in any great partnership, the two components highlighted the best in each other and suppressed the worst. The ganache was bright and vibrant like passion fruit, but rich and comforting like chocolate. If I had done a blind taste test of the ganache, I am not sure I would have identified chocolate OR passion fruit as the flavours, which is fascinating to me. A result greater than the sum of its parts.
Last but not least, this version used a chocolate cookie crumb crust as the base instead of cake. Any baker worth their salt has a box of chocolate cookie crumbs in the cupboard but this recipe called for homemade crumbs. The chocolate wafers in this recipe are DYNAMITE. I don’t know if I will ever buy a box of cookie crumbs again. This was truly the hidden gem of this entire recipe. Even I, a professed anti-chocolatier, could not stop eating the leftovers. Amazing stuff.
Step 1: Passion Fruit Gelé
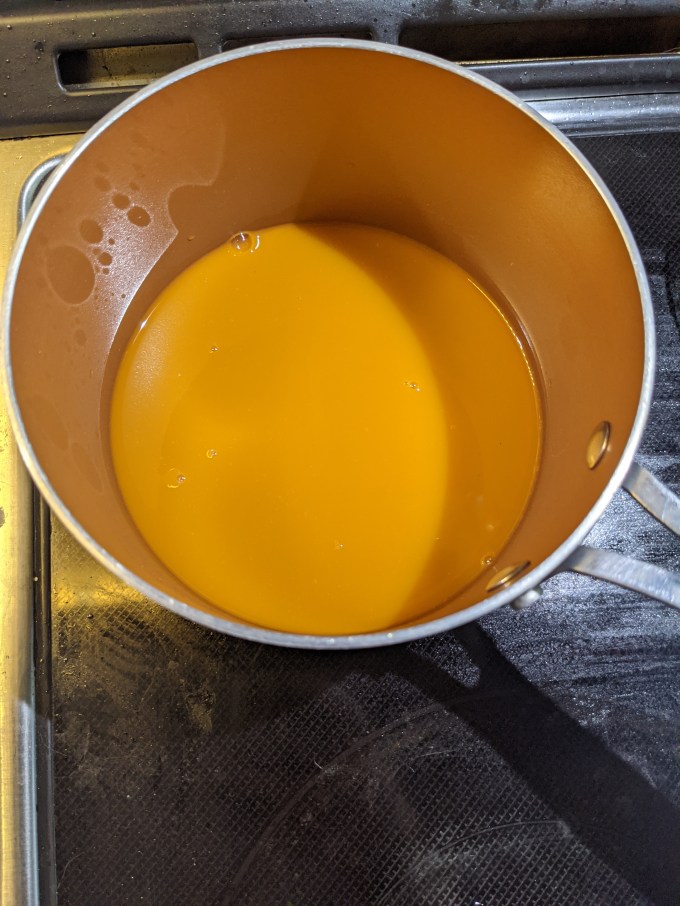
This gelé is an optional component used to create the orange circles placed on top of the cake as decoration. It is very simple: passion fruit purée is heated and the combined with bloomed gelatin. The liquid is poured into a small dish lined with acetate and left to set up in the fridge.


This gelé made an aesthetically pleasing decoration, but it was very tart. If I made this again, I would probably add a bit of sugar to the liquid to mellow it out a bit.
Step 2: Chocolate Wafers
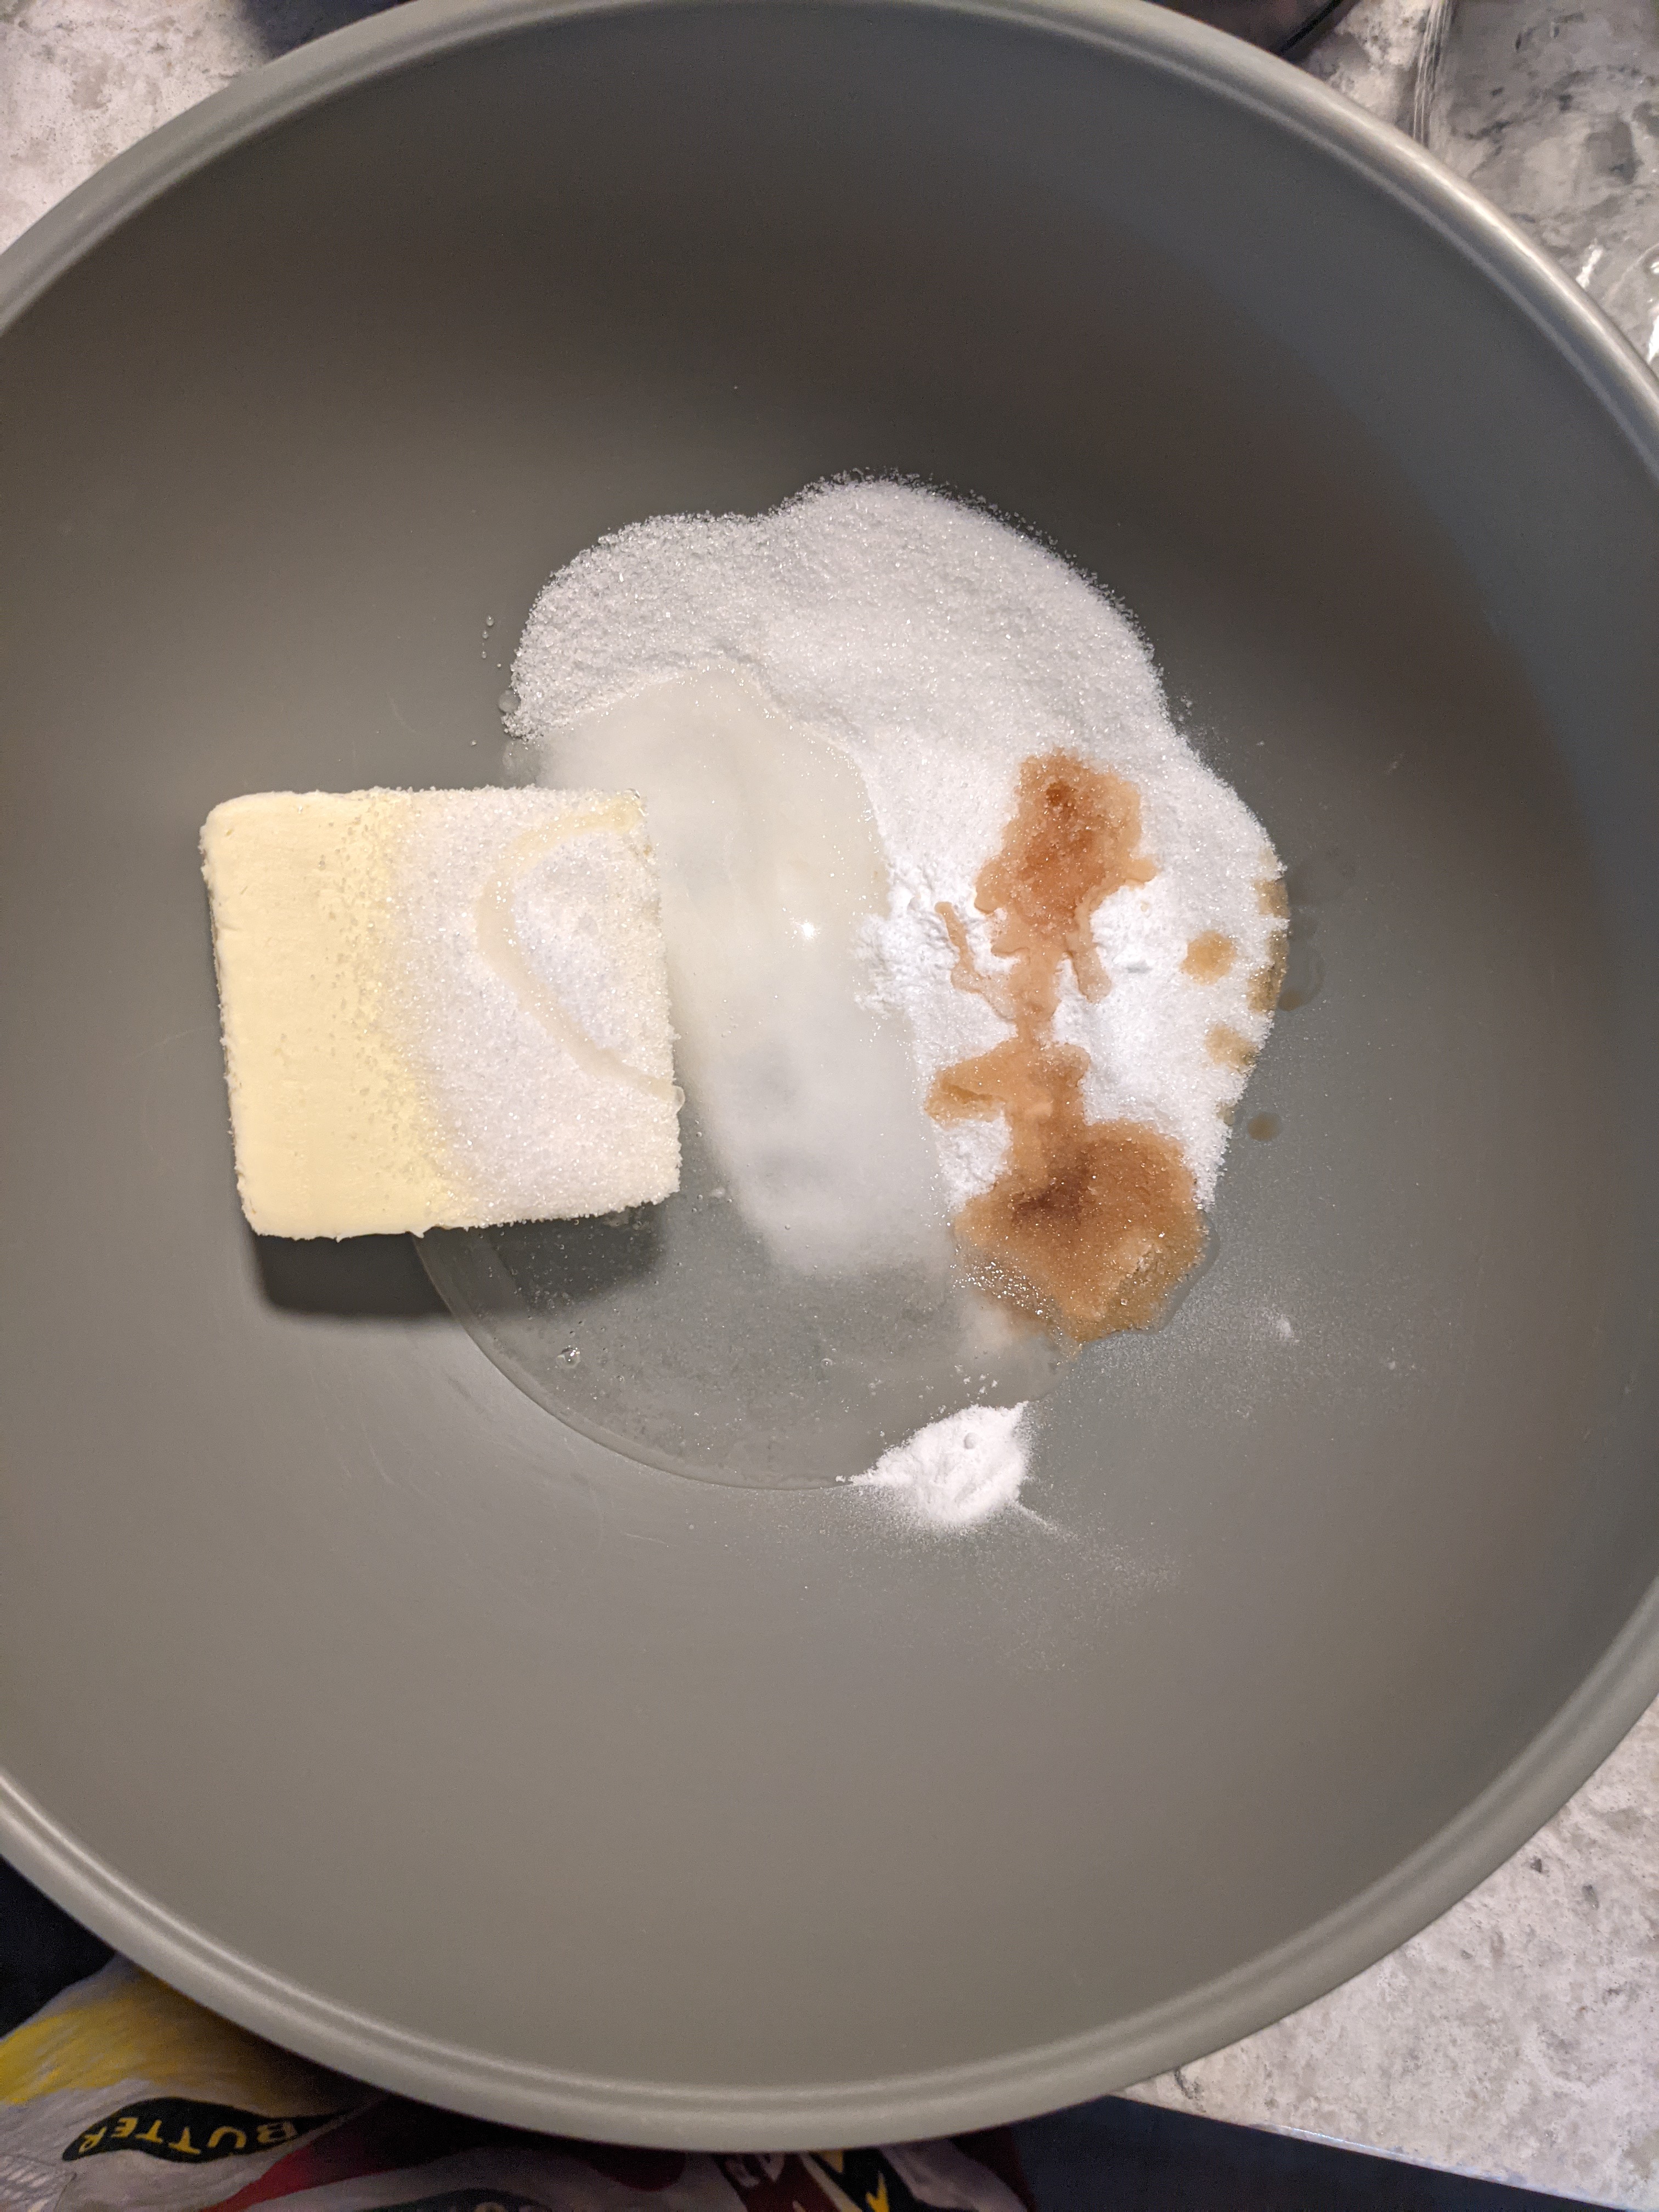
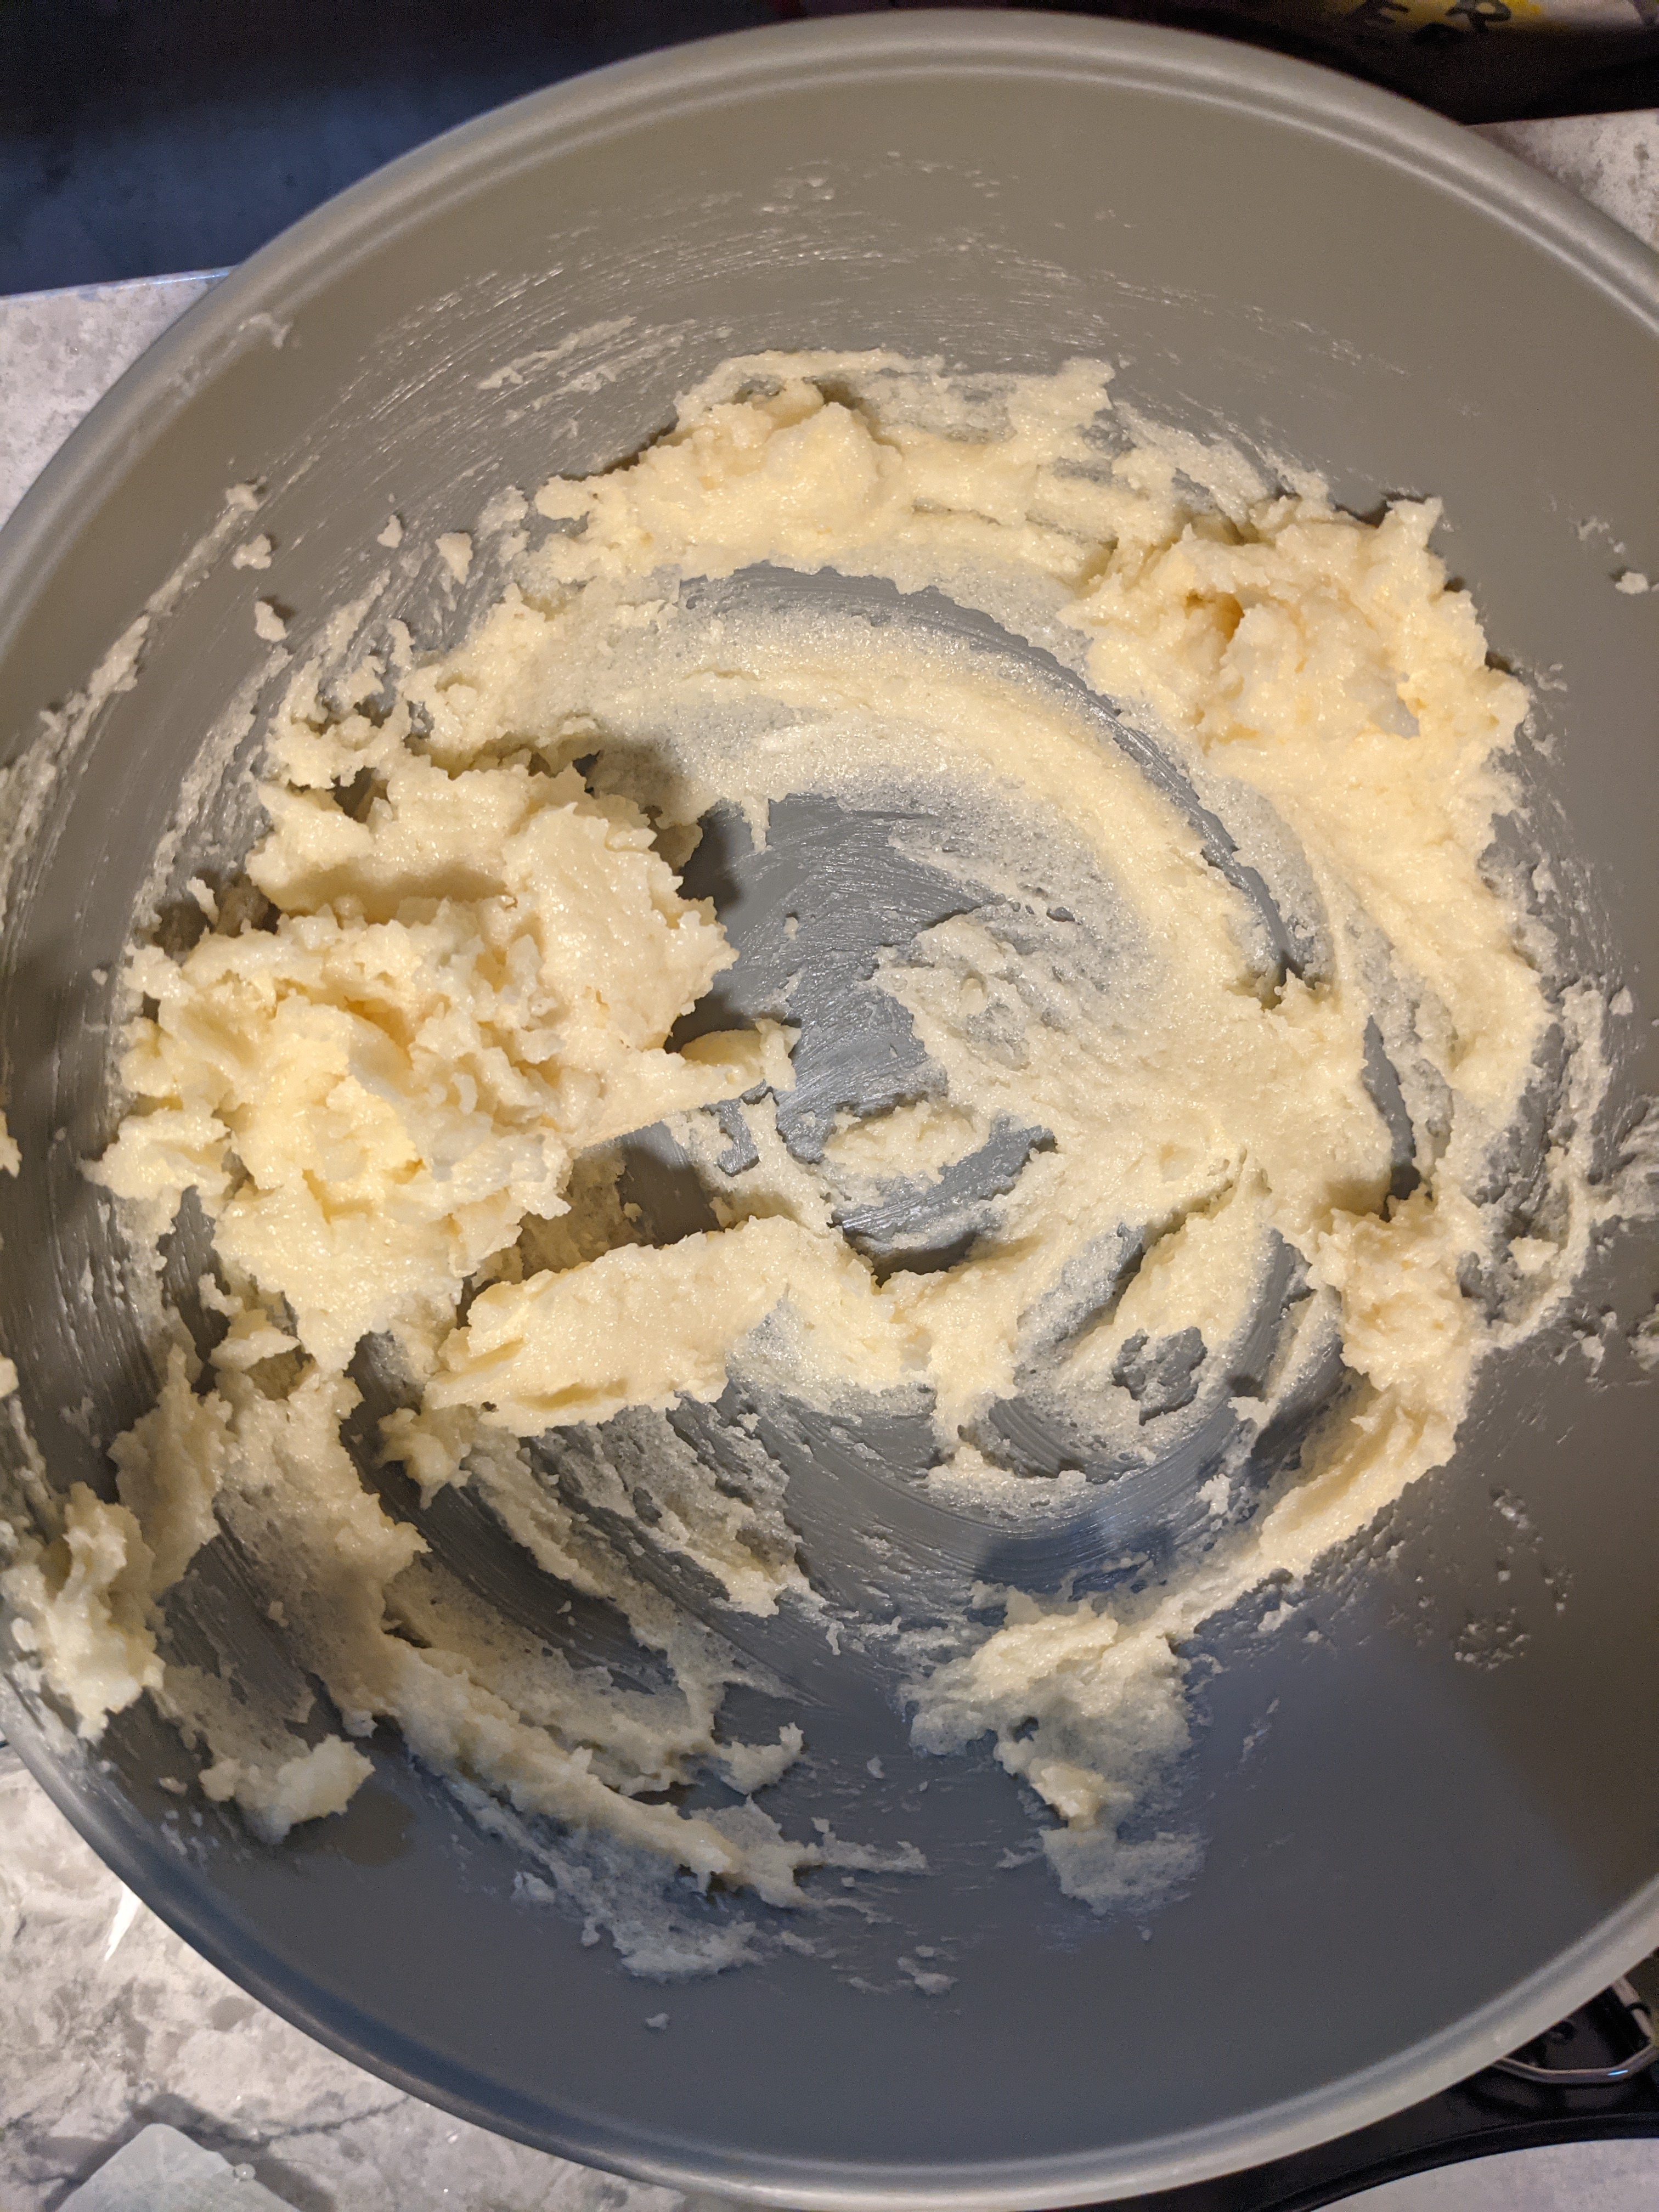
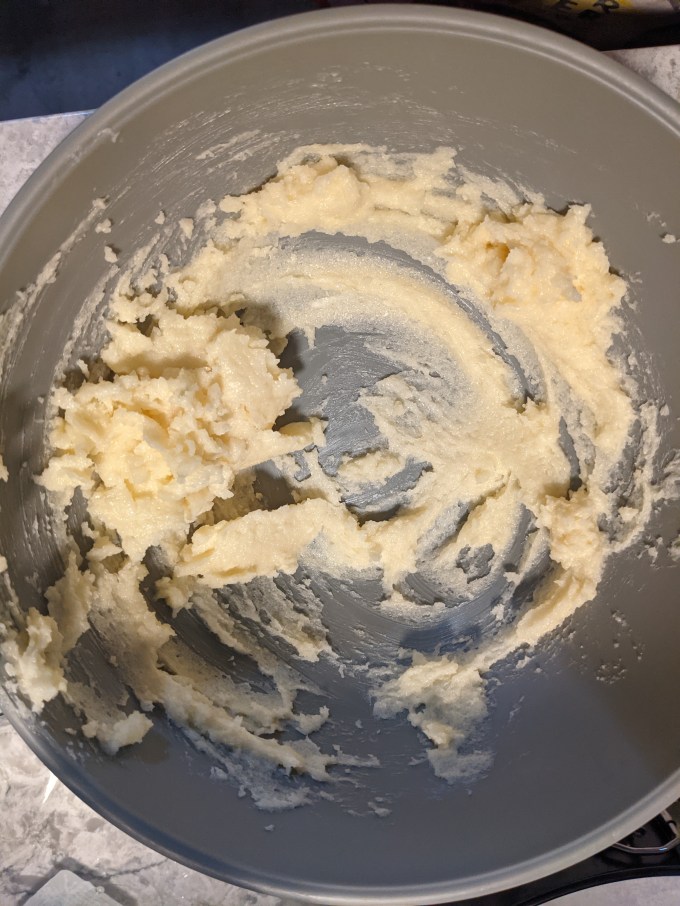
Butter, sugar, corn syrup, baking soda, salt, and vanilla are blended until well mixed. The instructions called to use the hand mixer to blend until light and fluffy. Since these were just going to be processed into crumbs in the end, I didn’t bother getting the hand mixer out. I just whisked it vigorously and everything turned out just fine.
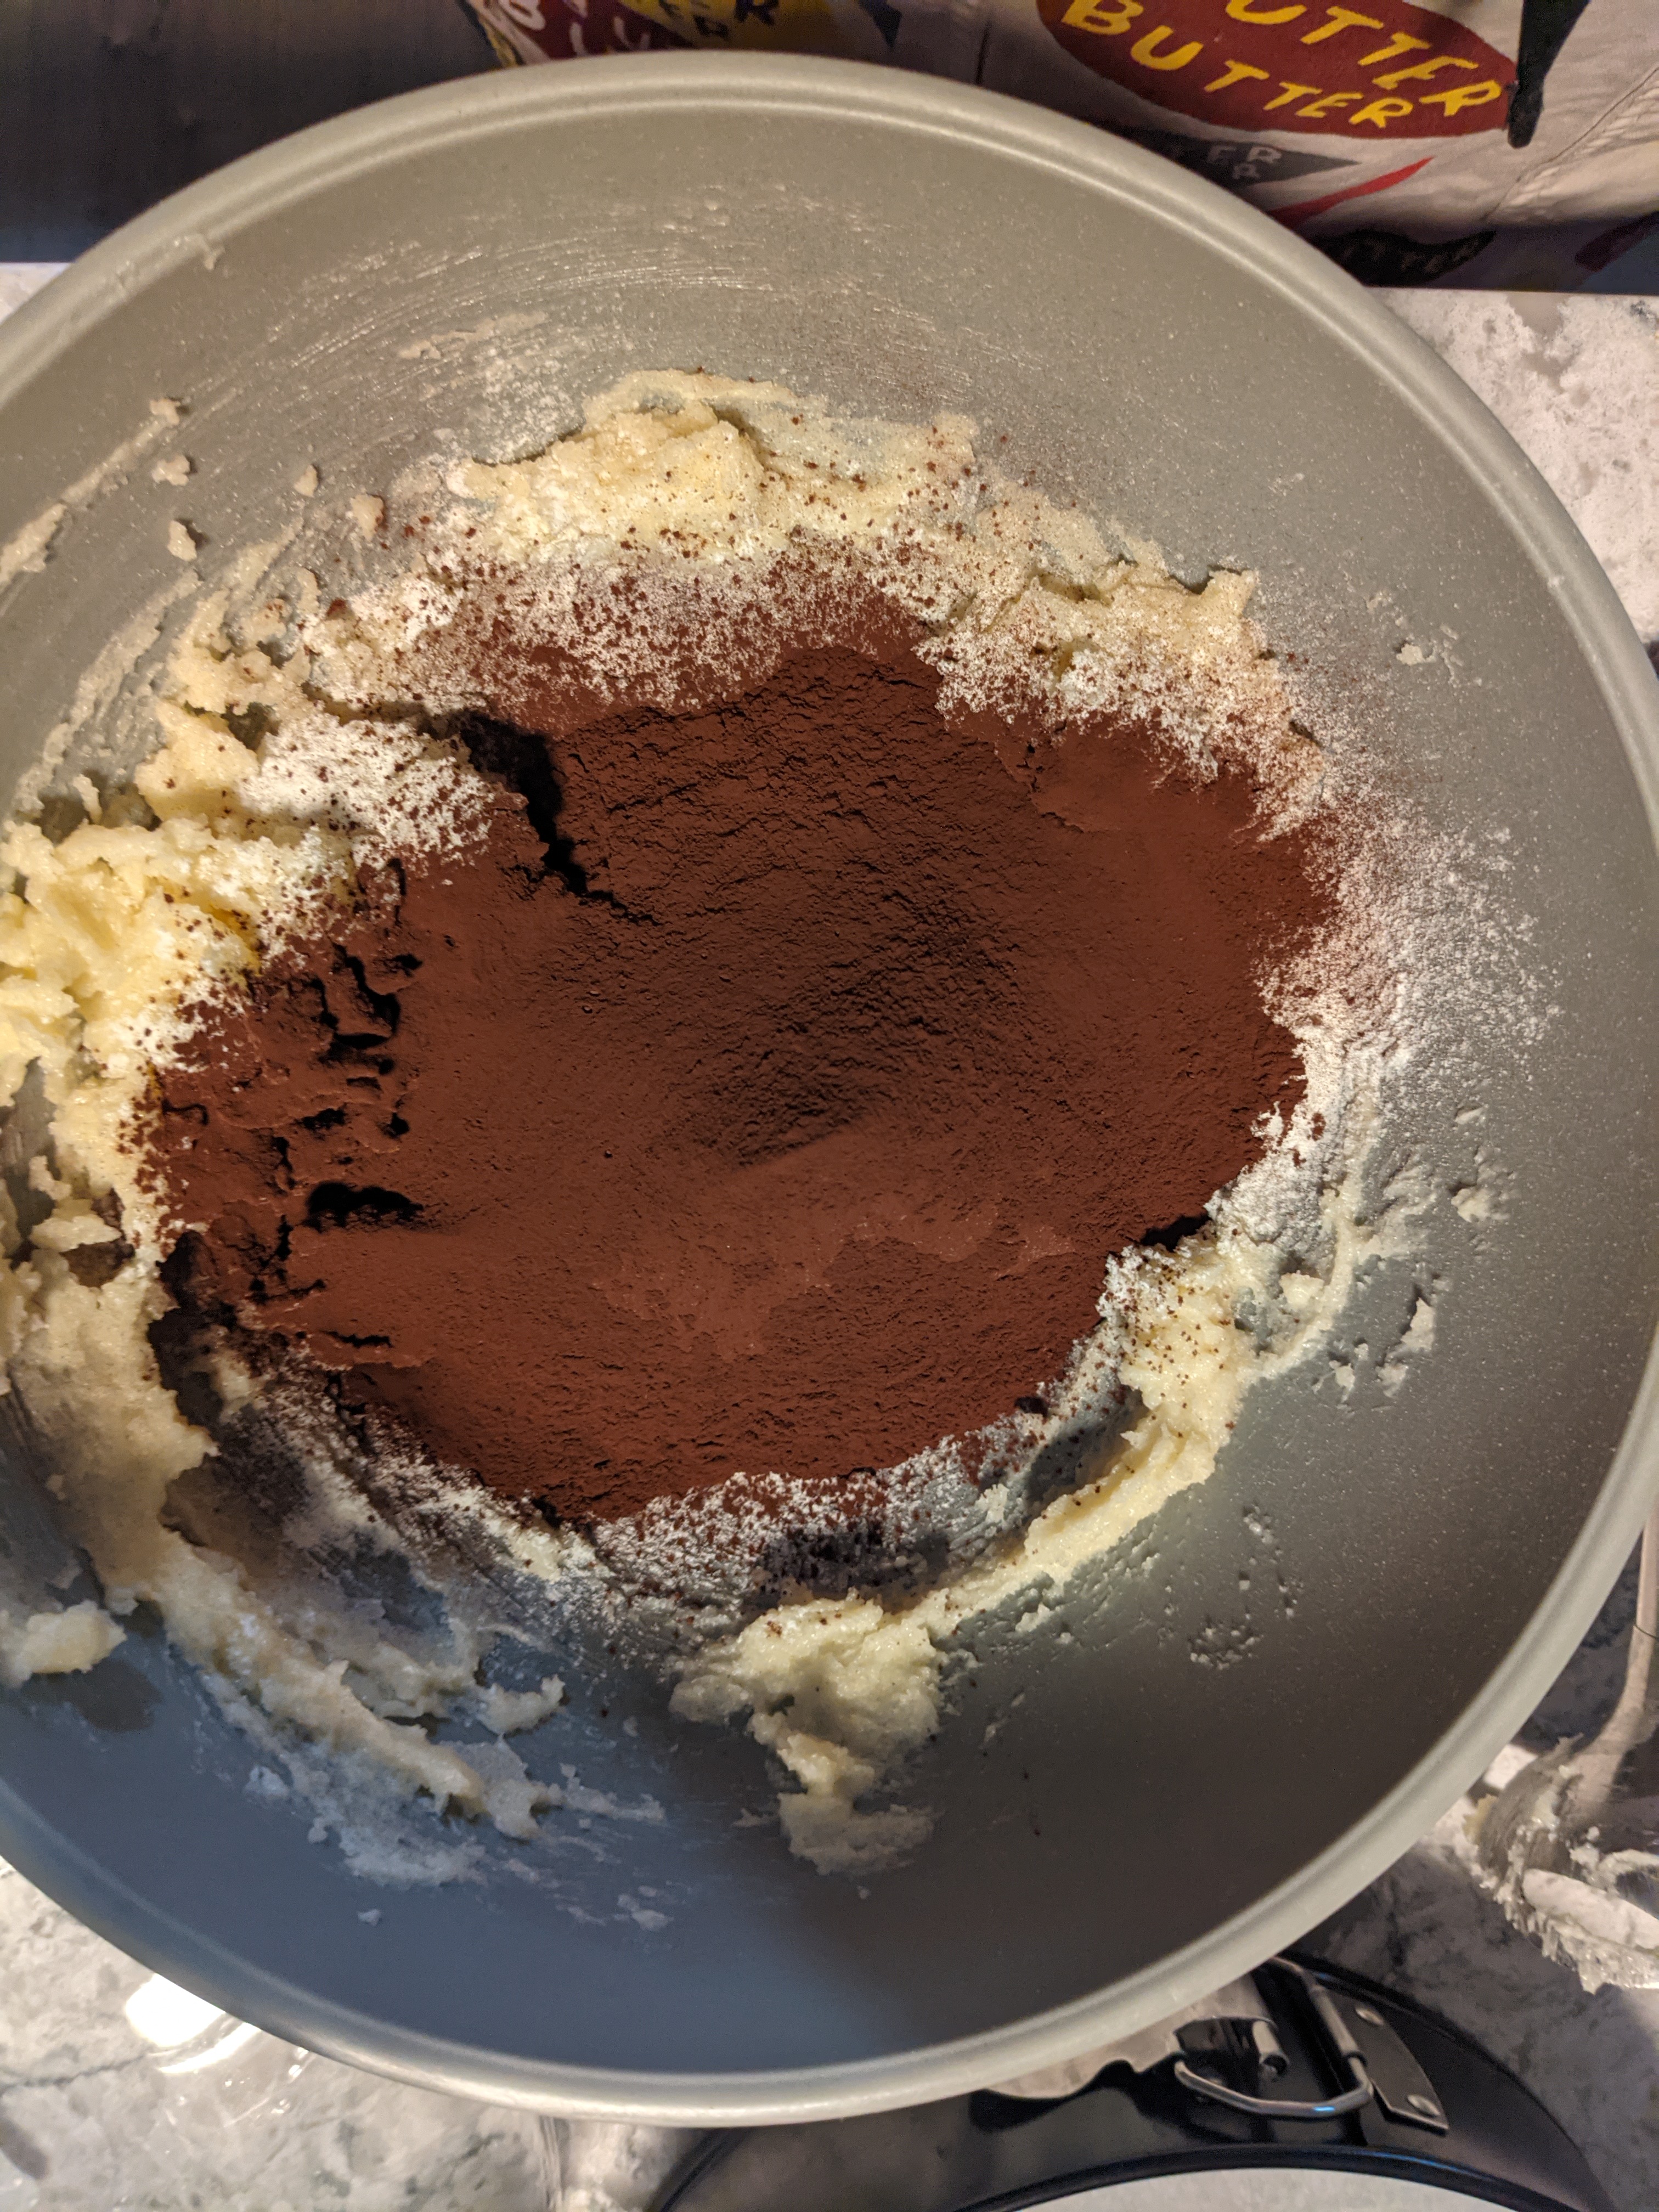
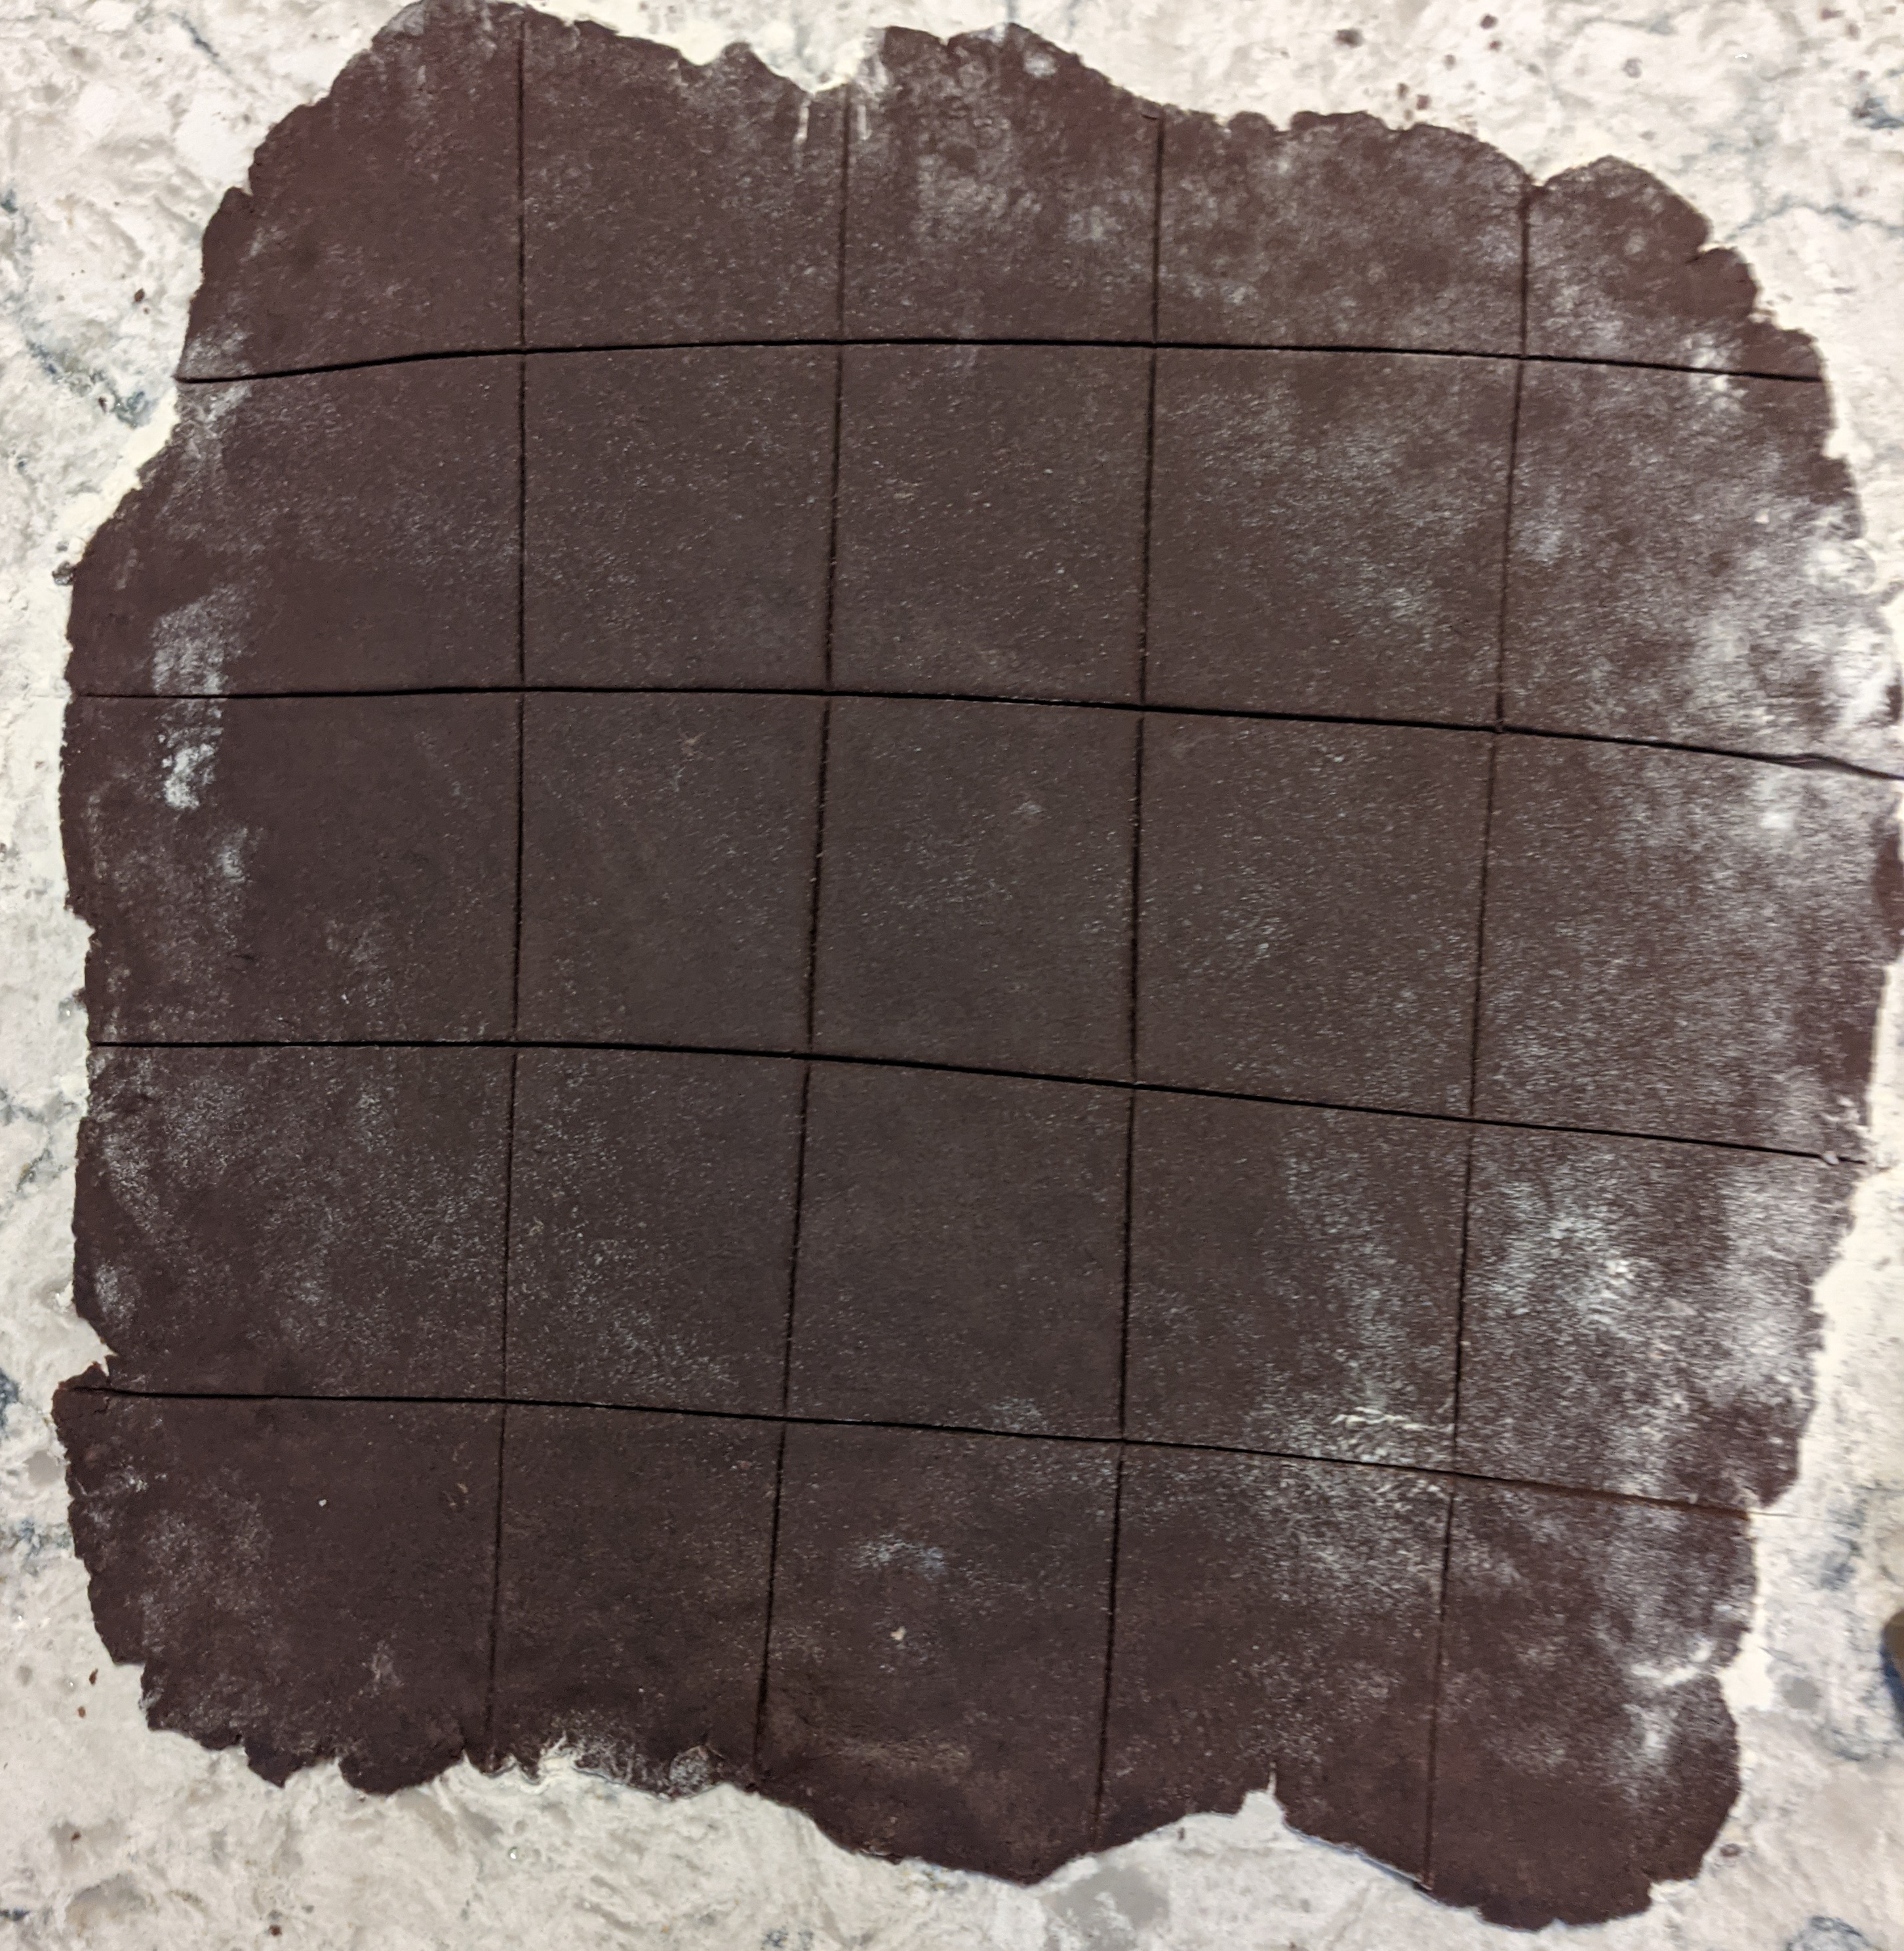
Flour and cocoa are added and kneaded in to incorporate. The recipe called to divide the dough into two before baking, but I didn’t bother since I had enough space to roll it all out in one piece. The dough gets rolled out and cut into rough pieces approximately 2 inches square. The cuts for this step don’t have to be exact. Theoretically, this wafer could be baked in one piece, but cutting it is recommended for two reasons. First, the cut edges will caramelize slightly in the oven, which will contribute to the final flavour profile and mouth feel of the crumbs. Second, cutting the dough creates space for steam to escape while baking so the cookie comes out crispy instead of soft.

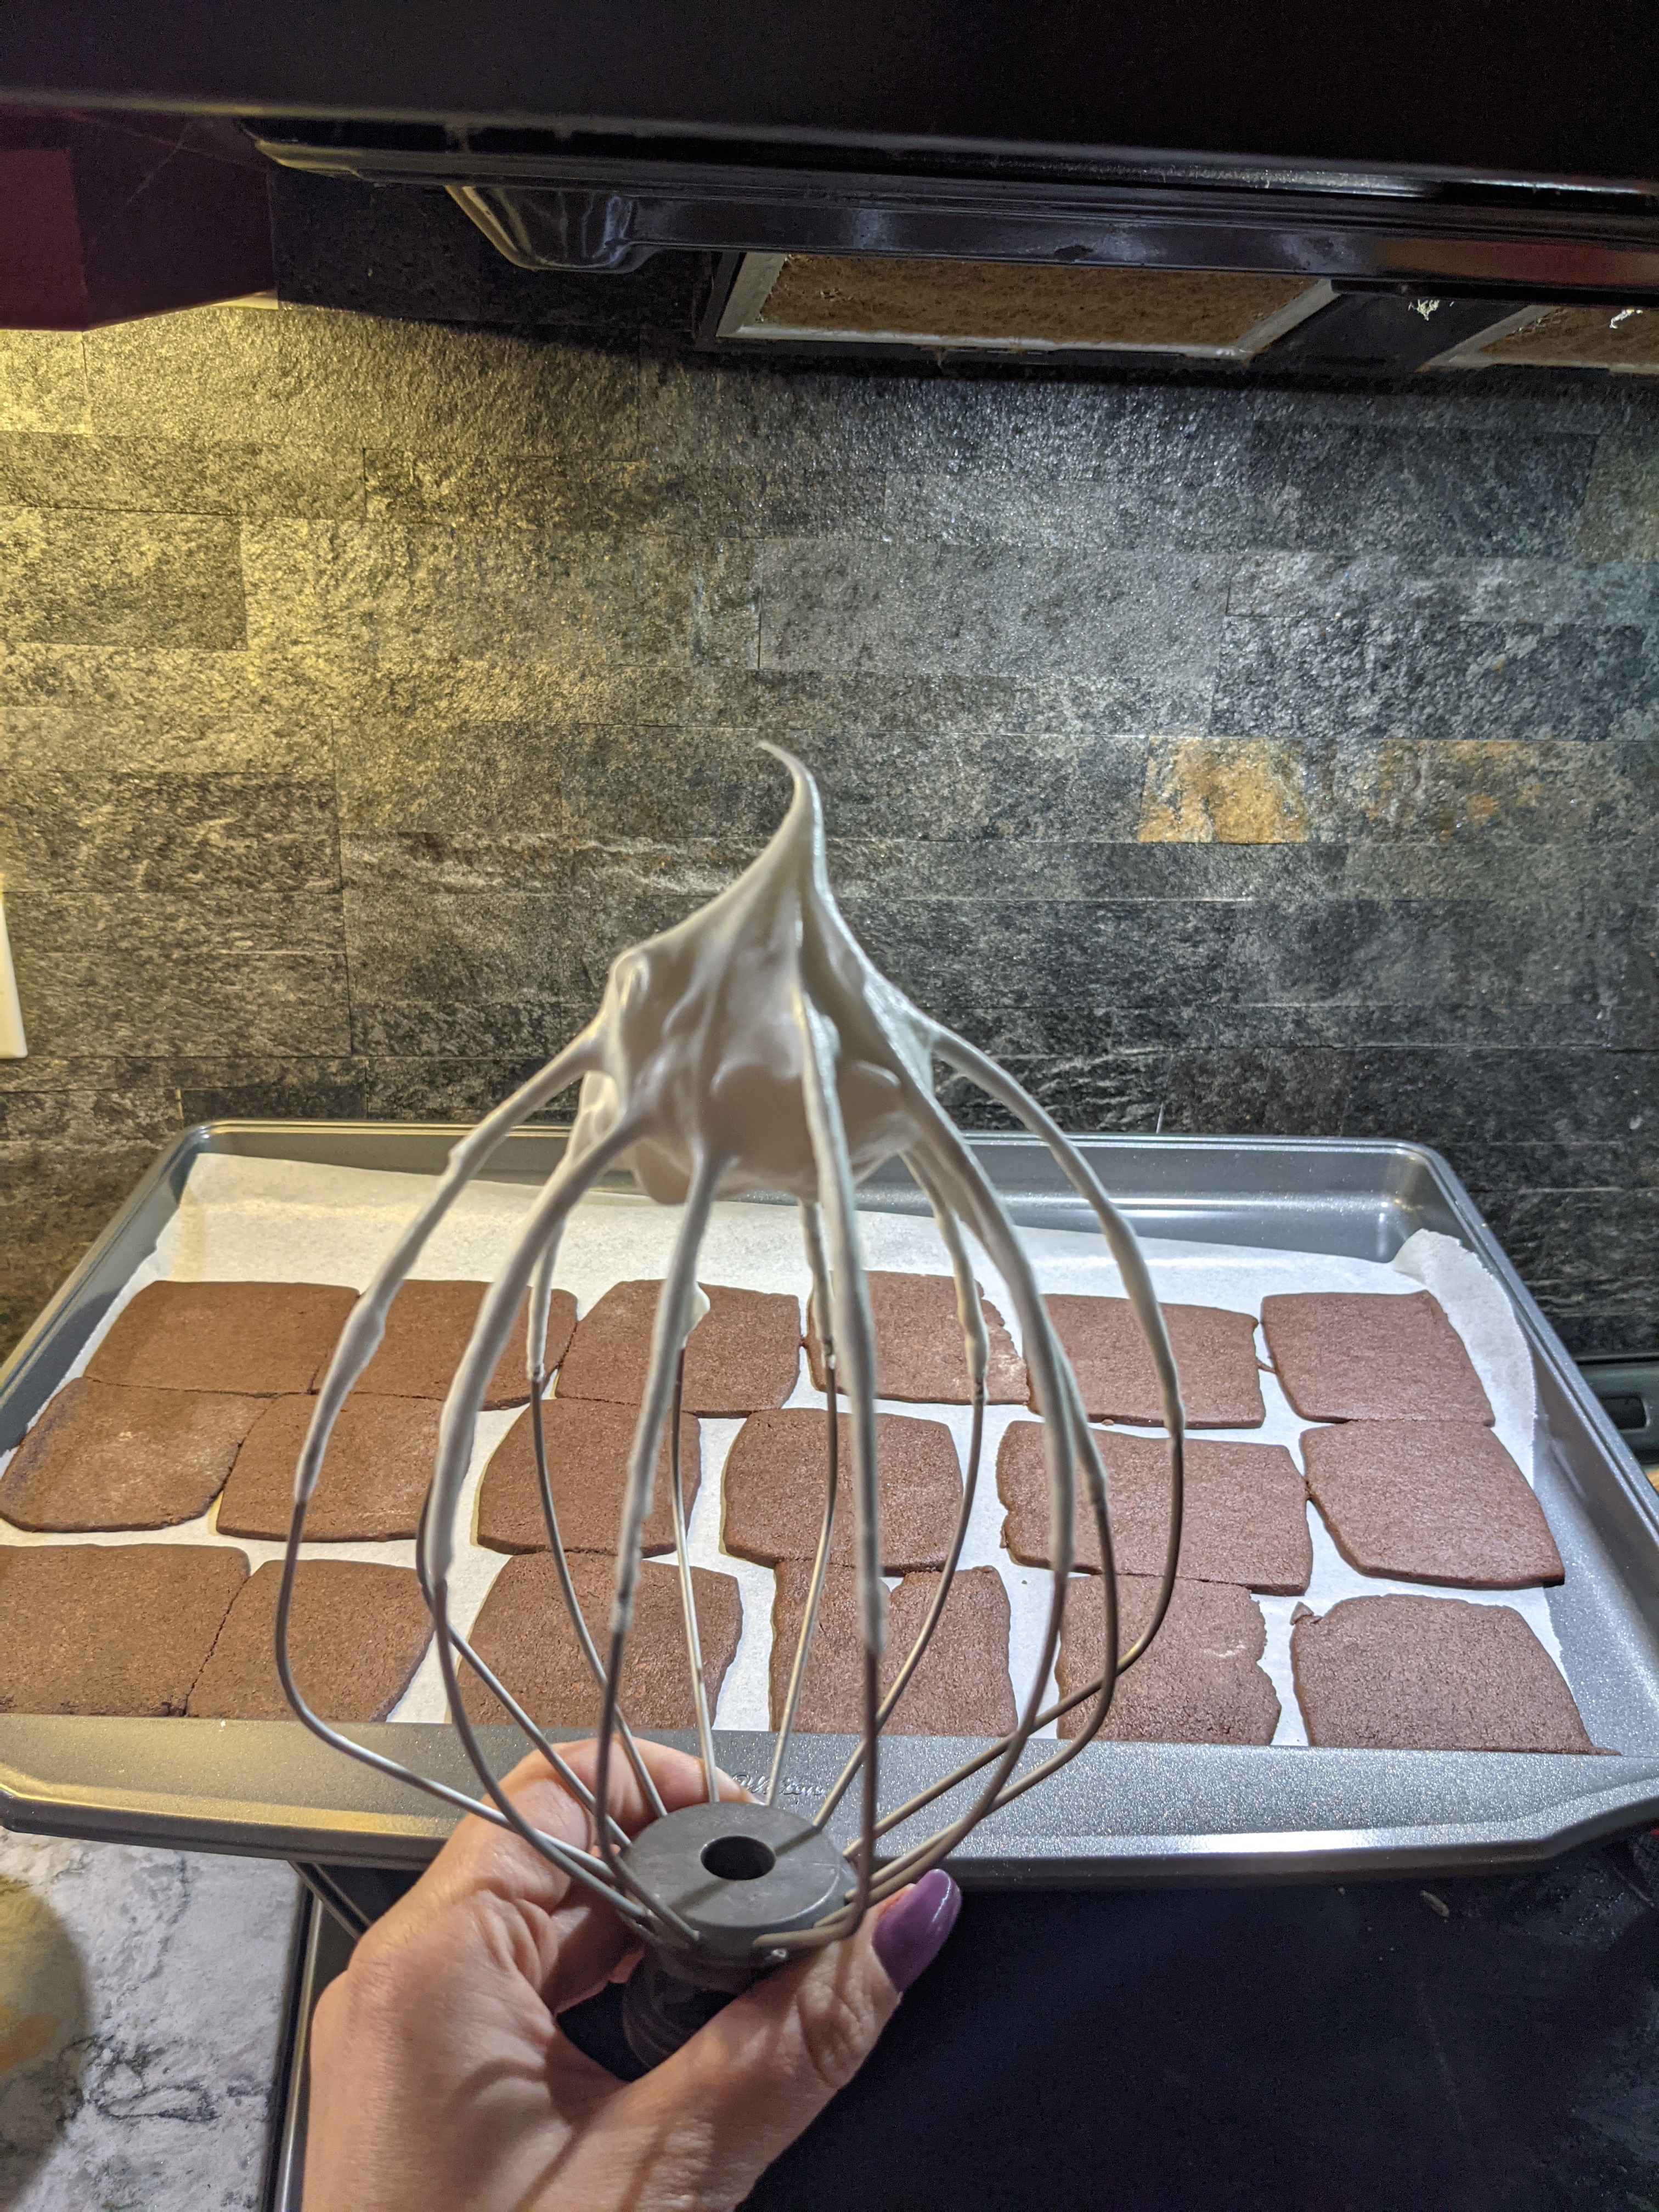
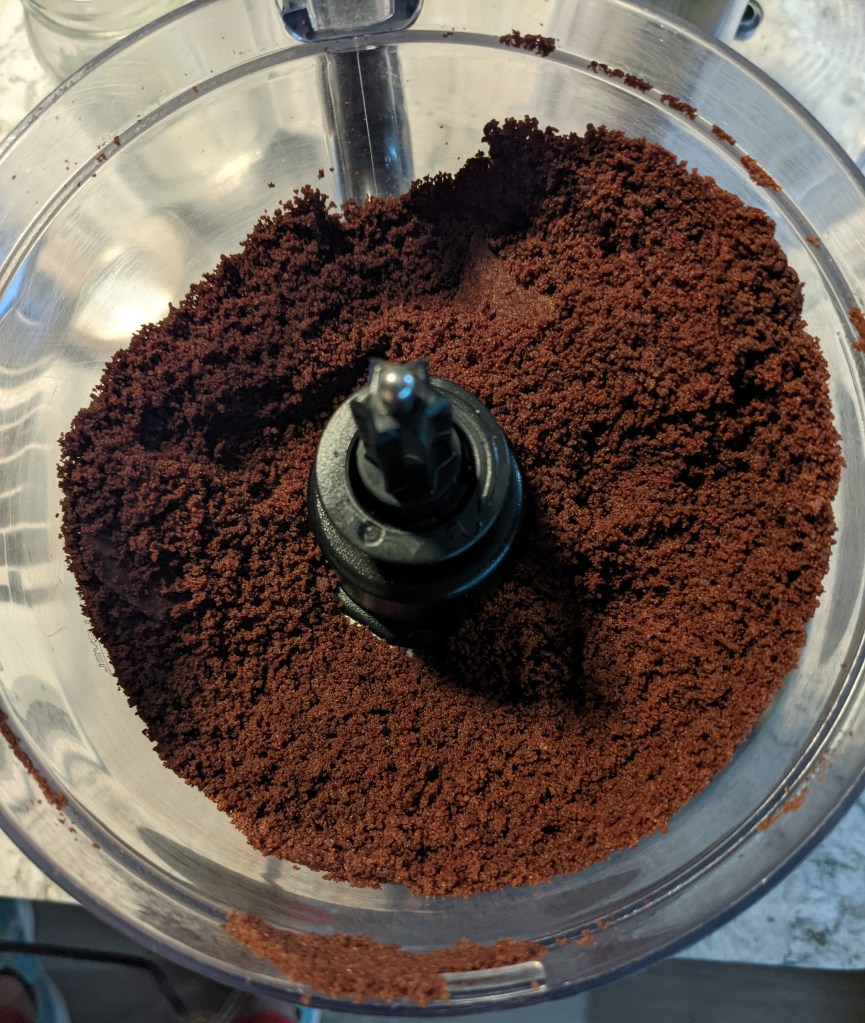
Once the wafers are baked and cooled, they are blitzed into crumbs in the food processor and set aside.
Step 3: Black Cocoa Lady Fingers
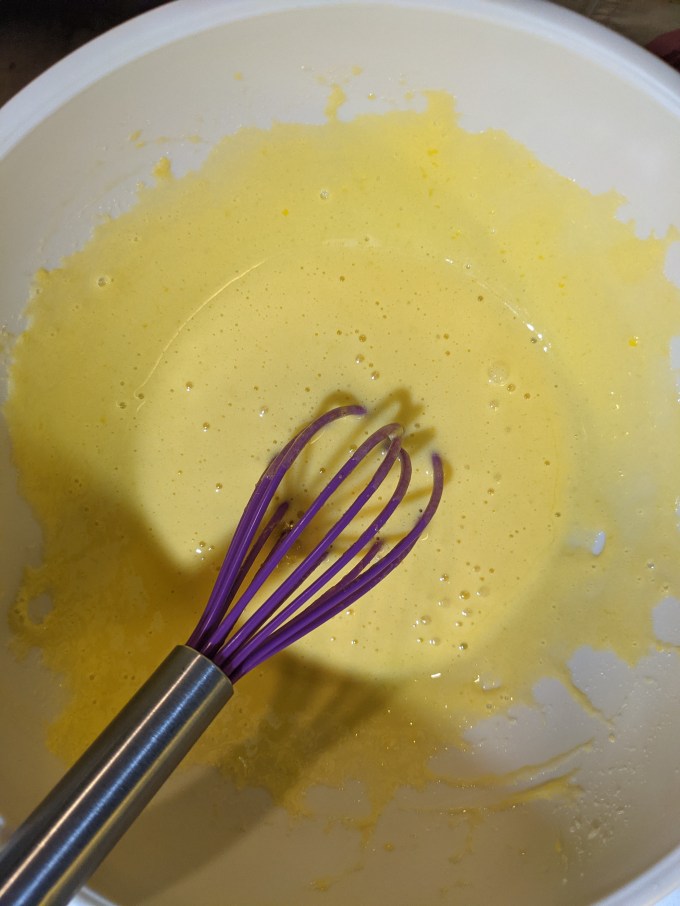
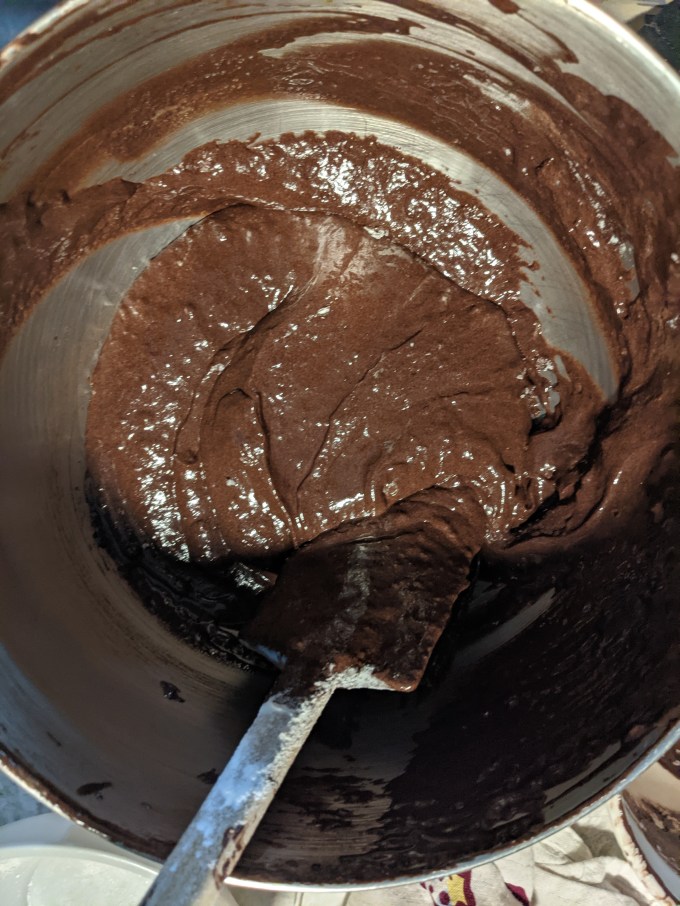
This is a standard sponge method with black cocoa. Egg yolks, salt, vanilla, and sugar are whisked vigorously until pale and thick. Egg whites and sugar are beaten to a stiff meringue.
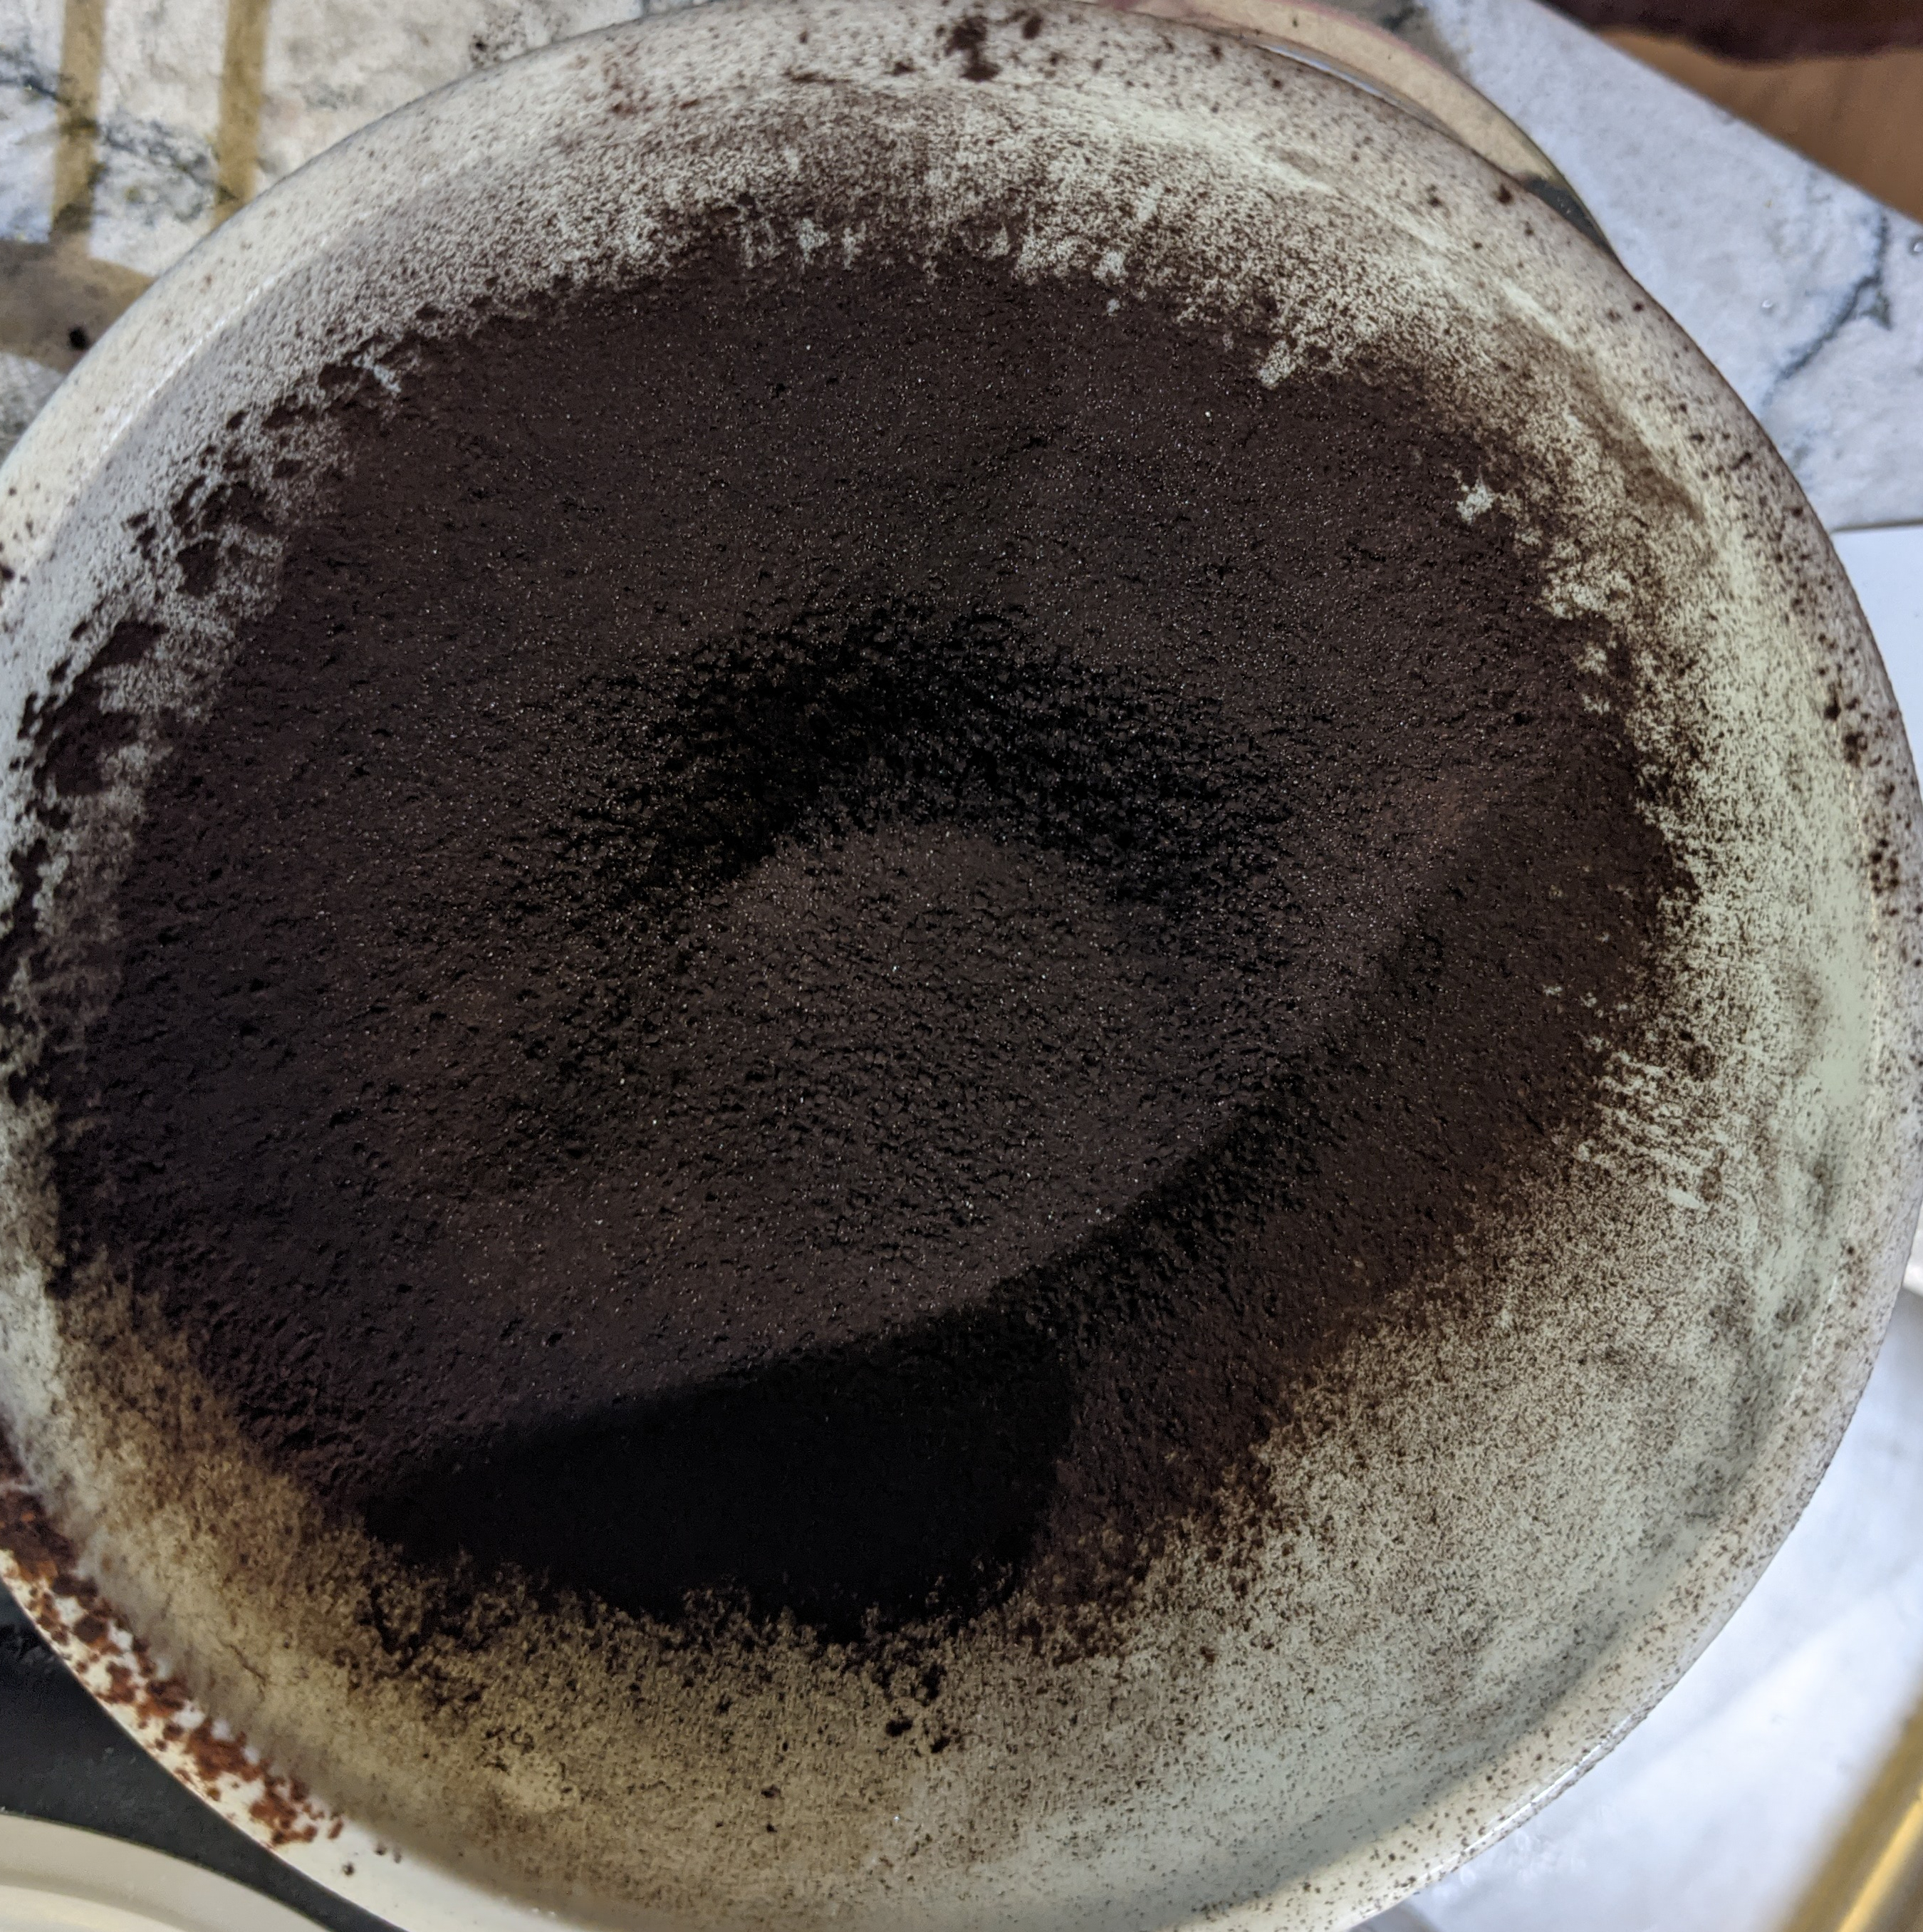
The black cocoa is blended with hot water to make a paste. The cocoa paste is blended with the egg yolk mixture. This batter base is then gradually folded into the meringue. A small amount of flour is sifted and folded in to create a crumb.


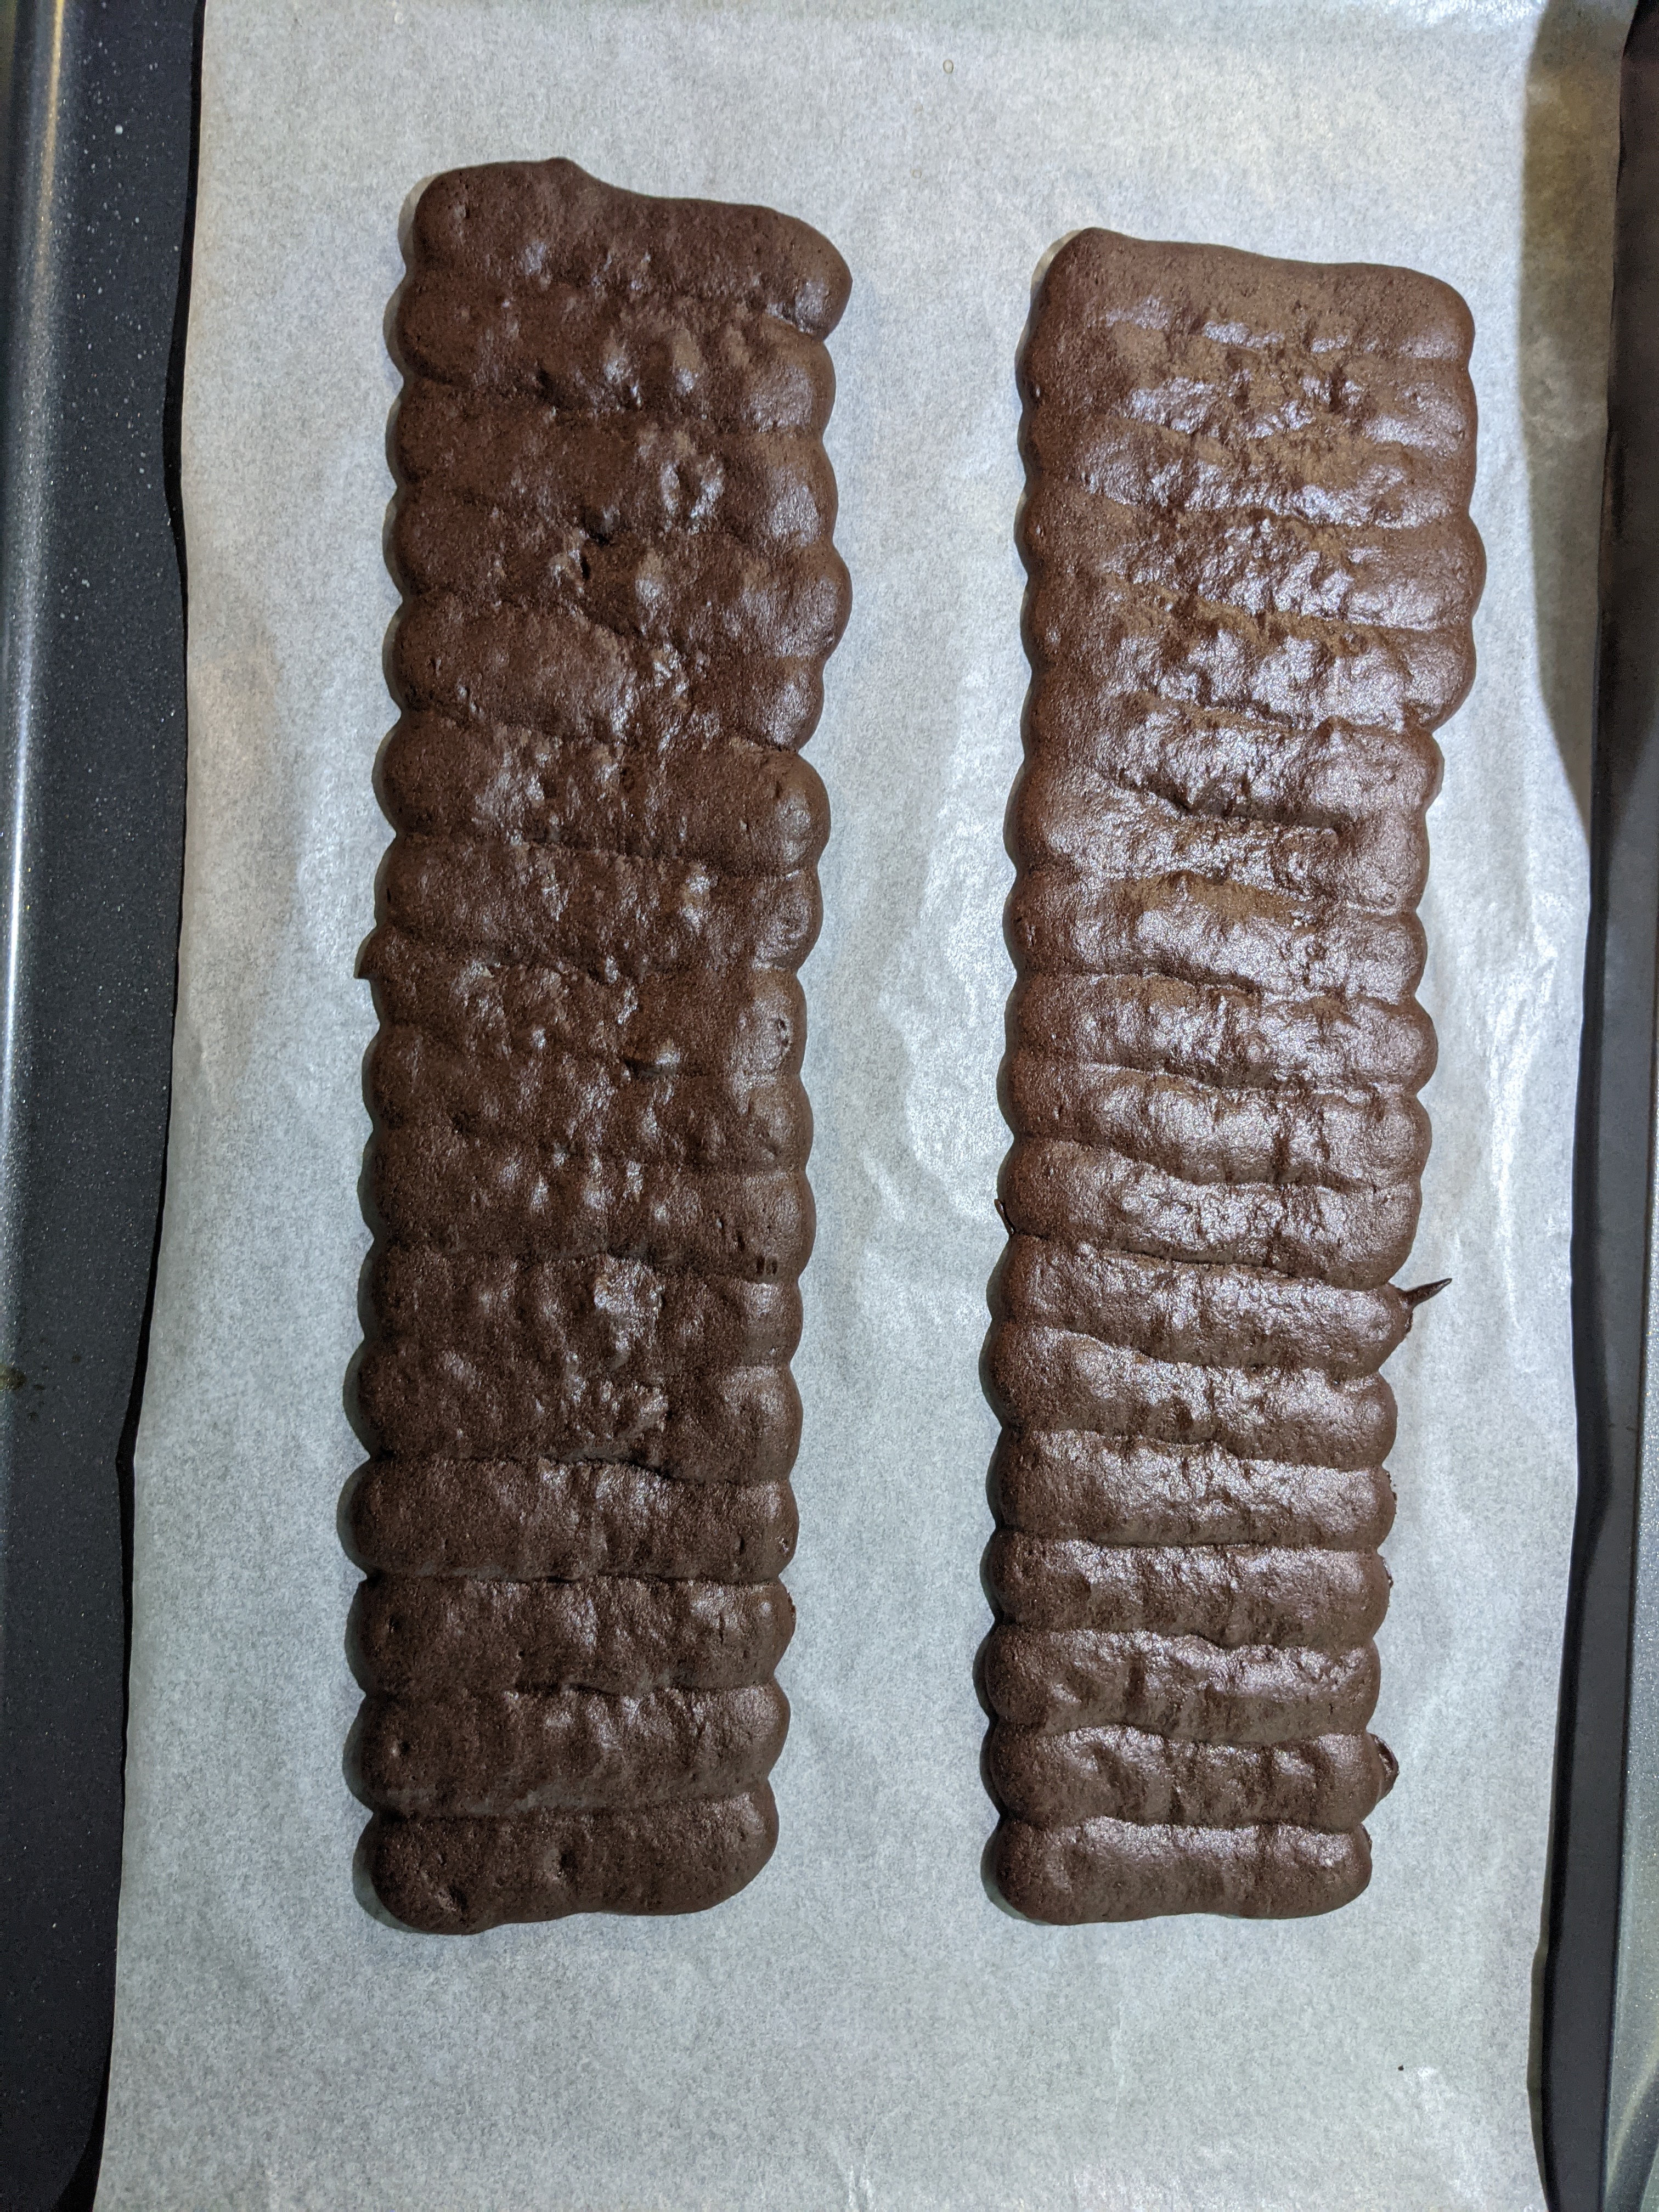

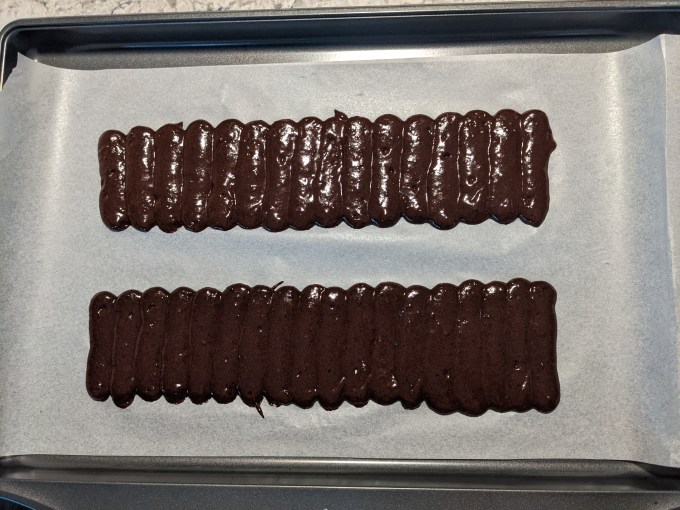
The sponge batter is piped into touching lady fingers onto a template prepared on parchment paper. There was enough leftover batter that I could have piped into a disc for the base instead of the cookie crumbs. Just a note for any bakers out there who might be looking to make this with fewer components and less waste. In my case, I piped the leftovers into a large rectangle and baked it, but I didn’t end up using it for anything. I just wasn’t inspired enough by chocolate lady fingers to make anything else with them. After futzing about with the mousses for most of the day, I think I just had no interest in any of the leftover components, and that is my prerogative.
Step 4: Assembly 1
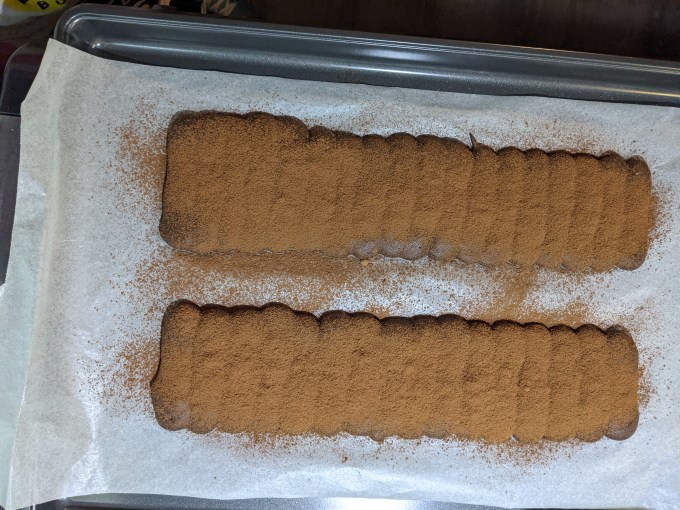
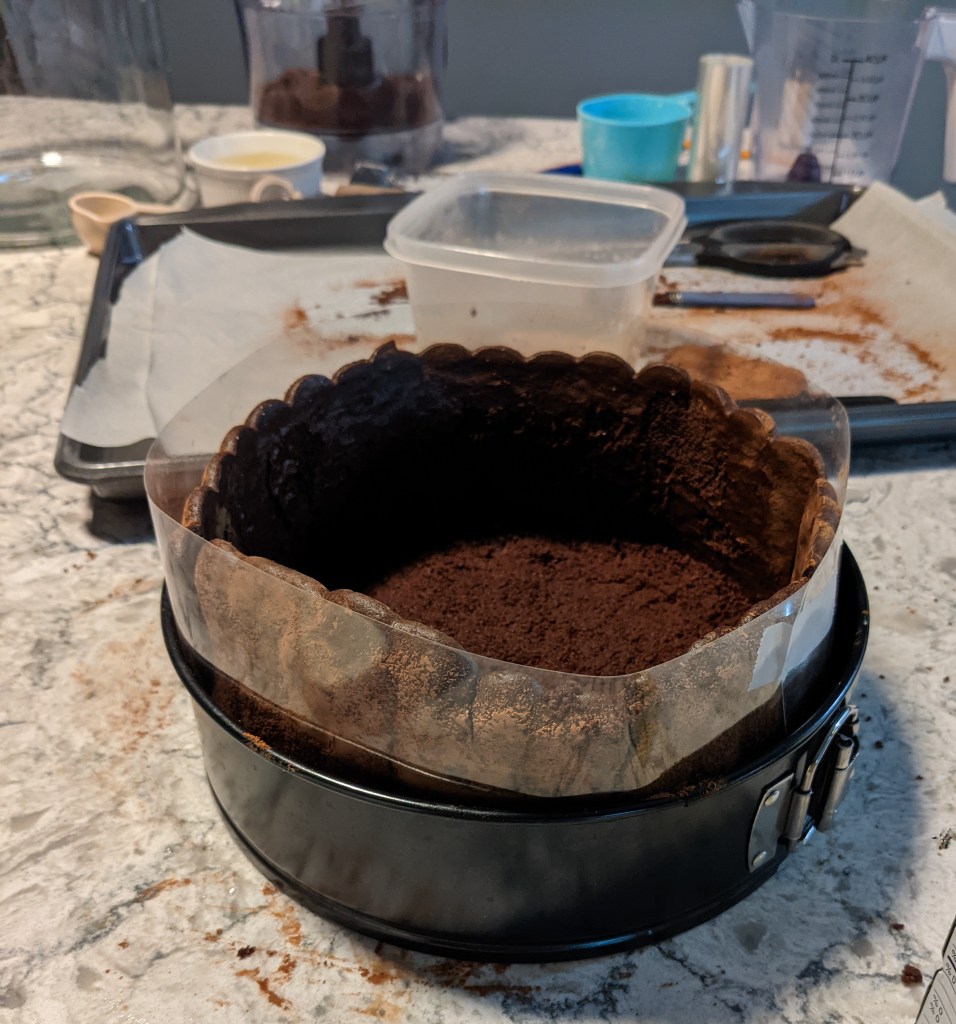
Once the lady fingers are cooled, they are dusted with cocoa and placed around the inside edge of a springform pan lined with acetate. The lady fingers are trimmed so the edges between the two panels of sponge appear seamless.
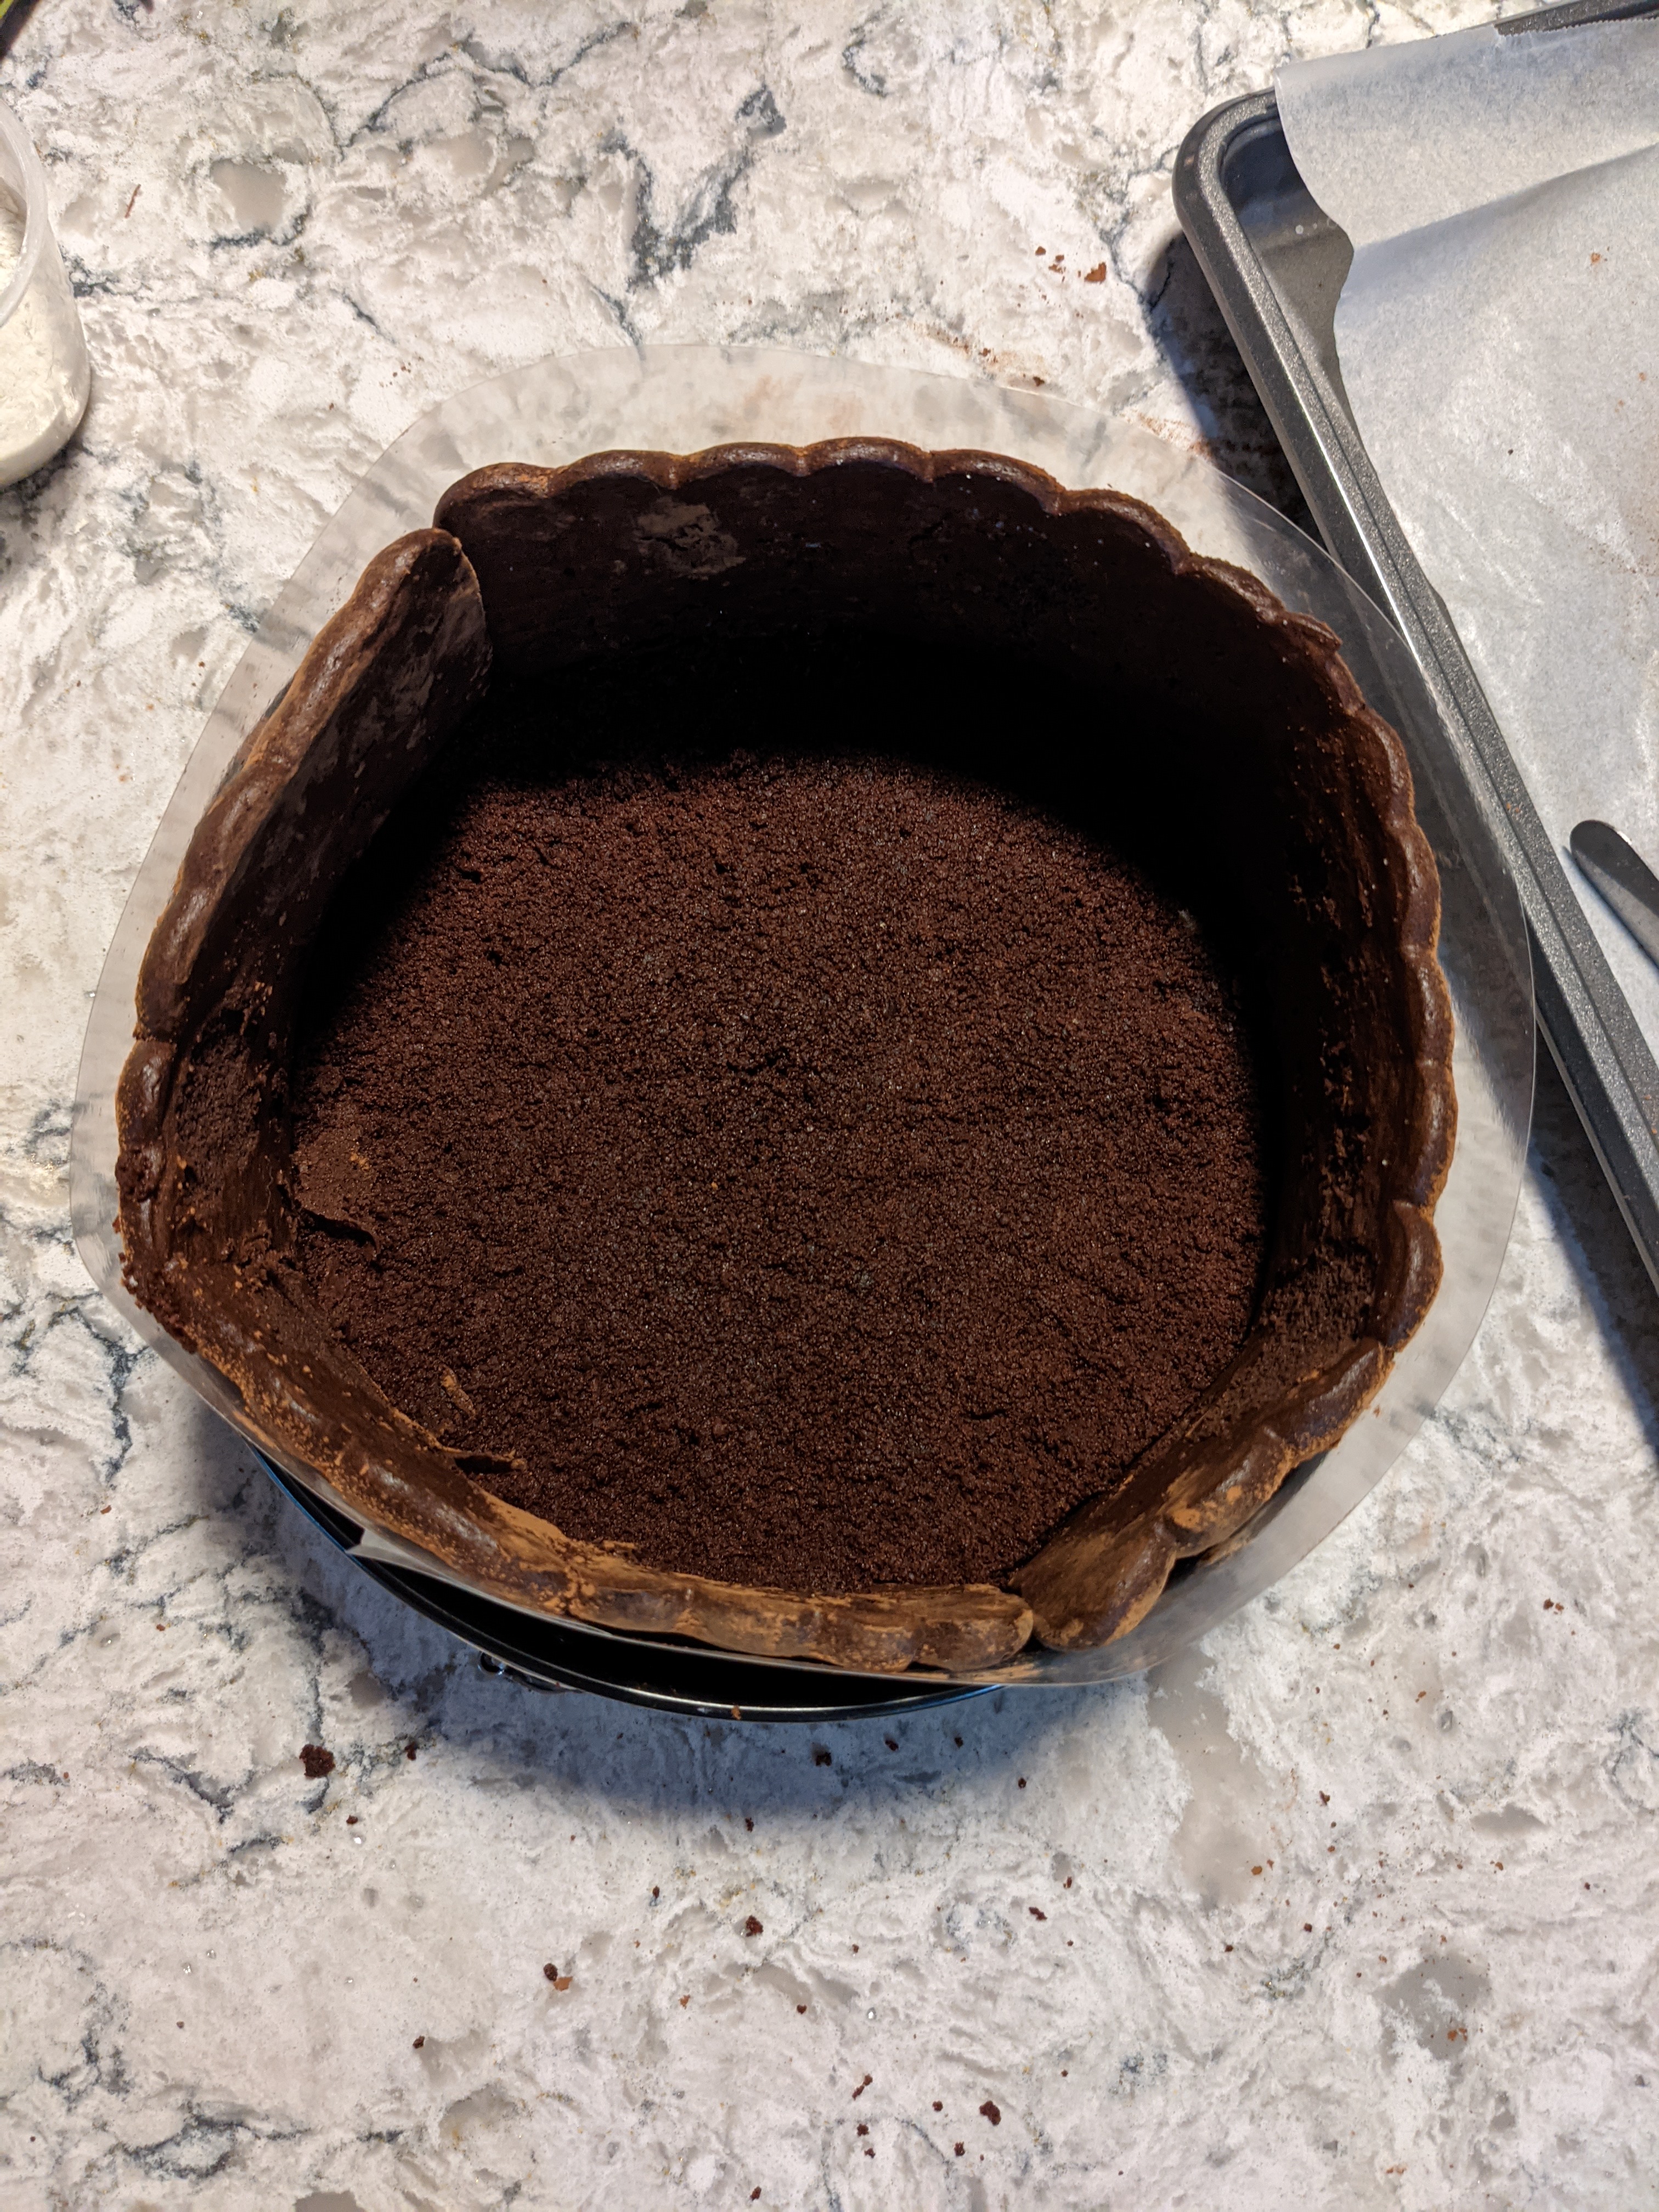

A few tablespoons of melted butter are combined with the chocolate cookie crumbs. This mixture is pressed into the bottom of the pan to create a base. The prepared pan is put in the freezer to chill until needed.
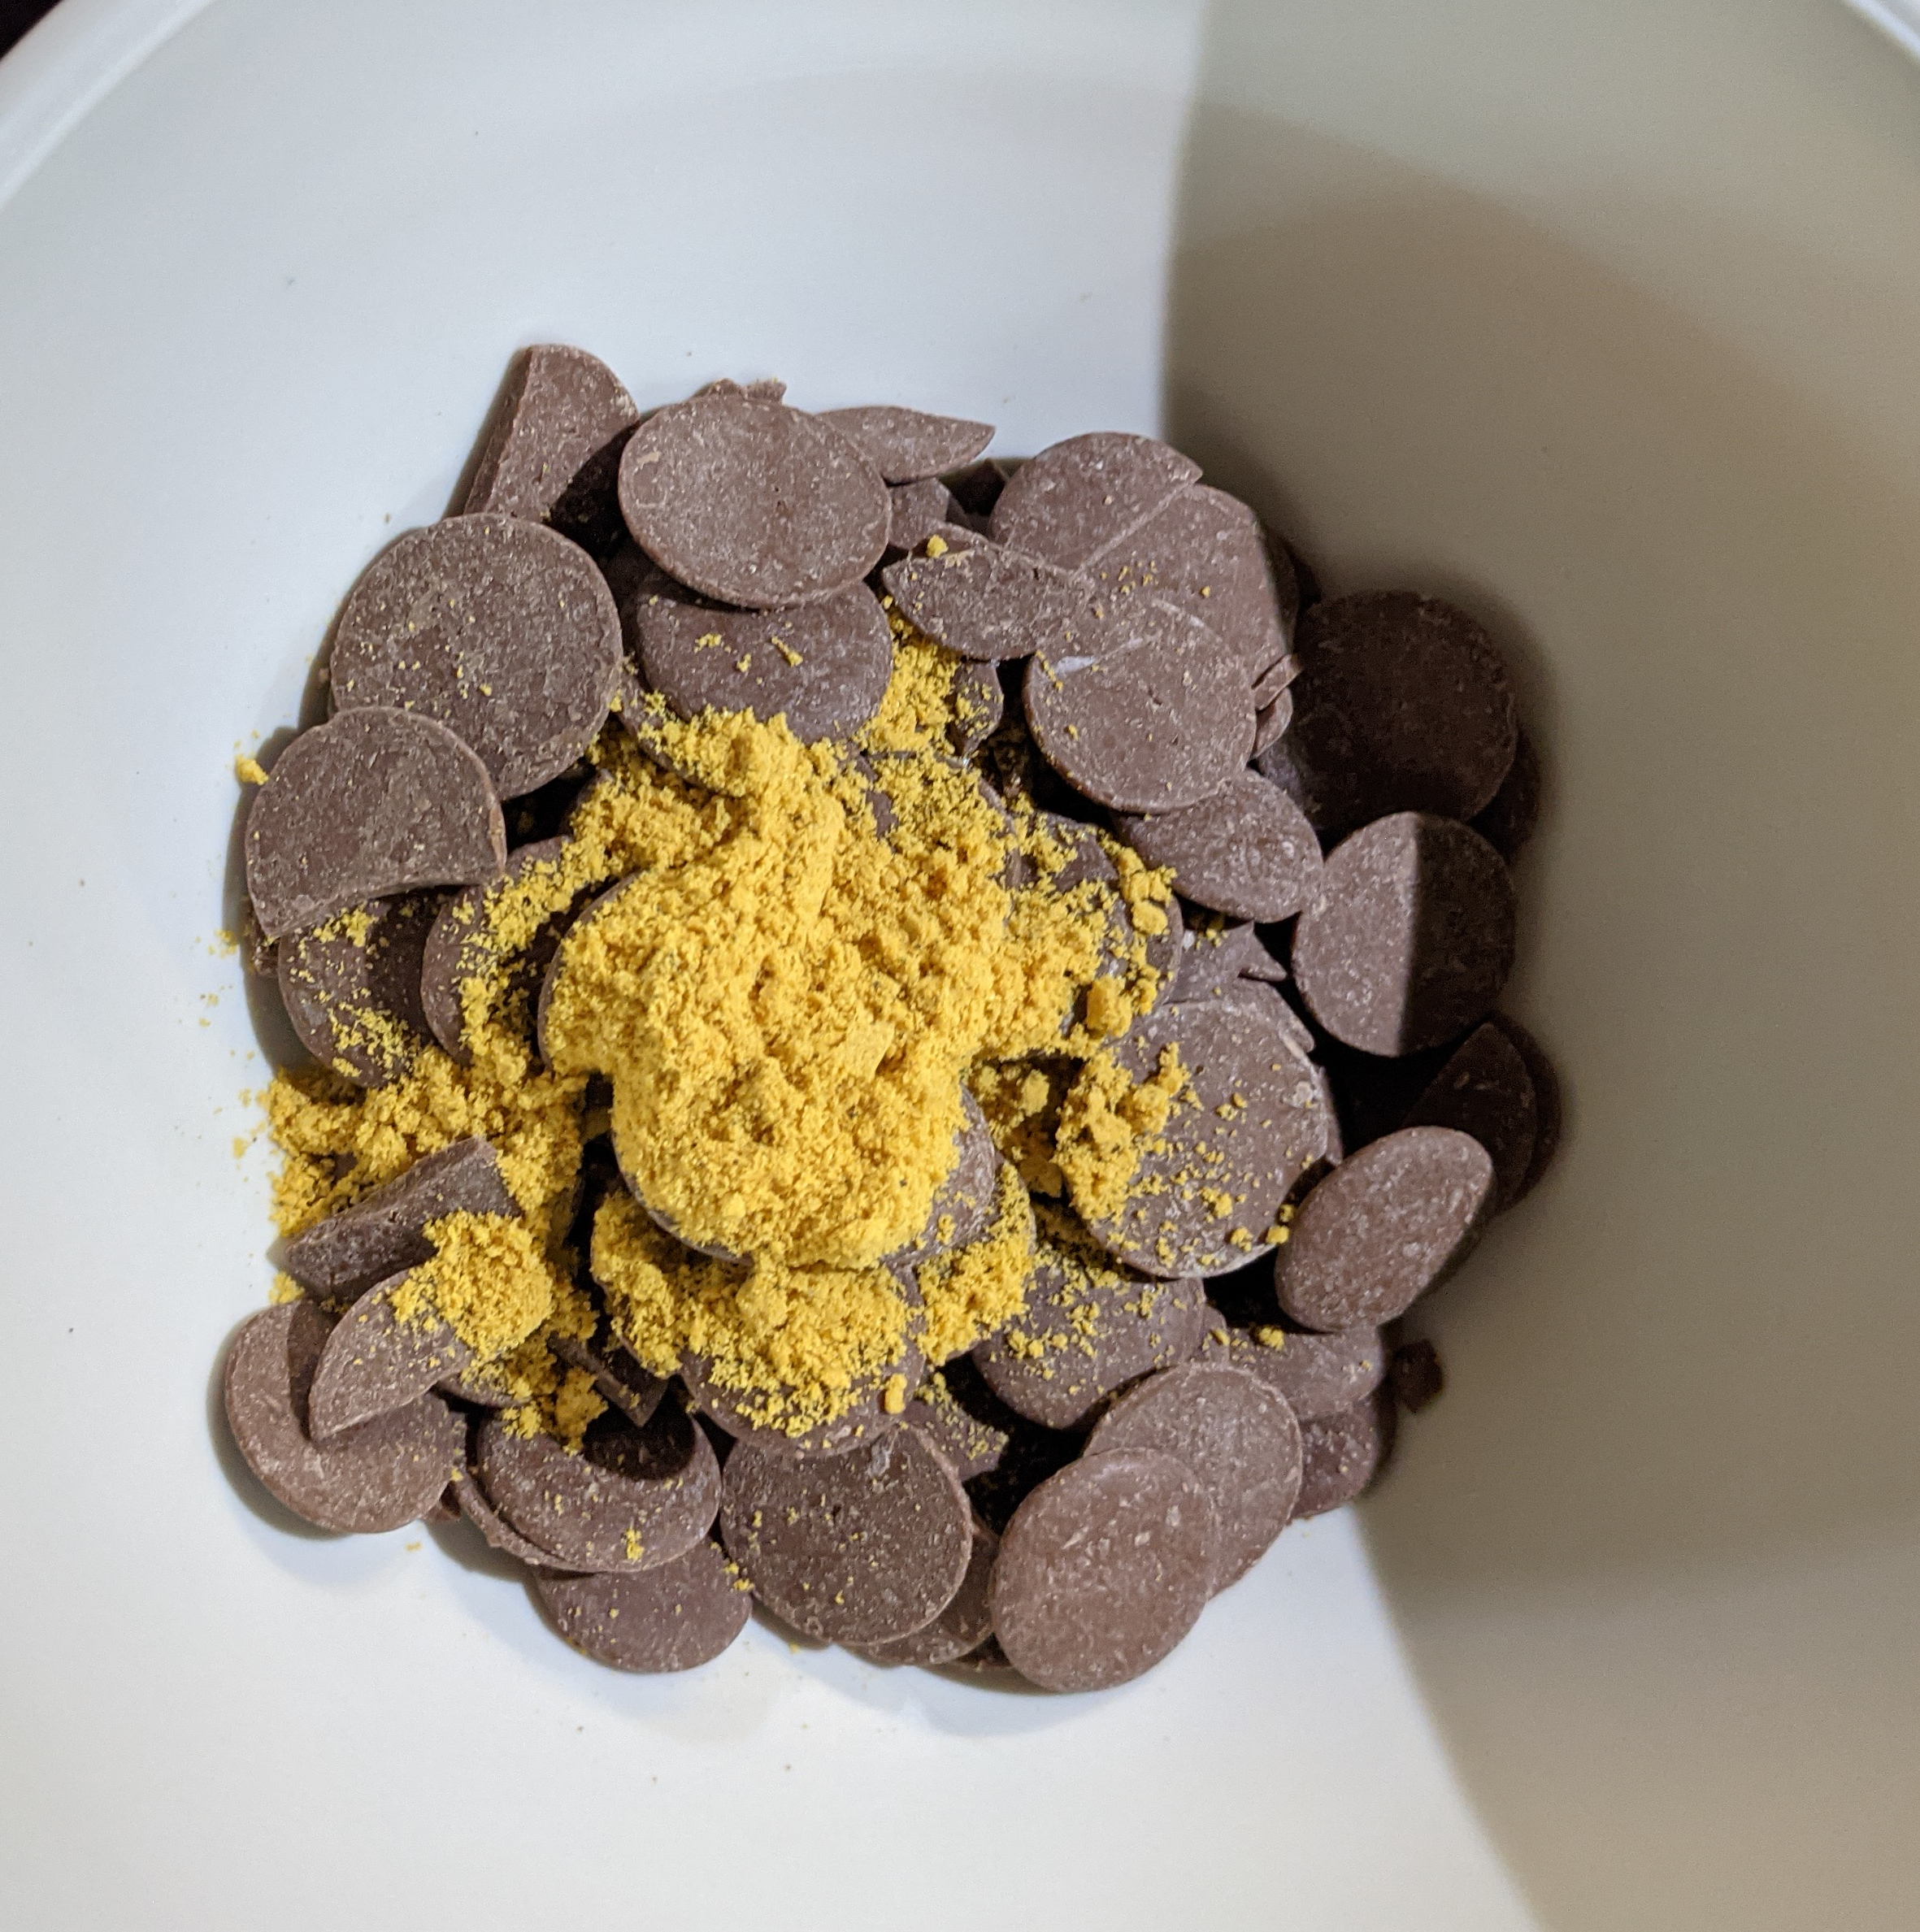
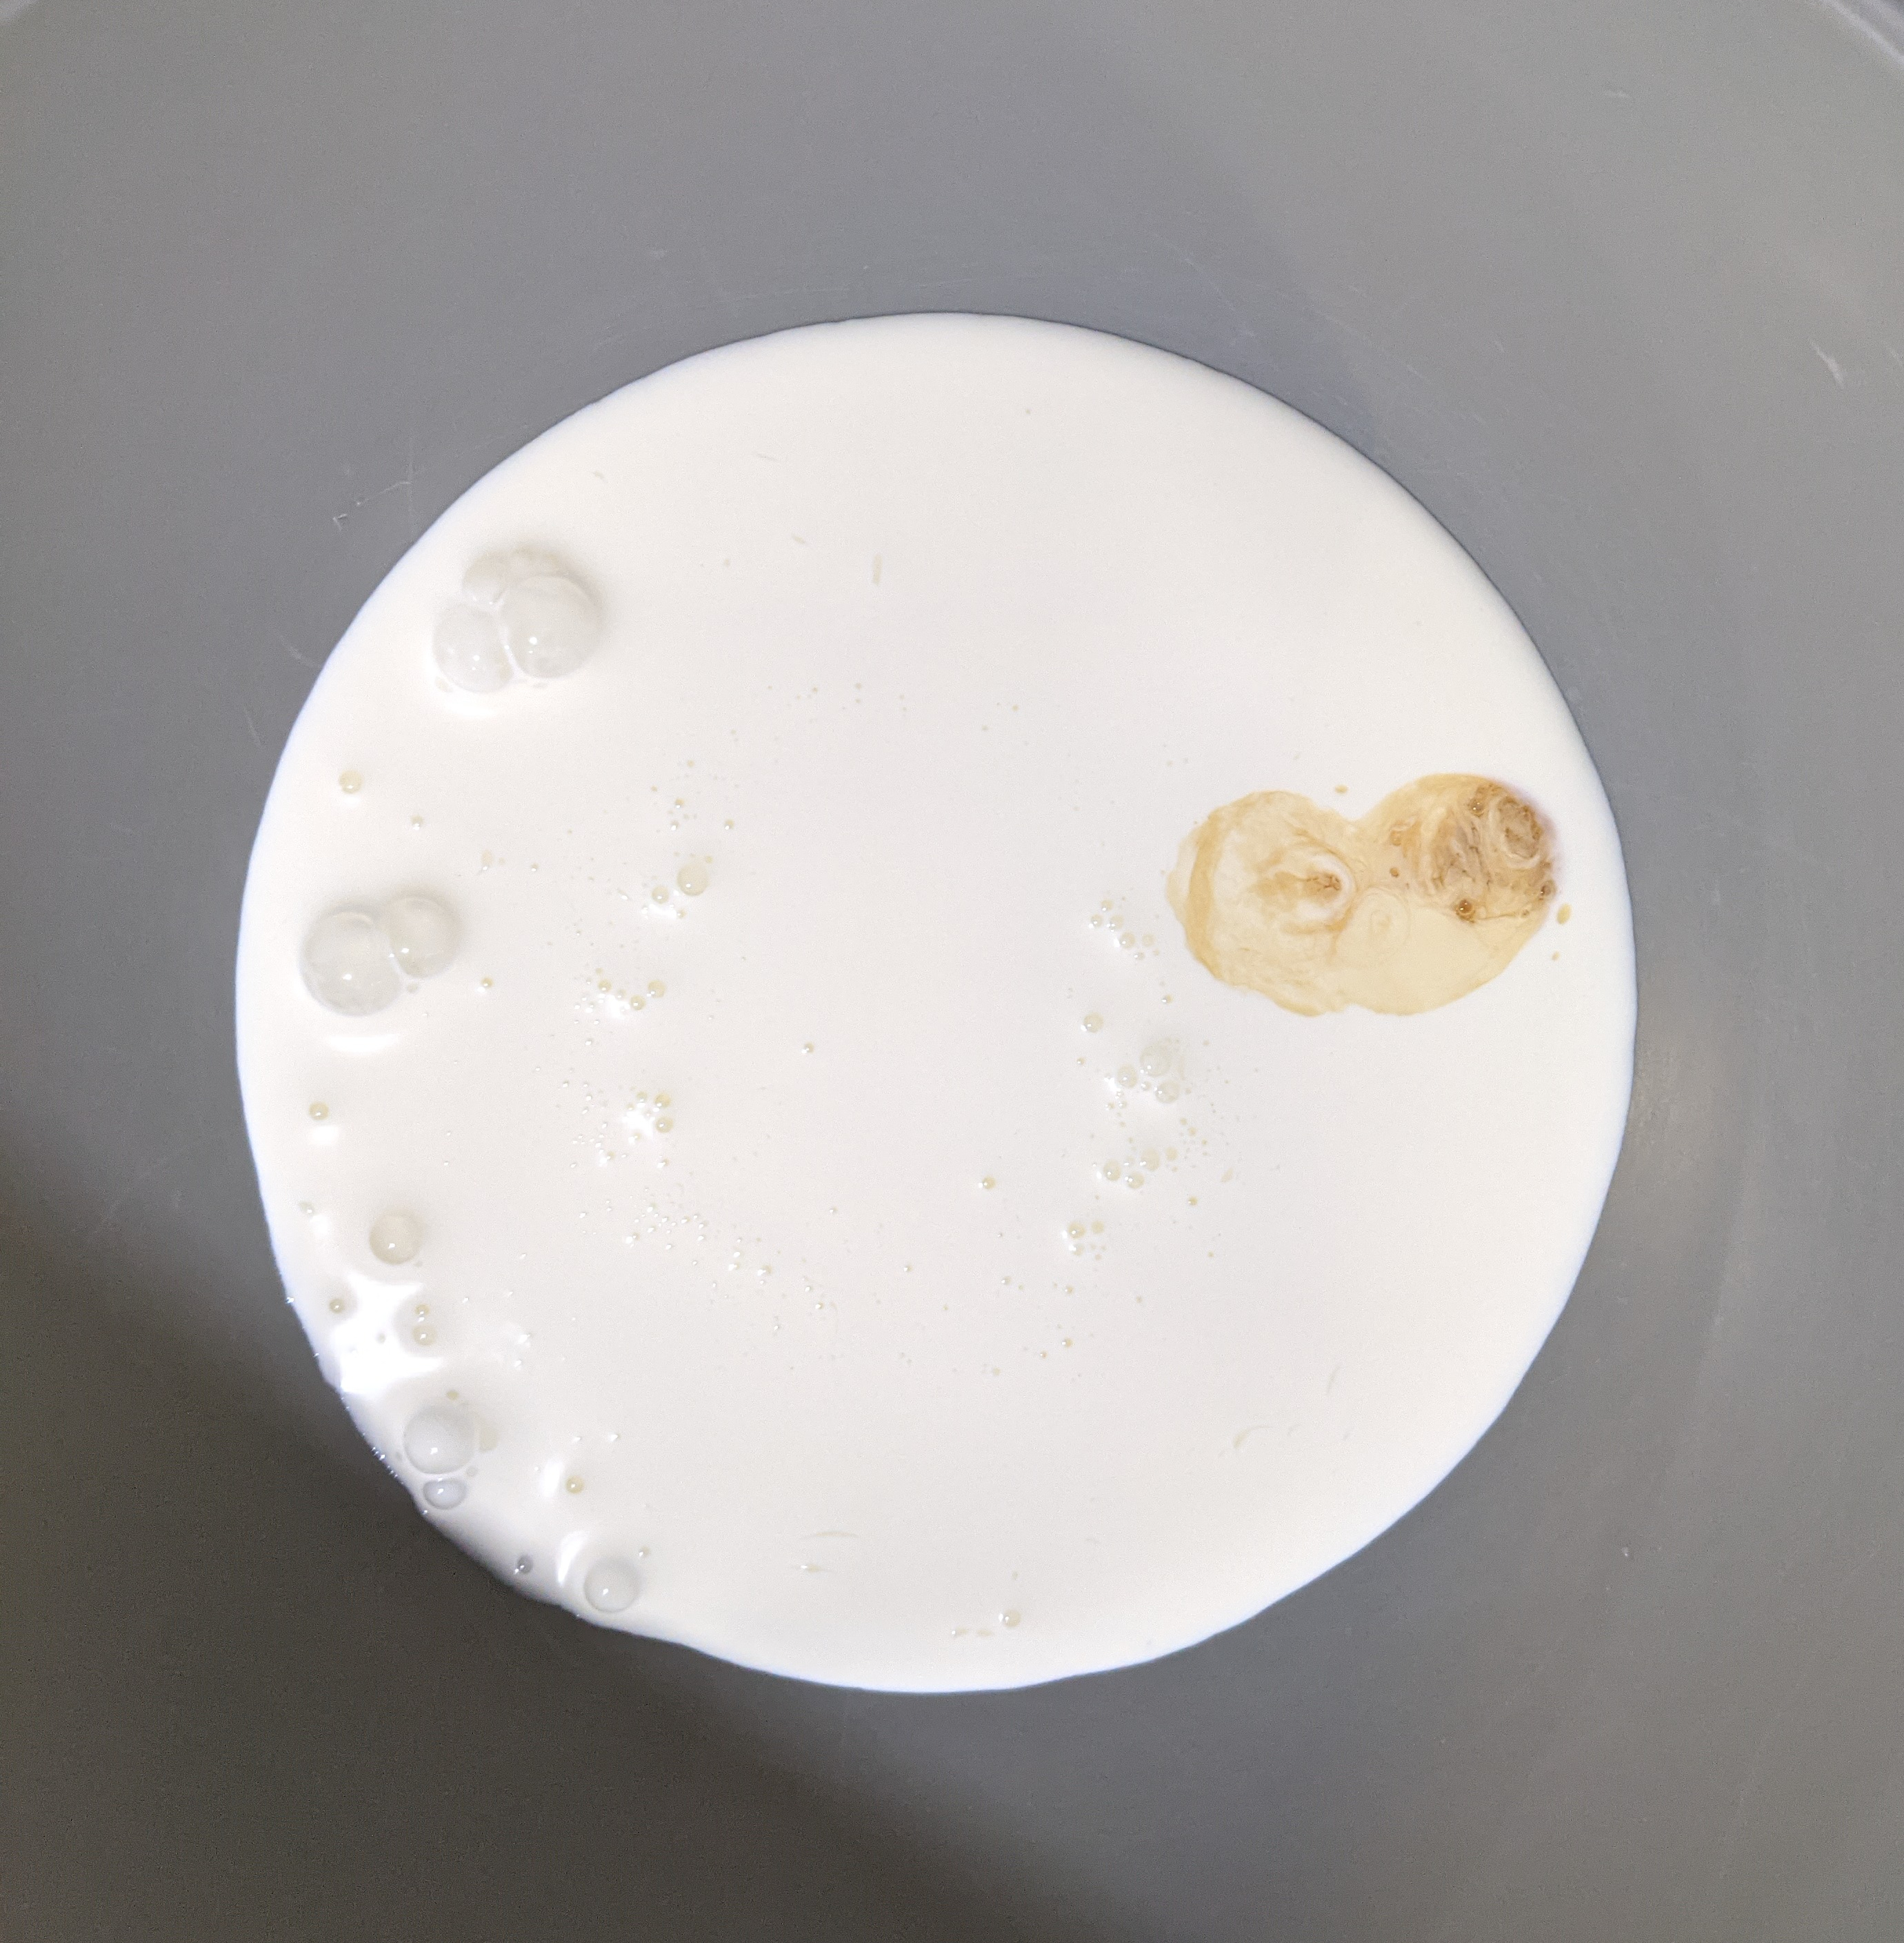
Step 5: Passionfruit Ganache
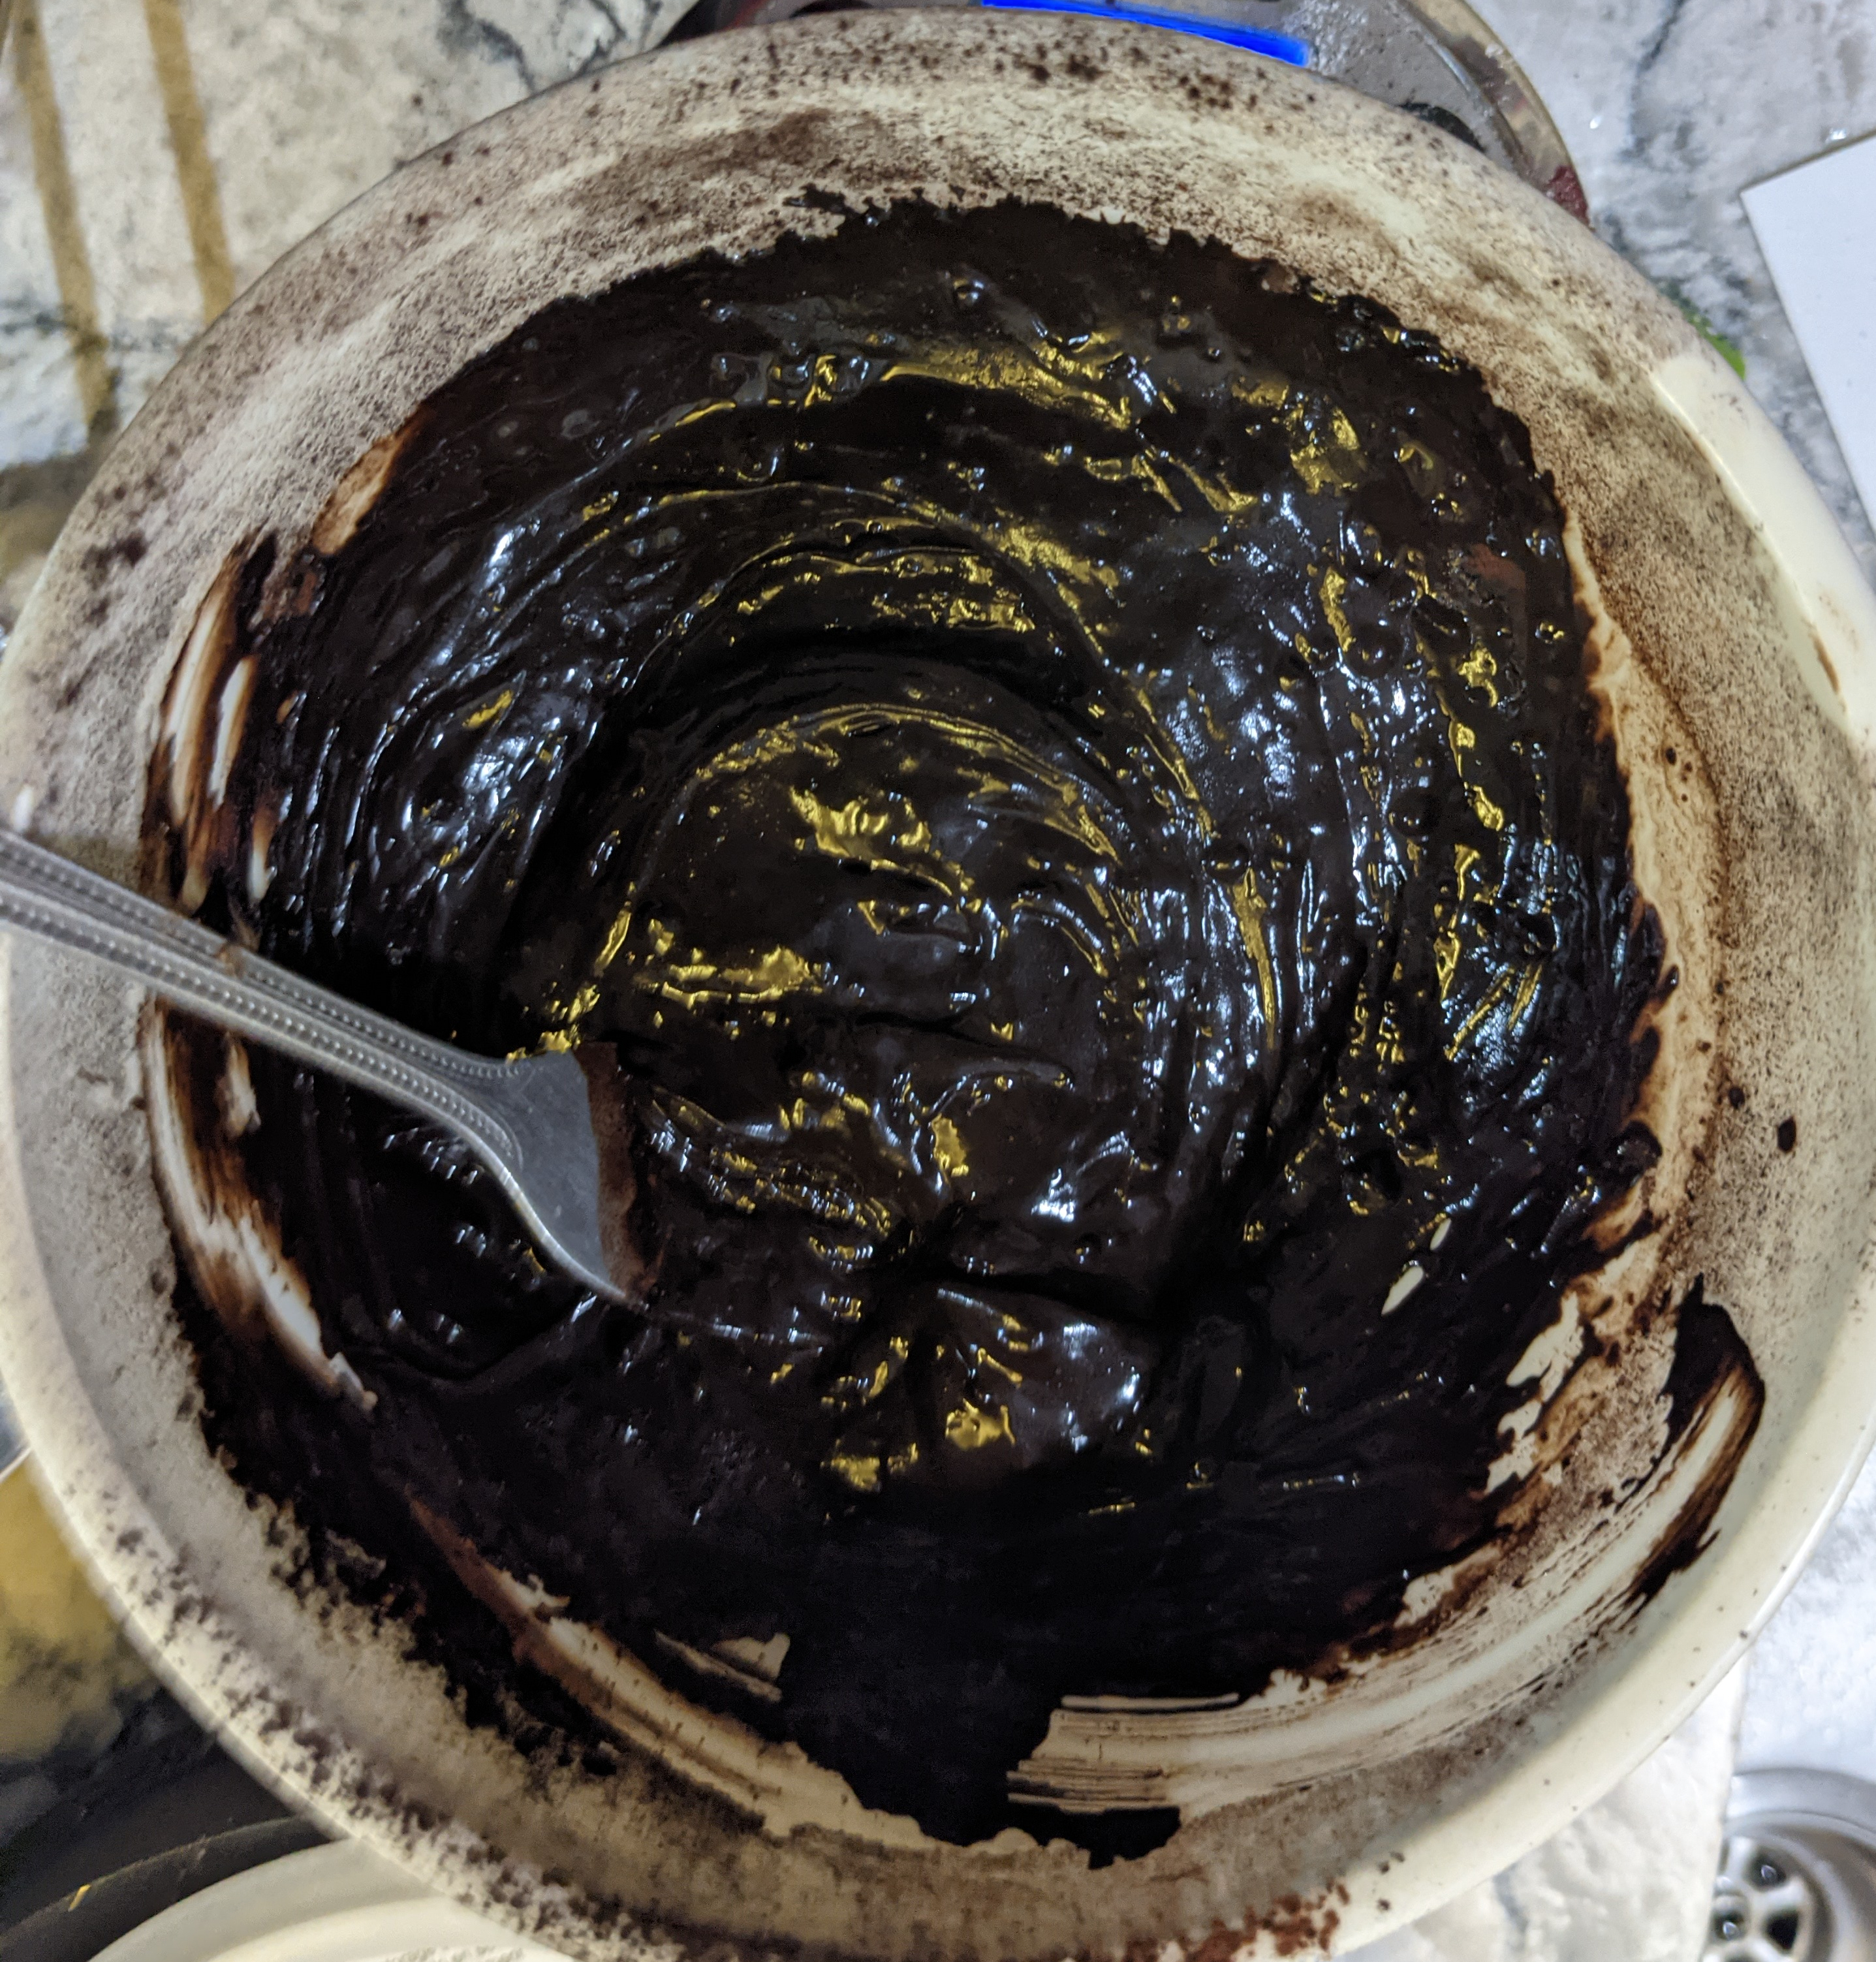
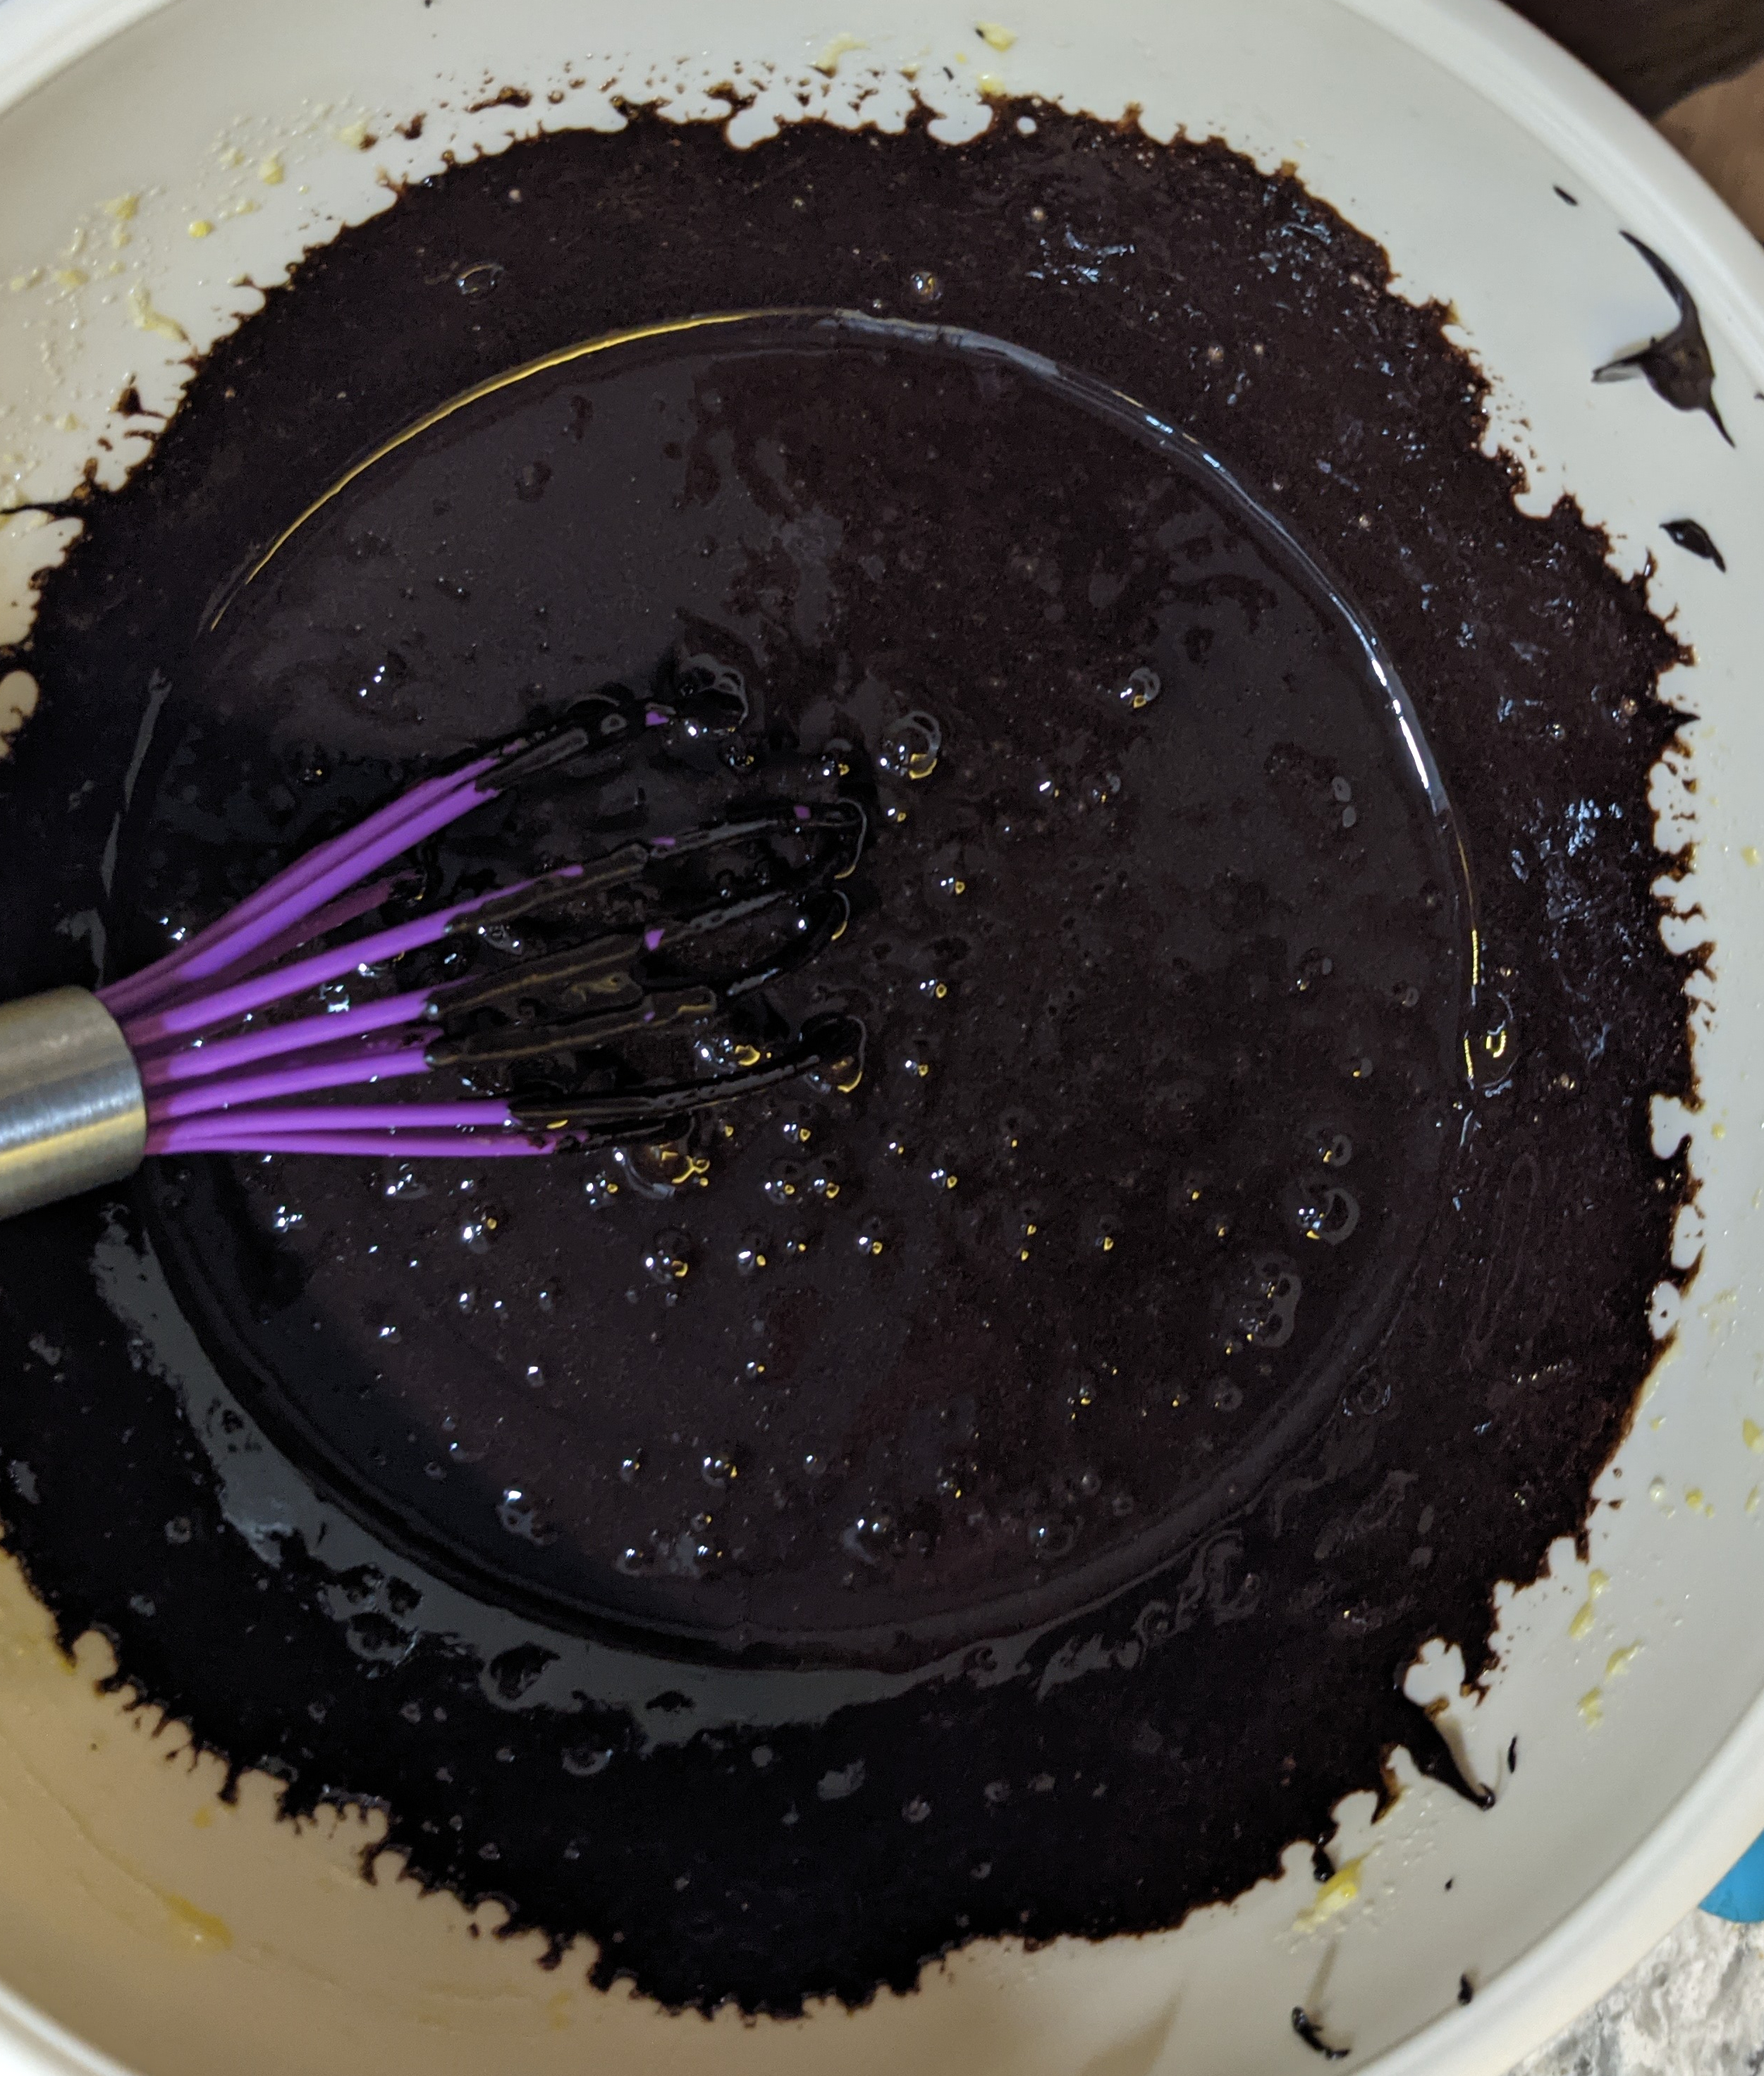
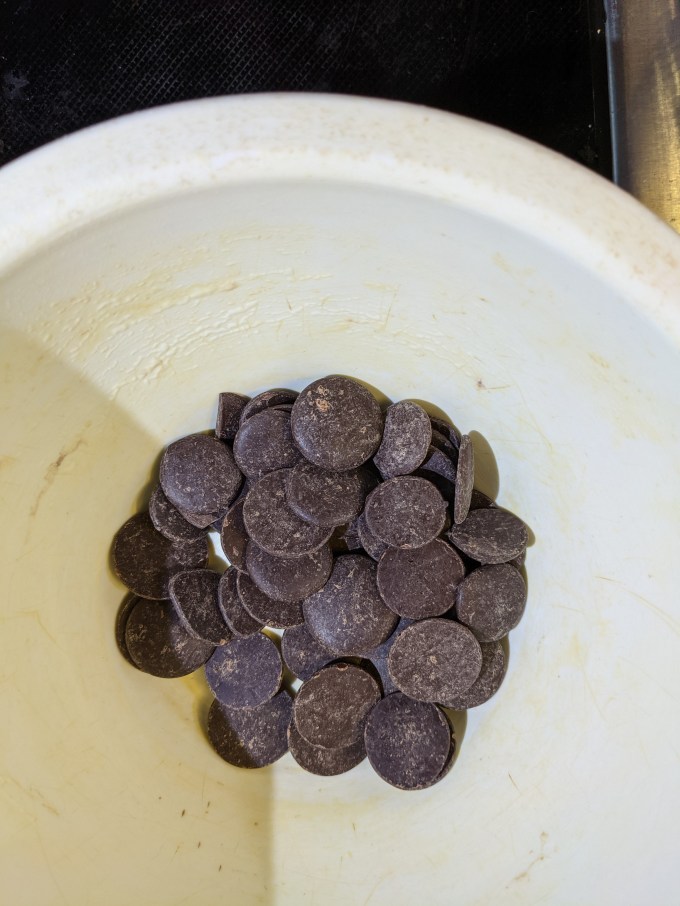
This is the standard ganache method of heating cream and pouring it over milk chocolate callets. Passionfruit powder is added and the whole mixture is stirred until the chocolate melts.

Step 6: Mousses
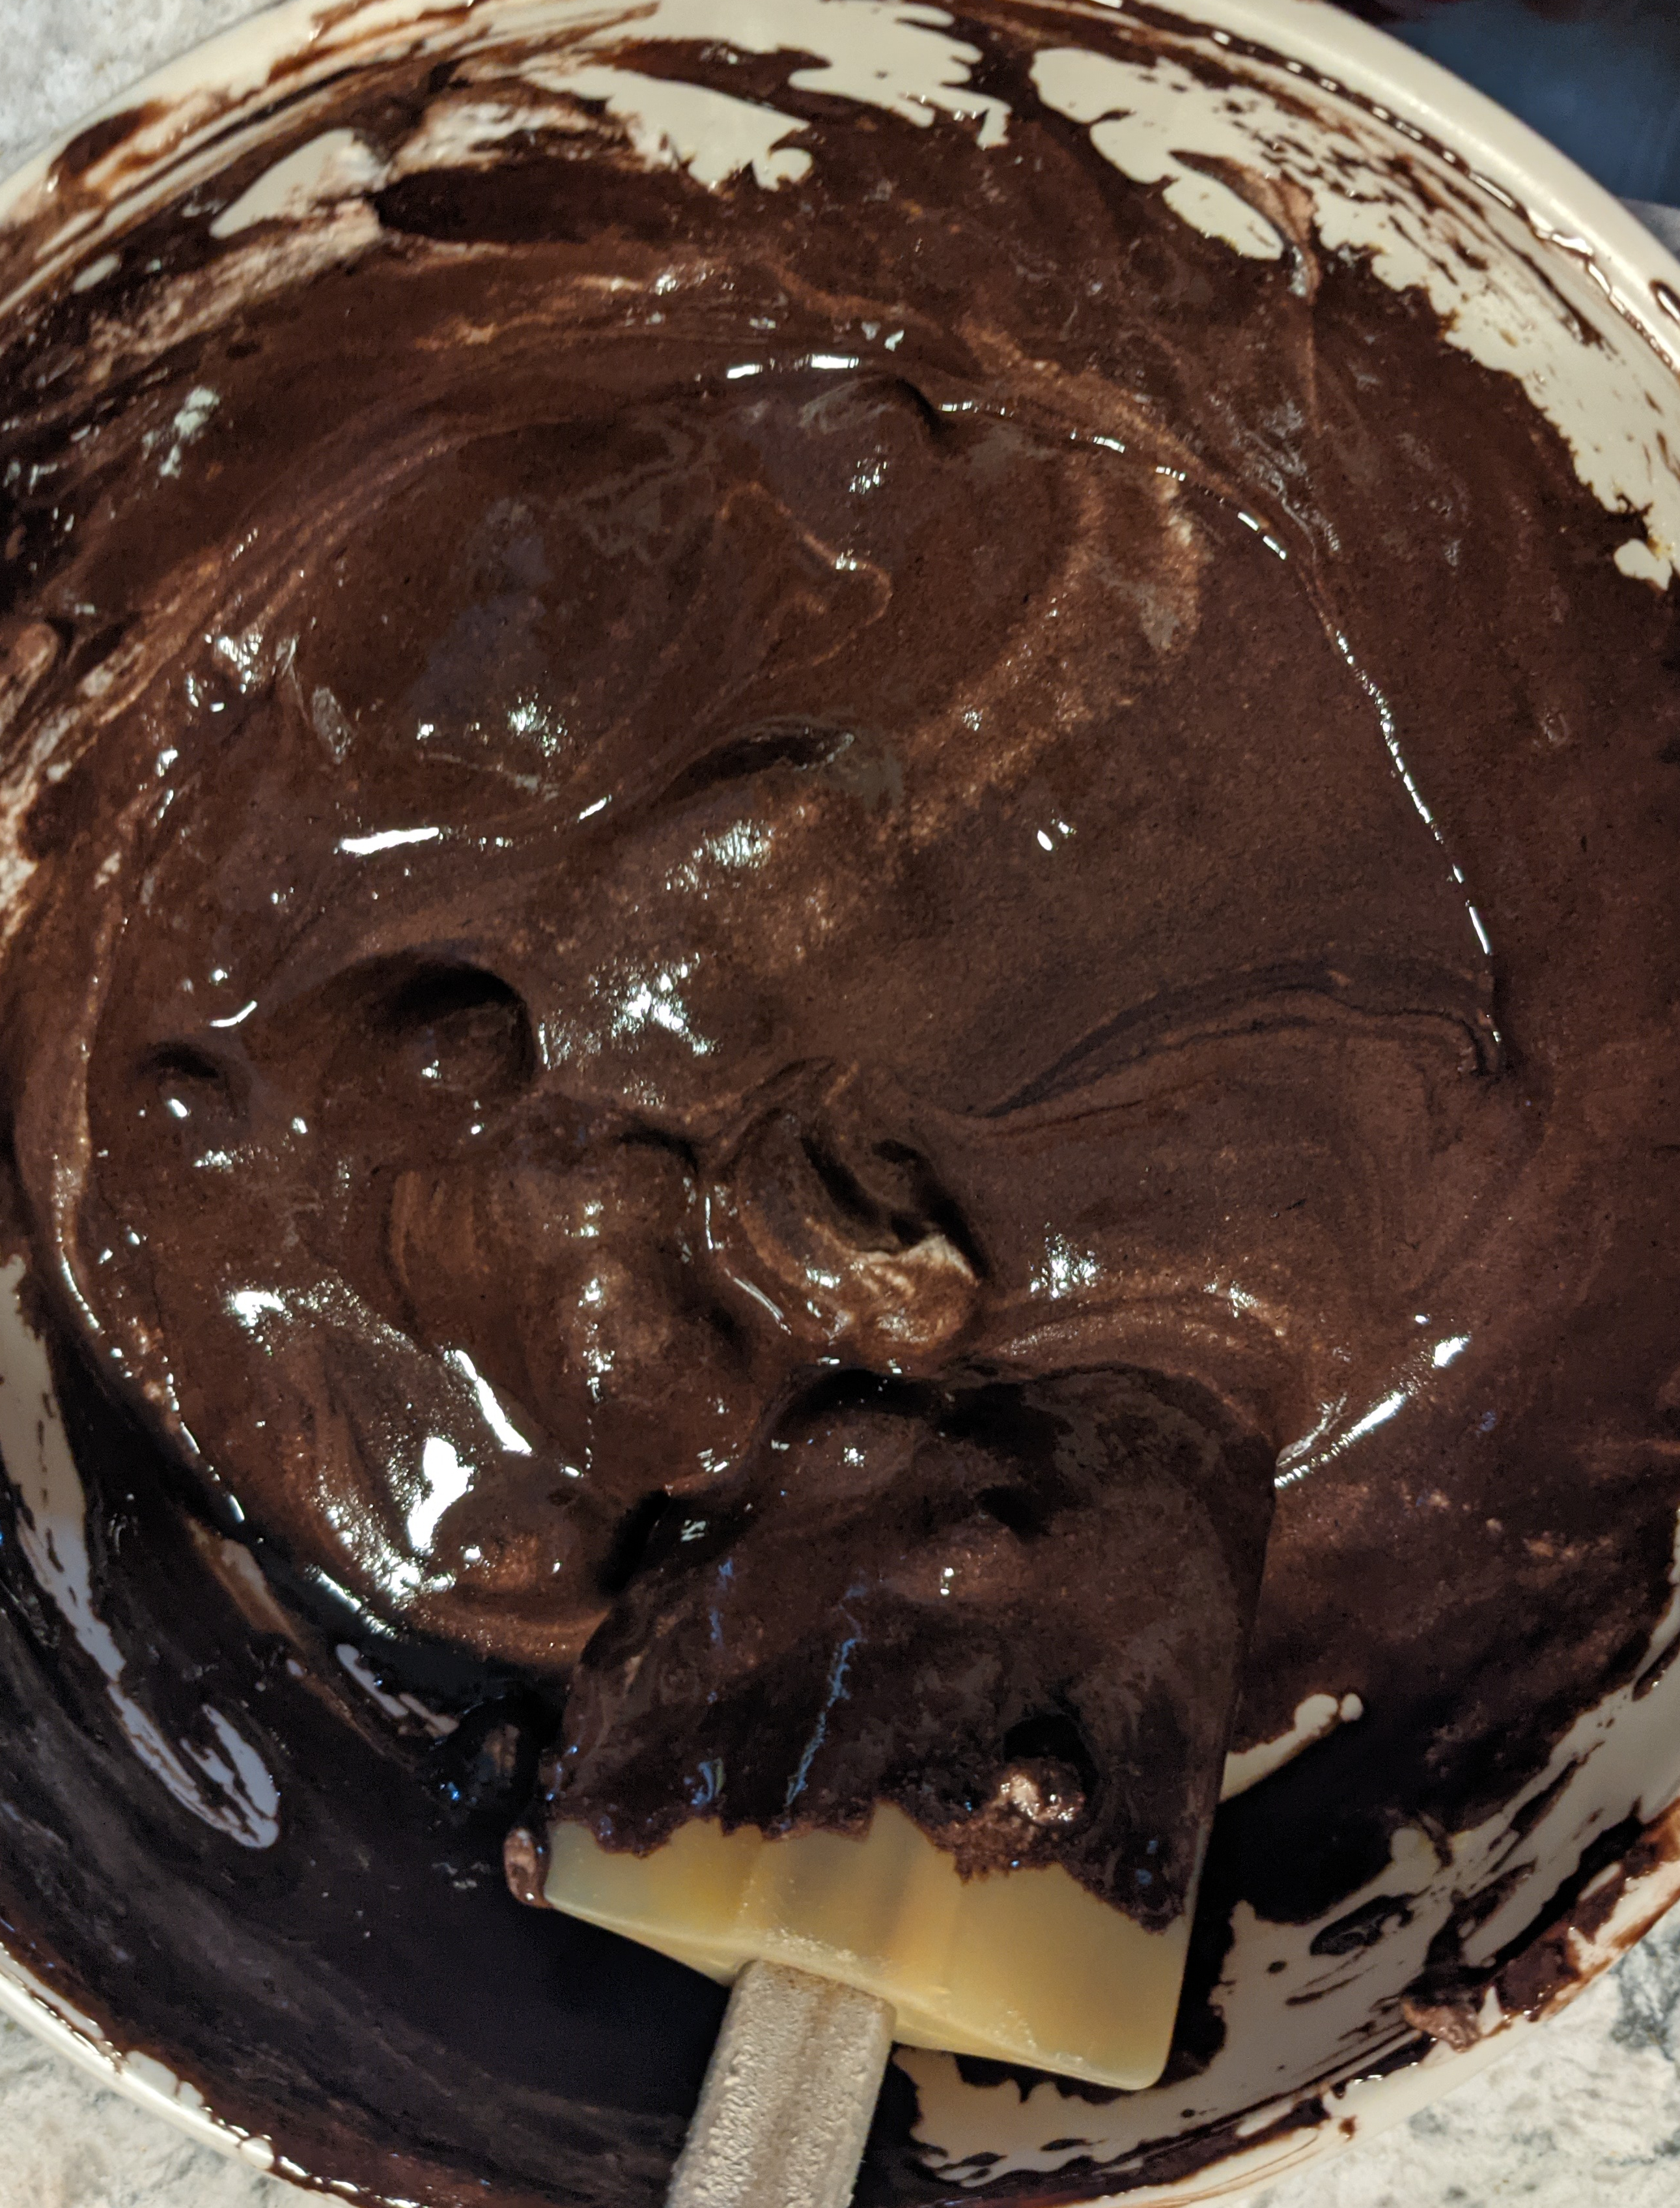
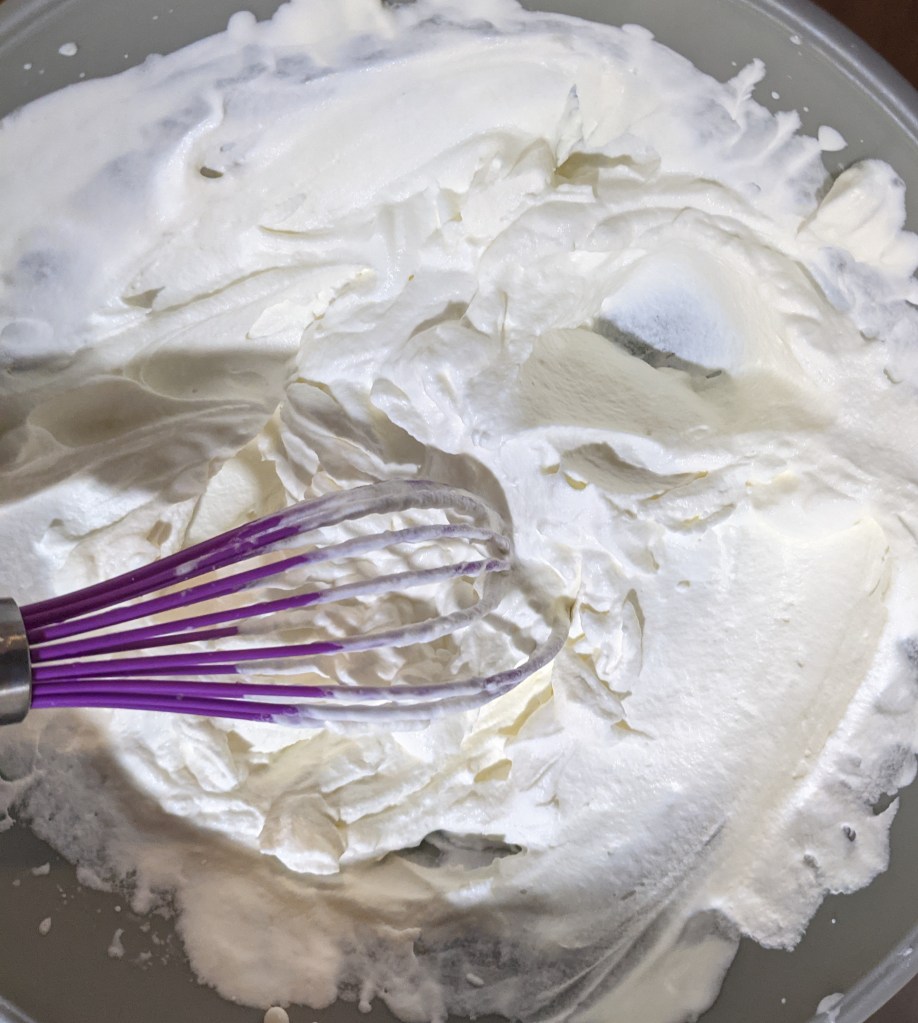
As I mentioned above, the challenge with this method was the mousses. First, heavy cream is whipped to stiff peaks and divided into two. So far so good. Then we get into the inadequate recipe tricky stuff.
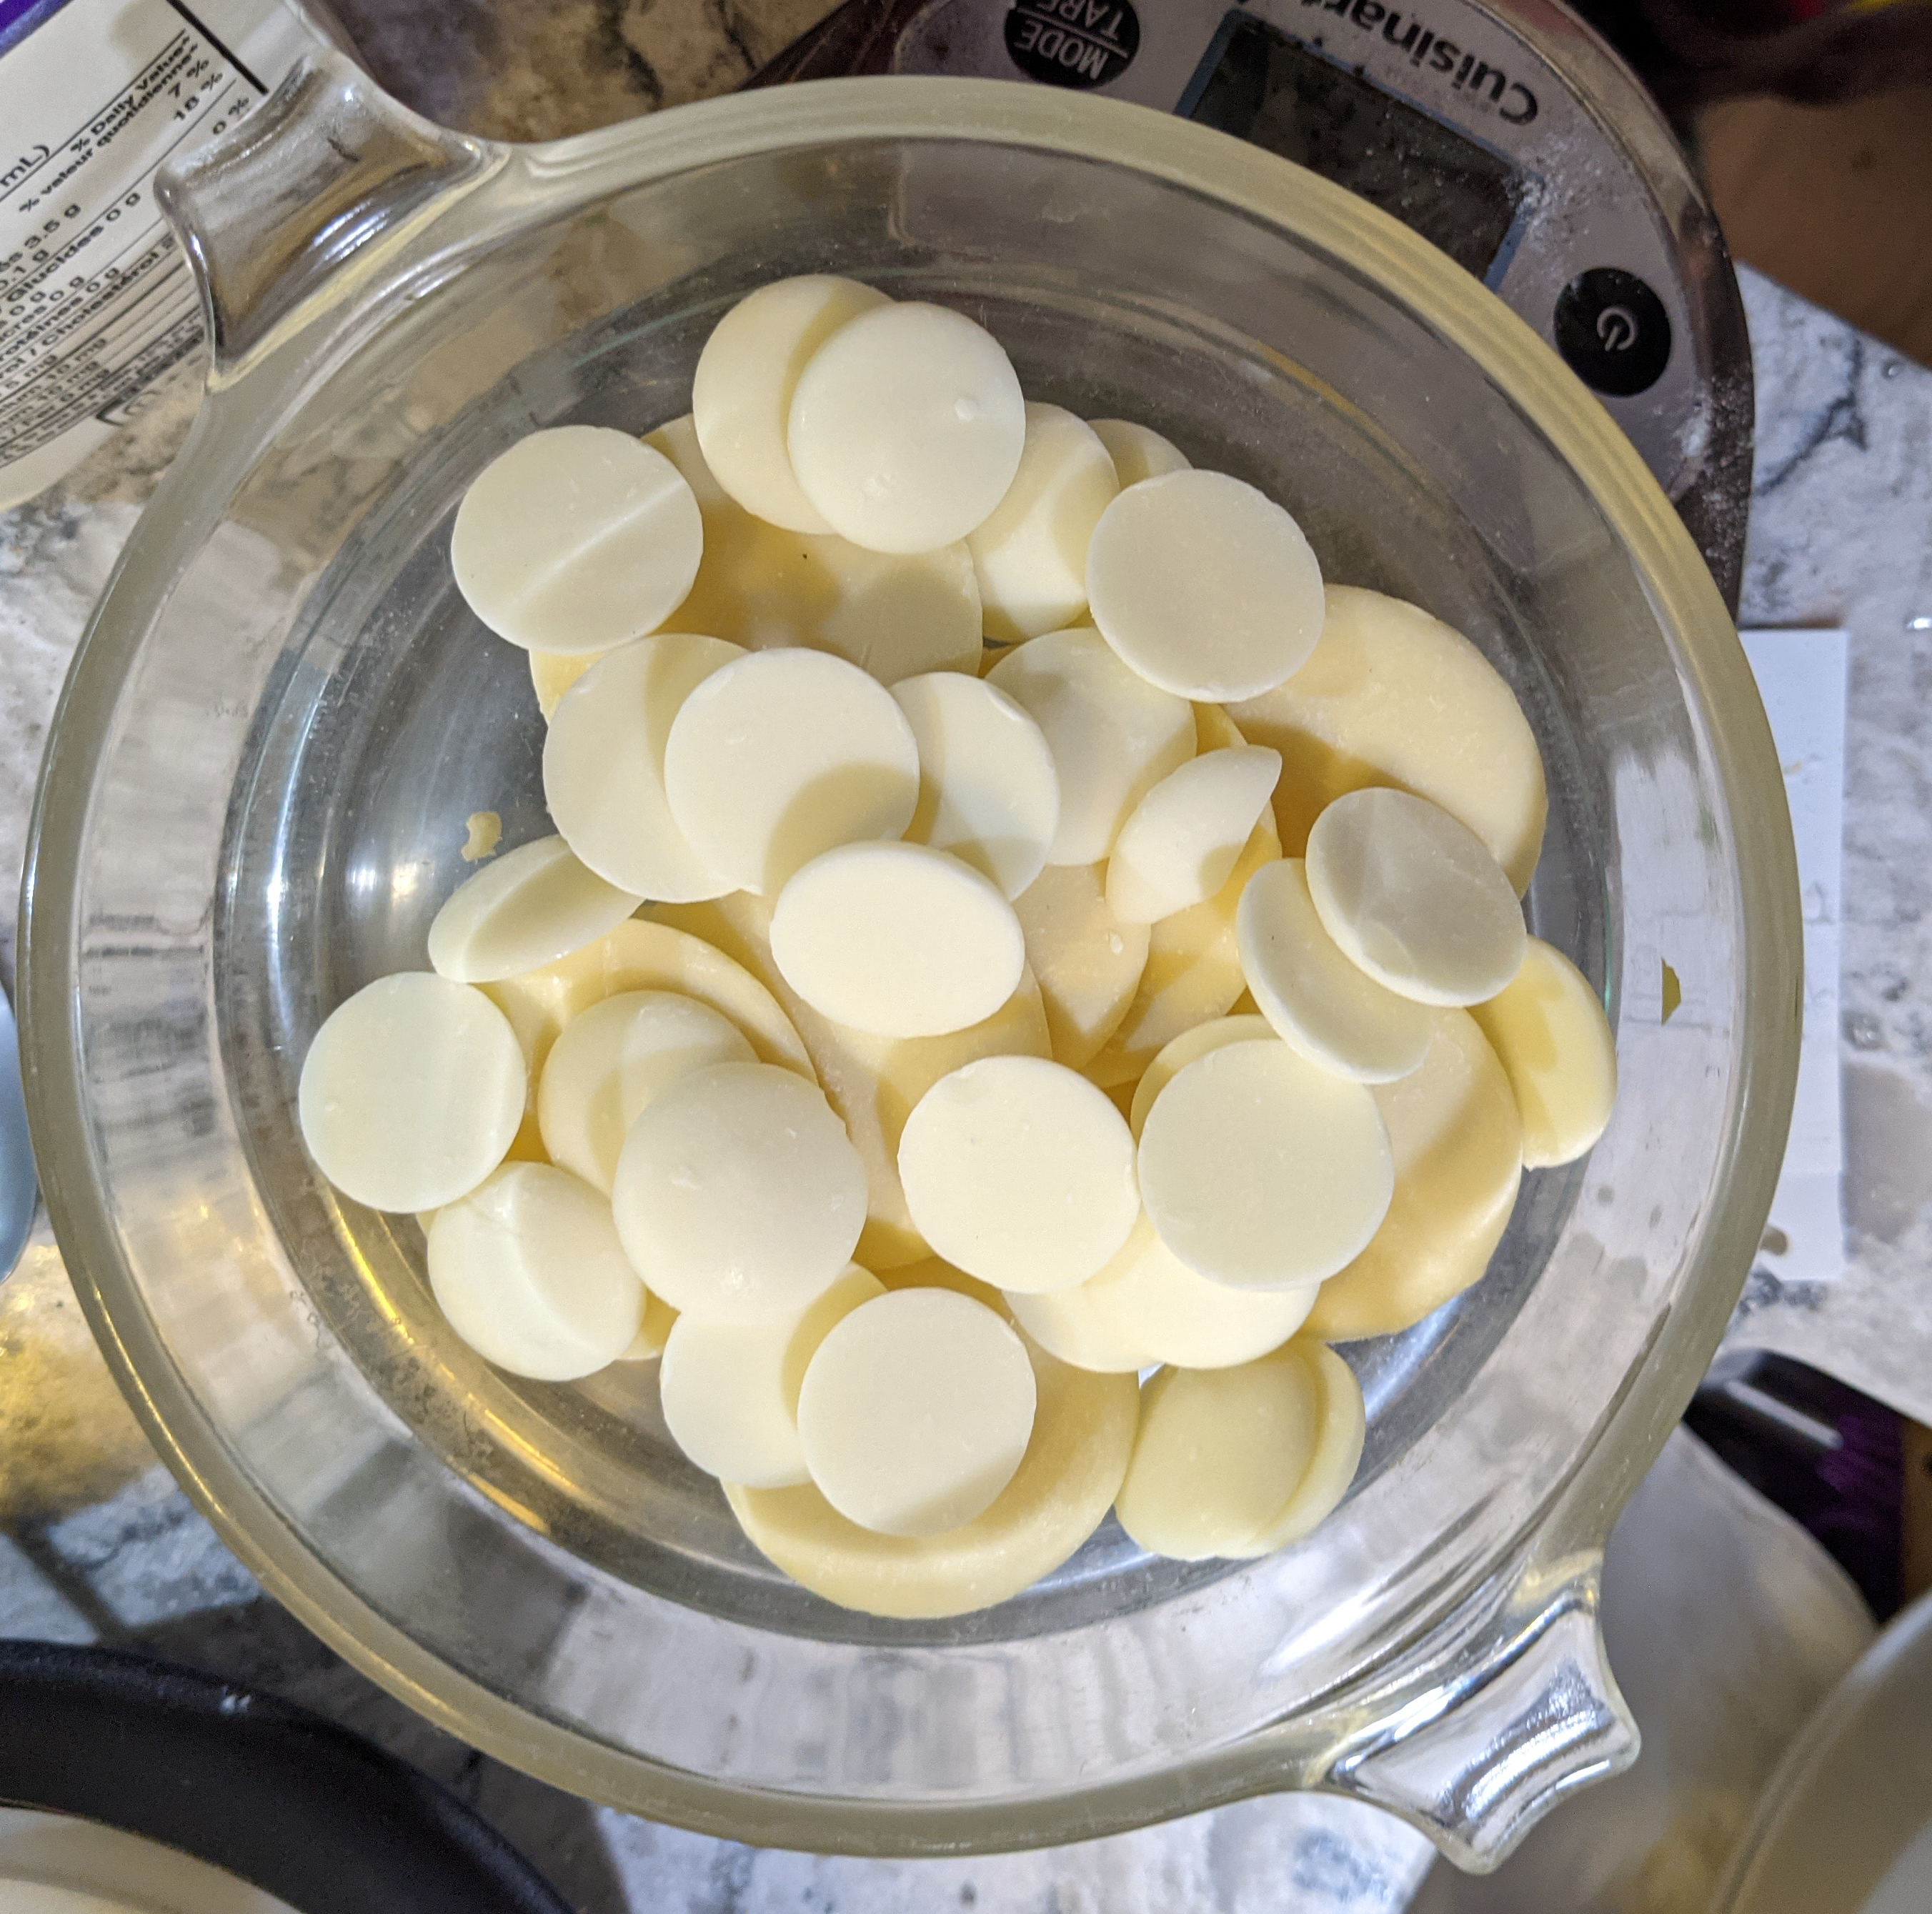
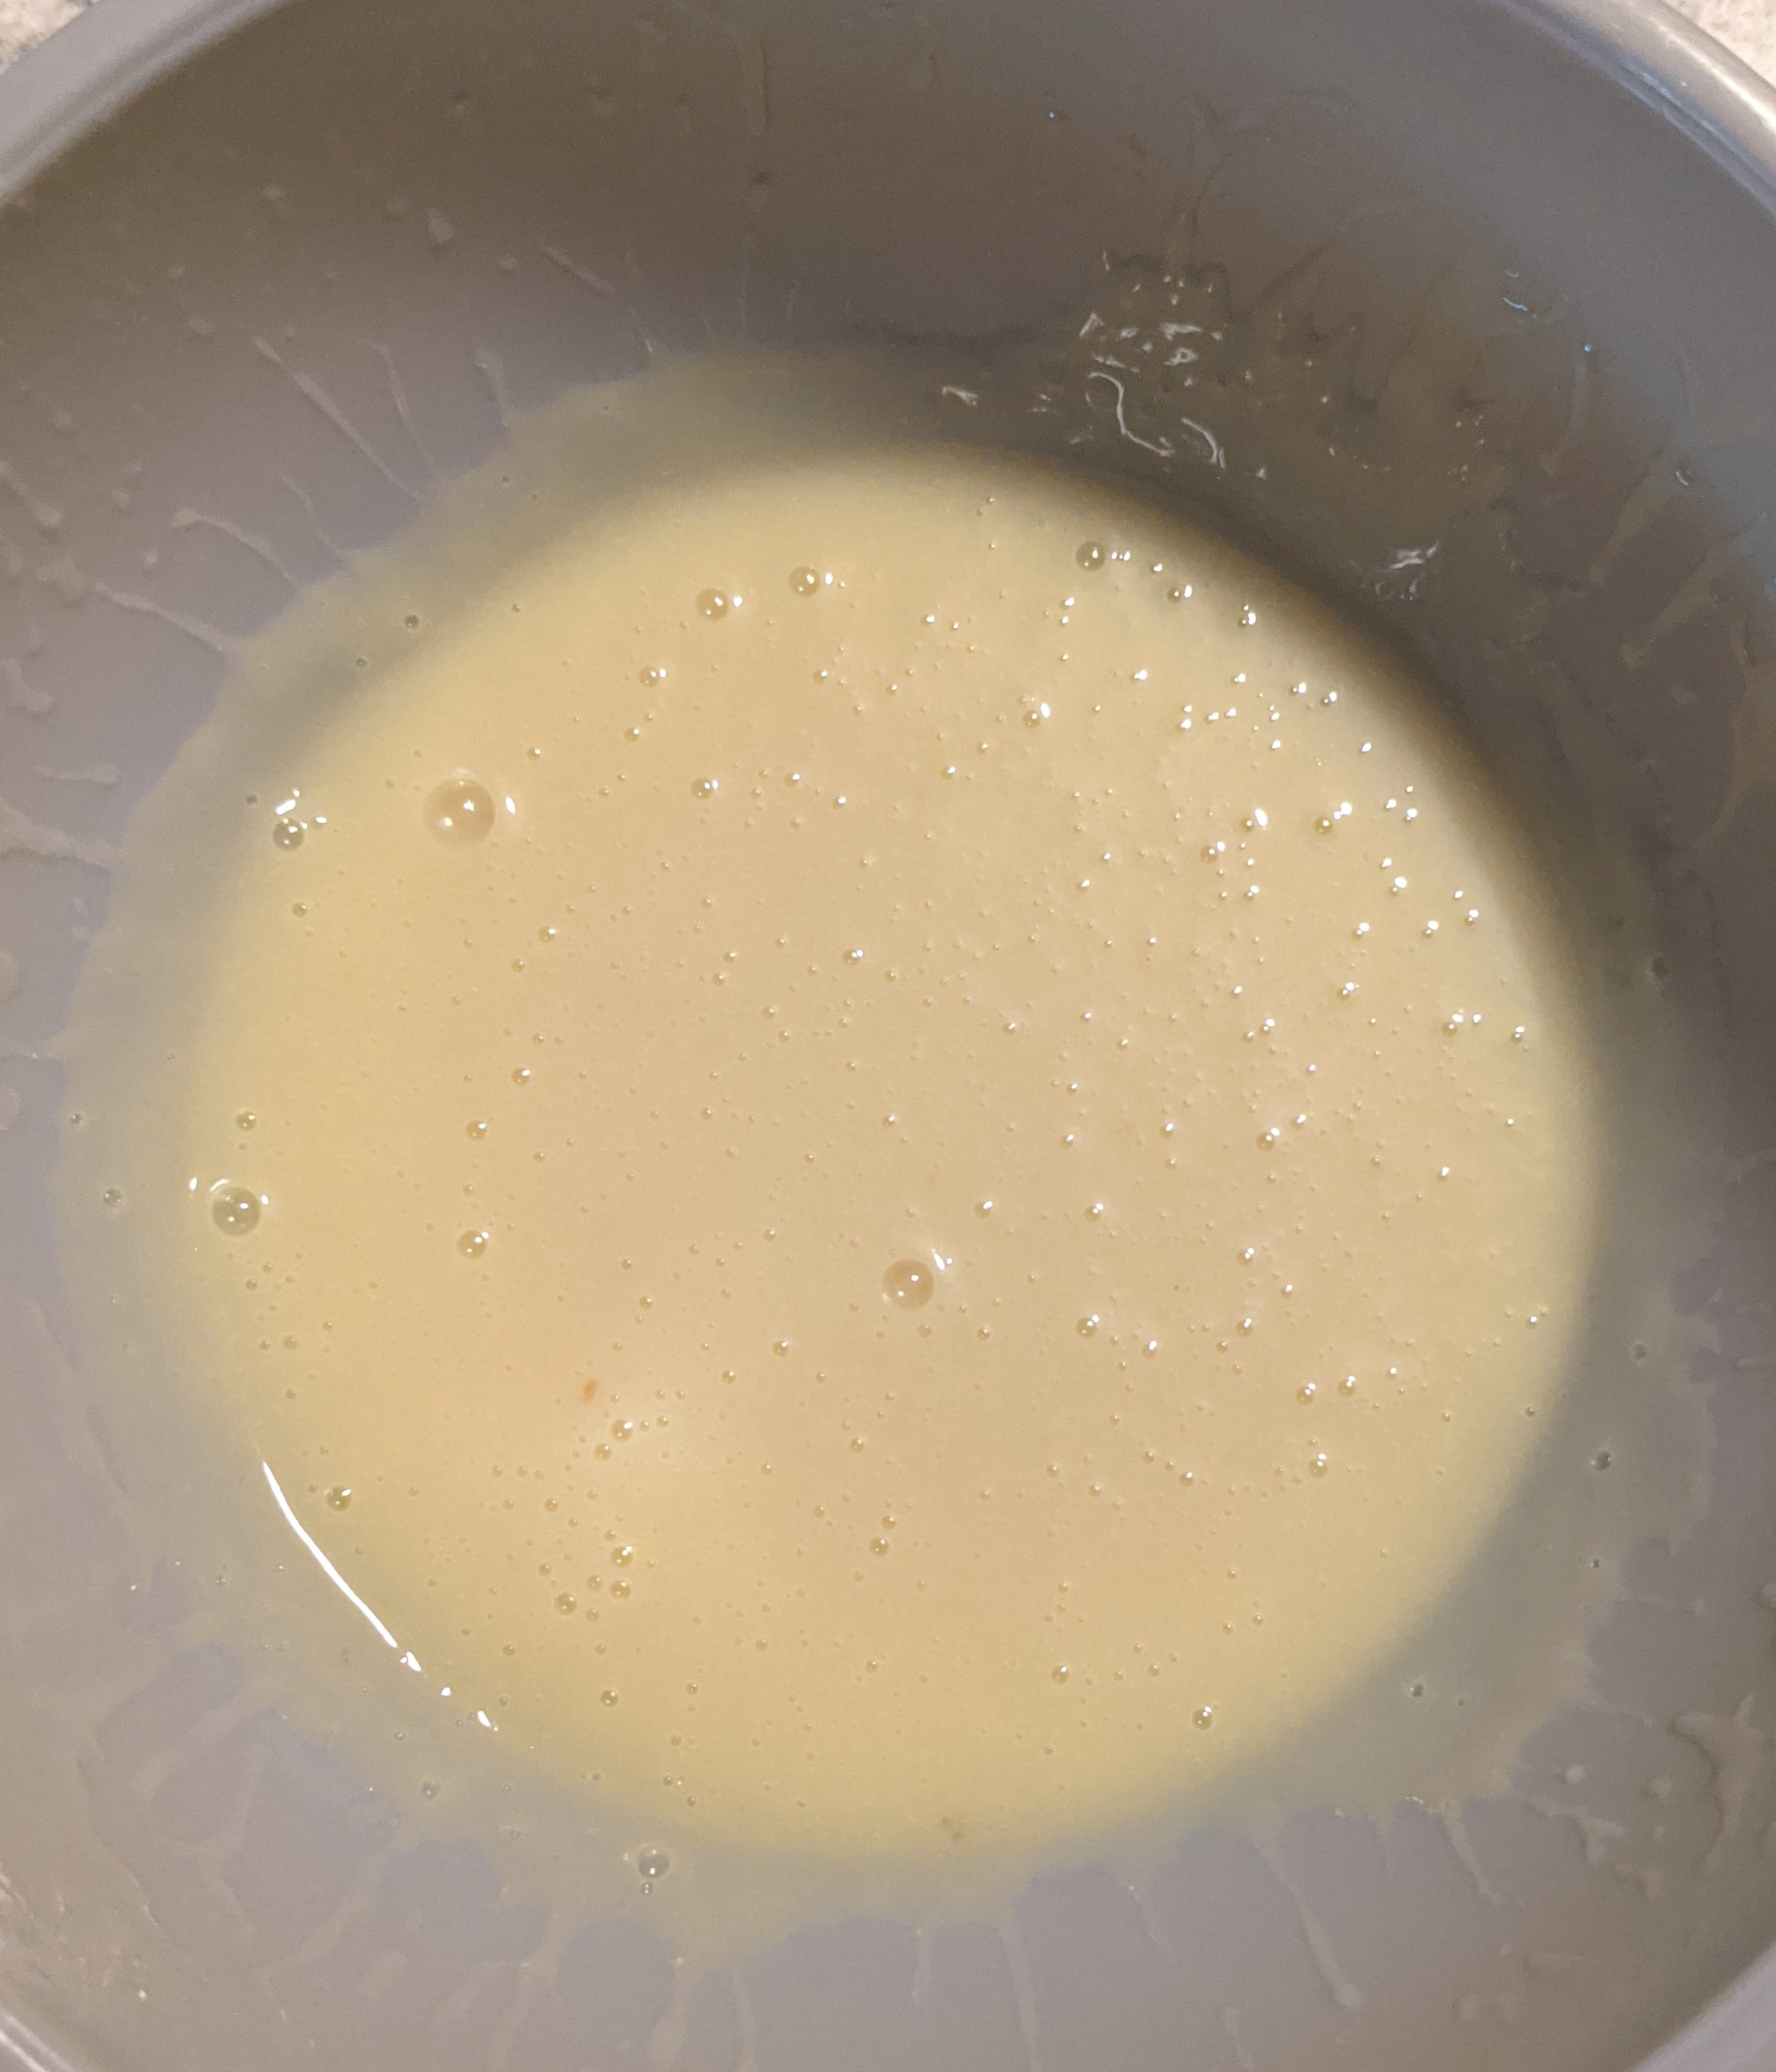
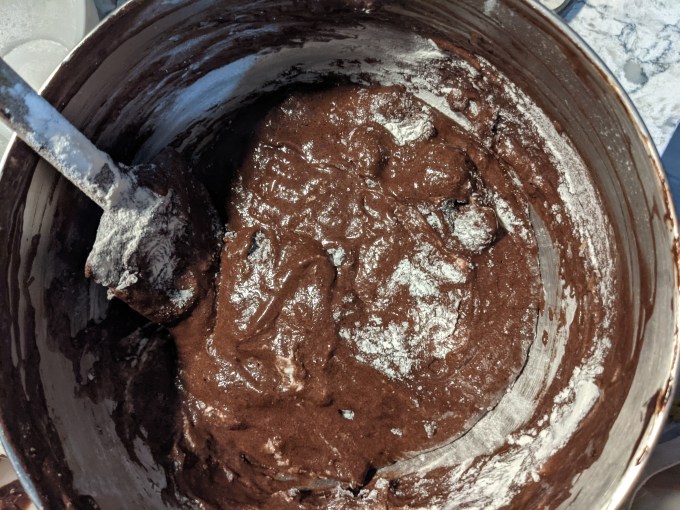
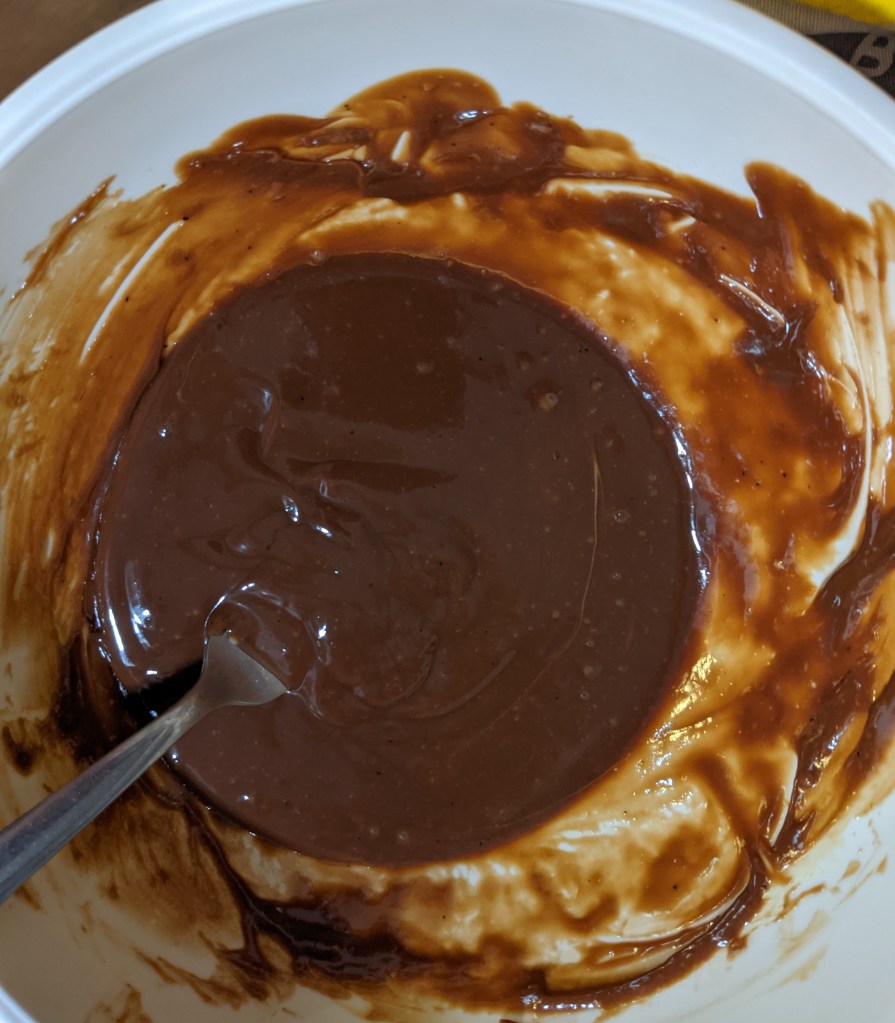
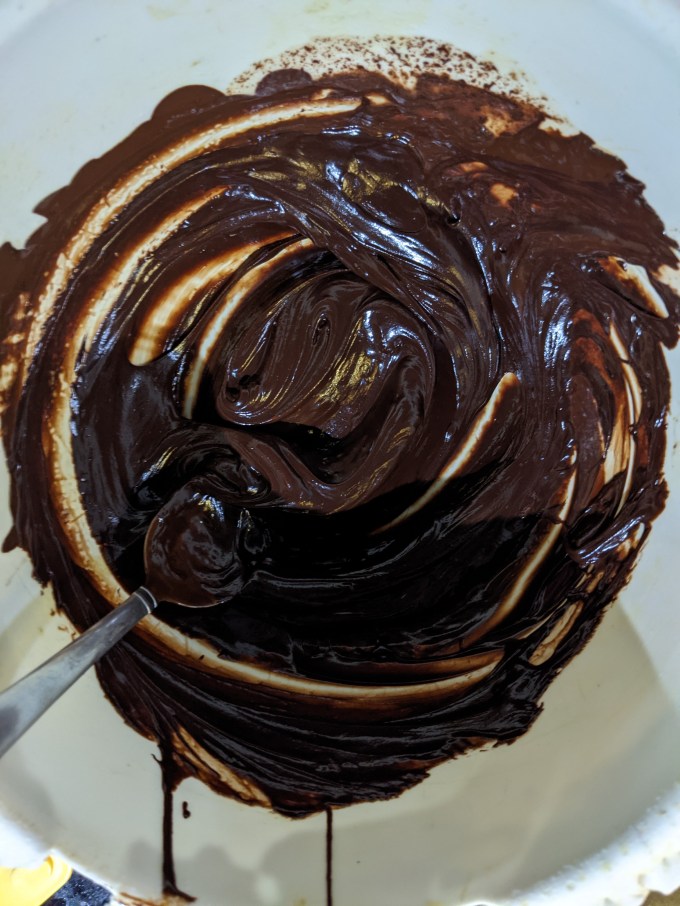
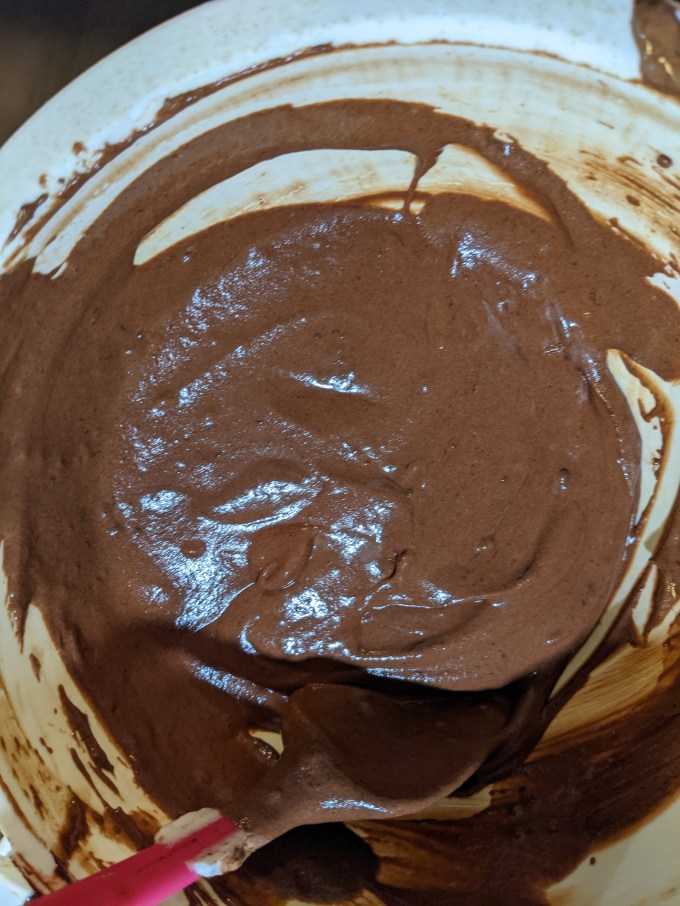
The recipe calls for a base made of heated milk and bloomed gelatin. The base is then divided in two, with half to be used in each mousse. This was more difficult than it sounds. I didn’t measure the total volume of base and divide it in two, I just eyeballed it, which I think was the intention of the recipe. This is the kind of thing a baker needs to do more by feel than by measure, and I just didn’t get it right. The dark chocolate was way too thick and the white was way too thin. I might have done a poor job of dividing the base in two, but I think it was more related to the chocolate itself.


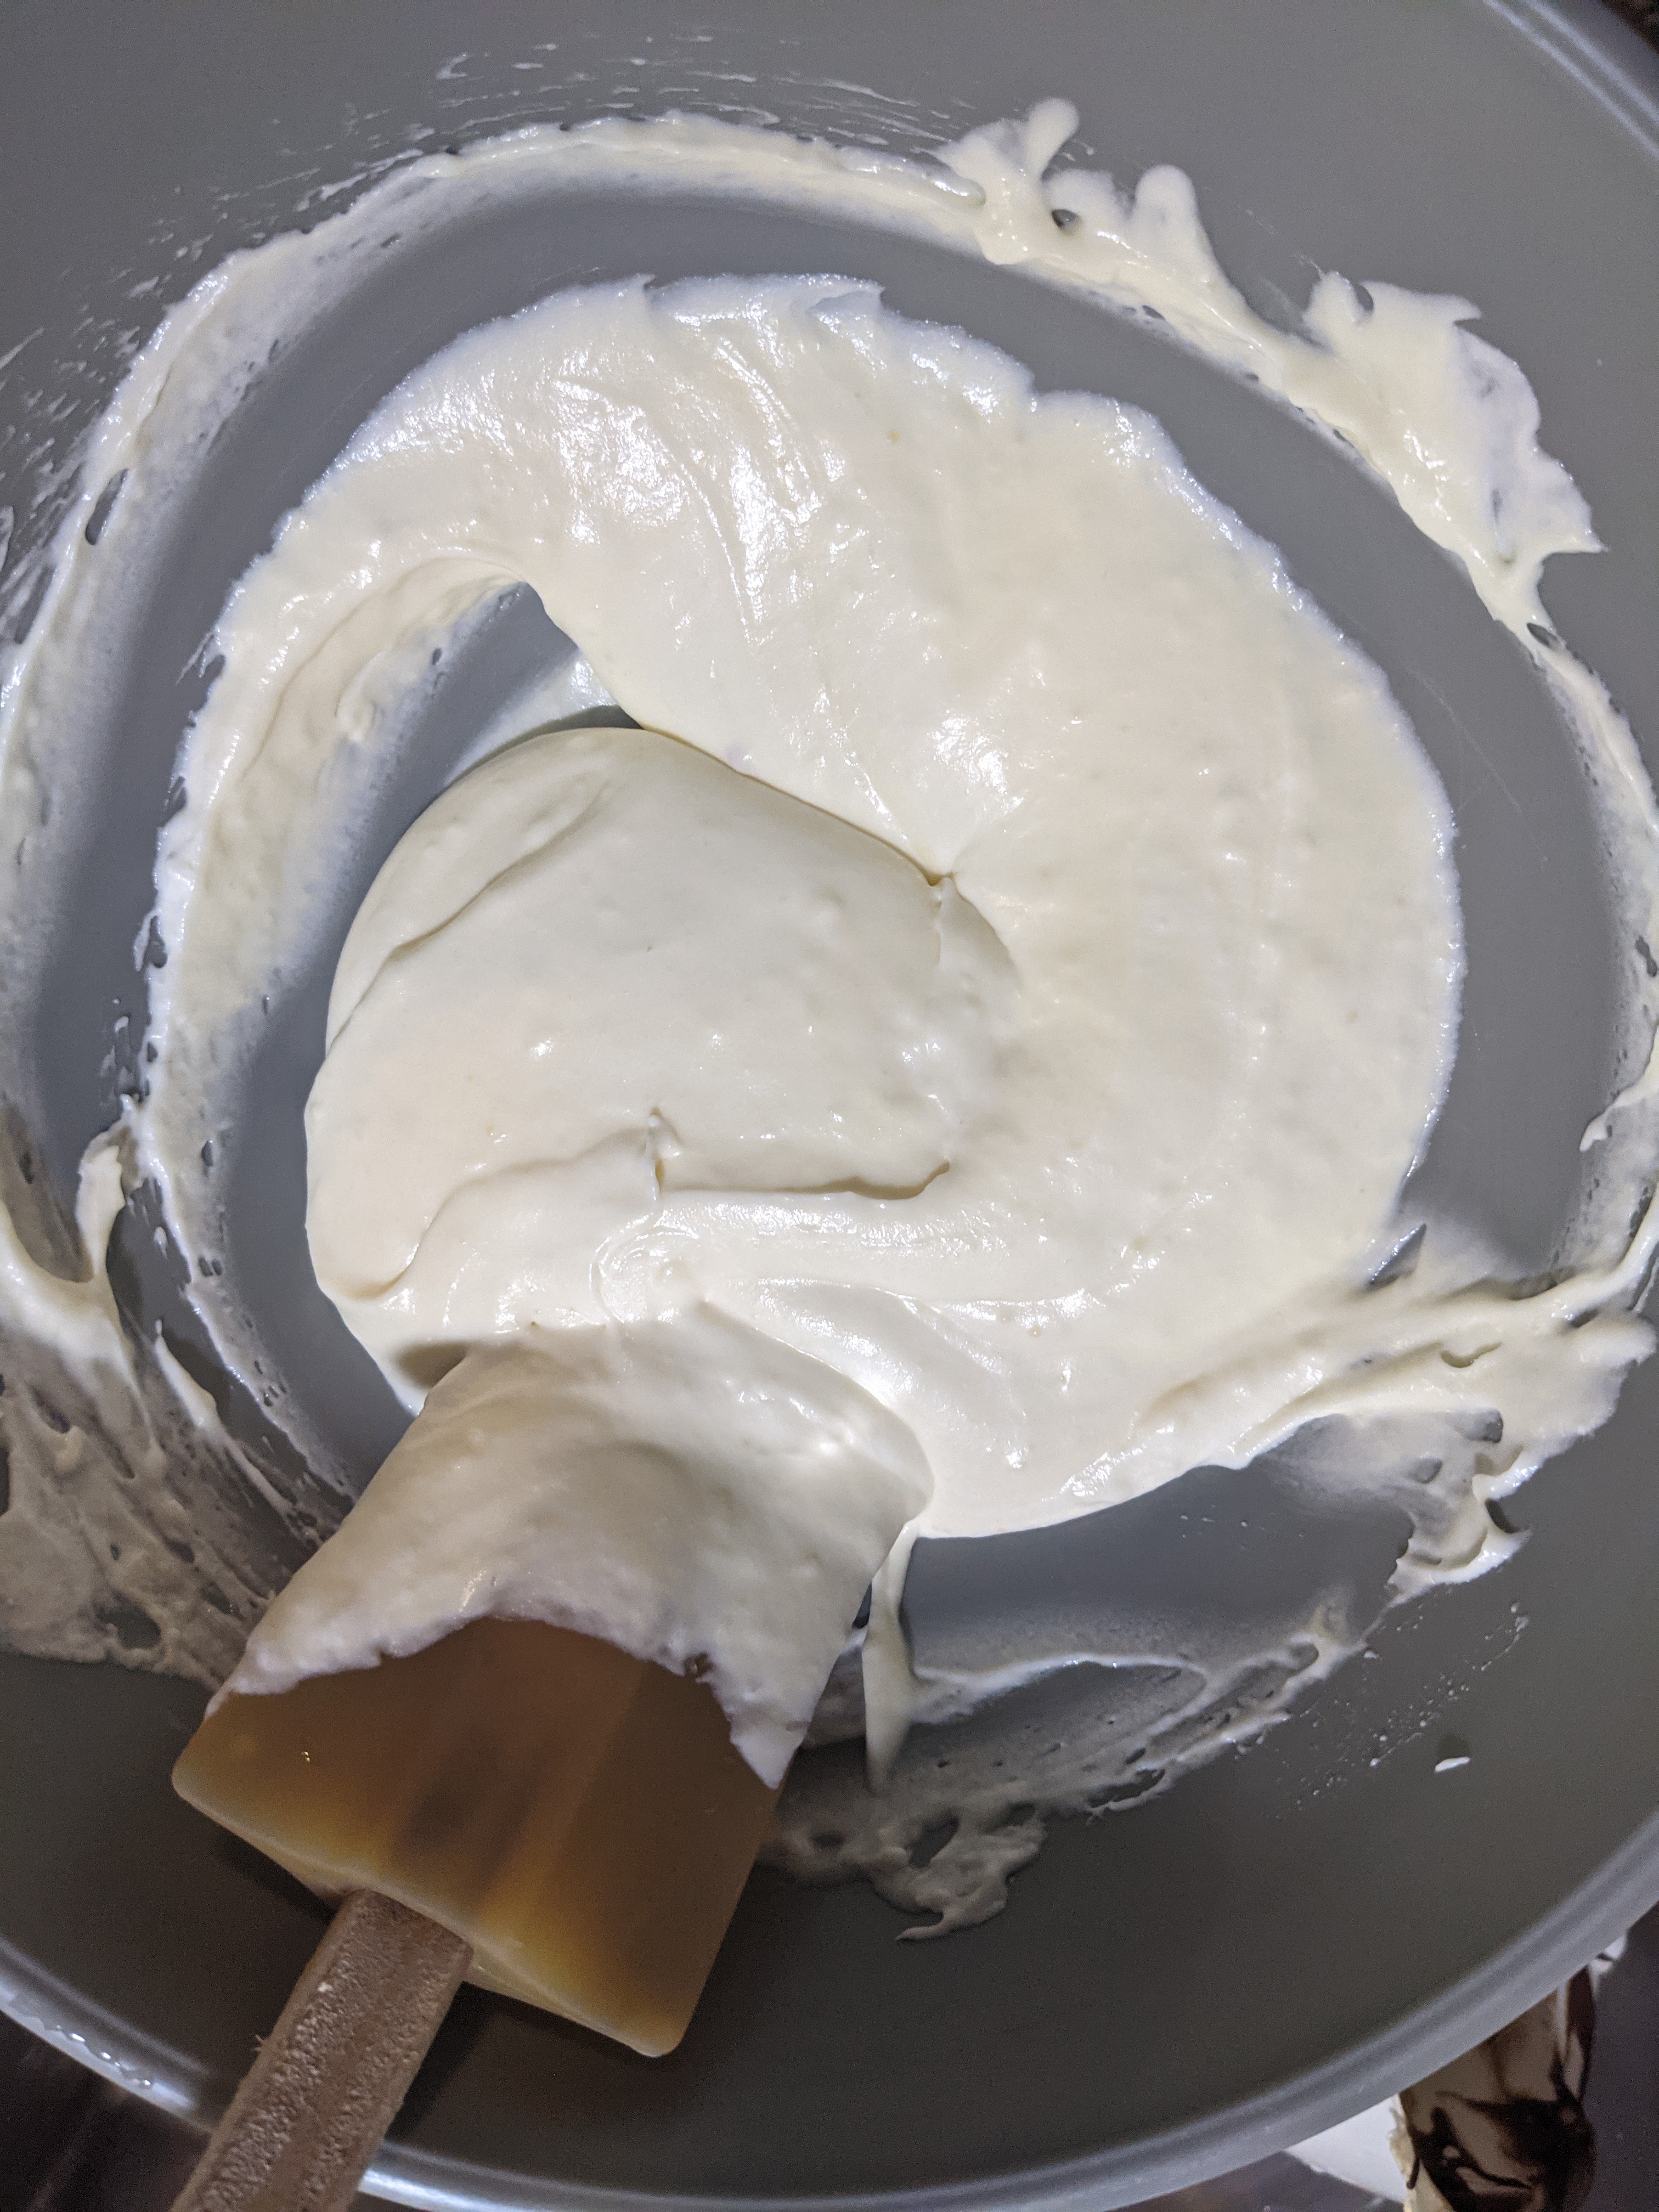
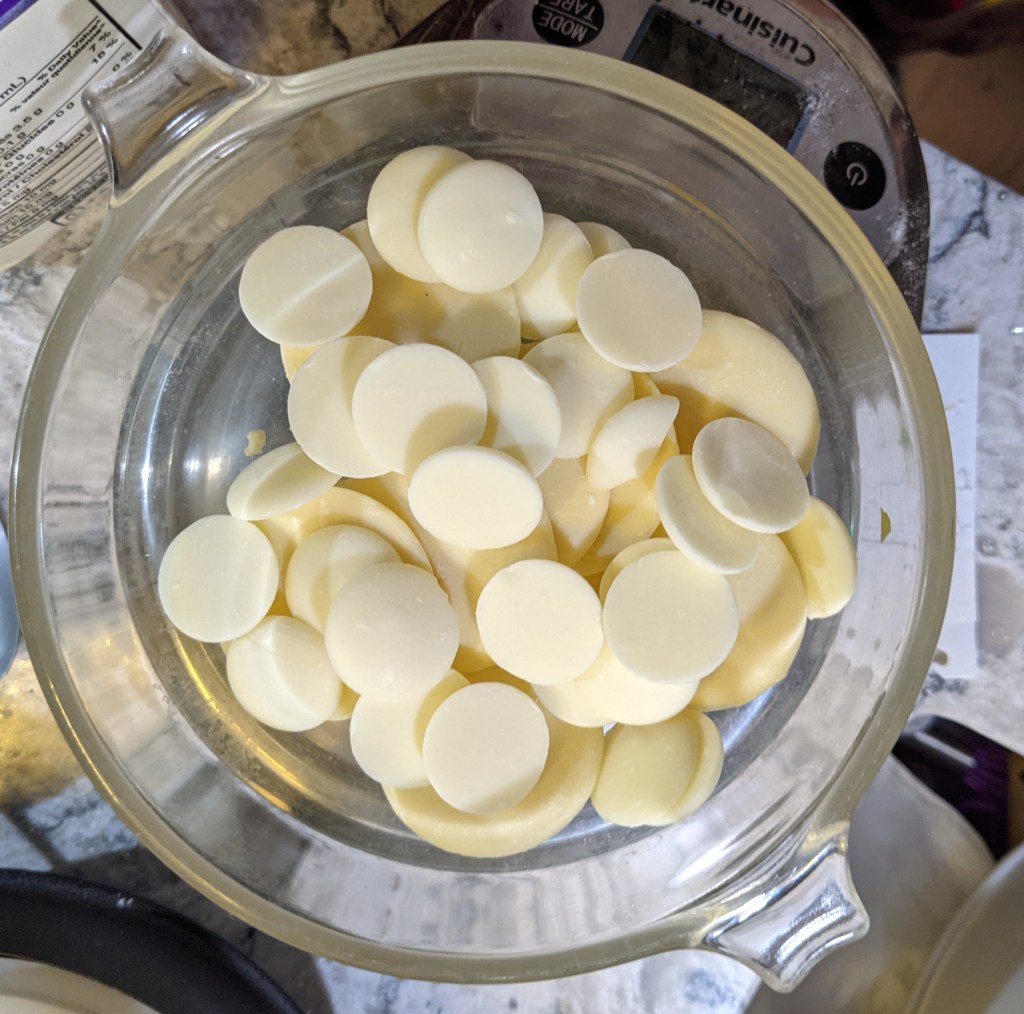
Different types of chocolate have varying consistencies when they are heated. The instructions just said to melt the chocolate and mix it with the mousse base, then fold it into the whipped cream. I was having trouble getting the dark chocolate to mix with the cream so I tried beating it instead of folding. THAT WAS A BAD MOVE. The cream deflated and I couldn’t bring it back. I thought about starting again, but to be honest, I was just sort of over this bake at that point so I just forged ahead. I have a bad attitude sometimes, I admit it. I was able to get the white chocolate to the right consistency by tooling around with the milk and gelatin, so at least the second mousse came out the way it was supposed to, but it took a really long time for me to get it to work.
Step 7: Final assembly
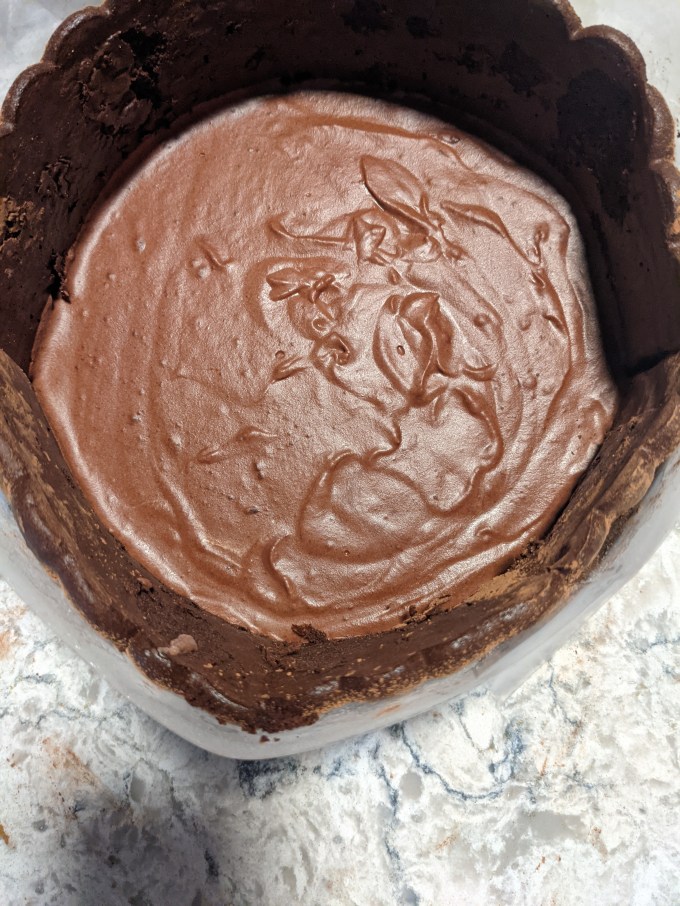
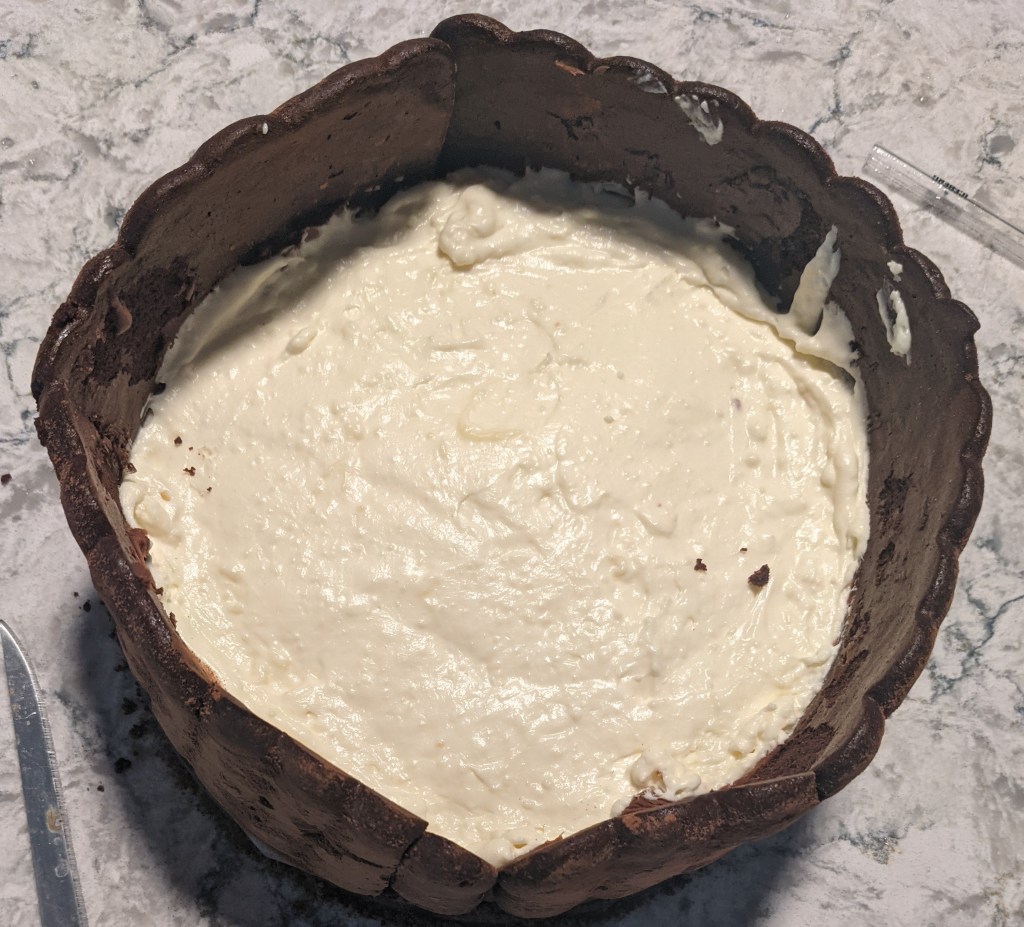
This bake is assembled as you go along. Once the dark chocolate mousse is prepared, it is poured over the crumb base in the chilled pan. The pan is put back into the freezer to chill for 10 minutes. The white mousse is prepared while the dark mousse is in the freezer.


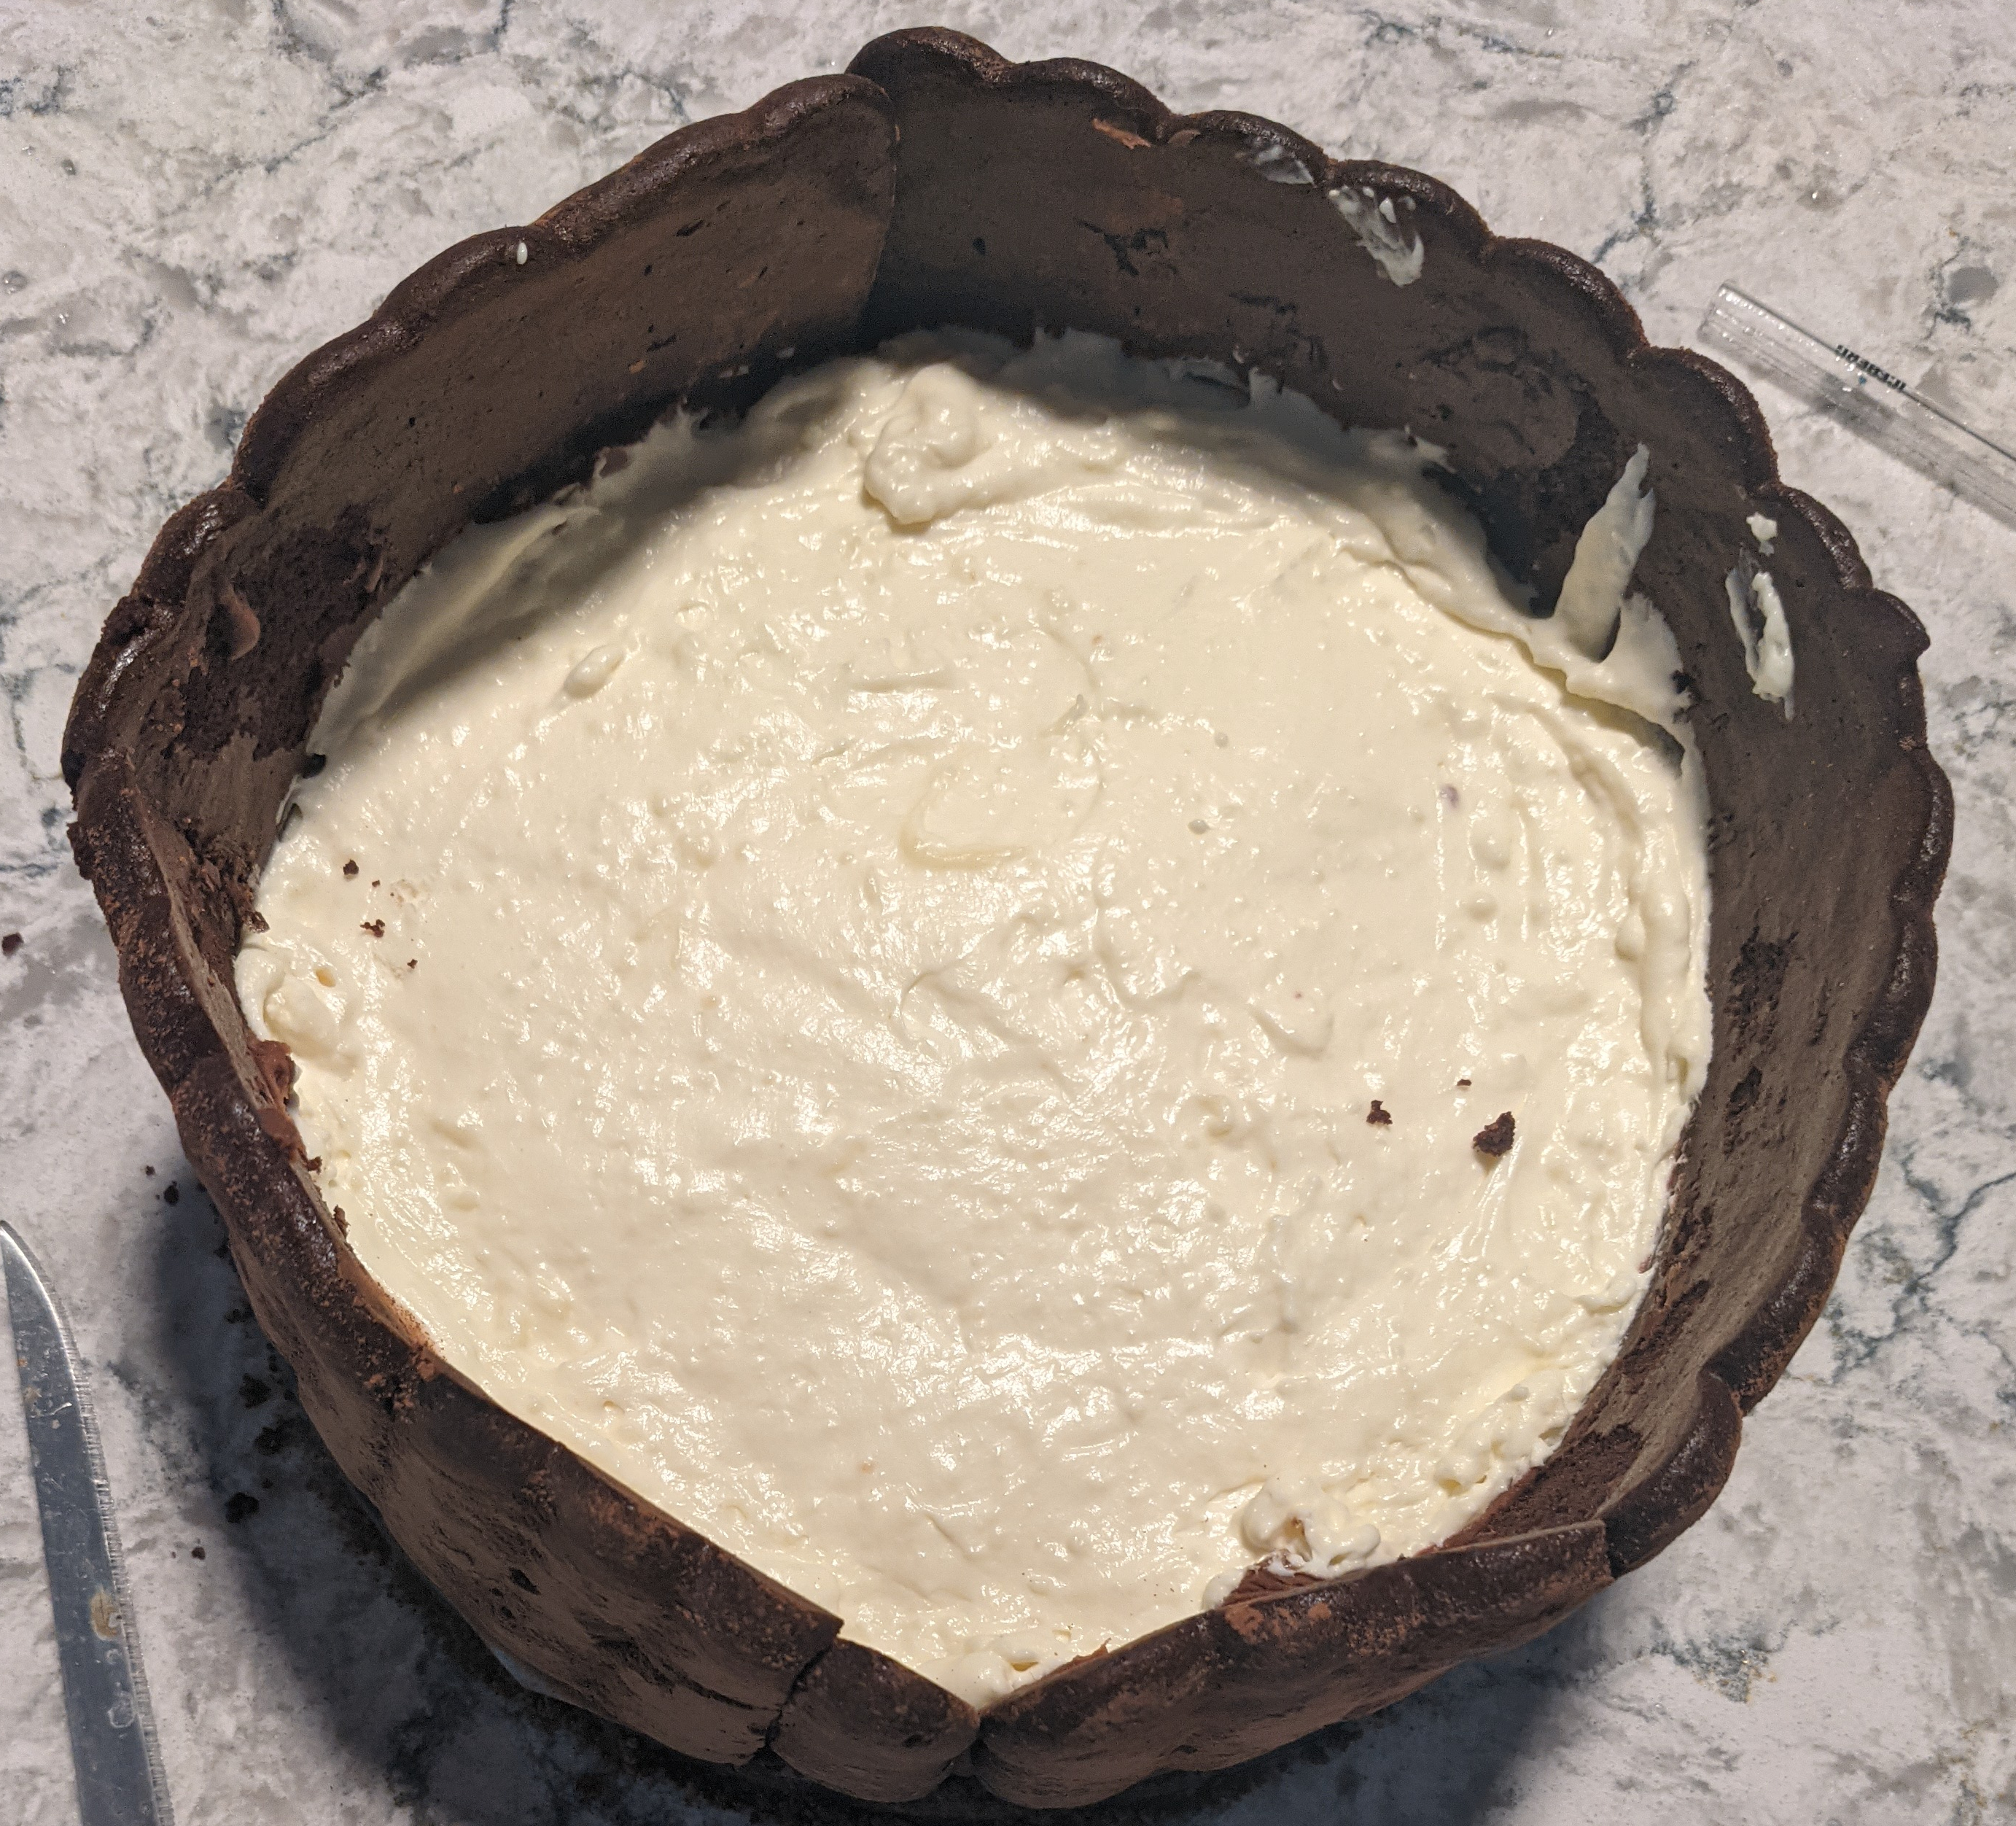

The passionfruit ganache is spread over the chilled mousse, then the white chocolate mousse is poured on top. The whole cake is left to chill until set.
The passionfruit gele is cut into circles and used to decorate the top with chocolate pearls and leftover cookie crumbs.
Gallery


I might have done better with this if I had more experience making different mousses. Live and learn. I understand mousse conceptually and I have made it before, but I don’t make it often and throwing different chocolates into the mix was just a little beyond my comfort zone. I think I now know what the texture of the flavour base ought to be for future reference, but I don’t really plan on making this particular bake again. I do have another mousse-based recipe to do for this project, so hopefully that one will go a little bit more smoothly now that I have completed this one. No losses, only lessons, as I always say. Onward we go!
Hey, bakers! Check out my BAKER’S PANTRY index if you want to deep dive on specific ingredients when attempting this bake for yourself
