
Hello and Happy Season 5 of GCBS, Friends and Fellow Bakers! I am already looking forward to digging into those 2021 technical bakes! But first, here we are with the technical from the Season 4 Finale: Gâteau St. Honoré (recipe here). This recipe was perfect for the finale (and for my own birthday, which is what I used it for). It is extremely challenging, complex, and is arguably the most difficult technical ever done on the show. In other words, it’s very French.
The gâteau is named after the patron saint of bakers and patisseries and is an edifice to all of the science and magic of baking in one fell swoop. Choux pastry is layered on top of puff pastry to create a kind of shell/base for the filling. These are baked together. The shell is filled with chiboust cream: the most difficult pastry cream to make (by an extremely wide margin). The chiboust is supposed to be piped into what I will call feathers with an honoré piping tip to create a decorative topping. The filling is topped with cream puffs and this version also has craquelin on the cream puffs (but did not require the additional component of making caramel to attach them to the final assembly). This version also called for optional gold dust and gold leaf, which I included since this was my own birthday cake, after all. #extraAF
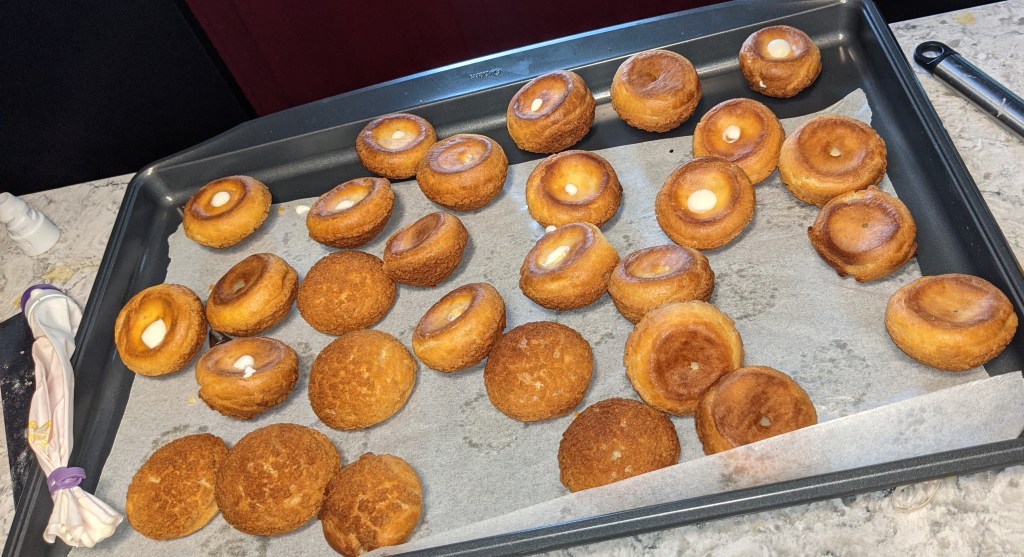
Overall, I am quite pleased with how this bake turned out and I executed all of the components competently. I had my share of little mishaps, but nothing major. Once I had finished piping out the choux pastry to make the cream puffs I thought, hmmmm why is there so much extra choux? Without giving it a second thought I piped the rest of it into extra cream puffs. Once I had all of the puffs in the oven I realized I was supposed to use some of the leftover choux to pipe onto the puff pastry. WHAT A CHAMP. Fortunately, I am fond of making choux so it wasn’t the end of the world to whip up a quick half batch to replace the stuff I had already baked like a moron. This left me with piles of extra cream puff shells. I intended to make additional pastry cream for them, but we ended up just nibbling for the next few days and they were gone before I got the chance. Such are the annals of the baking life. Or something.
The only unfamiliar element of this bake for me was the chiboust cream and it is the only element I did not execute one hundred percent correctly. Serves me right. When I re-watched the episode, I had a rare moment of hubris when the judges said the chiboust is a “very difficult” pastry cream to make. Pfff, I scoffed. As if there is even such a thing as a difficult pastry cream! BOY, WAS I WRONG. As it turns out, there is exactly one such thing as a difficult pastry cream and its name is chiboust. I will call mine a decent first attempt. It wasn’t totally wrecked, but it wasn’t stiff enough. I think I didn’t quite have the temperature management of the pastry cream versus the aeration of the meringue properly coordinated. The way I understood the CBC recipe, I thought I had to keep the cream warm even after I added the gelatin, but in retrospect and after doing some additional reading, I think it should have come down to room temp. I admit I was a little gun shy after the trouble I had with gelatin and meringue when I made those bastard marshmallow puffs a while ago. I also think my meringue wasn’t quite stiff enough. I had difficulty getting the two to incorporate and I just think it was too warm and too soft when I combined them. If one had been slightly better (egg whites more stiff or pastry cream cooler), I think I would have nailed it. Lesson learned. The result is my chiboust did set up nicely in the fridge, it didn’t sink or fall apart or melt or anything, but at the time of filling, it wasn’t stiff enough to hold the nice, clean feather shapes when I piped them on. It’s a shame because I was totally confident on the piping for this. Win some, lose some.
Other than those two little hiccups, this bake went off without a hitch and I am really looking forward to making it again for a special occasion. I will make the next one with a full puff (of course), just to be obnoxious. Keeping the spirit of French patisserie alive, one pretentious bake at a time.
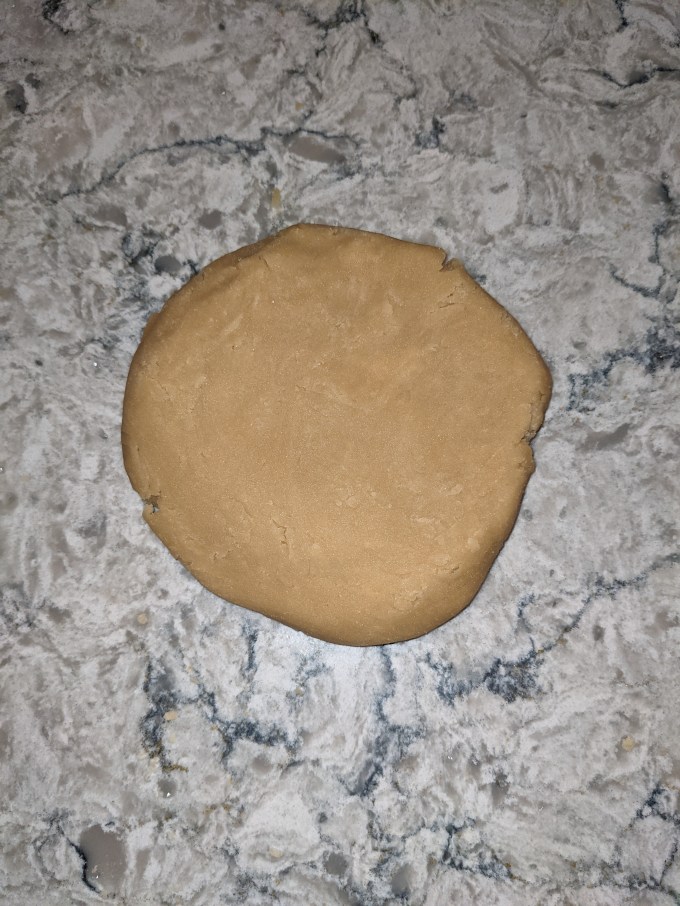
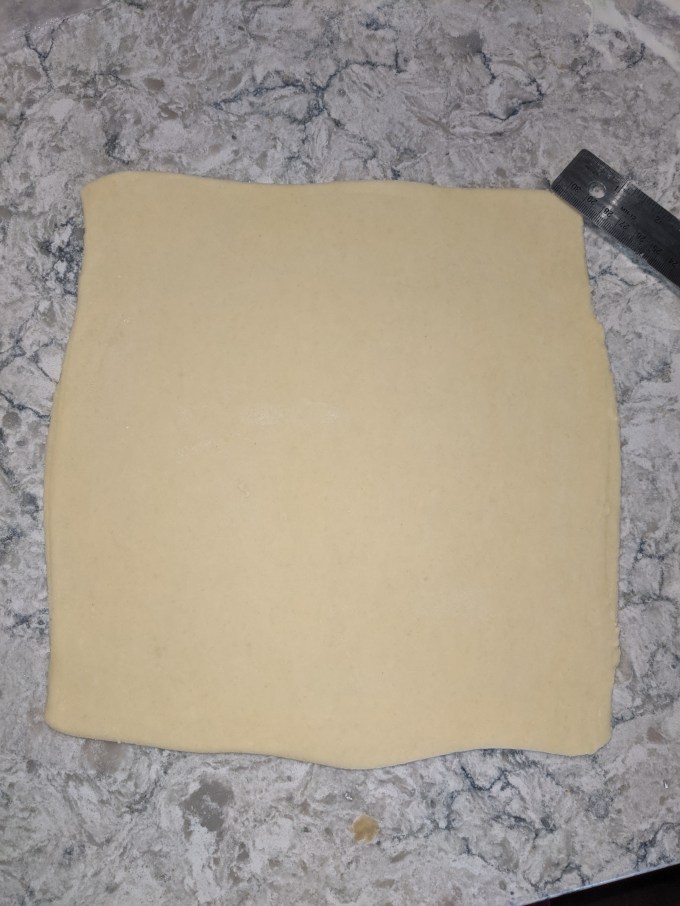
Step 1: Rough Puff
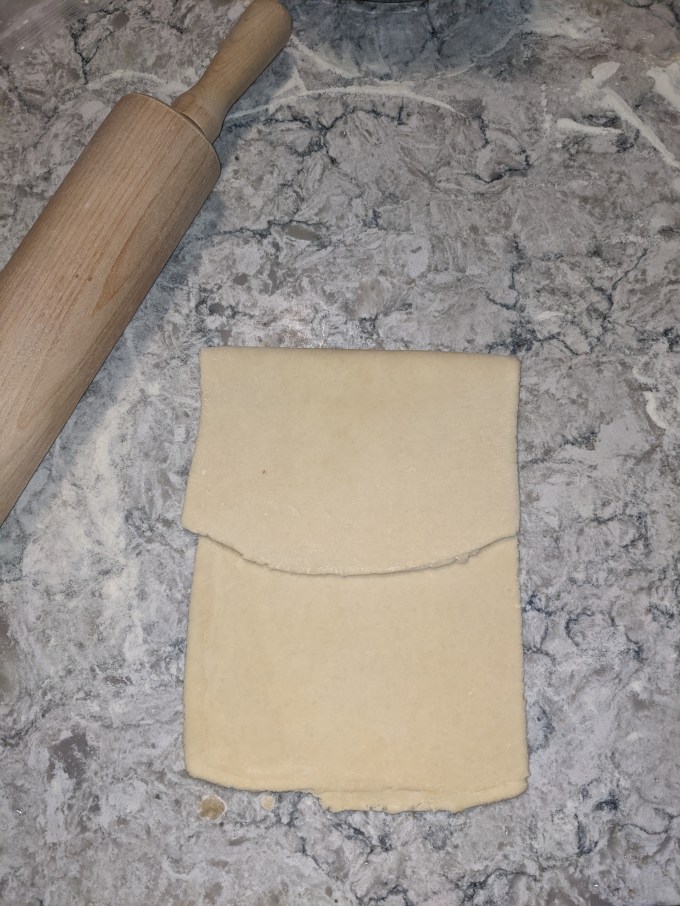
I have made rough puff twice now for this project (see my posts about Pithivier and Palmiers to read more about that). This is basically a shortcut version of a full puff pastry where the butter is cut into the dough so it is partially incorporated and then worked into folds the same way a traditional puff is done. The critical factor in this method is temperature. The ingredients all need to be kept as cold as possible so the butter doesn’t fully incorporate.
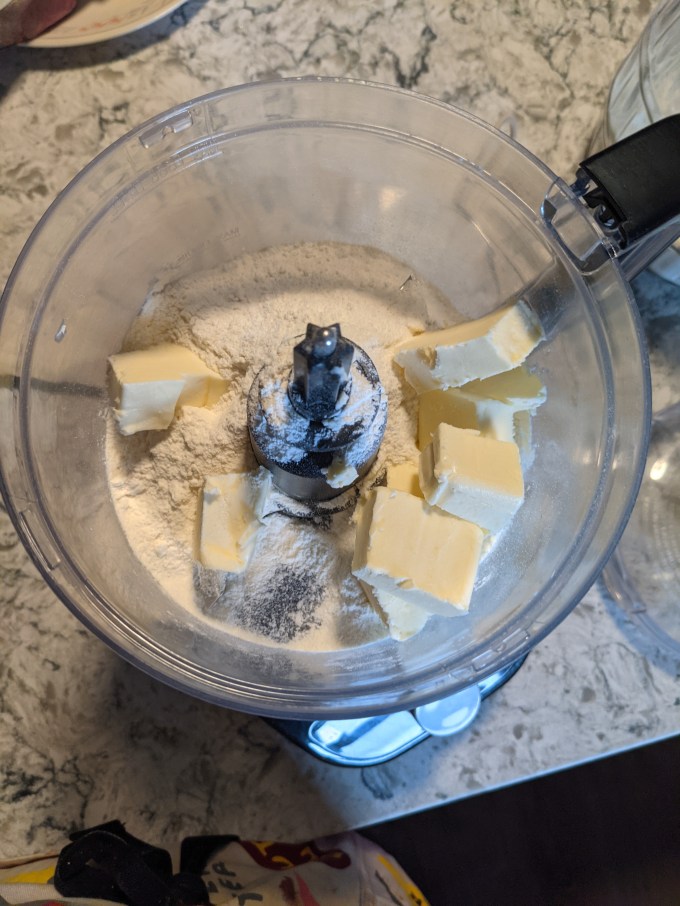
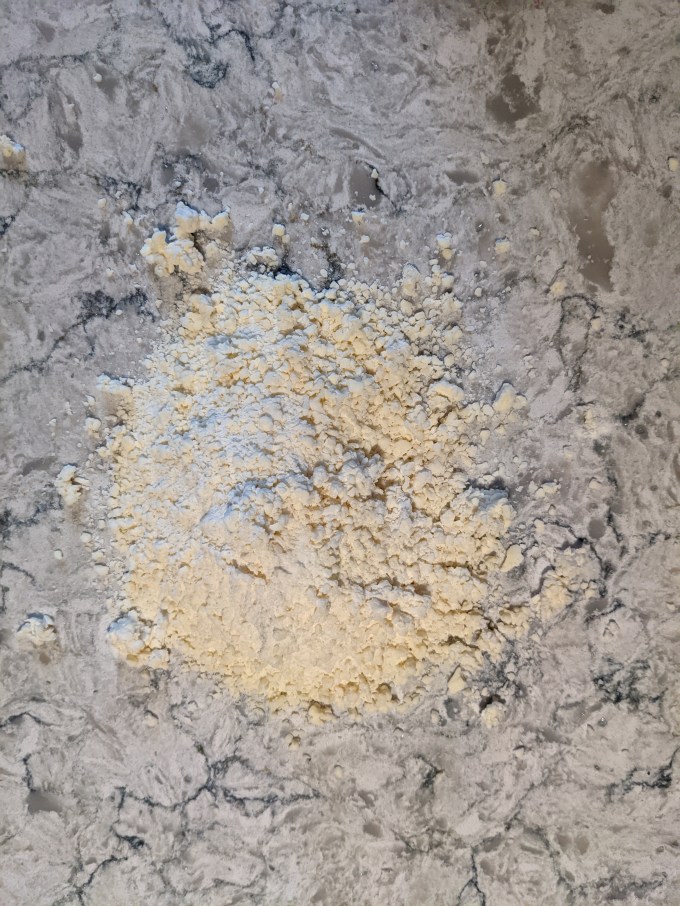
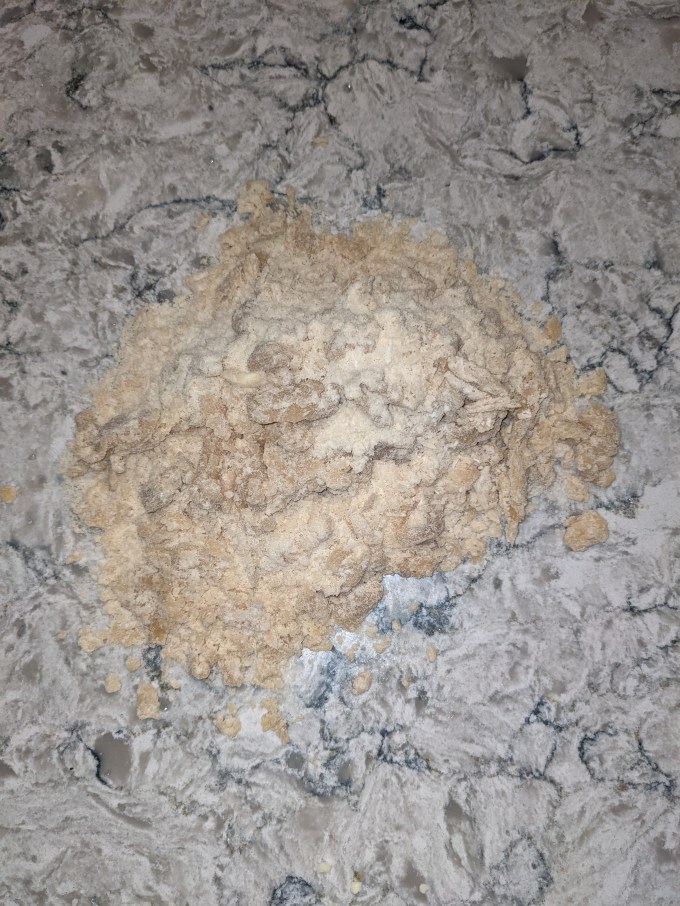
Butter and dry ingredients are cut together. I prefer the food processor, but this can be done with a pastry cutter, two knives, or a box grater. Whatever tickles your fancy. Once the mixture resembles coarse crumbs, cold water is added to bring together.
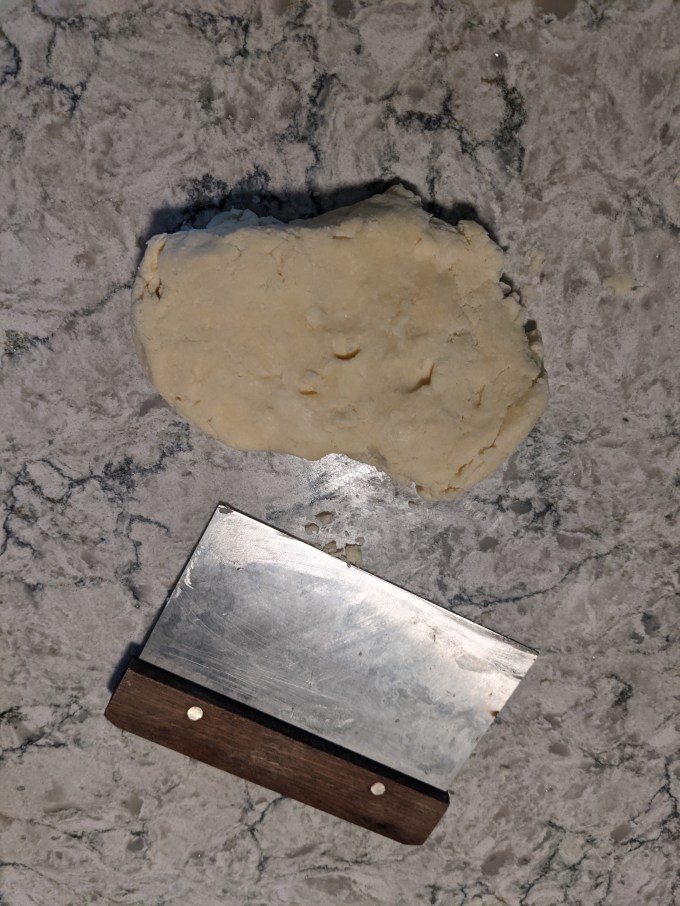

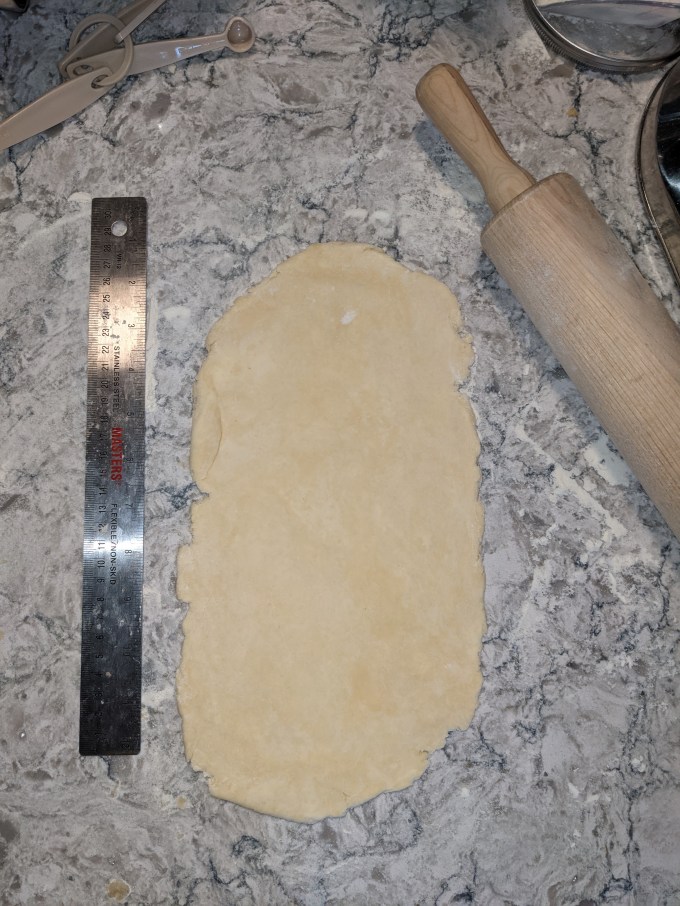
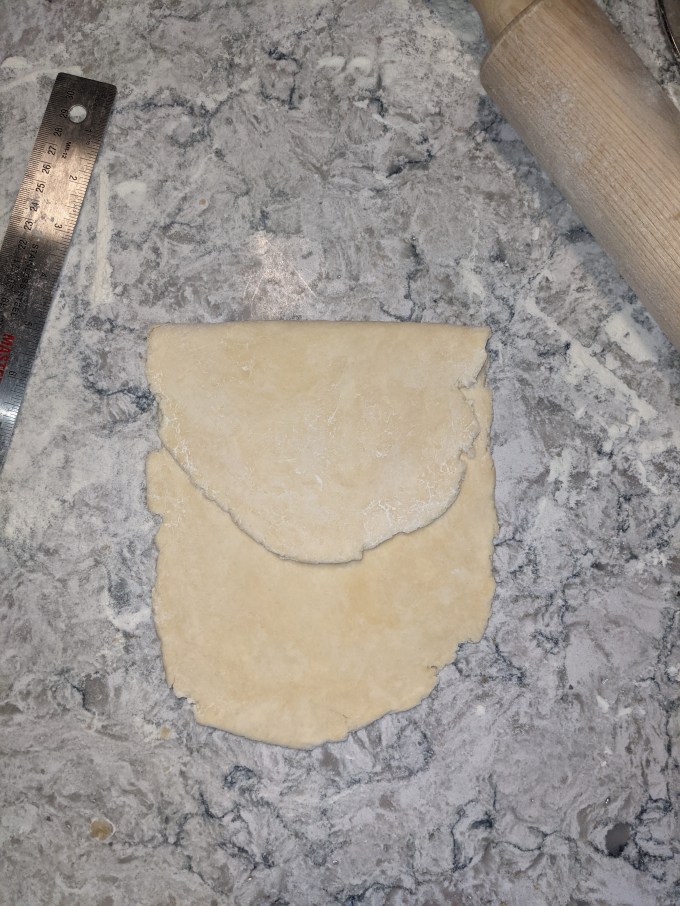
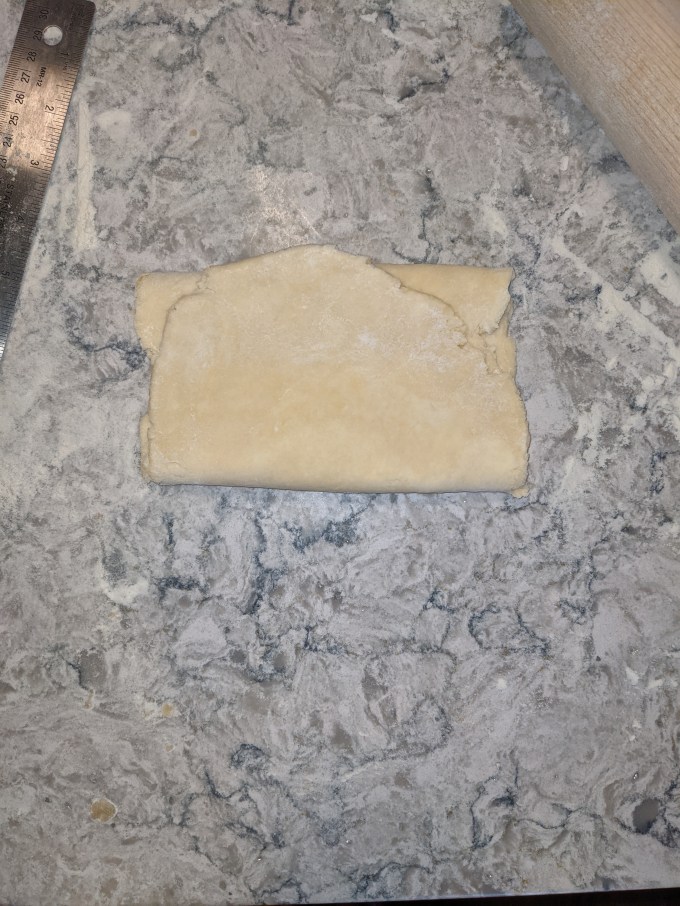
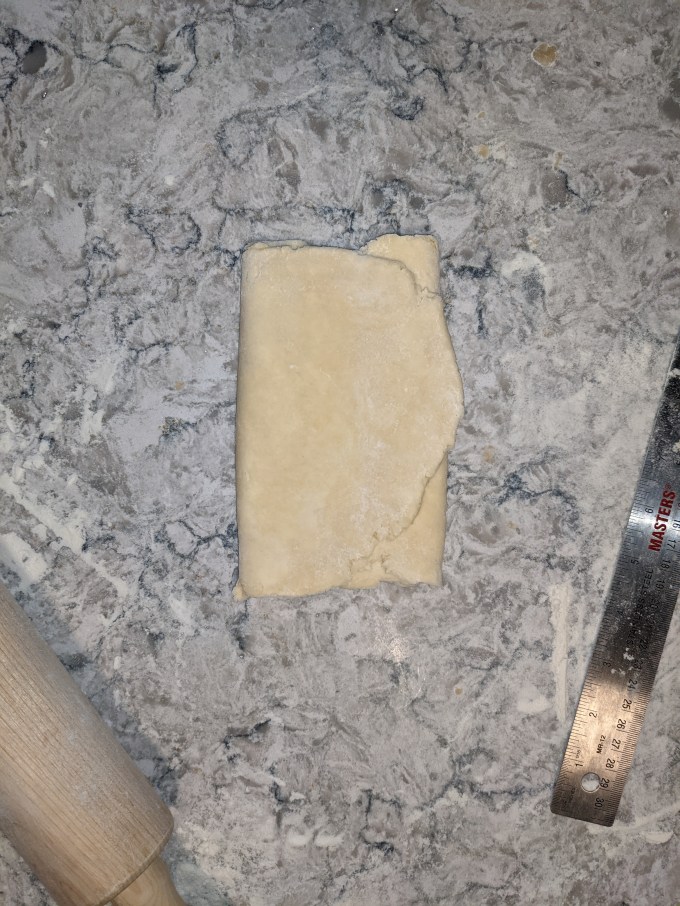
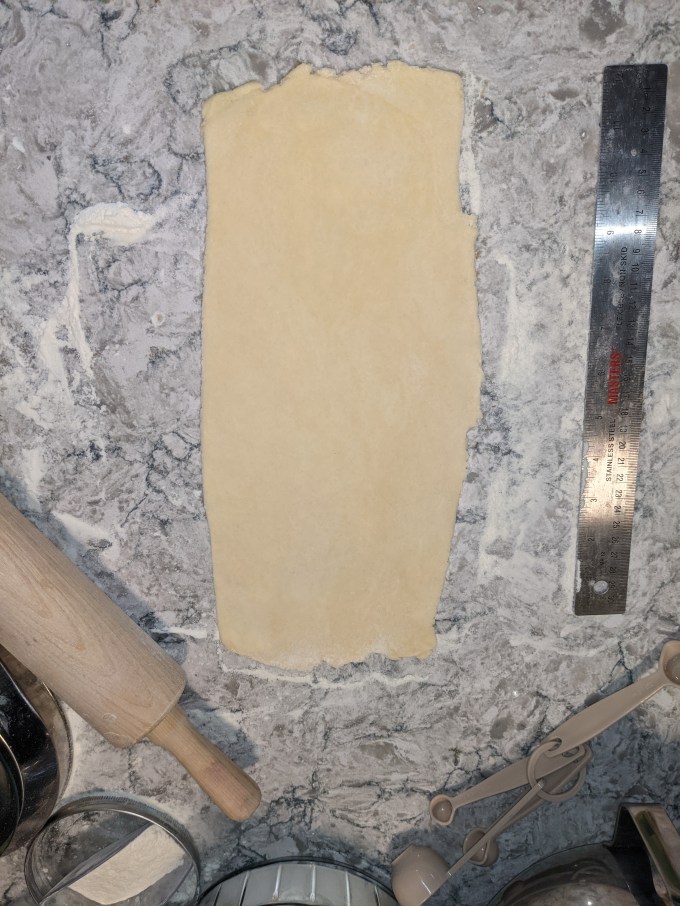
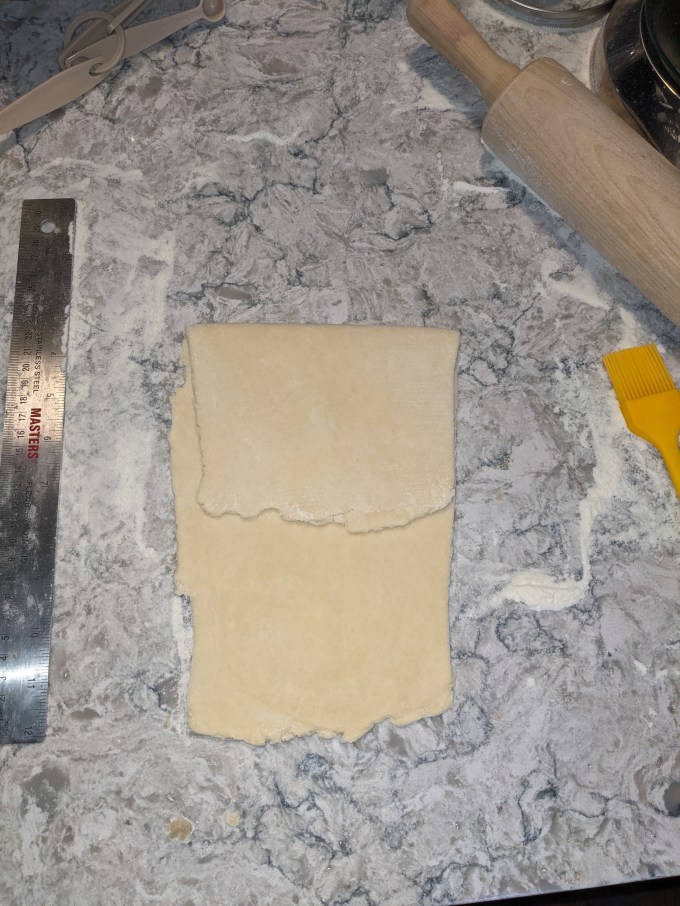
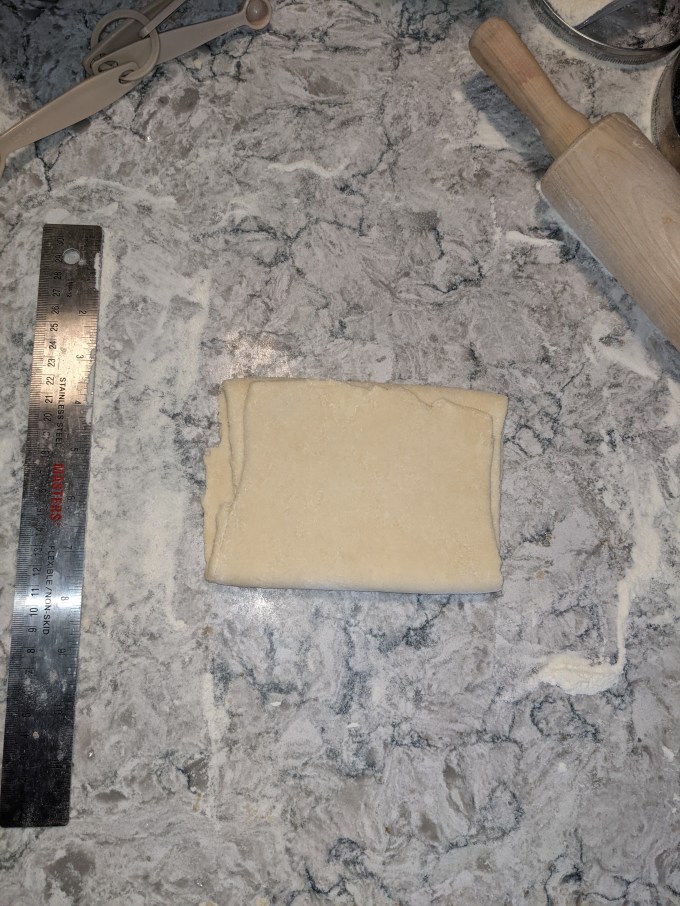
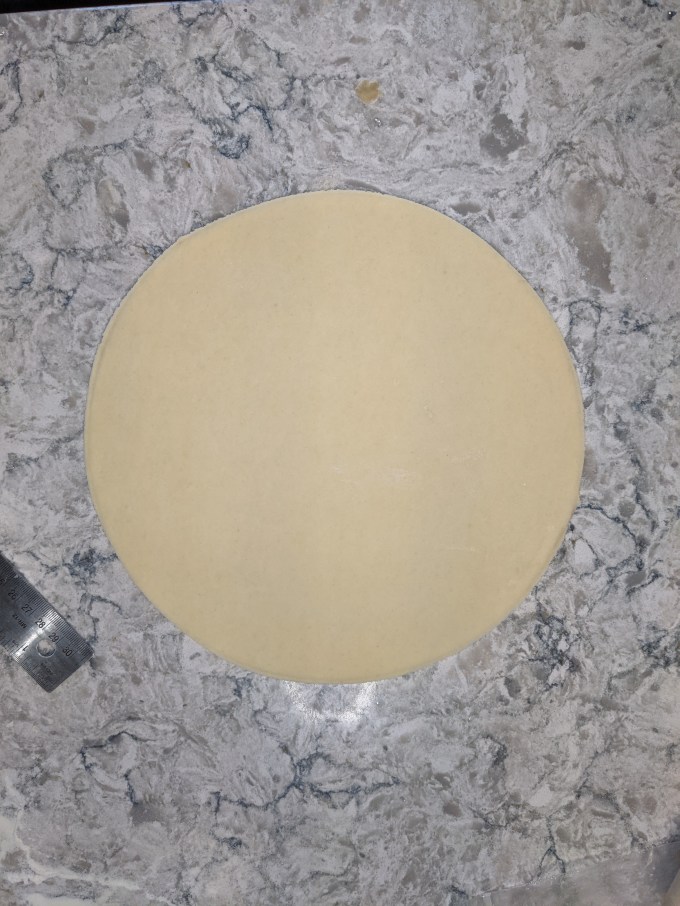
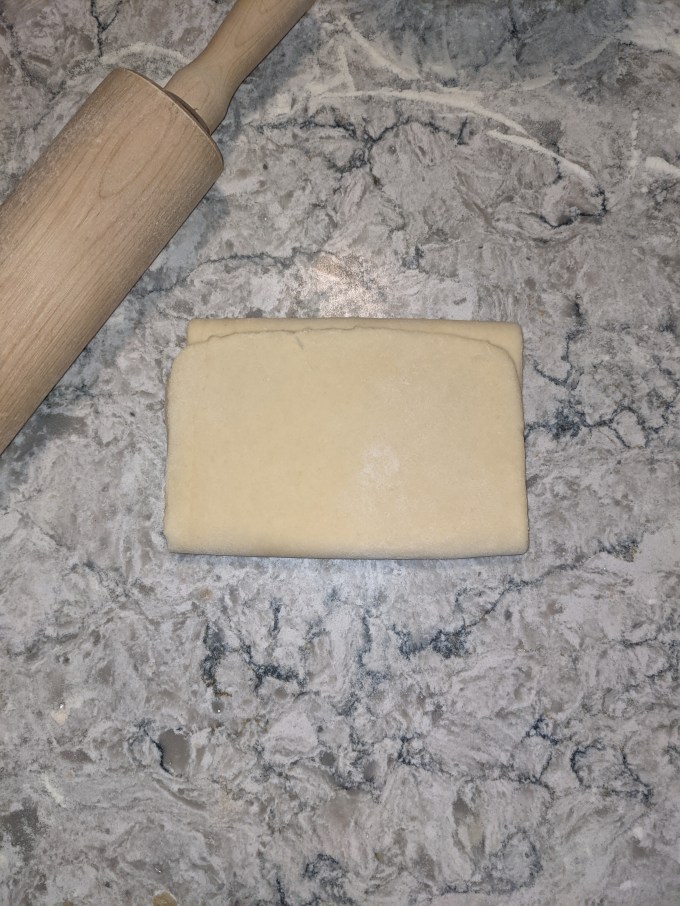
The dough is worked through a series of folds and turns. A minimum of three cycles is required to achieve a good puff. I think some full puffs will do as many as 5 cycles, which creates thousands of layers. A rough puff doesn’t have quite the degree of distinctiveness of layers since it is not fully laminated, but it is a close approximation.
Step 2: Choux
Choux pastry is one of my favourite pastries to make. It’s easy, versatile, and not overly time consuming. I also like how the flour is cooked partially on the stove and partially in the oven. I enjoy methods that play with different aspects of cooking science to achieve the final result.
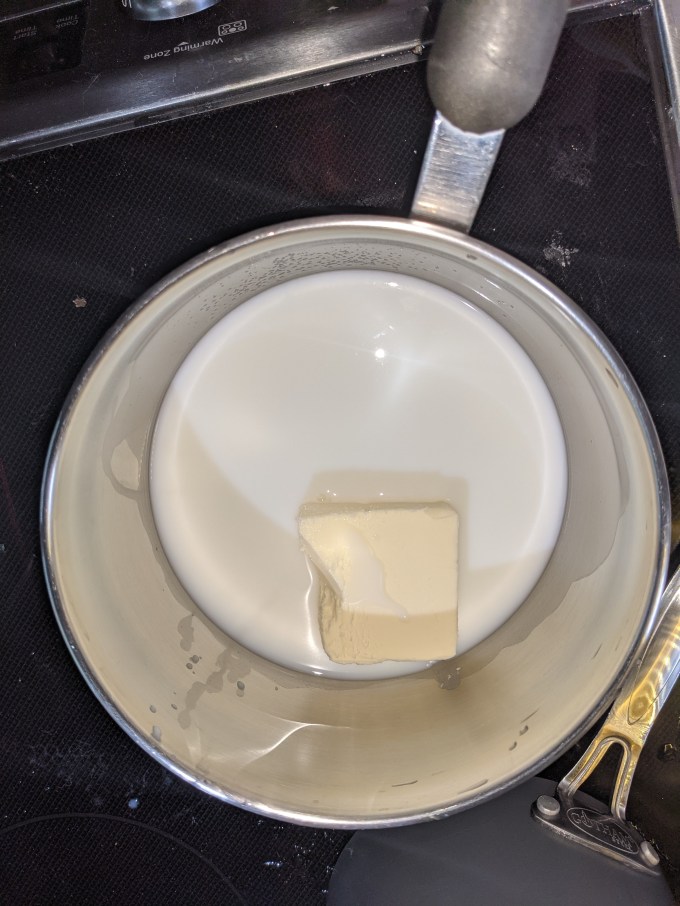

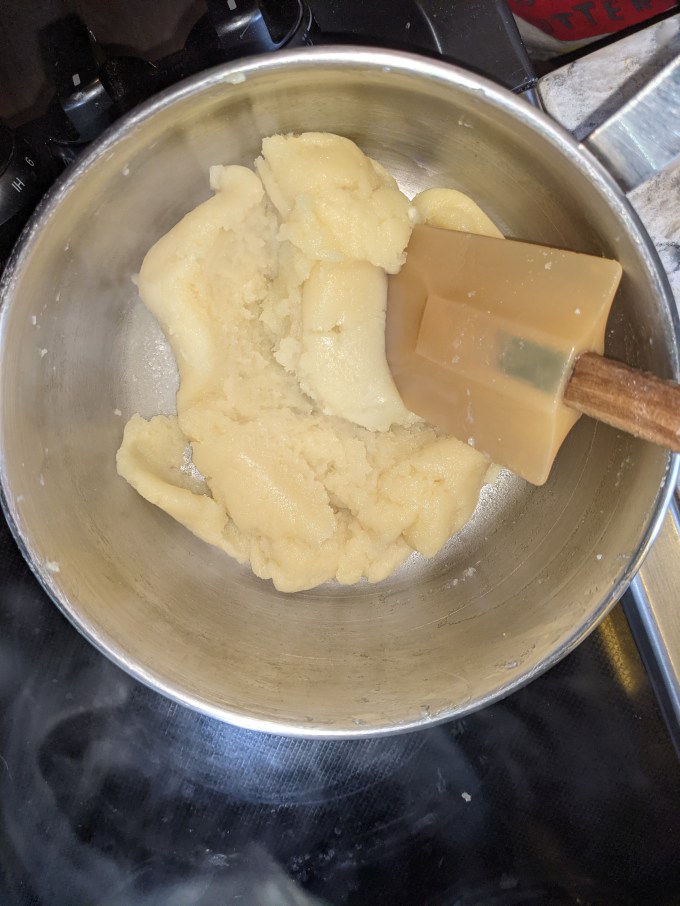
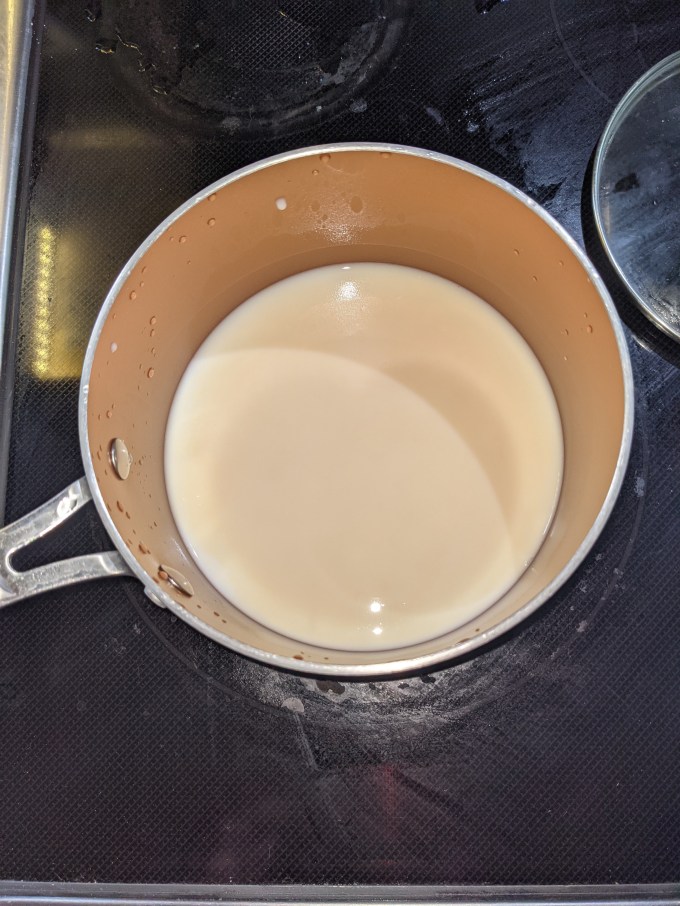
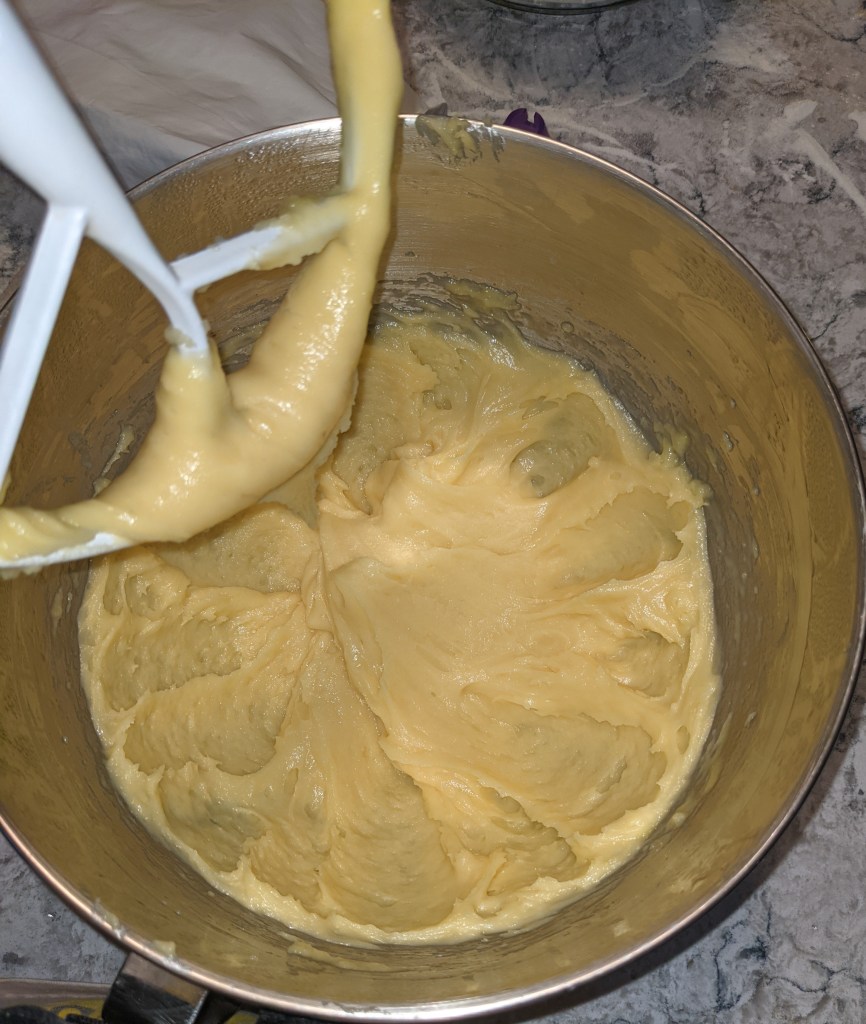
Water, milk, and butter are melted together on the stove. The flour is added and mixed vigorously to create a thick paste. This mixture is returned to the stove and mixed continuously on low heat to partially cook the flour. Once the pastry starts to shine and pull away from the sides and bottom of the pan, it comes off the heat and goes into the mixer. Eggs are added and beaten well until the choux is thick and glossy.
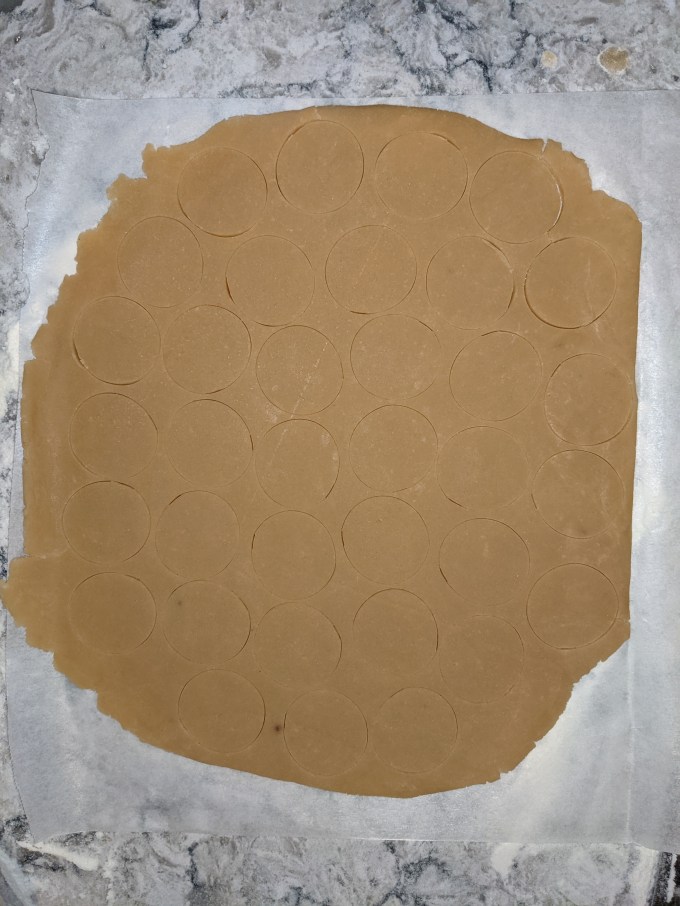
Step 3: Craquelin
I have been somewhat obsessed with craquelin as a concept for years but this is my first time making it. Craquelin is almost like a cookie that is baked on top of choux pastry. It is mostly butter and sugar with a relatively small proportion of flour holding it together. The result is the dough melts in the oven and separates into smaller little crunchy bits that are baked right into the surface of the choux. The result is the final pastry is coated with an almost toffee like crunch on top. Delicious.
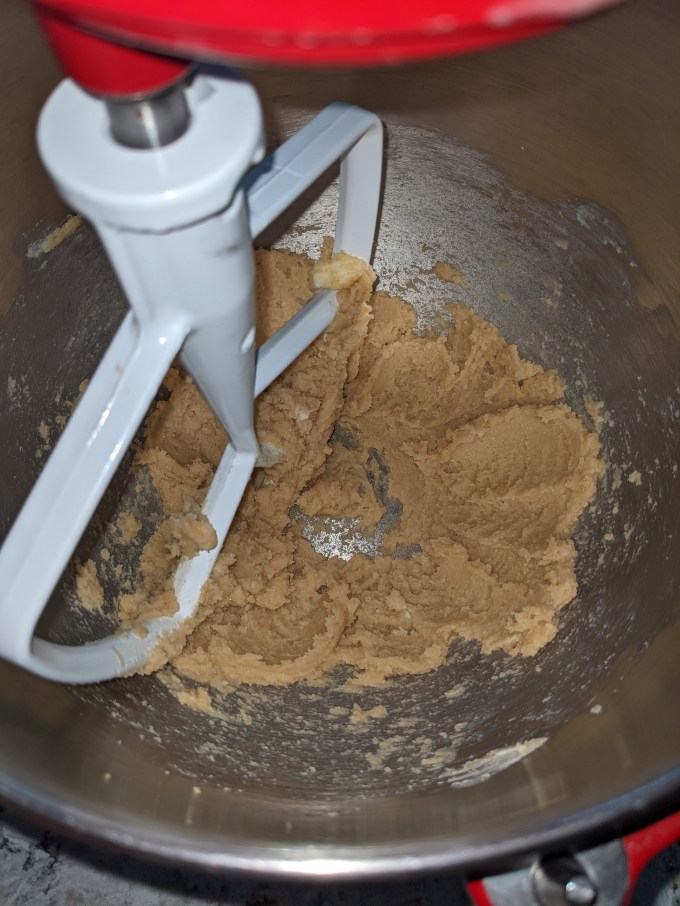
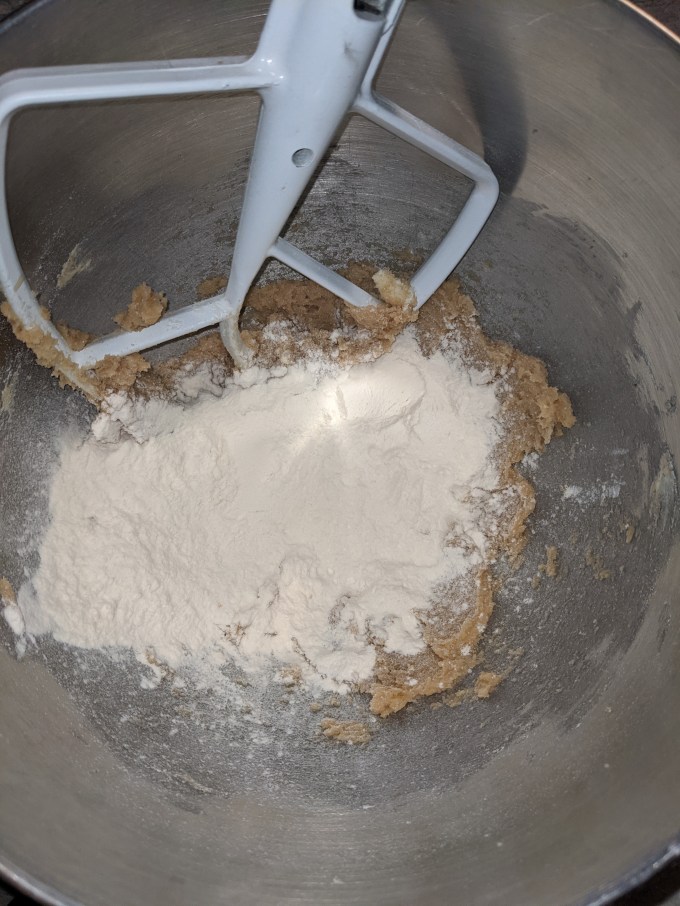

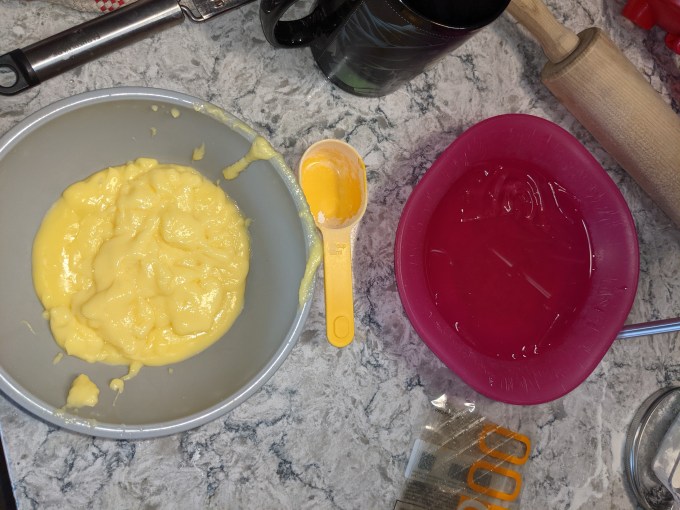
The method is very simple. The butter, sugar and flour are brought together and rolled out like sugar cookies and chilled until firm. It can then be cut to any size and shape needed for the choux.
Assembly 1: Baking the pastries
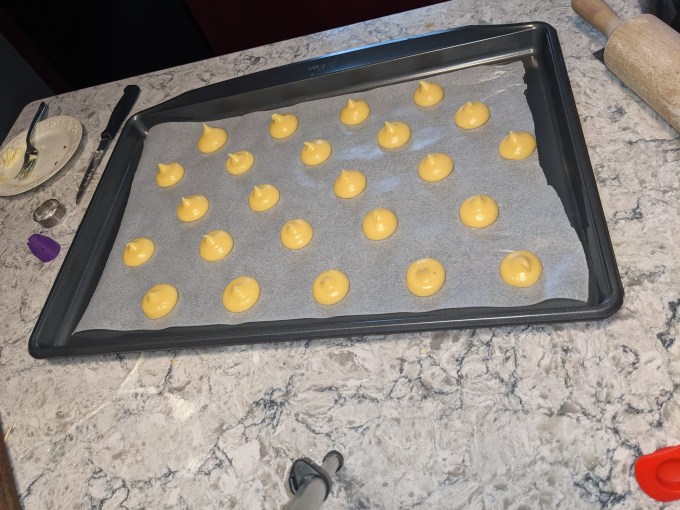
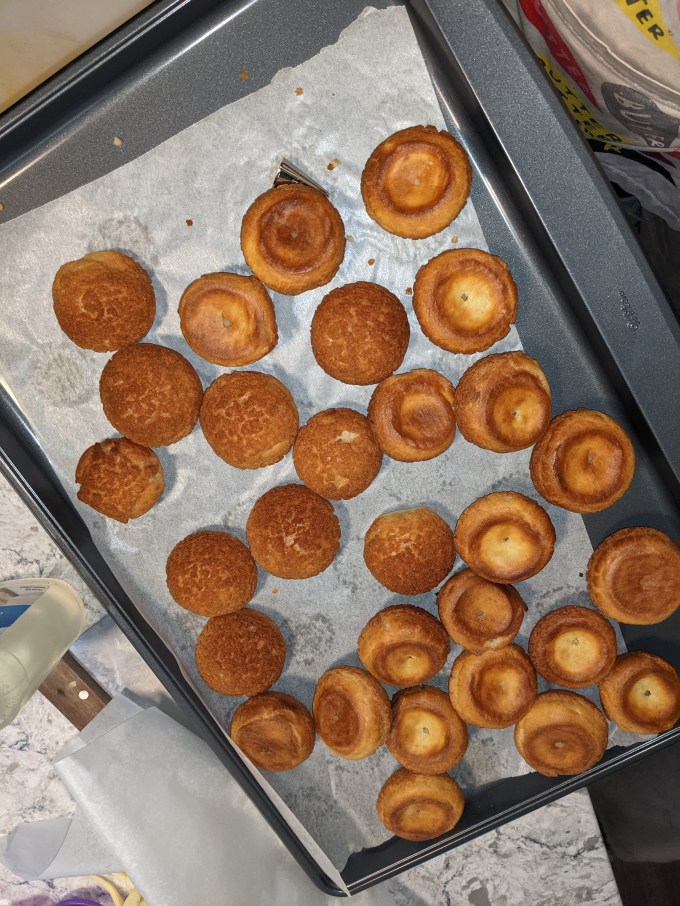
The choux paste is piped into 1 ¼ inch rounds which will become the cream puffs. The craquelin is cut into 1 ¼ inch rounds and placed on top of the choux rounds.

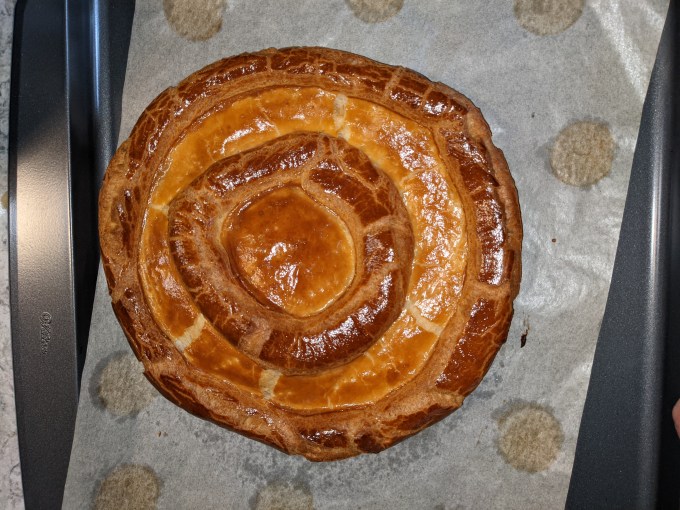
The puff pastry is cut into a disk and then two concentric circles of choux are piped on top. One circle goes around the edge of the puff and the other is in the centre. This will become the structural support for the filling. Both assemblies go into the oven.

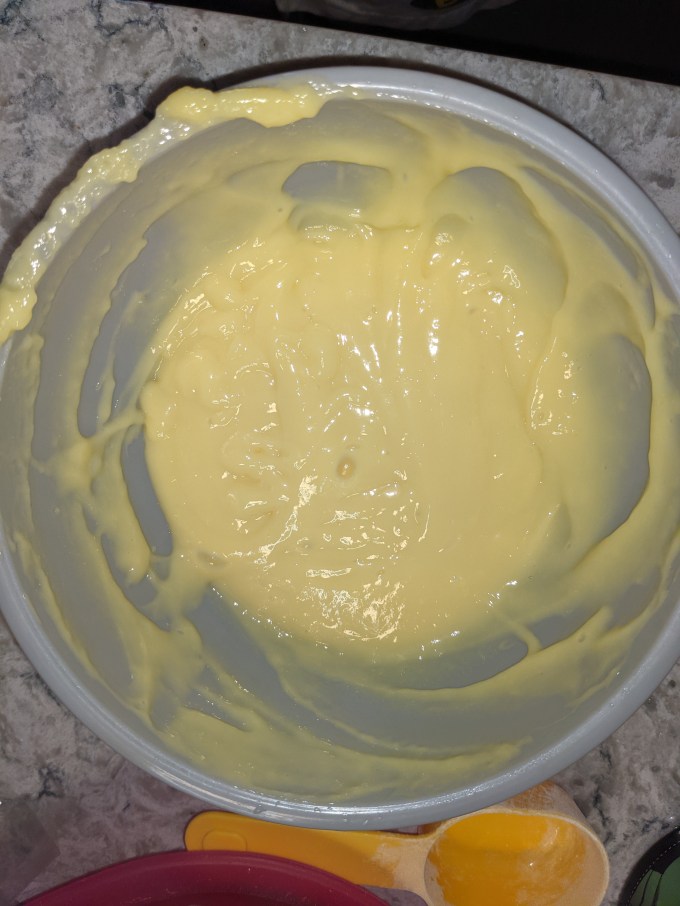
Step 4: Chiboust cream
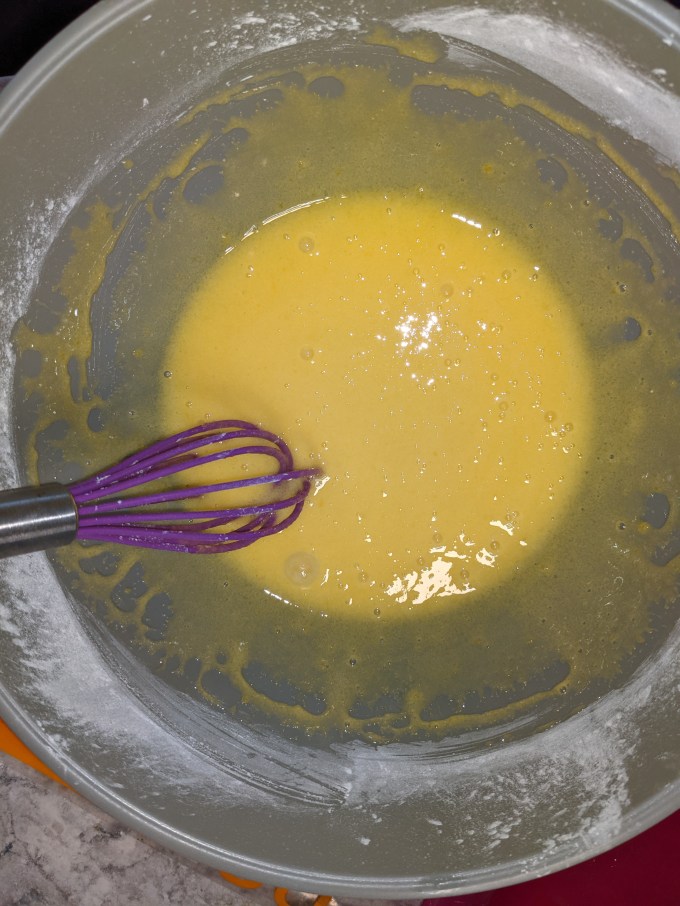
The chiboust starts like any pastry cream: milk and cream are scalded on the stove. Egg whites, vanilla, cornstarch, and sugar are vigorously whisked into a thick liquid. Once the dairy is hot, the egg mixture is gently warmed by adding the milk gradually (a process called tempering). Once the eggs and dairy are fully combined, the entire mixture is returned to the stove and cooked until thickened.
In the meantime, sheet gelatin is bloomed in cold water. Once the pastry cream is ready, the gelatin sheets are squeezed out and combined with the cream until they melt and are fully combined.


As I said above, this is where I ran into a bit of trouble. My understanding from the CBC recipe was to leave the pastry cream on low heat on the stove so the gelatin didn’t set up too much. The next time I attempt this bake (and there will surely be a next time!), I will leave it off the heat to prepare the meringue. This version of the recipe had some of the pastry cream reserved in the fridge and the rest kept warm on the stove.
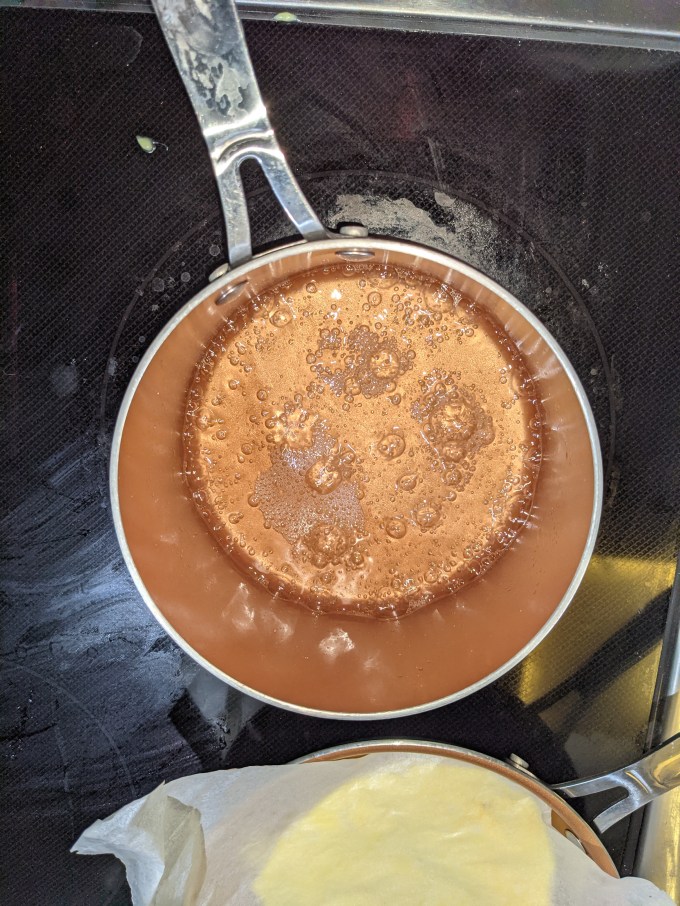
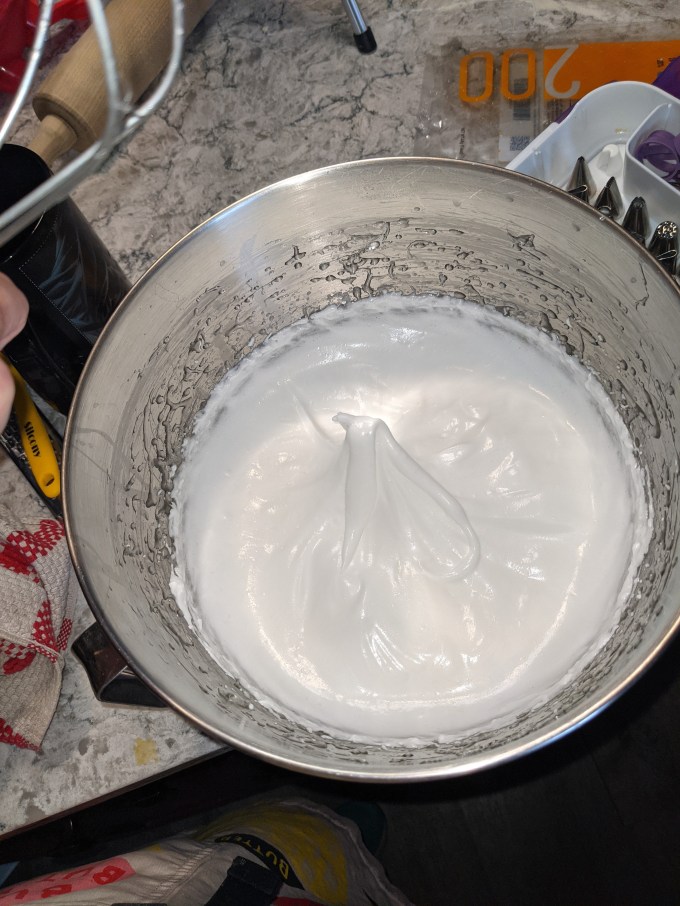
Next the Italian meringue is prepared by heating sugar to temp while beating egg whites. Additional gelatin is bloomed while the sugar is heating. Once the sugar is at temperature and the egg whites are ready, both the sugar syrup and the gelatin are poured into the egg whites simultaneously. This is the same process to make marshmallow as discussed on my post about Marshmallow Puffs (click here to read about that). The meringue is left to continue beating until it is back at room temp.
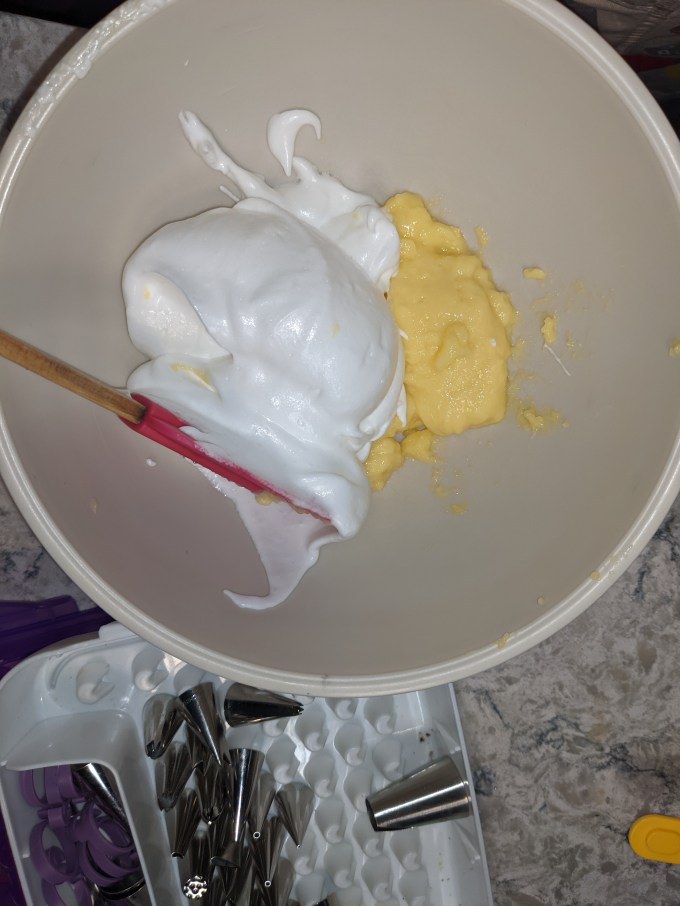
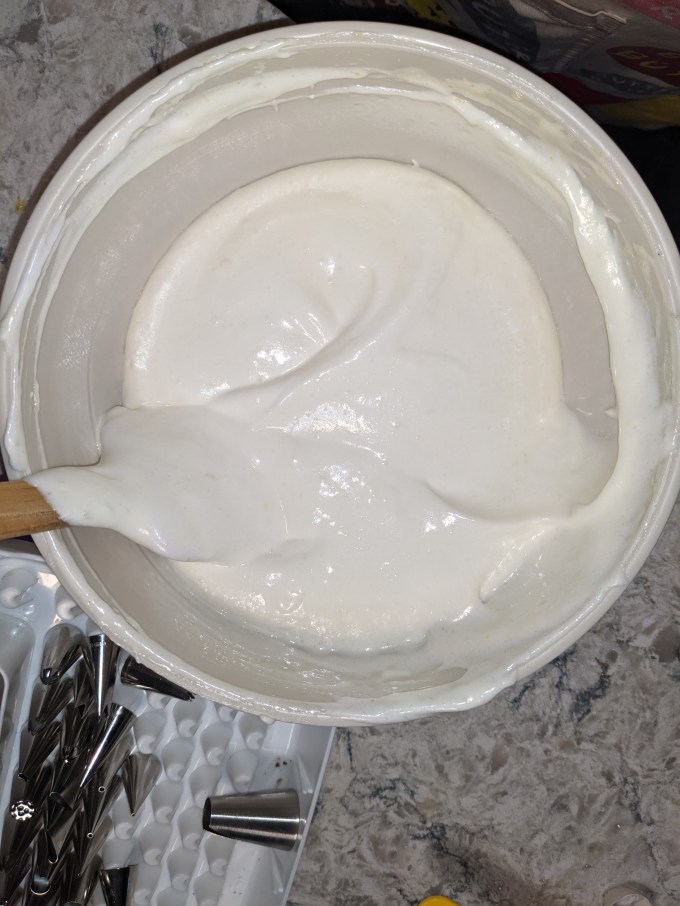
A small portion of the meringue is mixed with the warm pastry cream to loosen it, and then this mixture is folded into the meringue and the chiboust is ready to pipe.
Step 5: Final assembly
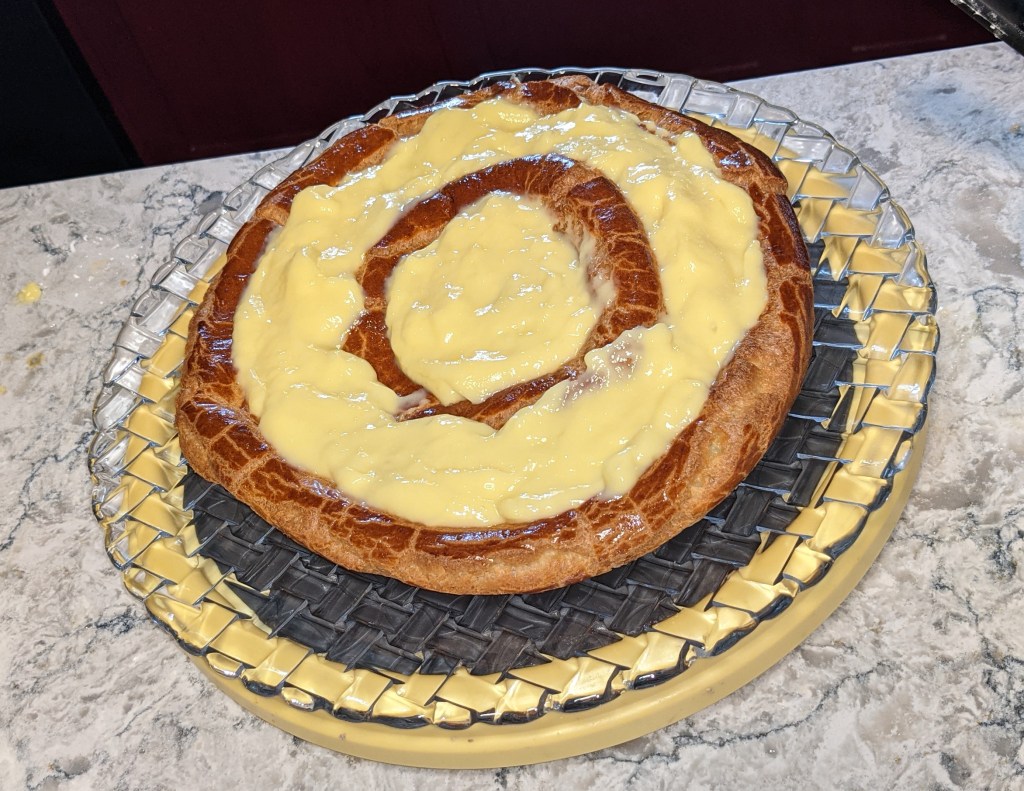
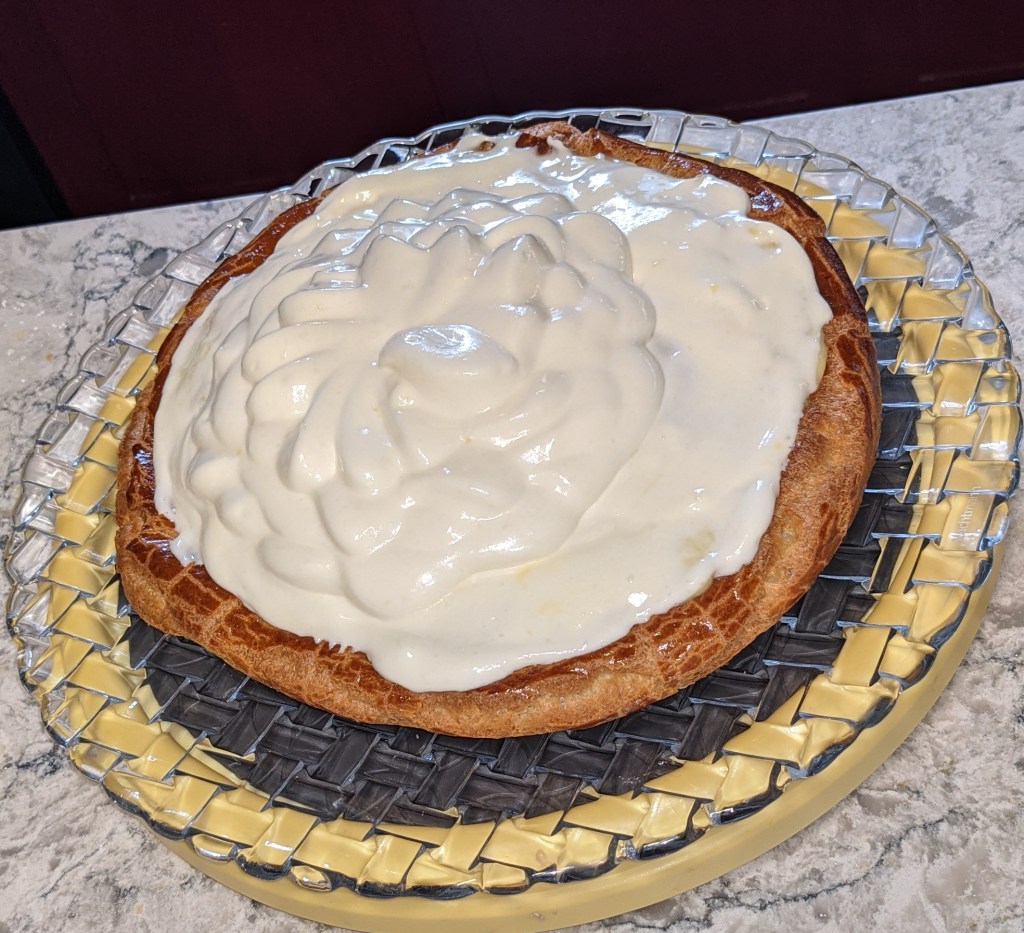
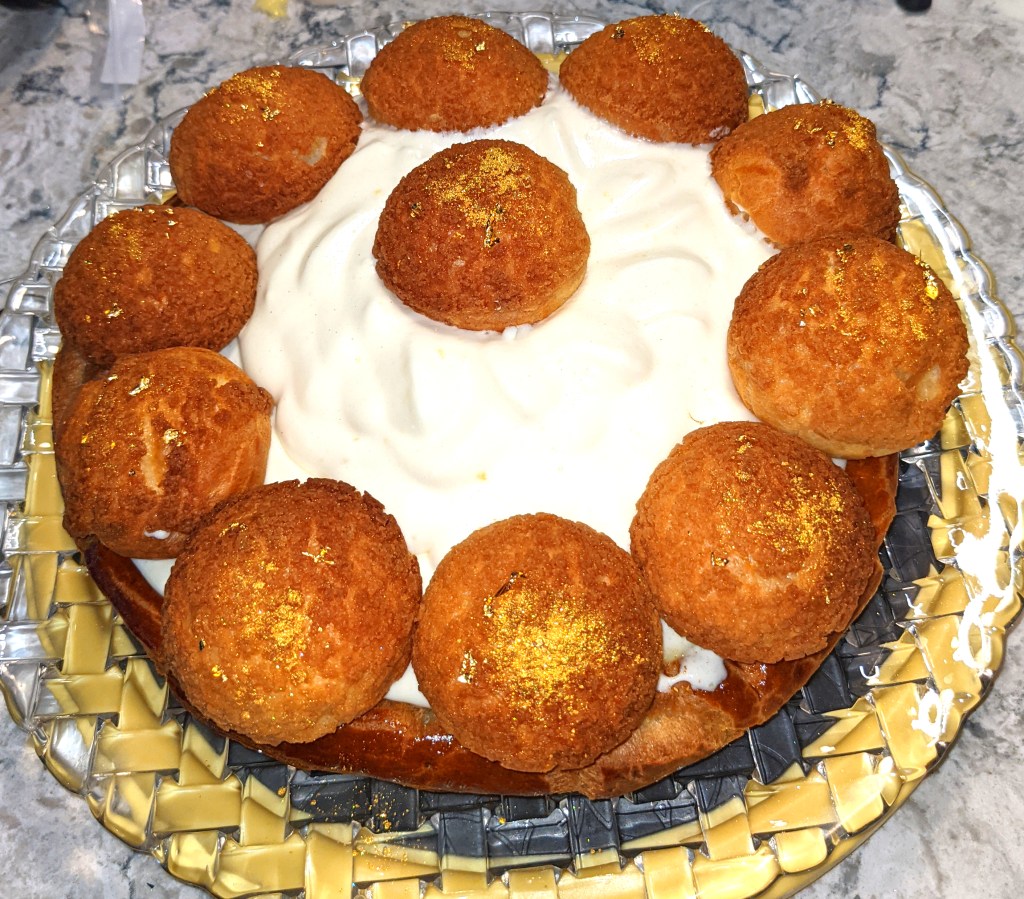
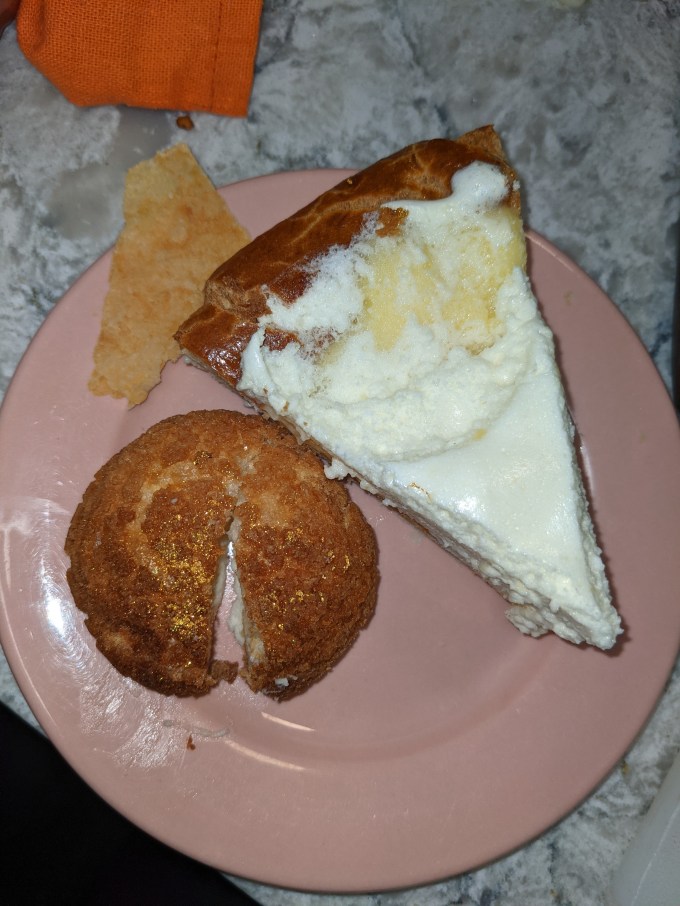
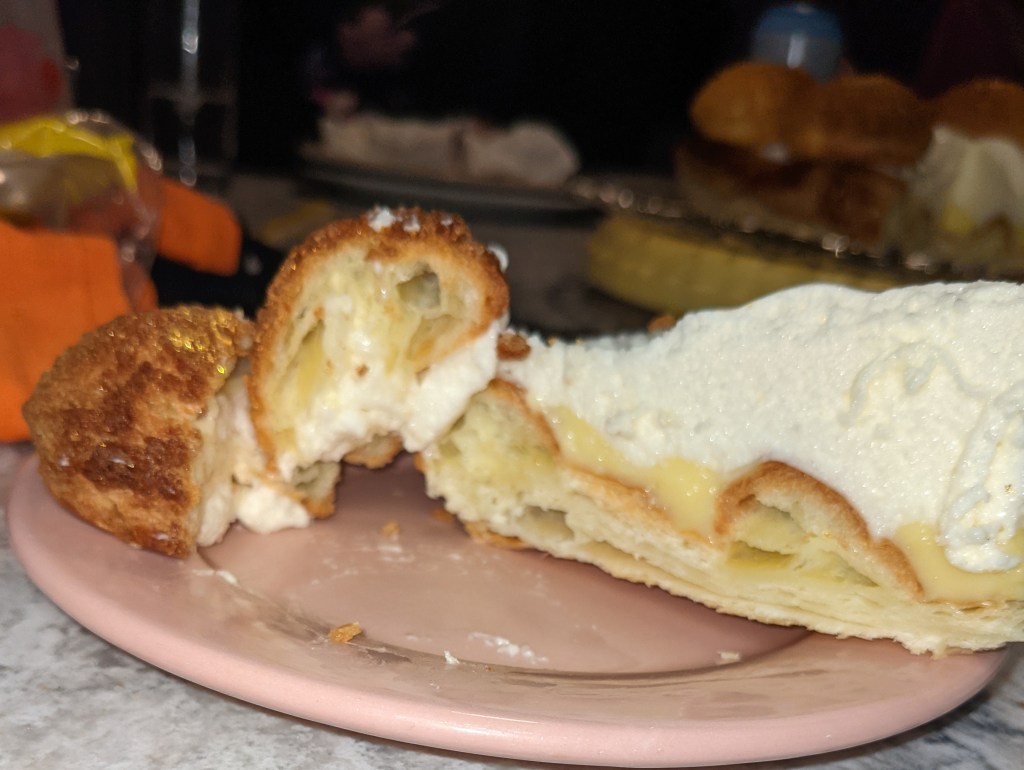
The cream puffs are filled with chiboust cream. The reserved portion of pastry cream is spread into the rings of the pastry shell. The cooled pastry cream is topped with a layer of chiboust. The remaining chiboust is piped into feathers (ish) and then the cream puffs are arranged on top. Gold leaf and gold luster dust are added as an accent, and Voila! HAPPY BIRTHDAY TO ME!
Gallery
I decided to make this cake for my own birthday because it features all of the specific elements of the practice and science of baking that I love the most. This cake is exactly the kind of thing I always wished I had enough skill to bake when I was 16 years old, which is the age that I started getting into baking more seriously and really studying the science and practicing different methods. 20 years later and now I have the ability and the confidence to execute this bake. It was a pretty cool experience to look back on how far I have come as a baker by putting this together. I can’t wait to see how much more I can do 20 years from now! My endlessly satisfying expedition, cast by the furthest net of my wonder and imagination.
Hey, bakers! Check out my BAKER’S PANTRY index if you want to deep dive on specific ingredients when attempting this bake for yourself

Hi Chloe I would love to have the recipe for the Pumpkin Apple Pie you made
LikeLiked by 1 person
Hi Sandra, thanks for reading!
I have not done a pumpkin apple pie, but that sounds delicious! Is it possible you are confusing my blog with someone else?
LikeLike