Why hello there, Friends and Fellow Bakers! Here we are, ready to talk about Swedish Princess cake, which was featured on the Season 2 finale of GCBS. I remember the first time I saw this episode, I hated this cake, which puts it into a category of bakes I was not very enthused to do for this project. In retrospect, I must say, and to the surprise of no one: WTF CBC. If they had given even a 10 second background on this cake, I would have had a completely different attitude towards it. I won’t get into the whole story of this cake, but here is a great article about it by SwedishFood.com. The short version is this cake was developed by the nanny and educator of the Swedish princesses at the turn of the century and has developed into an iconic piece of Swedish cultural cuisine. They also have a week in September each year where all the bakeries donate the proceeds from sales of these cakes to a trust that benefits children. It’s all very cool stuff, and the CBC told me nothing about it. If I had any of this information, I would have probably scheduled this bake for September and made more of an effort to execute it perfectly. I imagine this is not going to be the last time I encounter this while completing this project unless I start doing a bunch of research before I start baking, which I don’t always have time to do. So, look forward to more of my bellyaching and complaining about the CBC! It’s what we are all here for!
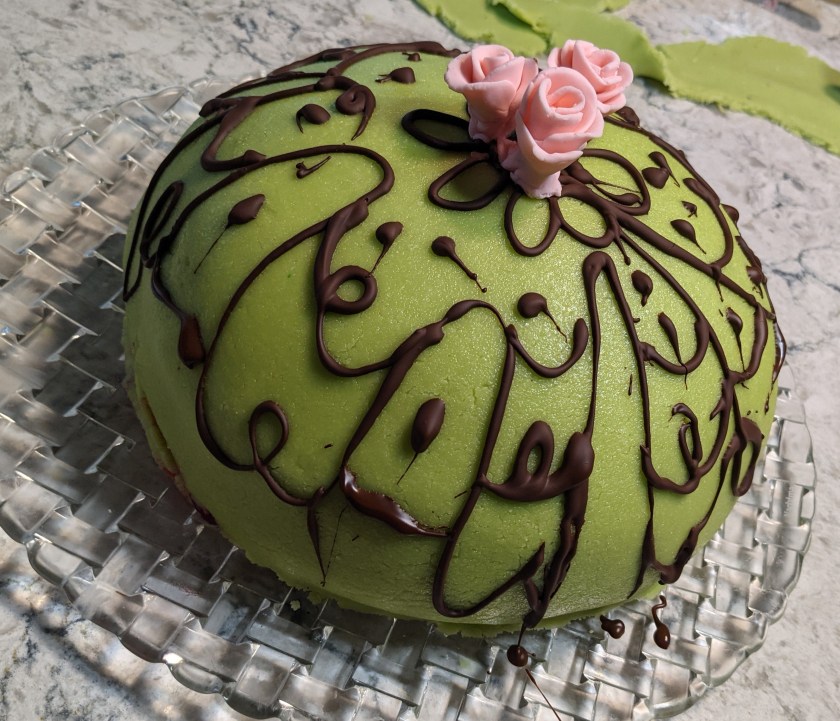
The Swedish Princess Cake is a basic genoise white sponge cake, layered with jam and pastry cream, then topped with a dome of whipped cream. The whole thing is covered in green marzipan and decorated with fondant roses and chocolate filigree. I am no expert, but my research suggests the most authentic version actually has cake on top of the dome, but the CBC recipe had the three layers of cake under the dome, which I suspect was done to keep the technical challenge to 2 hours 15 min. I think it would probably take most of a day to make a cake dome because you would have to put the hot cake into a bowl and then chill it, but that is an educated guess.
At the risk of roiling up the ire of the cake decorating fandom, I will say this cake always rubbed me the wrong way because I don’t like the green colour and I am not a fan of covering cakes in sheet icing, whether we are talking about fondant or marzipan. I realize many people like the look of fondant because of the nice clean lines, and a lot of bakers like working with it because a really sharp look can be achieved in a short amount of time. It’s also relatively easy to take shortcuts if you want to, like moulds and cutters to make the work look machine made and quite perfect. Don’t come for me, fondant freaks. I realise that fondant sculpting takes creativity and time and practice and I am not trivializing that at all. I respect the craft, it’s just not my jam. Give me that piping bag and a palette knife all day long.

The point is, I admit I had a bad attitude about this cake going into it and it is reflected in the final product. I lost interest in it before I even started, so this is a very half-assed bake for me. Do you see that chocolate work? That is the chocolate work of someone who is so done with it all. I also had a bit of trouble with my layers, which I will get into, but the short version is I had to do some smart cake decorating magic to hide the problems. Overall I would say this is a display of my intensely well developed “fake it til you make it” skills more than anything. Forge ahead, put out the fires, and move on is my approach to most things in life, and this was no exception. I was most pleased with the dome shape, I got it almost bang on. I thought this was going to be the most difficult part of the assembly, but it wasn’t as hard as I expected. I didn’t manage to get the marzipan on prefectly clean, but I probably could have if I had tried a little harder. Also it was cool to make marzipan from scratch, which I have never done before.
Underneath all of this negativity is a delicious cake, I must say. The excessive amount of whipped cream in it was a bit much for me, I found it way too fatty, but that is just personal preference. The sponge was soft and eggy, the pastry cream was rich (also not my best work, as you will see) and not too sweet, the jam added a little bit of sour contrast, and well, the marzipan for me was pointless and I didn’t eat it, but everyone else who ate it seemed to enjoy it.
Step 1: Genoise
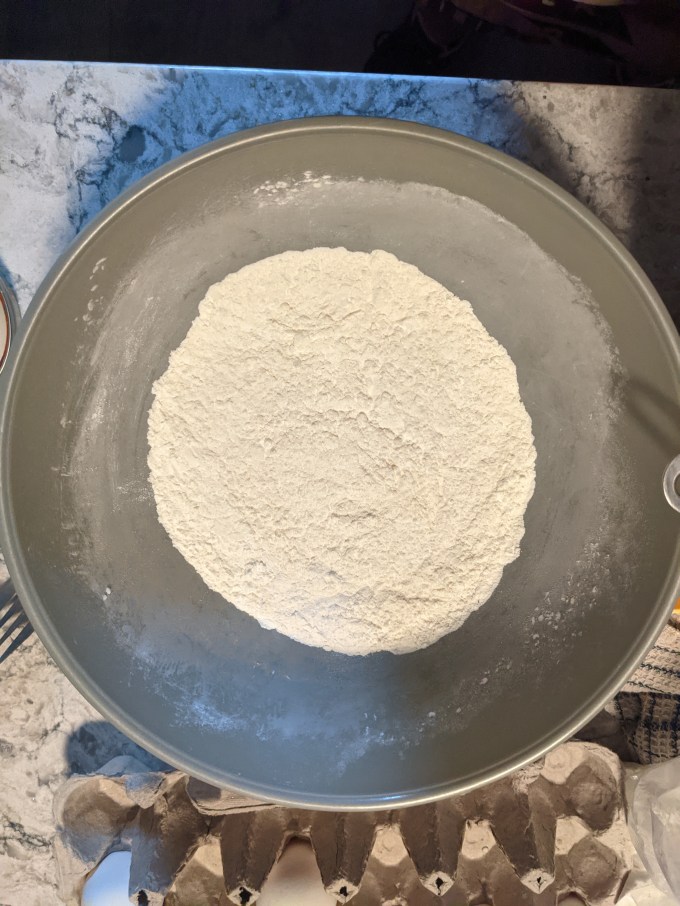
Genoise is a white sponge cake and this method was pretty standard. The CBC recipe had corn starch in it, which I have never seen before. I am not exactly sure what this is for… I think there is cornstarch in self-rising flour, so my guess is this was to make self-rising flour on the go, but that is really more about the baking powder which is also included here, so I don’t really get it. Will I ever understand what is going on with CBC recipe development? All signs point to no.
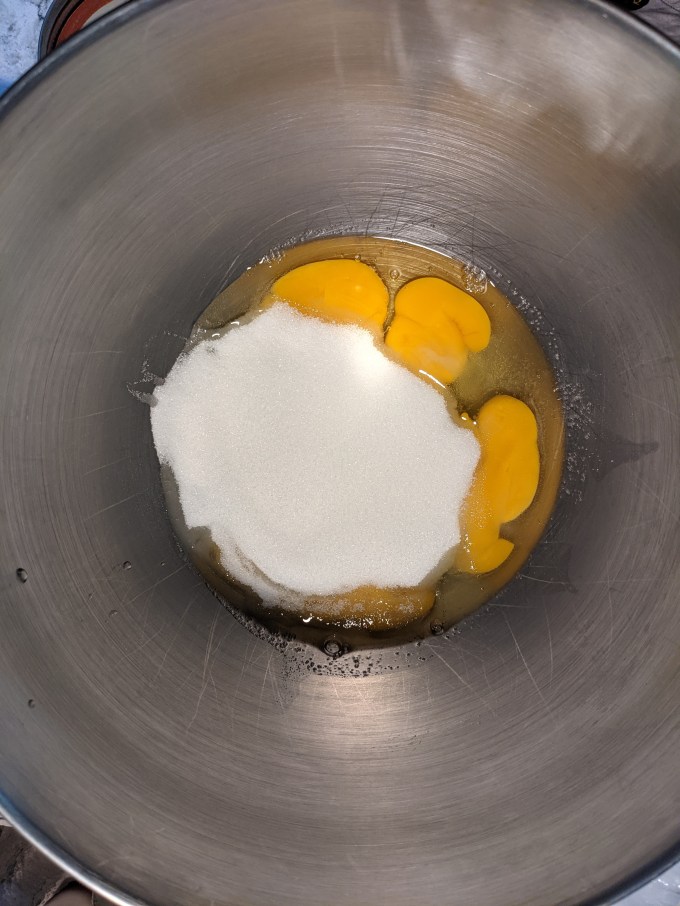
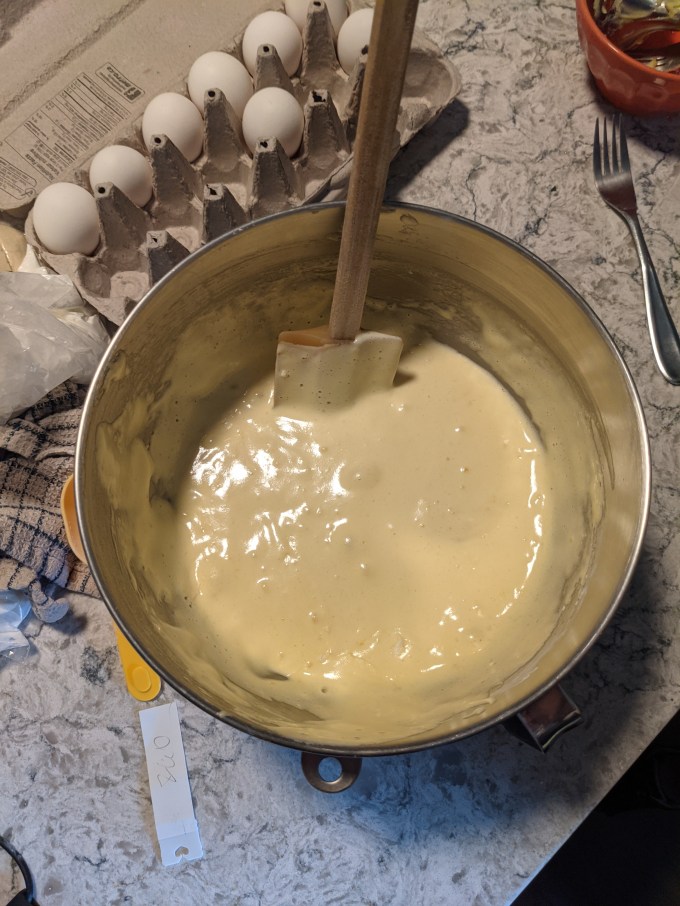
Anyway. Eggs and sugar are whipped on high speed until they are puffed and thickened. Dry ingredients and a bit of melted butter are folded in and that is all there is to sponge cake. There is nothing special about a sponge cake, but I find that kind of endearing. It’s just simple, elegant physics. I felt a great affinity to Andrei the contestant when he said “there is nothing mysterious about anything in this recipe, it’s just putting it all together that’s going to be the trick.” BANG ON, MY GOOD MAN!


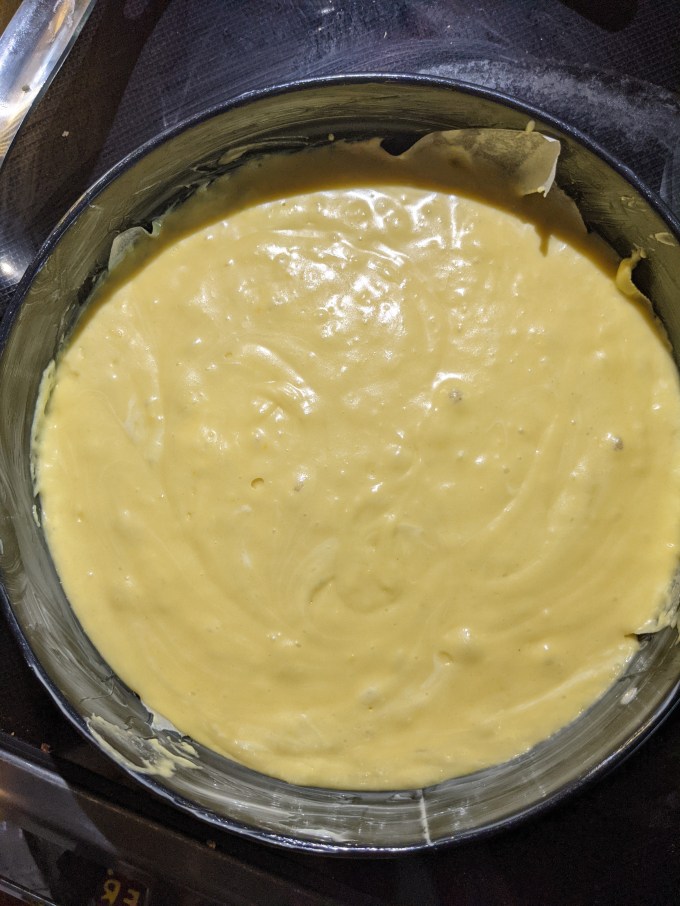
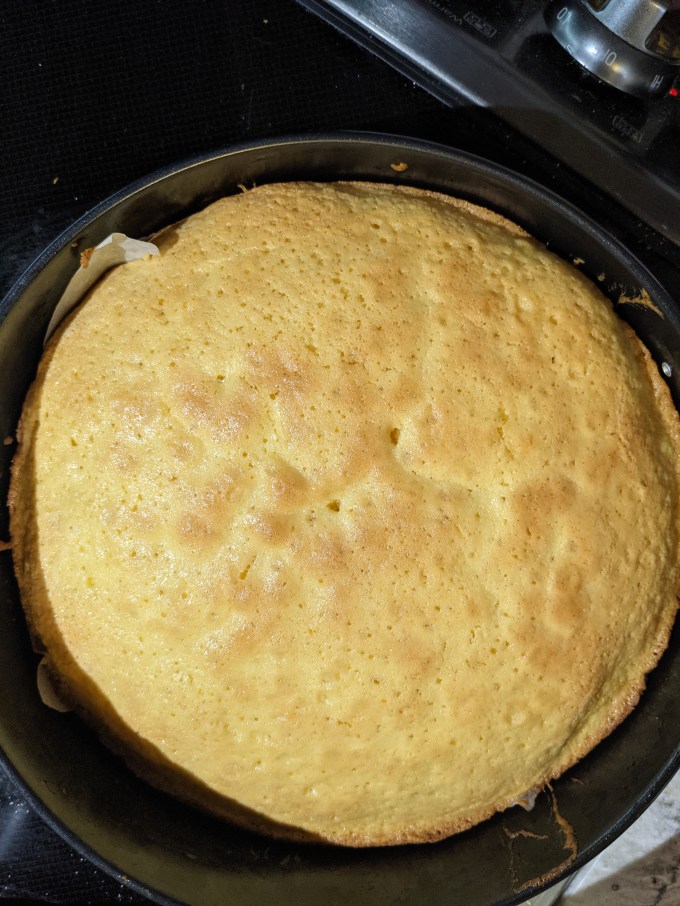
I did have a challenge here and it was a new one for me. I have had this oven for 2 years and it is the first oven I have had that is forced air (other than my experience working in commercial kitchens with convection ovens, but I wasn’t doing any kind of baking in those jobs, so I don’t have a lot of experience) instead of electric heat. This was my first time making a deep sponge in the forced air and apparently the cake batter was so light (go me) that the air current actually BLEW THE BATTER OVER so the cake came out lopsided. This was a bit disappointing, but also on brand with my overall attitude about this cake. Of course it’s lopsided because of course it is. For future reference, I will put cakes like this on the top rack to protect them from the fan.
I had a little debate with Dave about tossing it and starting over. I probably would have, but I was completely out of white sugar and I needed more flour and cornstarch and I was just like…. Nah. Sneaky decorating time it is, then!
Step 2: Pastry Cream
Pastry Cream is a standard soft custard used to fill all types of cakes and pastries. Milk and cream are gently heated while eggs, sugar, cornstarch, and vanilla are whipped together. The warm cream is slowly added to the eggs (a process called tempering, which prevents the eggs from scrambling as they warm up) and then the whole mixture is cooked on stovetop until thickened. It is usually taken off the heat just as it starts to thicken and then strained so it is perfectly smooth, but you can do different things with the consistency of it depending on the application it is being used for.
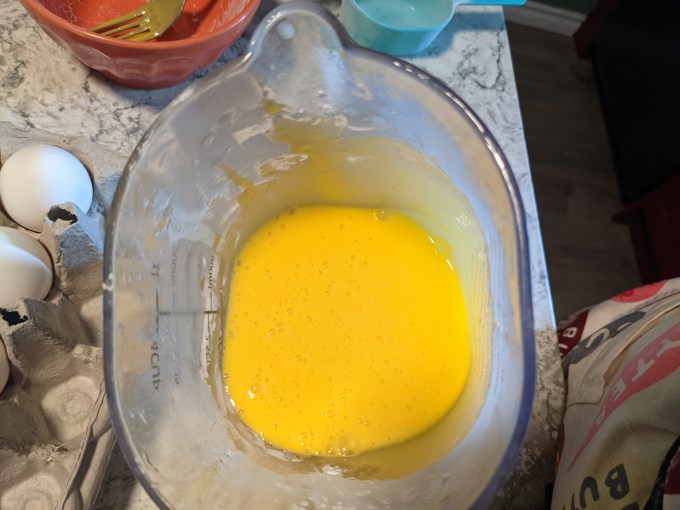

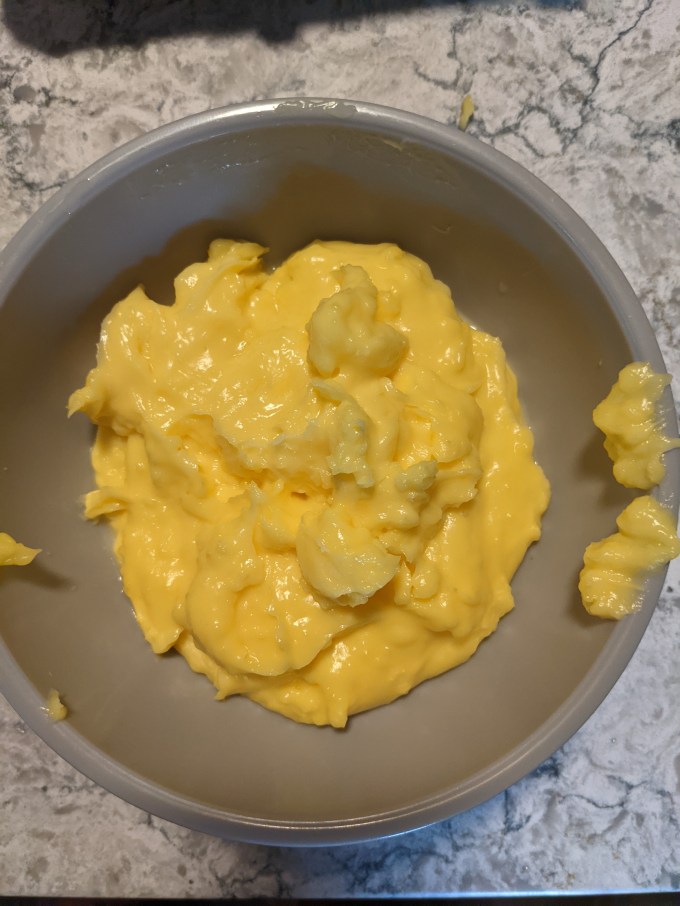
I have made pastry cream many, many times and I have complete confidence in the method. I also have complete confidence that this is the worst one I have ever done. It wasn’t entirely my fault. This recipe has way more cornstarch in it than what I would normally use. I suspect there were a number of choices made by the CBC developers to cut time off of this bake for filming purposes. So what happened is the mix came to boil in about half the time I was expecting and it was overcooked. This didn’t impact the flavour or the final eating experience at all, but it meant I didn’t get that nice silky smooth consistency we look for in a good pastry cream. Mine was overly thick and not as smooth as I would have liked. I zipped it with the immersion blender which helped, but it was still very meh.
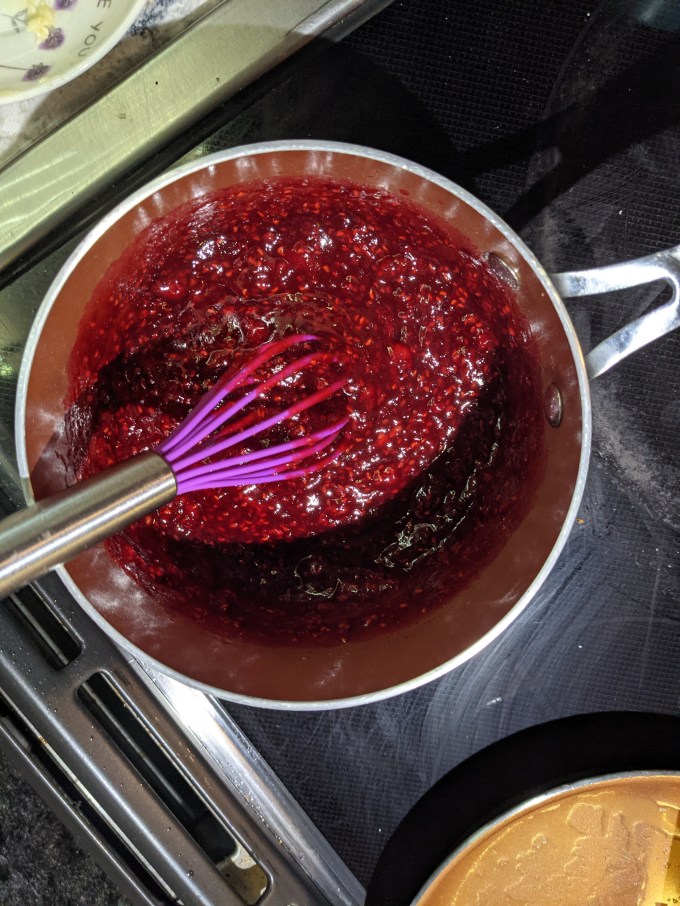
Step 3: Jam
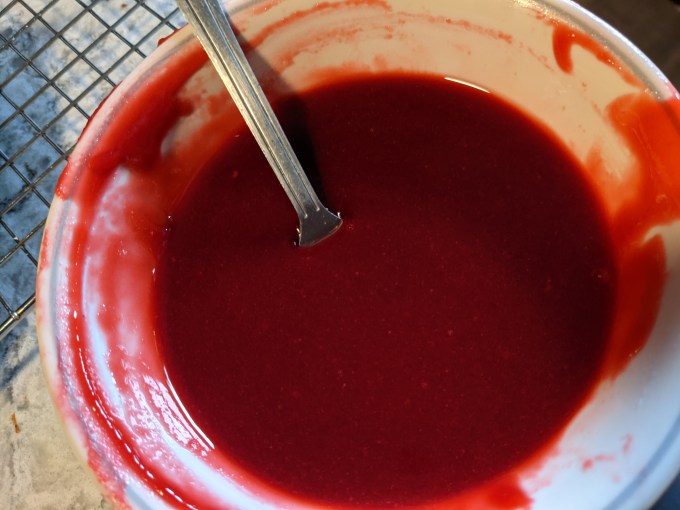
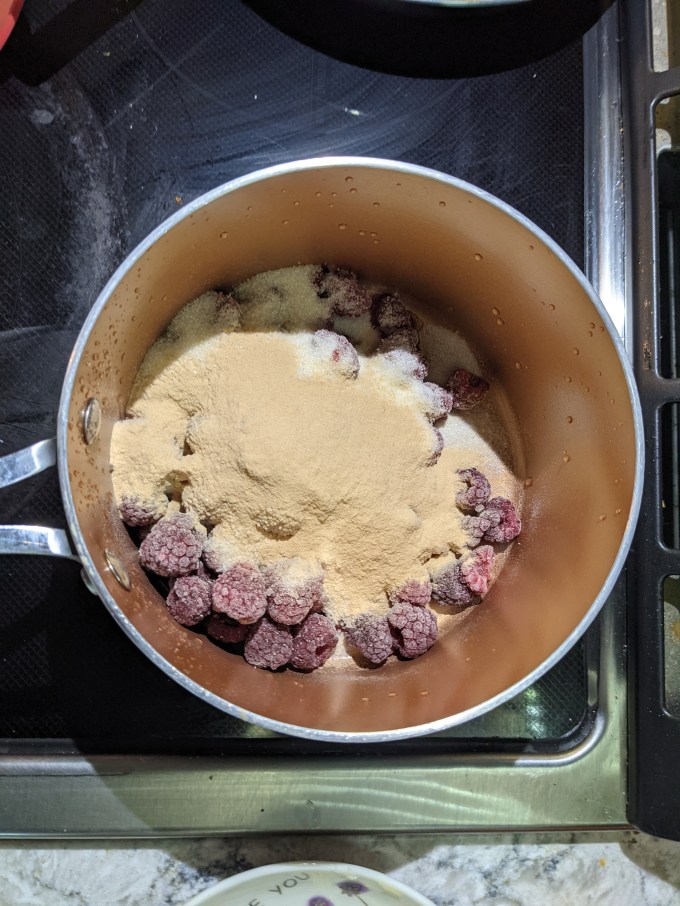
Here we are again making jam for the CBC. These people are obsessed with jam. Once again they called for jam sugar, and once again, I used sugar and apple pectin to the same effect. Raspberries, sugar, and pectin are brought to boil together. Once the mixture is thickened, it is strained and left to cool.

Step 4: Marzipan
This is the component I was most interested in making. I remember when I was about 15, I got a subscription to Martha Stewart Living, which my friends made fun of me mercilessly for. In the magazine they often decorated cakes with marzipan figures and I thought it was ADORABLE. Sadly, I grew up in a small Canadian town in the 90s, and getting your hands on marzipan was Not a Possible ThingTM. The internet was not the place it is today, so there were many mysterious and compelling baking tools and ingredients I used to imagine getting to learn about some day. Martha Stewart Living was one of many publications that gave me a glimpse into the marvellous and enticing world of baking feats I might be able to accomplish one day, if I could get my hands on a thing or two. And here we are.
Ground almonds, icing sugar, and egg whites are combined to make a play-doh consistency. This marzipan is tinted “kelly leaf green” which, incidentally, is probably my absolute LEAST favourite shade of food colouring. One thing I wasn’t able to find is why the Swedish recipe developer/educator/nanny went with green for this now-iconic bake, but it does seem to be the standard still to this day. Green it is.
Apparently I didn’t get any pics or footage of me making the marzipan (I admit I was distracted during this bake. I had set up the camera to film it but I think I didn’t start it or something…) but here is the TikTok I made of me rolling it out and decorating:
Step 5: Assembly
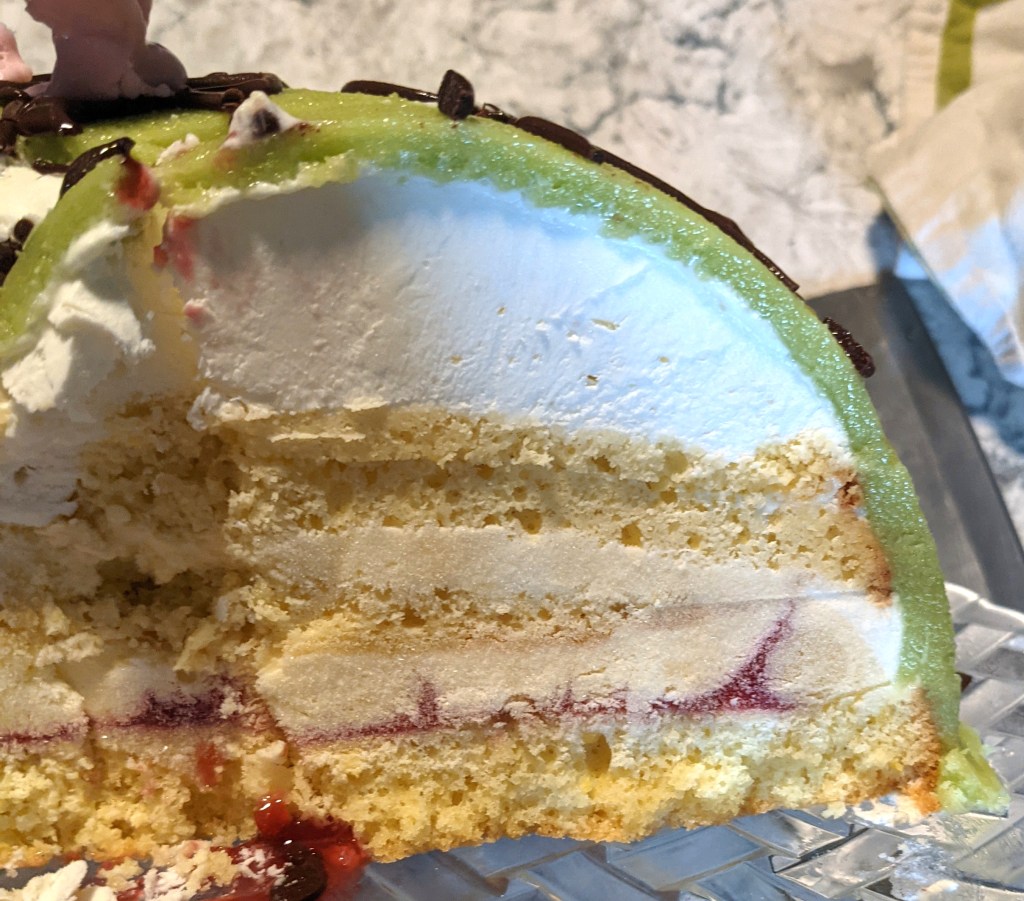
Alright so here we go with some truth-telling. As I said, my sponge cake came out disappointingly lopsided. It was simply not going to be possible for me to cut 3 even layers out of it like I was supposed to. What I did was I cut as much off the top as I could which gave me a thin disk that was about half the diameter it needed to be. I sliced what was left of the cake in two to get the two good layers I needed. Then I took a thin slice off the thicker of the two layers. I used the thin half disk and the thin extra slice as a single layer together. I also put these two hodge-podge pieces in the middle of the cake with the two good layers on the top and the bottom to hide the errors within the filling. All of this is nothing to brag about and the judges on the show would have busted me for this, I am 100% sure. But to the average person stuffing cake in their gob, it was undetectable and I would be lying if I said I wasn’t pleased with my own chicanery.
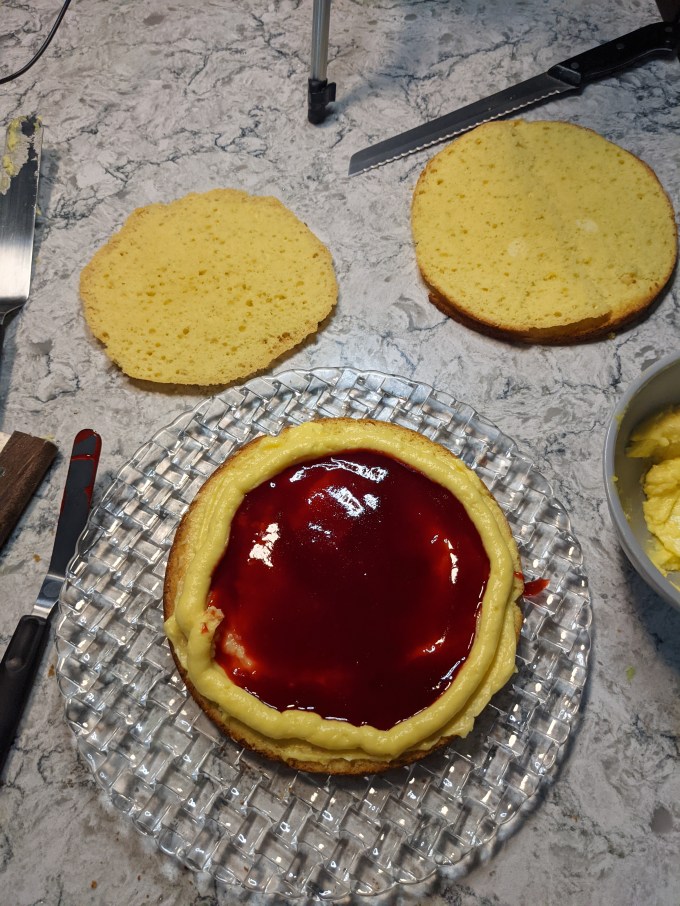
The first layer of cake gets spread with pastry cream and ring of pastry cream is piped around the edge to contain the jam. Jam is poured/spread inside the ring and the second layer of cake goes on top.
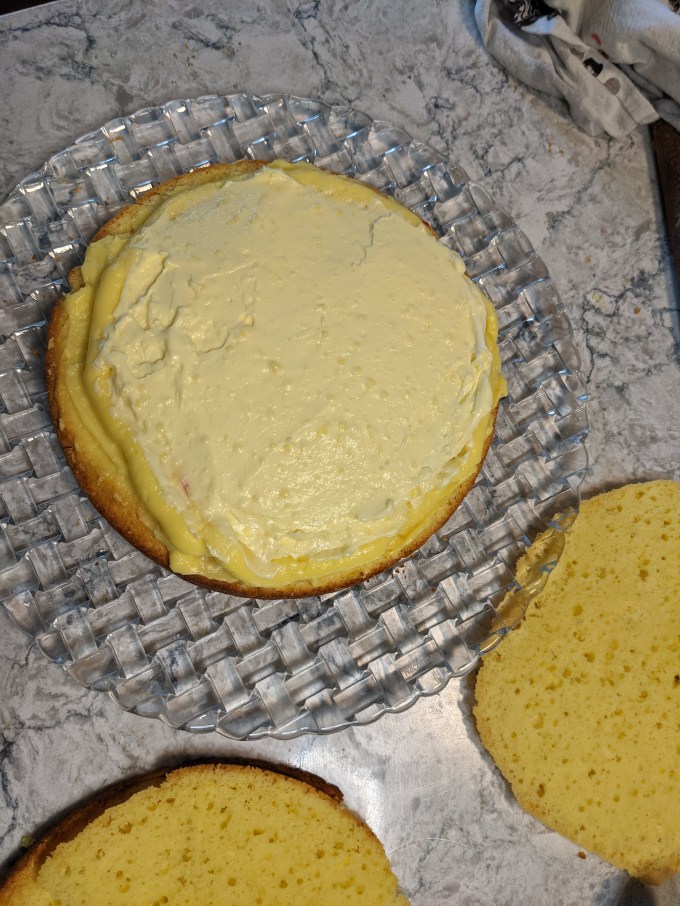
The remaining pastry cream is combined with whipped cream (this combo is actually called Diplomat cream, which wasn’t mentioned on the show or in the recipe for some reason) and the second layer is topped with diplomat cream only. The third layer is placed on top, and plain whipped cream is shaped into a dome on top.

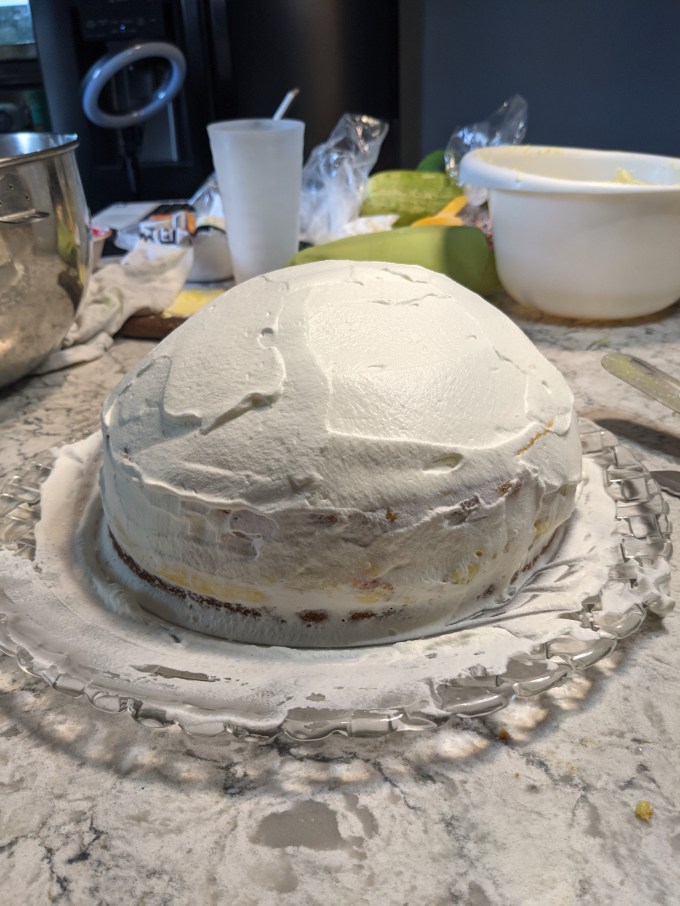
The whole cake gets chilled in freezer so the whipped cream can firm up a bit so it’s strong enough to take the marzipan.
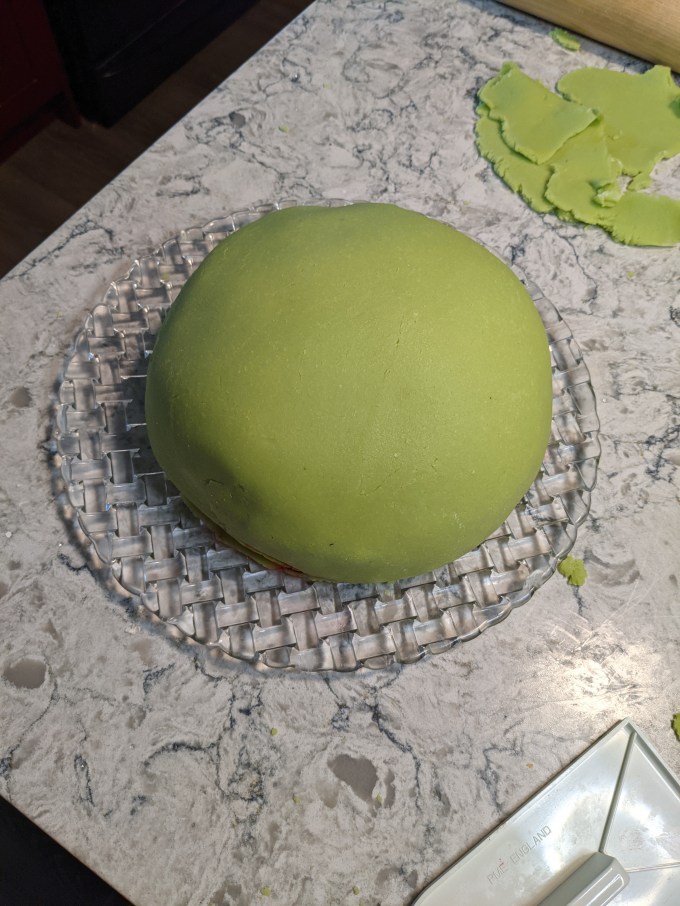
Marzipan is rolled out and draped over the cake like fondant. I had some issues getting my marzipan on in one piece, mostly because this bake was interrupted by a social engagement, and I left the marzipan out for over an hour so it had dried out a bit. I probably should have moistened it a bit, but I refer you back to my complete lack of interest in this cake.
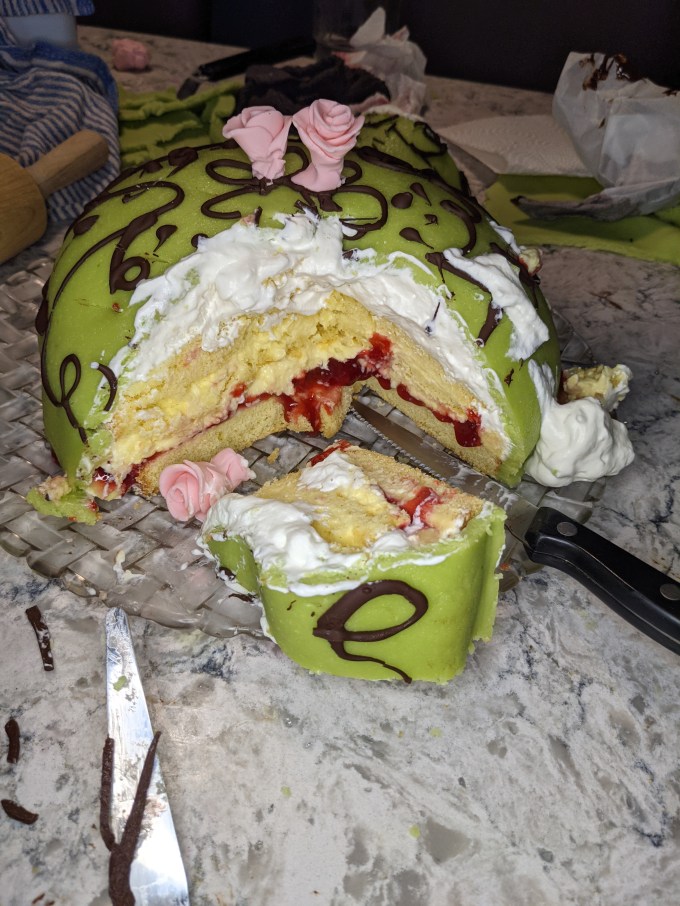
Moving on to tempered chocolate. See my posts about Marshmallow Puffs and Chocolate Marquise to hear all about how much I hate working with chocolate, and you will have some idea why this “filigree” looks more like something an 8 year old would do with finger paints. I was happy with my fondant roses. I wanted to make one single large one, but it had been so long since I worked with fondant, I spent about half an hour making different roses and for some reason every time I tried, they all came out the same small size. Eventually I had to just move on and went with the three smaller ones.
Gallery

In spite of everything, as you can see my trickery with the cake layers worked well and all of the components were great. I give myself a 7/10 overall on this bake, mostly deducting points for appearance and the crappy pastry cream. I doubt I will ever make this cake again, but I am pleased I got that nice dome shape, so I got what I wanted out of it, I suppose. Onward and upward!
Hey, bakers! Check out my BAKER’S PANTRY index if you want to deep dive on specific ingredients when attempting this bake for yourself
