My Friends and Fellow Bakers! I have some hilarious and exciting news: this technical is actually a BONUS and now the total number of technicals I will be doing for this challenge will be 33 instead of 32 as originally planned. How did this happen? LET ME TELL YOU A STORY.
I have had the idea for this project in the back of my mind for as long as I have known about the existence of GBBO. I decided to finally pull the trigger on it while episodes of Season 4 of GCBS were still being released each week, and I started baking about a month after the finale aired. The first thing I did when I was planning how and what I wanted to do was to go to the GCBS page on CBC and bookmark all of the technical bake recipes. I knew there were 4 seasons so I bookmarked 32 recipes. #math, amirite?
As it turns out, I started so soon after the show ended that the technical recipe for the most recent finale hadn’t been posted yet and I didn’t even notice. That isn’t even the best part. My favourite thing about this story is there was a WHOLE-ASS BONUS EPISODE that I didn’t even know about! IMAGINE MY EXCITEMENT. Sometime between seasons 3 and 4, a holiday special aired featuring bakers from all past seasons (so Dickensian lol), and it was DELIGHTFUL. With that being said, it is almost embarrassing how long it took me to figure out this episode even existed. I watched the signature challenges for two OTHER episodes, only to discover that neither of the technicals from those episodes were the challah I was so determined to make, before I finally found this elusive bonus (great work with the clear and coherent website, CBC, as usual, btw). I’m not mad about it. We get a bonus post for you, and a bonus episode for me, and a fine loaf of bread for Dave. Win-win-win.
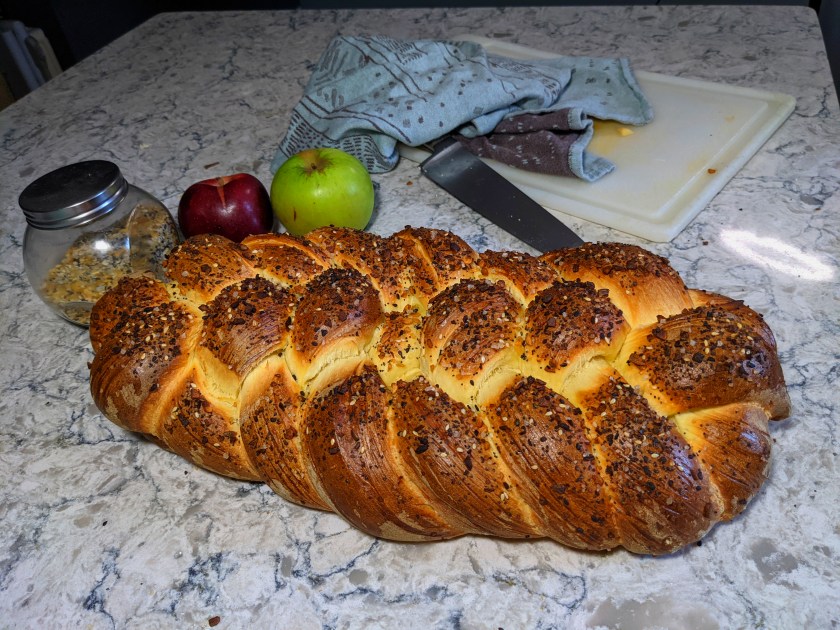
SO. Challah. A braided egg bread of Jewish tradition, served at ceremonies and holidays, hence its appearance on the holiday bonus episode. A classic for a reason. Challah is one of the first breads I learned when I first got into baking as a teen and it’s one of my personal favourites to eat and to make. The CBC recipe also interested me because it included homemade apple butter and I have a pathological obsession with condiments that is one of my most favourite treats when I can get my hands on it. They also made made butter on the episode, but I didn’t bother because 1) “homemade butter” is just a pretentious way of saying you whipped cream for a long time 2) it added no value to the bake 3) once again the CBC recipe is basically useless incomplete because it doesn’t say anywhere in the ingredients that cream for butter is needed. I didn’t even know I was supposed to make it until I read to the end of the recipe and it wasn’t even totally clear that making butter was part of the recipe once it was mentioned. I had to confirm upon viewing the show.
My execution of this bake was good: it was up to standard in terms of the science of the dough and the final eating experience. I will take some points off of my imaginary score for some cosmetic things. 1) I had some lines in the ropes of the braid which were due to poor shaping [not to be mistaken for having pulled the dough too tight which indicates a larger issue with the build of the dough] 2) The exterior of my loaf looks a little dark because I topped it with everything bagel seasoning instead of sesame seeds (worth it) 3) I should have been more generous and detailed with the egg wash. Points off for aesthetics for sure. My bake is an “ugly duckling” as the judges on the show would say.
The apple butter was surprisingly fun to make and turned out very nicely. This would be easy to do again on a rainy weekend stuck inside while you are doing other things. It mostly just needs to sit idle on the stove for hours on low heat.
All in all this was a fun bake and helped with my continuing education as I navigate the online world. The CBC recipe is pretty decent, but now I just want to go and try the Bread Baker’s Apprentice version which has been on my to-do list for a while. Stay tuned to The Proving Ground if you’re interested in that version, I expect it will make an appearance soon 🙂
Step 1: Mixing and First Proof
This recipe is what I know as “enriched straight dough method,” except it uses instant yeast, which essentially means the CBC recipe has unnecessary extra steps. Colour me surprised. Straight dough method uses active dry yeast, which needs to be hydrated before it is added to the dry ingredients. The whole point of using instant yeast is you can skip hydrating and proofing it and just add it directly to the dry ingredients. For some reason this method called for hydration and proof with sugar before adding to dry ingredients and I have no idea why. But I FOLLOWED THE RECIPE because that is the point of this project. I guess.
To summarize: yeast, water, and a small amount of sugar are combined and left to stand until frothy, which is called a “proof” or “proving” the yeast. This terminology can make bread methods confusing. The word “proof” or “proving” can refer to two similar but different processes. When yeast is hydrated and combined with sugar to ensure it is vital, as in this case, this is a proof. When a worked dough is left to rise, this is also called a proof. I will try to distinguish between the different types of proving as follows:
Yeast proof: proofing yeast with sugar before adding to dry ingredients
First proof or bulk fermentation: the proof after yeast has been added to dry ingredients
Second proof: last proof before baking
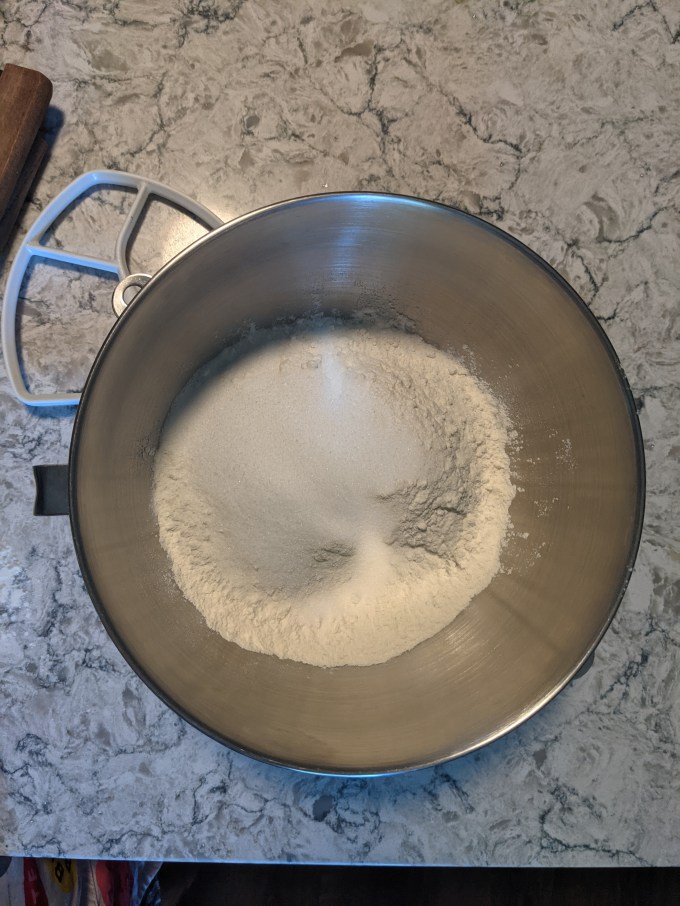
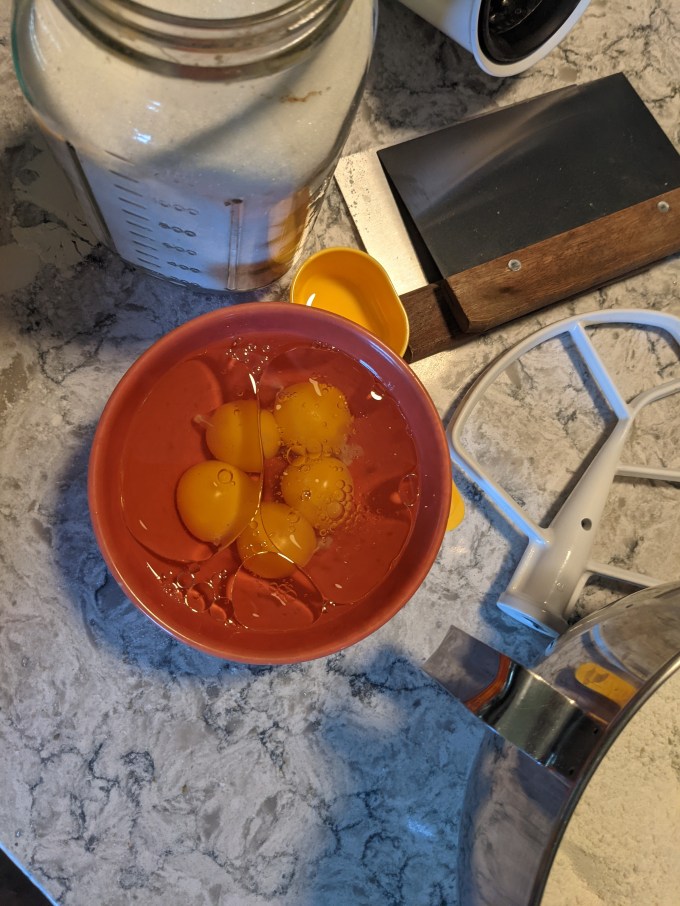
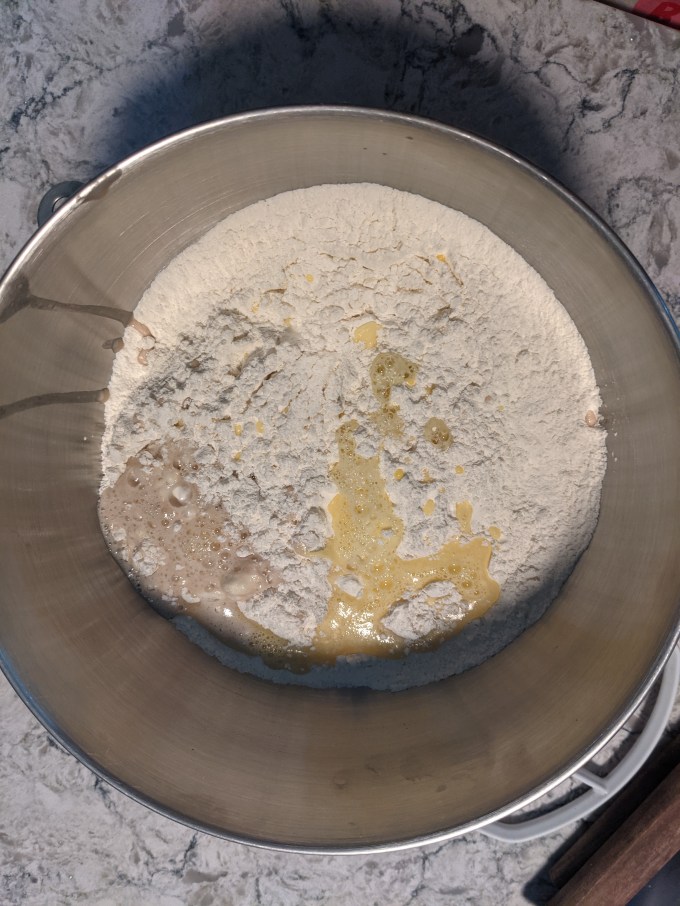
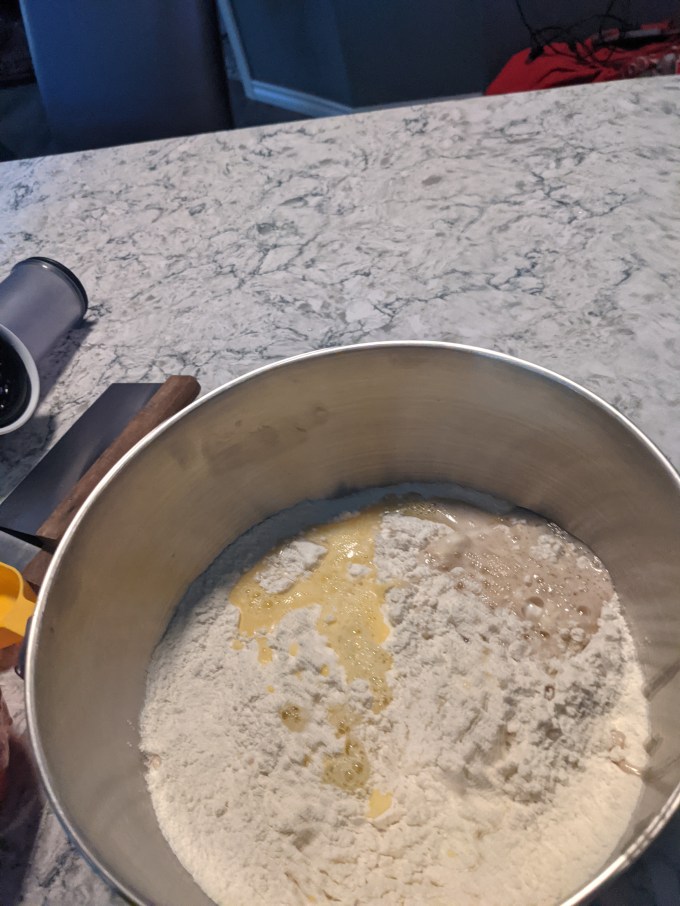
SO: the yeast is proofed with sugar for no reason because we are working with instant yeast. Egg yolks, vegetable oil, water, and more sugar are whisked to combine. Dry ingredients are combined and then all of the wet ingredients are added. Knead approximately 7 min until elastic dough. Straight. Bread. Method.


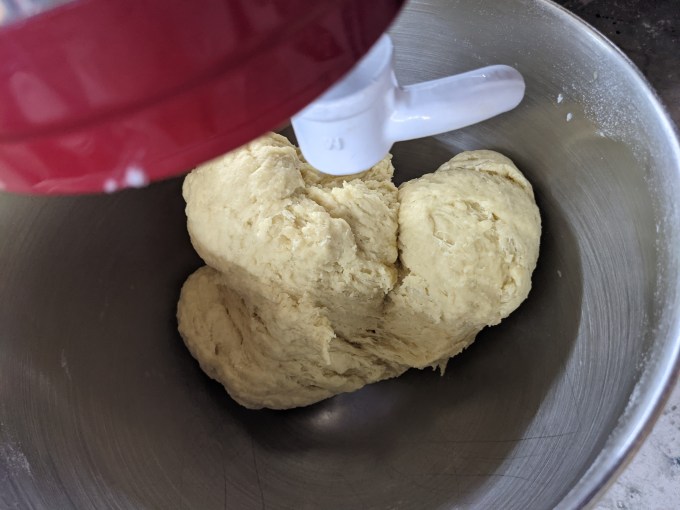
Once the dough comes together and is kneaded, it is divided into six portions for first proof. One thing I learned from this bake is I need to work on my photography because my photos don’t really do the proof any justice. Lesson learned.

Before Proofing 
After Proofing
Step 2: Braiding and second proof
If I was going to make this particular recipe again, I would do a bulk fermentation of the entire dough instead of dividing it into six before first proof. As far as I am concerned (and this is not my first trip around the block), this is why I struggled with shaping. Even though I coated all of the dough pieces with oil, I still find the top of the dough gets a bit dry while it is rising. This makes it difficult to bring together again during shaping which caused the lines in my ropes. If I had done a bulk fermentation, I would have been able to do a better job of re-combining the dry top of the dough with the rest of it, then I would have divided it into six and gotten clean ropes during shaping. But again, I was following the recipe and not my intuition. Such is the trade-off of this project, as we have seen before (the pretzels come to mind here; I suppose this is an indication of my enthusiasm and interest in bread more than anything).
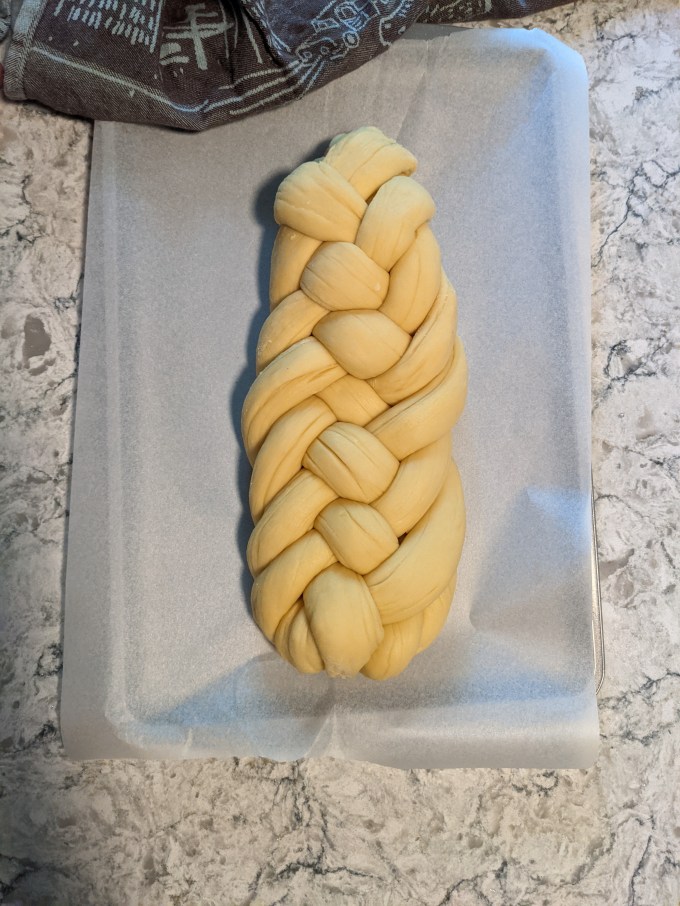
ANYWAY: after first proof, the dough balls are punched down and rolled out into ropes. The ropes are then braided:
And left for second proof

Step 3: Apple Butter
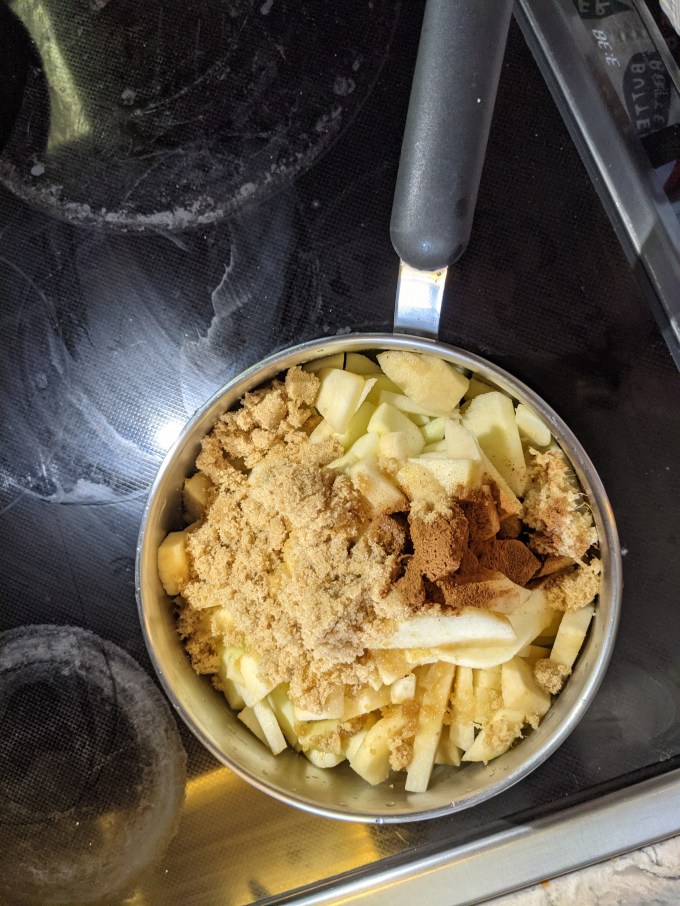
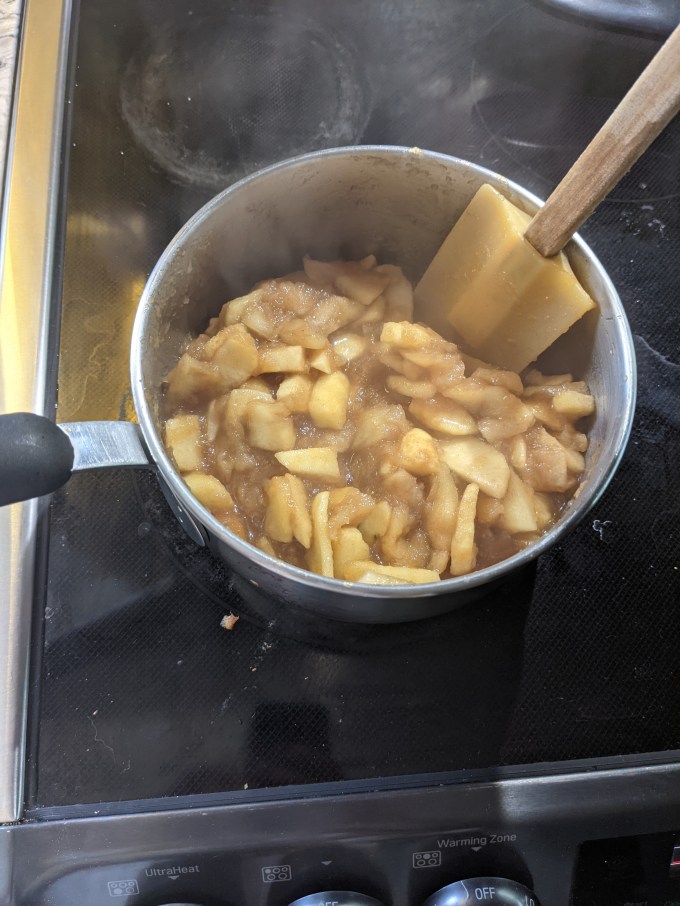
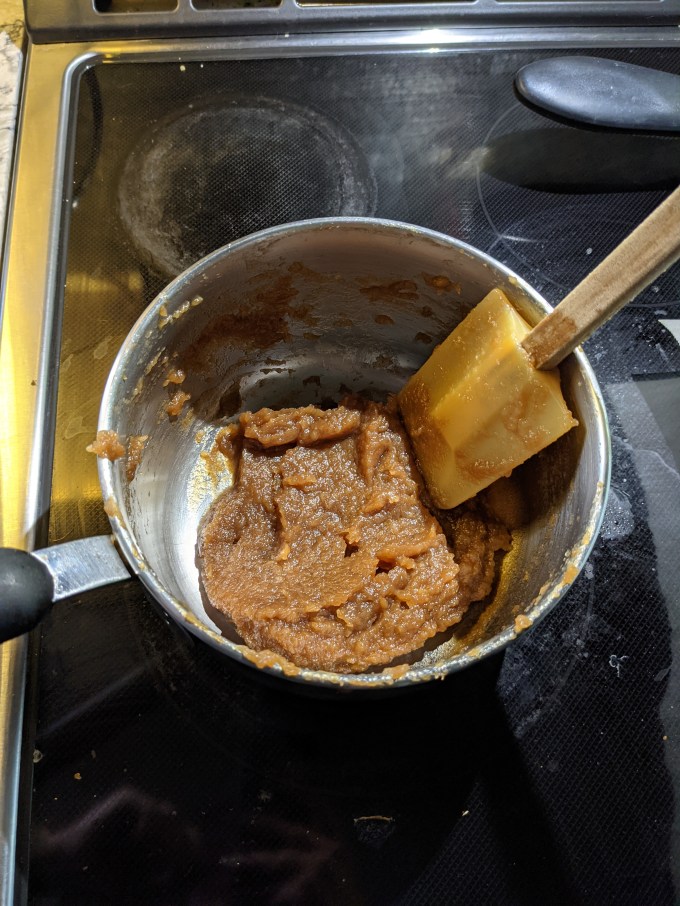
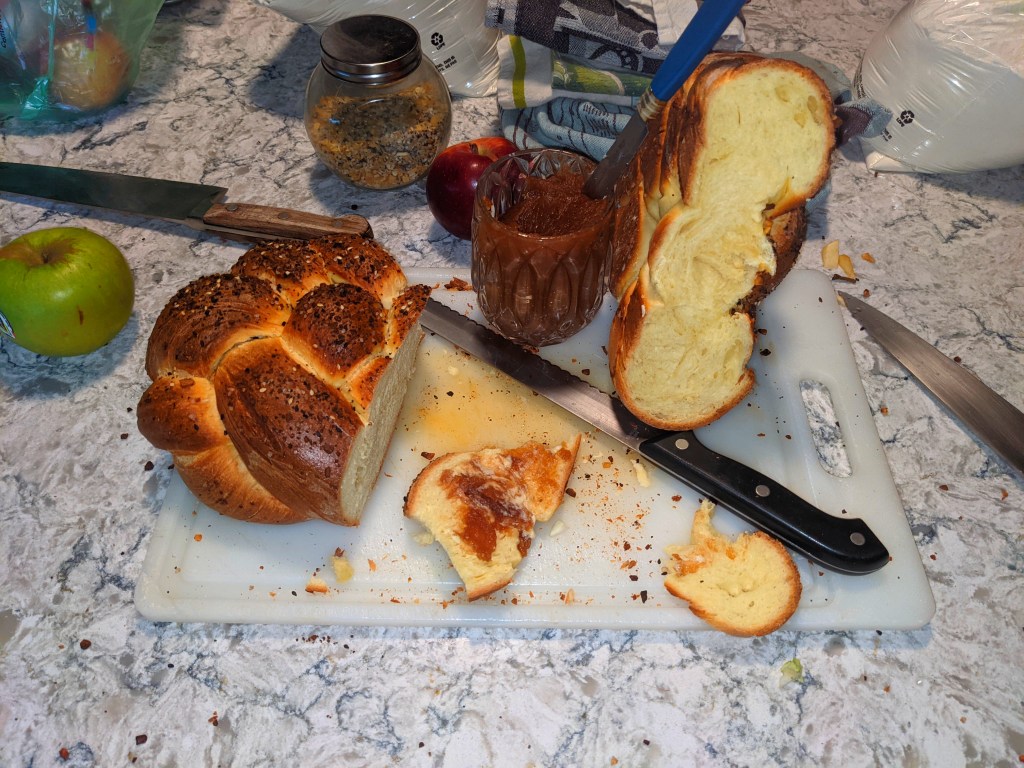
As I mentioned, I had a lot of fun making the apple butter. I love apples and apple butter and it was cool to watch 11 apples slowly reduce from a full pot to about 1 cup over the course of the afternoon.
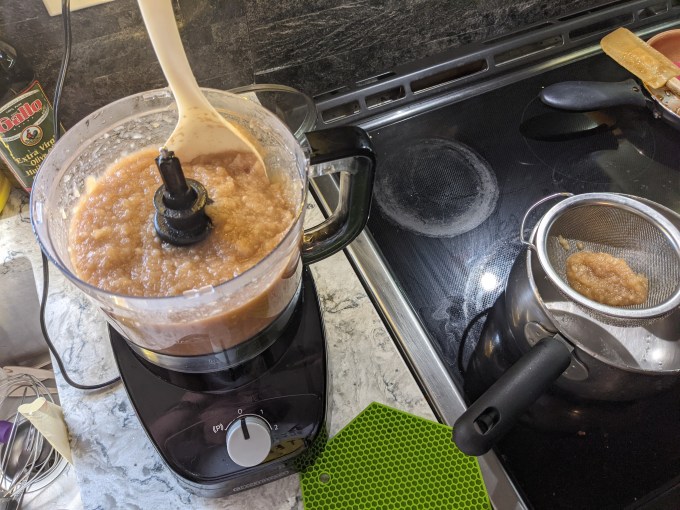
The method is very simple: apples are chopped and combined with sugar and spices, then cooked on low until totally mushy. On the show they processed the apples through a “food mill” which was essentially like a sifter but for larger solids. Obviously I didn’t bother buying such an insanely niche piece of equipment. Once the apples were cooked, I just processed them in my food processor. I tried pushing them through a sieve, but that was taking forever, so I just ended up squeezing them through cheesecloth and that worked just fine. Once the apples are totally processed, they are left on low heat for hours until they reduce down to a paste. This was easy, fun, delicious, will make again.

Step 4: Bake
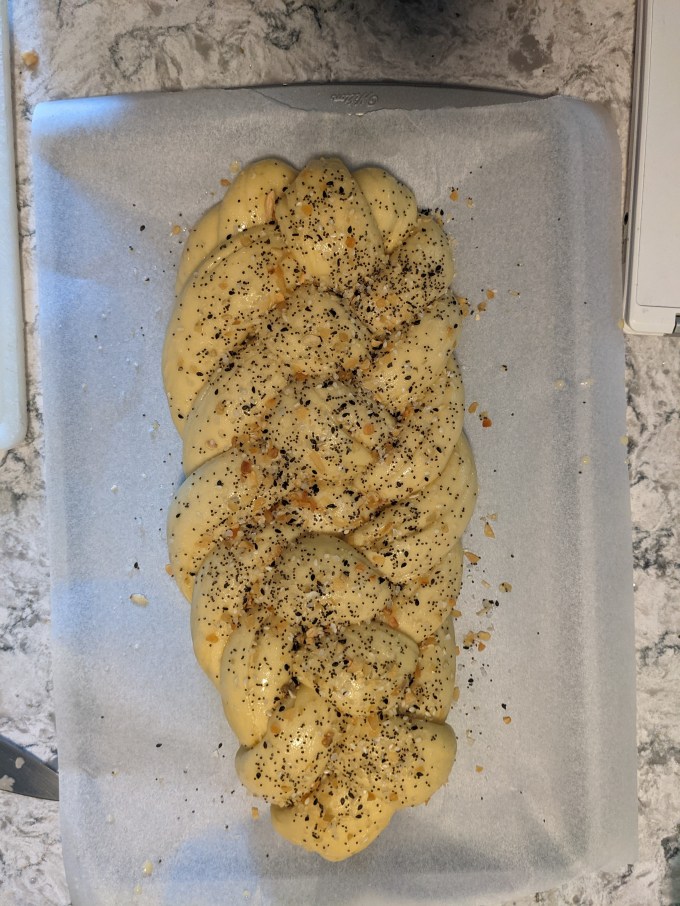
Once the second proof is done, the loaf is brushed with egg wash and topped with sesame seeds, and it’s time to bake. As I mentioned, I used Everything bagel seasoning instead of sesame seeds and it was totally worth it, but it did give my loaf a darker appearance. I also should have been more detail oriented about brushing my egg wash all the way around the curves of the dough. Once the loaf popped in the oven, some of the lower sections weren’t glazed. Also I usually put a splash of water in my egg wash; I might have had a glossier result if I had just used egg with no water. It’s the little things.

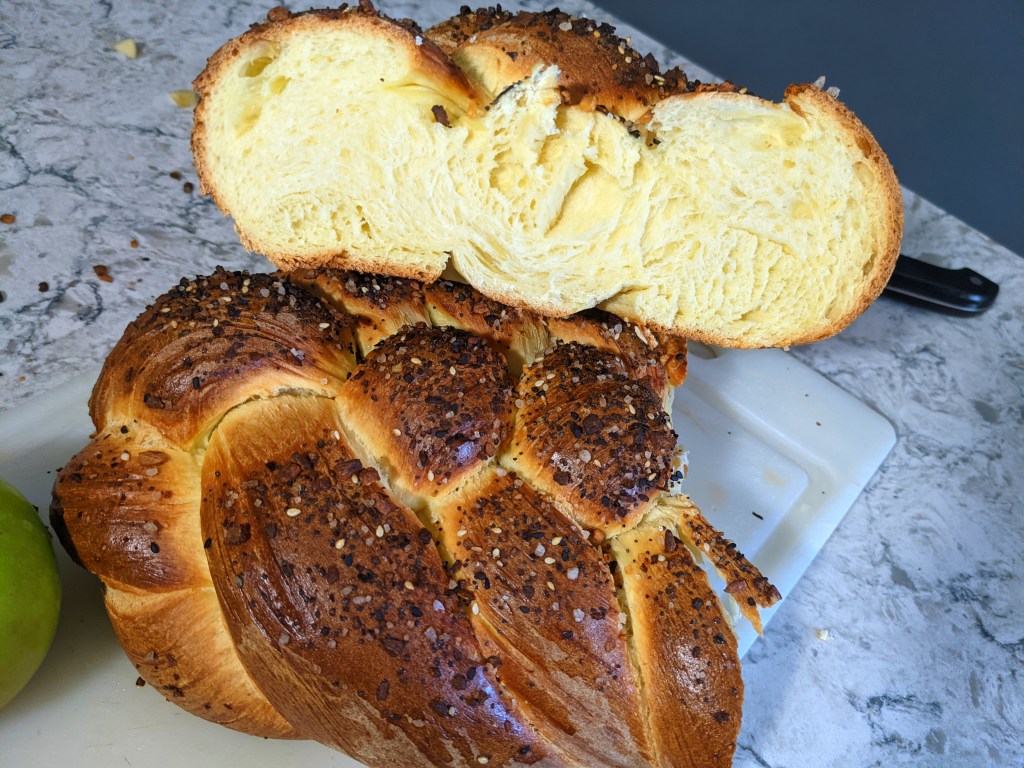
The final loaf was perfect inside. Fluffy, slightly sweet, almost like cake. The apple butter was a perfect pairing. A successful bake all around, and I am looking forward to trying the BBA version very soon.
Gallery
Hey, bakers! Check out my BAKER’S PANTRY index if you want to deep dive on specific ingredients when attempting this bake for yourself
