Hello Friends and Fellow Bakers! I can’t believe we are already done technical bake #3! I decided I had enough of France for now so I checked the list of recipes to find a bake from another country. Brandy snaps were featured on Season 1, Episode 4: Best of Britain on GCBS (link to recipe here). Best of Britain… hmm… I am honestly a bit mystified that this was even a theme on GCBS, but maybe I am just a snob. In my own defense, the three bakes on this episode were trifle, which, historically, is just dolled up leftovers; brandy snaps, which we will get into here; and “high tea” which is more of a concept than a specific bake. If my lack of enthusiasm about this episode makes me a snob, then so be it. I think GCBS was just trying to pay homage to its predecessor, Great British Bake Off and there is only so much you can do with that idea. FUN FACT: the title of GBBO was changed to Great British Baking Show and hence the Canadian version was named as such because the Pillsbury Bake Off is already trademarked here in Canada.
Regardless of my own inane pedantry, this bake and rewatch of the episode left me with more questions than answers. Questions like: why is this a technical challenge, it seems too easy? Why did the recipe from the show use unstabilised whipped cream as the filling? How did they possibly film the judges trying these without the snaps completely dissolving on camera? These are the questions I will never have the answers to, but no matter, LET’S BAKE!
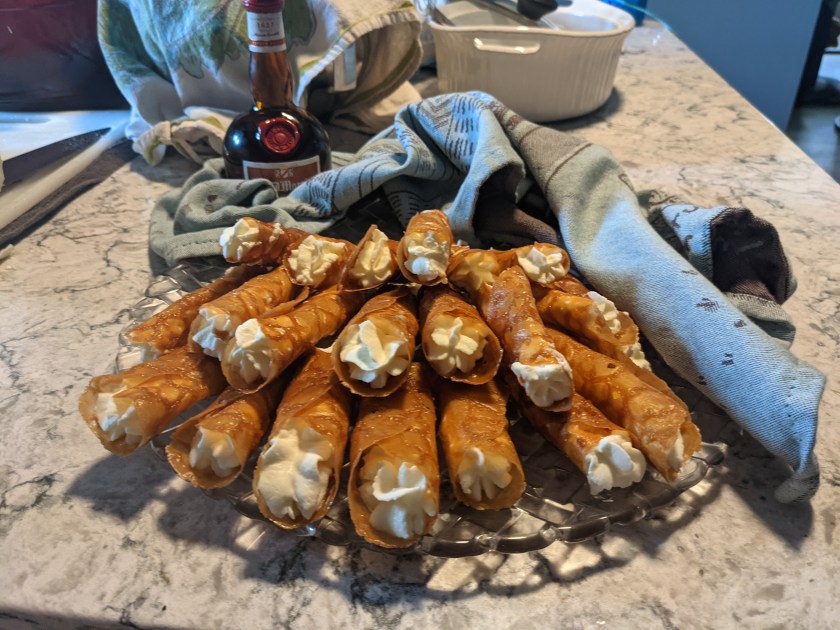
Brandy snaps are a filled lace cookie, very similar to a cannoli in terms of overall eating experience but quite different in preparation. The lace cookies which create the brandy snap shells are almost like a toffee crisp whereas cannoli shells are made of deep fried pastry.
I have vivid memories of the first time I became aware of the existence of lace cookies when I was about 11 years old. They were in one of my mother’s cookie books and I became totally fixated on making them. I think I was drawn to them because they seemed very fancy and even at that age, I was interested in showing off because I crave validation baking to impress those I was serving while also challenging myself to learn new skills. I remember making lace cookies for the first time at around that age and I have made them several times since. Lace cookies are usually my go-to if I am participating in a cookie exchange or bake sale since they are quite different from the standard shortbreads and sugar cookies that usually roll through those types of events (also see my point above about showing off. I have a problem, I know). Brandy snaps add another element of skill to the humble lace cookie by requiring the baker to know the EXACT moment to pull them out of the oven and then to roll them immediately into cigar shapes before they harden. I think the reason this bake made it into the technical challenge category on GCBS is the contestants only had 90 minutes to complete 20 snaps. If you are unfamiliar with the premise of my project, I am not holding myself to the time constraints put on the contestants of the show. This is partly because I am photographing my work as I go for the blog, which slows me down, but also because I am more interested in building my skill set than I am in participating in a fantasy competition with myself in my mind. With that being said, I am quite confident I could have executed this bake in 90 minutes. It went well, is what I am getting at, which is great! So let’s get into the nitty gritty.
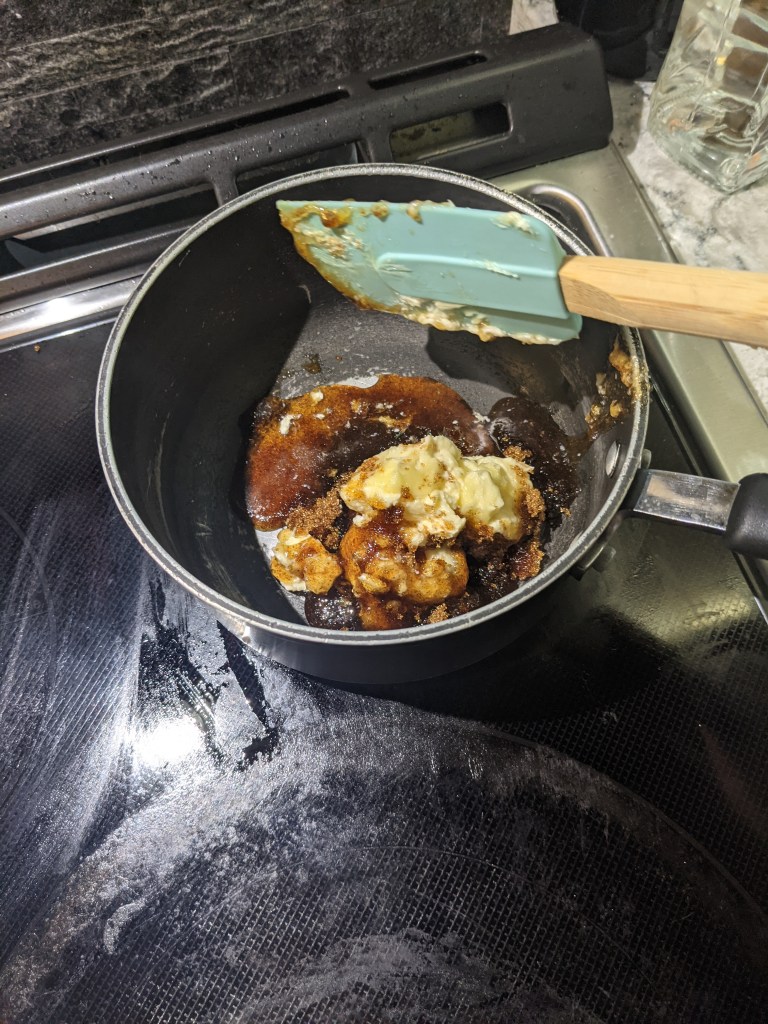
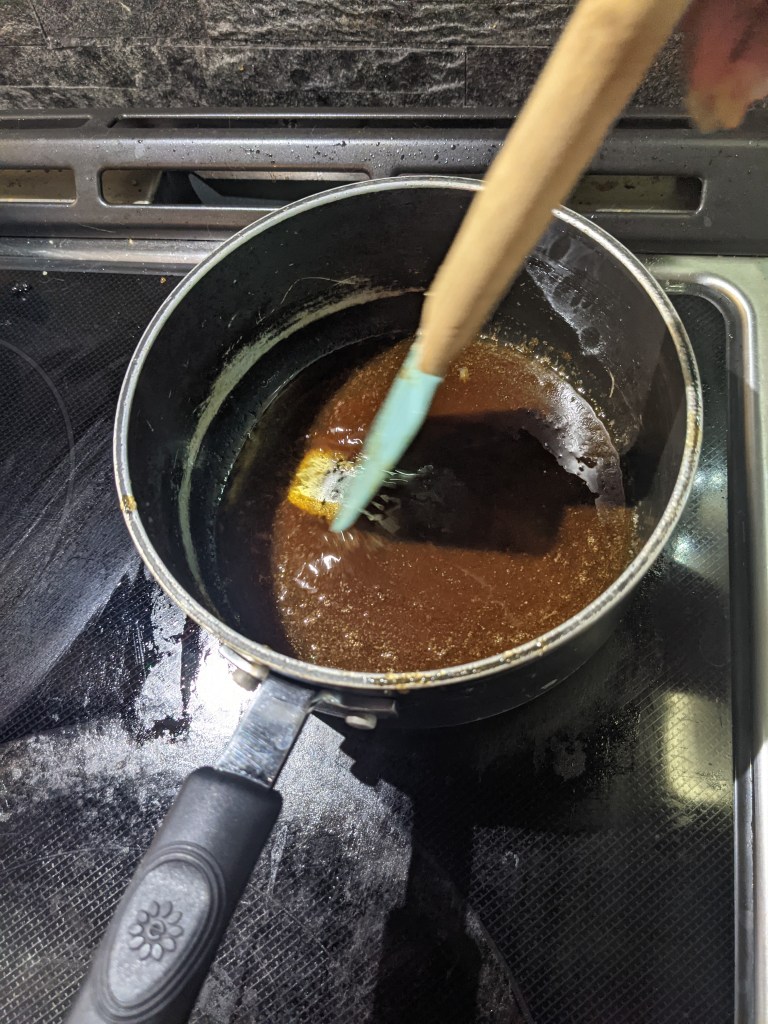
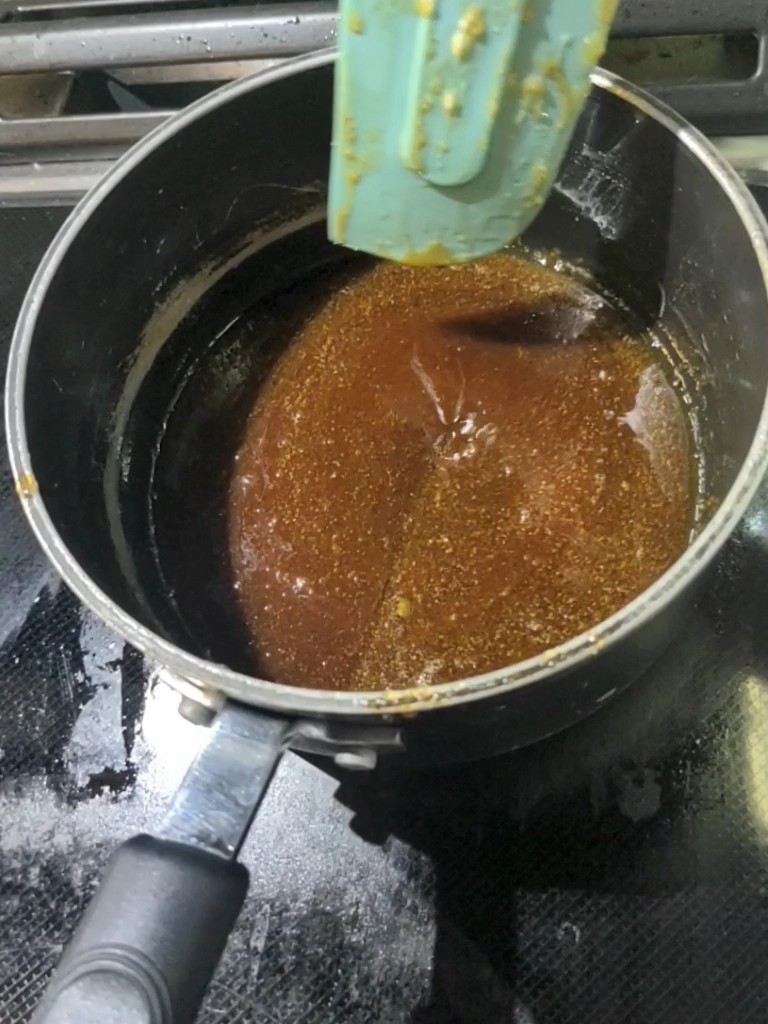
Step 1: Batter
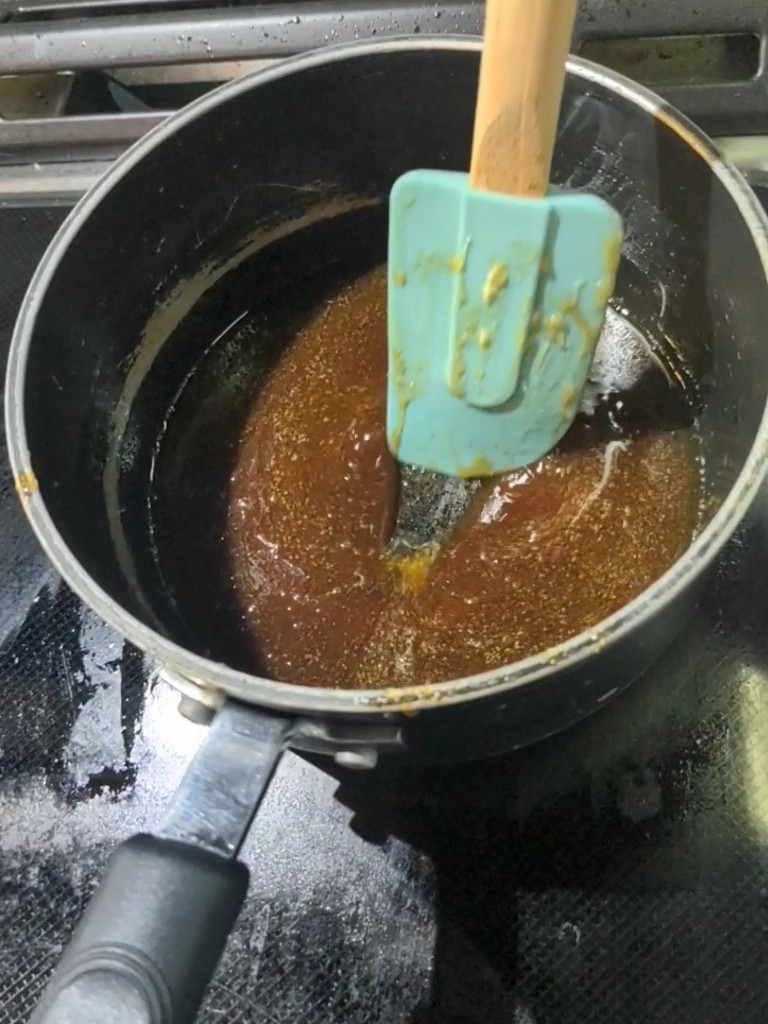
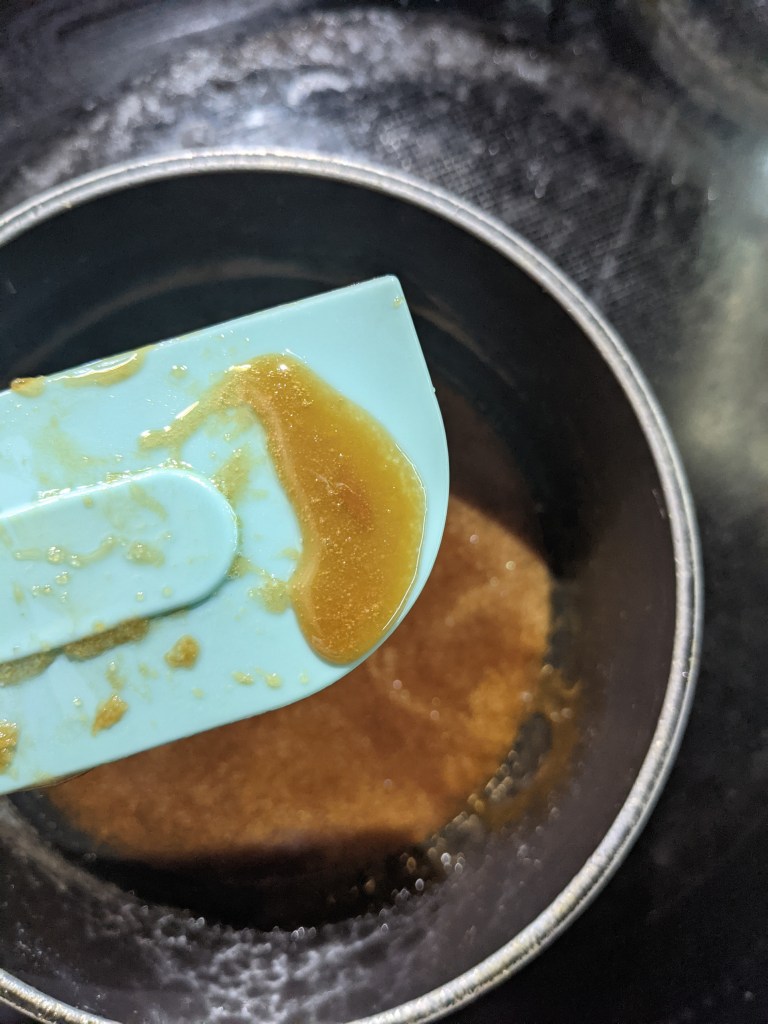
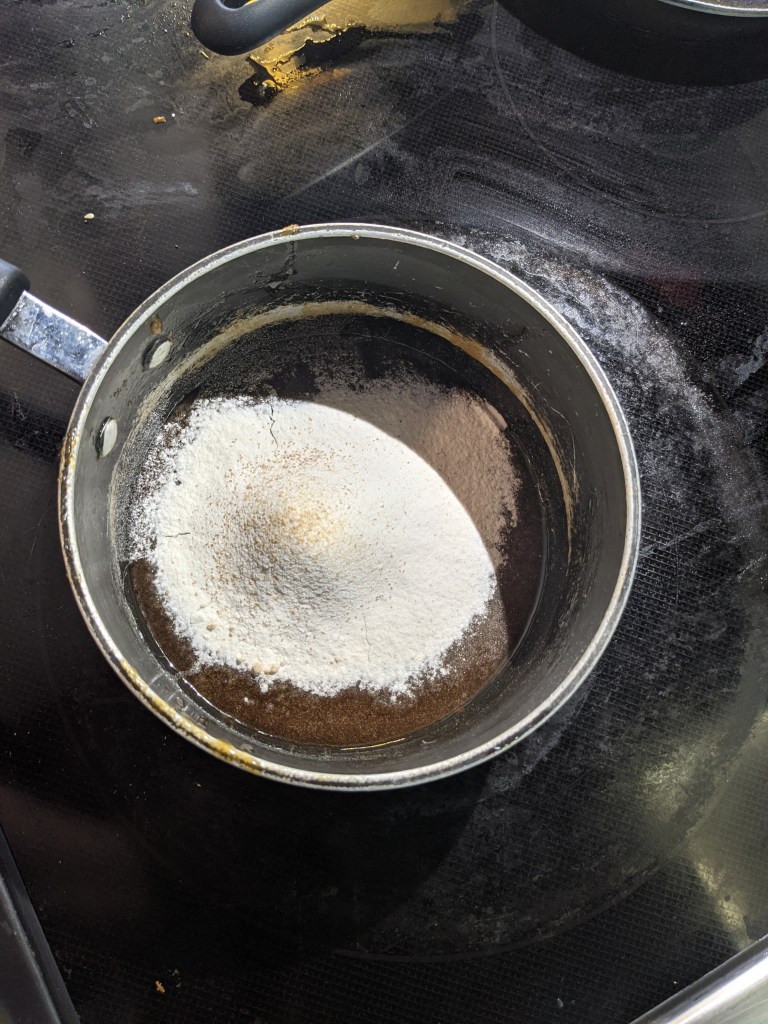
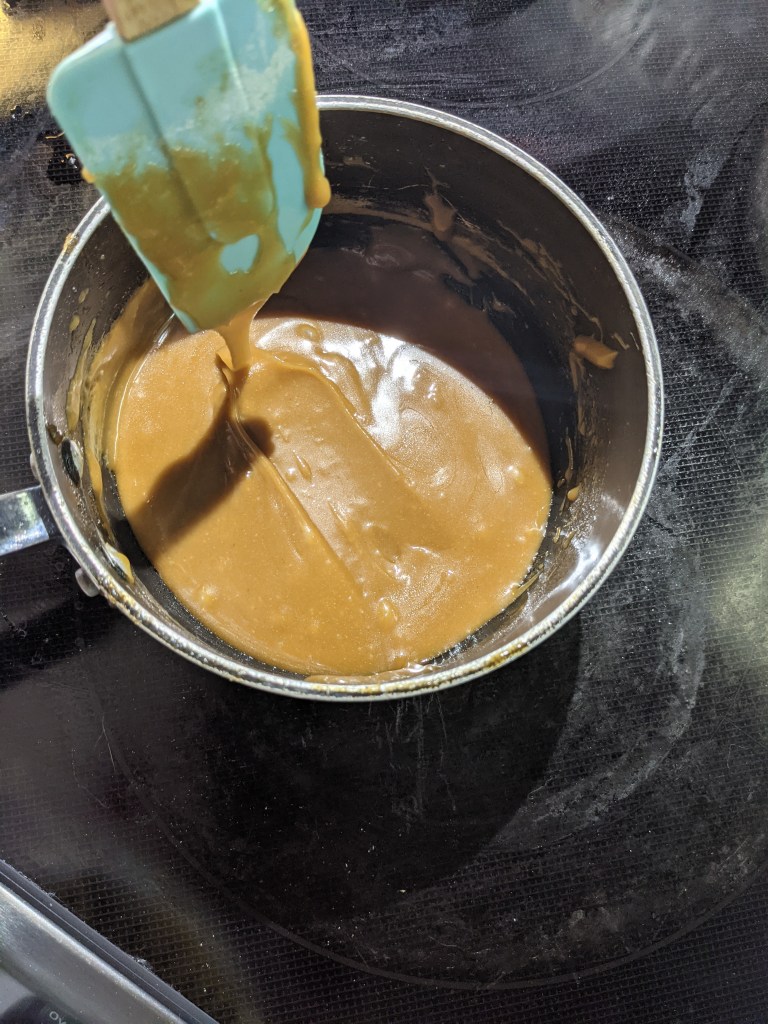
As I mentioned, the lace cookies which become the brandy snap shells are more similar to candy than they are to cookies. Corn syrup, demarara sugar, and butter are gently heated until the sugar is dissolved. If this was a candy recipe, this mixture would be further heated to 240F+ and candy would ensue. The batter does get heated to candy temp in the oven, but first a small amount of flour is added once the sugar is fully dissolved. This creates enough structural integrity that the hot sugar can be manipulated and hold without being an unmanageable temperature and they will cool more slowly so the baker has time to work them into shape. The flour also creates a barrier between the sugar and the filling so the shells don’t dissolve instantly (although they are still extremely fragile and have very little shelf life once filled, so if you are interested in making these, plan to fill them immediately before serving). Isn’t science grand!
Step 2: Baking and Rolling
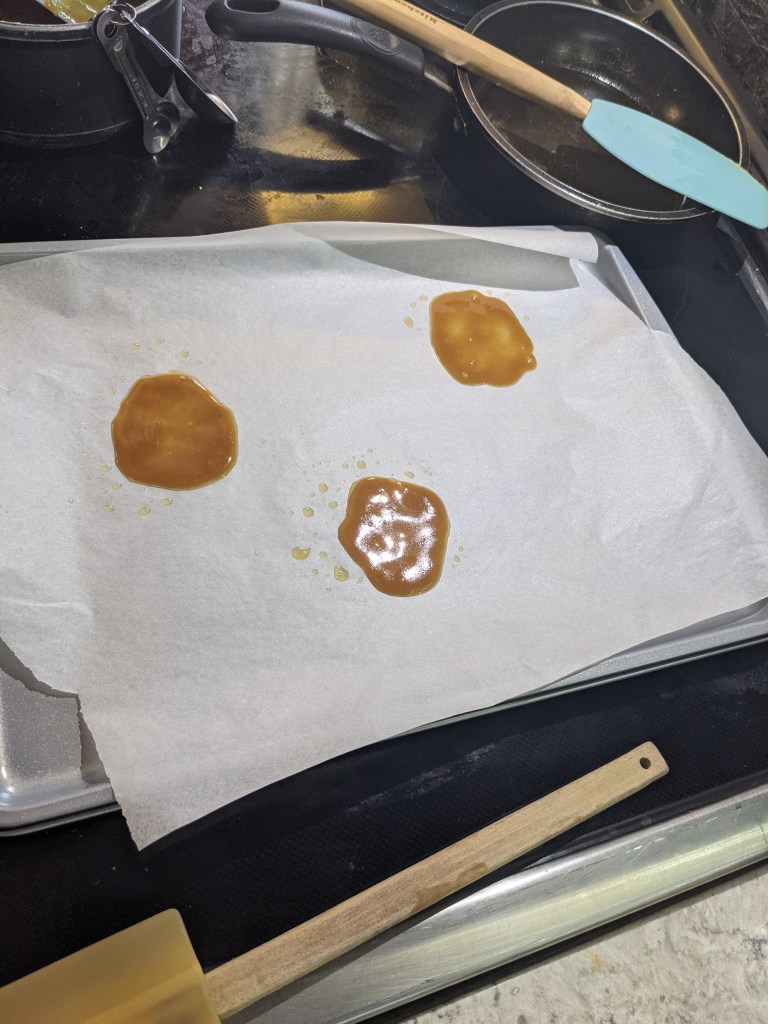
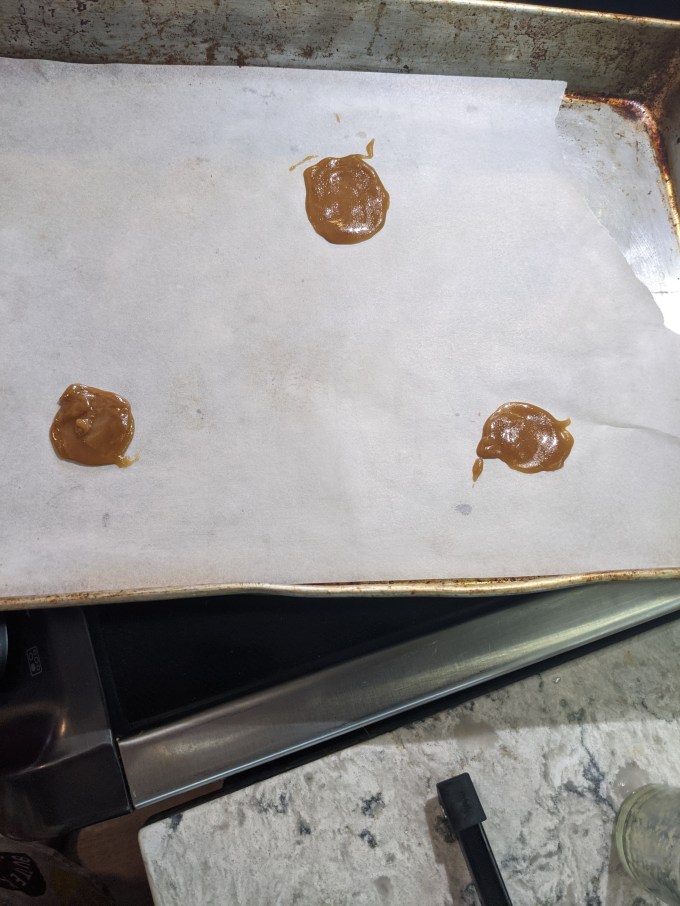
Once the batter is ready to go, the cookies are dropped one teaspoon at a time onto sheets, spaced at least 10cm apart. This means these have to be baked only 3 or 4 at a time depending on how big the oven is. However, even with space to do more at once, if the cookies are out of the oven for too long before rolling into shape, they will harden and can’t be finished. So I really had to know my limitations and resist the urge to be an Efficiency Queen™.
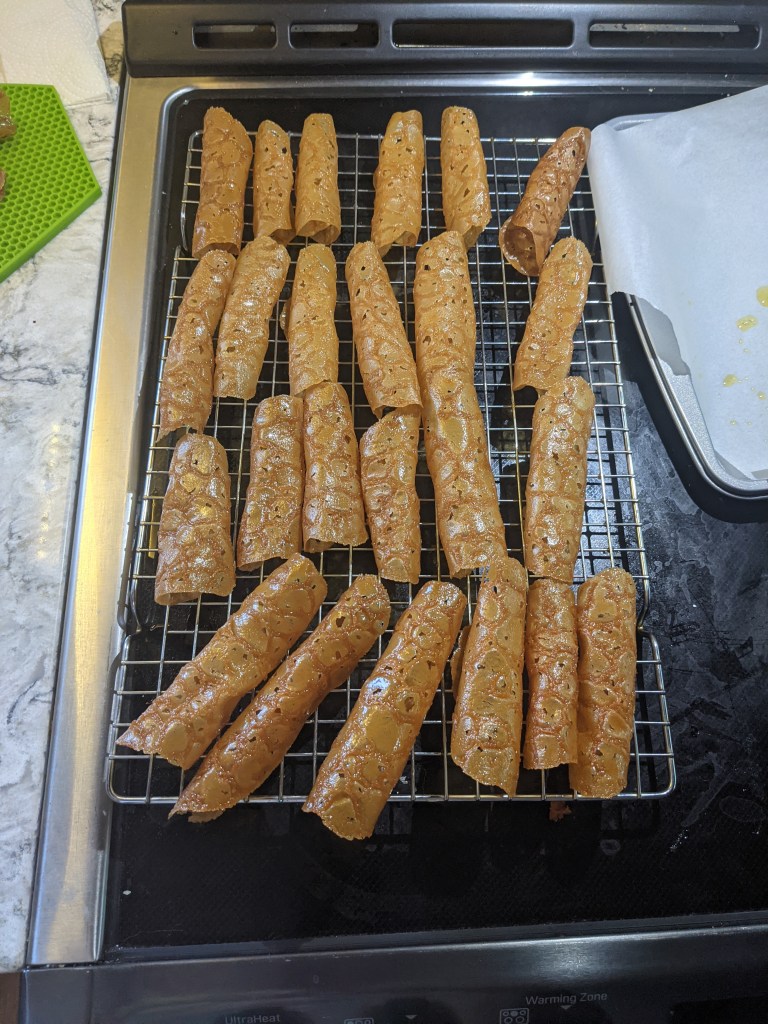
The challenge here is knowing when exactly to pull these from the oven and how to roll them effectively without cracking them or burning yourself. The recipe calls for 7 – 9 minutes bake time. I found that 7 minutes and 10 seconds (not even kidding) was perfect for my oven. Once I figured that out, the rolling was simply a matter of practice and patience. I found the best way to do it was to remove the cookies from the oven and let them sit for about 5 seconds just so they weren’t quite so soft and hot. Then I quickly pinched the edge of the cookie and flipped it over the handle of my spatula to curl it. I used gravity to wrap the cookie around the handle, this minimizes the amount of time needed to spend touching it to avoid getting burned and helps to maximize the interior space of the rolled cookie. If you try to squeeze the cookie around the handle, you will probably get burned and squish the cookie and it won’t have a nice, open, cylindrical space in the middle to fill. Once I found the right bake time and method to roll them consistently in one try (these cool so quickly, you only get one try), it was just a matter of rhythm and flow, and that is a good headspace for me.


Some troubleshooting if you are trying this yourself:
Cookies too soft, deflating after rolling: cookies were not in the oven long enough. If you have this problem with the first one on the tray, pop the others back in the oven for a few seconds. This is how I came up with the 7min 10 seconds number for myself.
Cookies too hard, cracking when rolled: cookies are overcooked. Reduce cooking time by 30 full seconds (or more) and work back up to the correct cooking time by checking every few seconds until you find the right bake time (as you would for troubleshooting under-cooked cookies, above). You also might have spread the batter too thin before going into the oven. The batter should be as thin as possible but still opaque. If you can see through the batter before they go into the oven, they are too thin. Note that you should be able to see through the batter when the cookies come OUT of the oven because they spread so much.
Cookies too small, can’t roll all the way around to make a cylinder: this problem may or may not be more complex than a simple fix. If your batter is starting to firm up (especially towards the end of the bake when you are working with the last half of the batter), make sure you are spreading it thin enough on the parchment paper before it goes into the oven (see note above on cookies being too hard). I found the best way to make these uniform was to spread the batter with my fingers. The batter is so oily, it is very easy to manipulate this way, like gently flattening out wet clay (or so I imagine). Also ensure you are using the same amount of batter for each cookie. The recipe calls for 1 teaspoon each and I was measuring mine pretty exactly. Finally, if the cookies just aren’t spreading out into thin lace in the oven, you might have botched the batter entirely (oops!). It is important that all of the sugar is fully dissolved in the butter before you add the flour. Any undissolved sugar in the batter will get insulated by the flour and the batter will not come up to temperature properly.
Finally a quick note on my photos for those who may be comparing my work to the episode of GCBS (it’s me, I’m the one comparing my work to the show): my cookies came out a bit lighter in colour than those presented. This is because the recipe calls for golden corn syrup and I used white. I have two entire full bottles of white corn syrup in the pantry right now (Why is that? Because I lost one bottle, bought another, and then found the one I lost. LIKE A CHAMP) and I simply could not bring myself to buy a third bottle just because this recipe calls for golden. So if you noticed and were wondering, that is the Tale of the Pale Cookies (riveting drama over here at Baking Summit, as usual).
Step 3: Filling
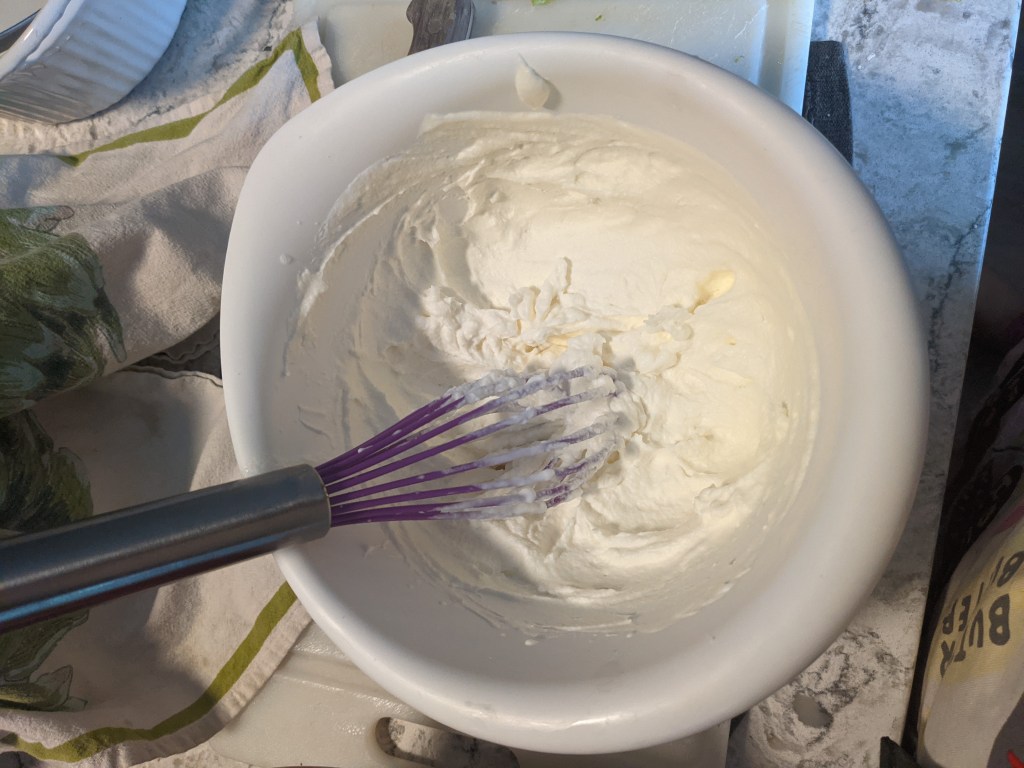
This brings me to my next set of questions related to this bake. First, I can not for the life of me understand why this whipped cream is not stabilised with gelatin. Whipped cream starts deflating within hours of whipping it and I barely had enough time to photograph these before I had to send Dave out the door to foist them upon our unsuspecting neighbours. Second, this recipe added skim milk powder to the whipped cream and I had no idea why. I did a little research and it looks like some people stabilise whipped cream with cornstarch or with milk powder because milk powder contains cornstarch, but to be honest, I am calling BS on that as a concept. The starch in the skim milk powder is so minimal, there is no way that is buying you much time here. I do not believe it! It might have helped the cream stiffen a bit so it was good for piping, but believe me when I say, this filling was almost DOA in terms of shelf life, so go for that gelatin if you are making this for a party or something (don’t make this for a party, it’s not worth the effort).
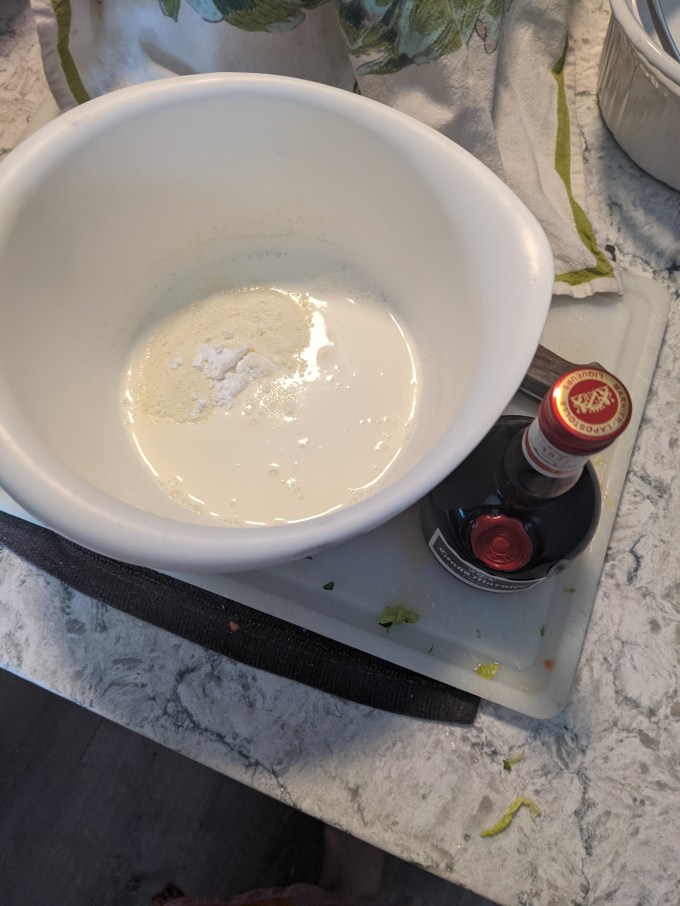
Anyway now that is off my chest, the method here is simple. Heavy cream, icing sugar, skim milk powder, and a dash of grand marnier whipped to stiff peaks is all that is needed here.

Step 4: Assembly
Again, not much to say here. Just some simple piping with a large star tip and boom, Brandy snaps. Just like the baker playing beat the clock to get these baked and shaped, the tasters can try to enjoy these before the rapidly deflating whipped cream turns them into a disgusting puddle of milk solids and have a grand old time doing so.
Gallery


Hey. bakers! Check out my BAKER’S PANTRY index if you want to deep dive on specific ingredients when attempting this bake for yourself
