Hello Friends and Fellow Bakers! This week’s challenge is Pithivier aka Galette de Rois: THE PIE OF KINGS (link to GCBS recipe here). This was the technical challenge on Season 3 Pie Week on GCBS, and it is a pastry Bruno (the judge, who is CAPITAL-F FRENCH) described as “A classic French dessert you will find in every pastry shop in France.” The traditional preparation is a puff pastry pie filled with Frangipane and cherry jam, but I found other iterations when I was researching for this post.
I was both excited and nervous for this bake. I had a couple of failed attempts at laminated dough in my early days of baking (think high school; wow that was 20 years ago wtf) so I was feeling a little gun-shy. BUT overcoming my fear of laminated doughs is actually one of the biggest motivations I had for starting this project, so I thought, well, let’s get this over with there’s no time like the present. I can only fail at this so many times before I succeed, right? Right? -> IF I SAY IT ENOUGH TIMES, IT WILL BE TRUE…
ANYWAY: in baking as in life, I completely ascribe to a “baby steps before we run” approach to learning. I decided a long time ago that when I finally got the courage to try laminating again, I should start with a “rough puff” before jumping into a traditional laminated dough. Lucky for me, the list of CBC recipes I am using for this project includes both types of puff pastry in two different challenges, so this was the first of the two I planned to do. I decided to do it this week because I’m still using up all those dang ground almonds from last week’s over abundance.
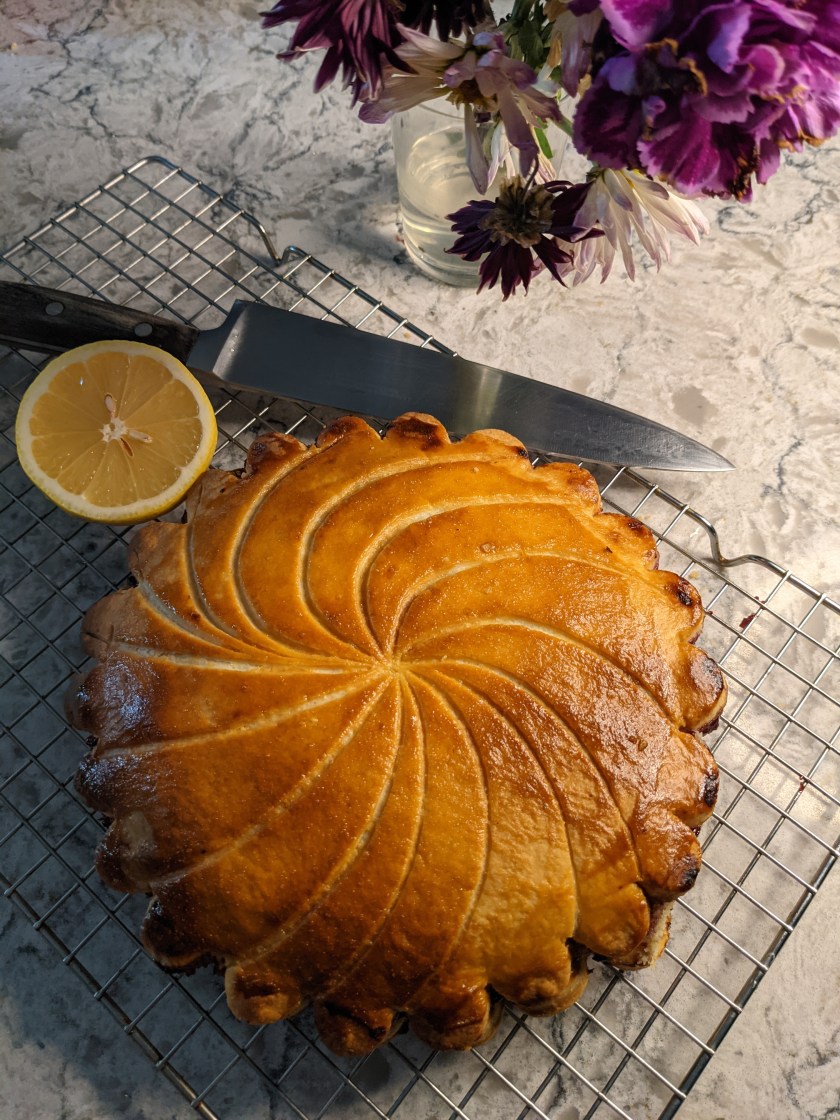
Overall, I was pretty pleased with this bake. I made one slight error with the filling which caused some cascading issues down the line, but all in all, it was perfectly delicious and the main goal of executing rough puff went off without a hitch. This is a visually captivating dessert so I will definitely make it for a special occasion if this pandemic ever ends and we are allowed to socialize again. *sobs*
Step 1: Rough Puff
In a traditional puff pastry, layers of dough are alternated with layers of butter and then meticulously folded and rested over and over to create hundreds of layers in the final pastry. When this mixture is heated, the steam released from the dough causes it to puff up and the butter melts, creating empty space which results in an indulgent, flaky pastry. A rough puff is a bit of a shortcut version that is slightly easier to do with similar results. If you are attempting this bake (or any type of laminated dough), keeping the butter and the dough as cold as possible is the most critical element of this technique. If the butter heats up at all while you are working the dough, it will start to blend with the flour and you will not achieve the flaky texture in the oven.
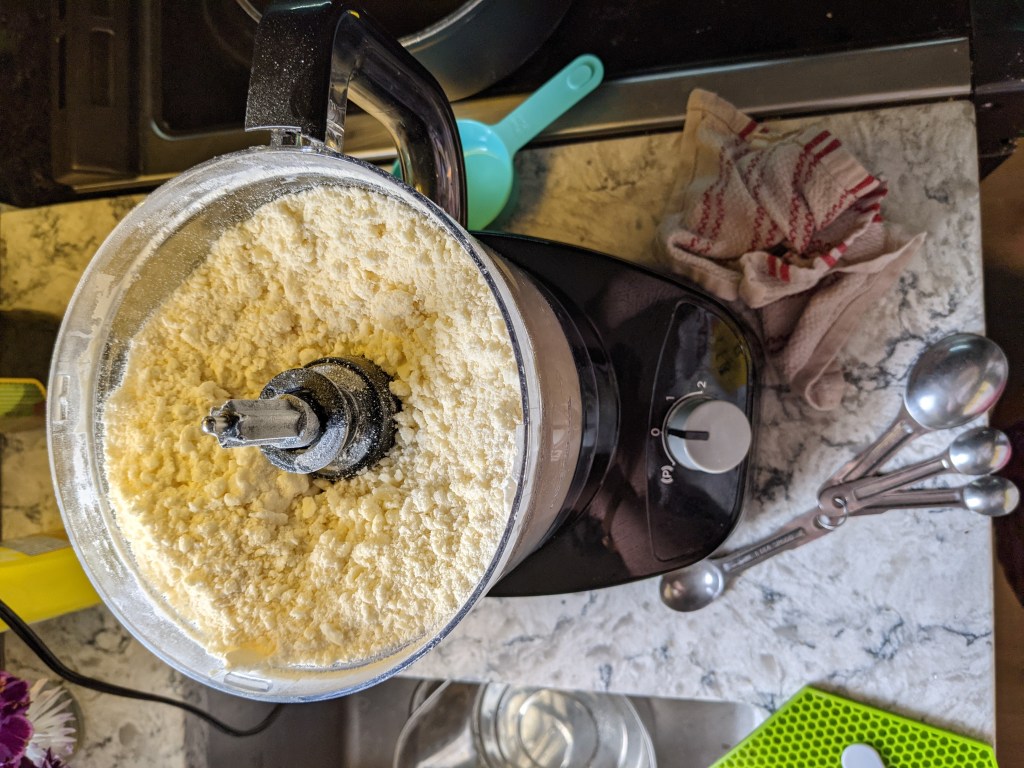
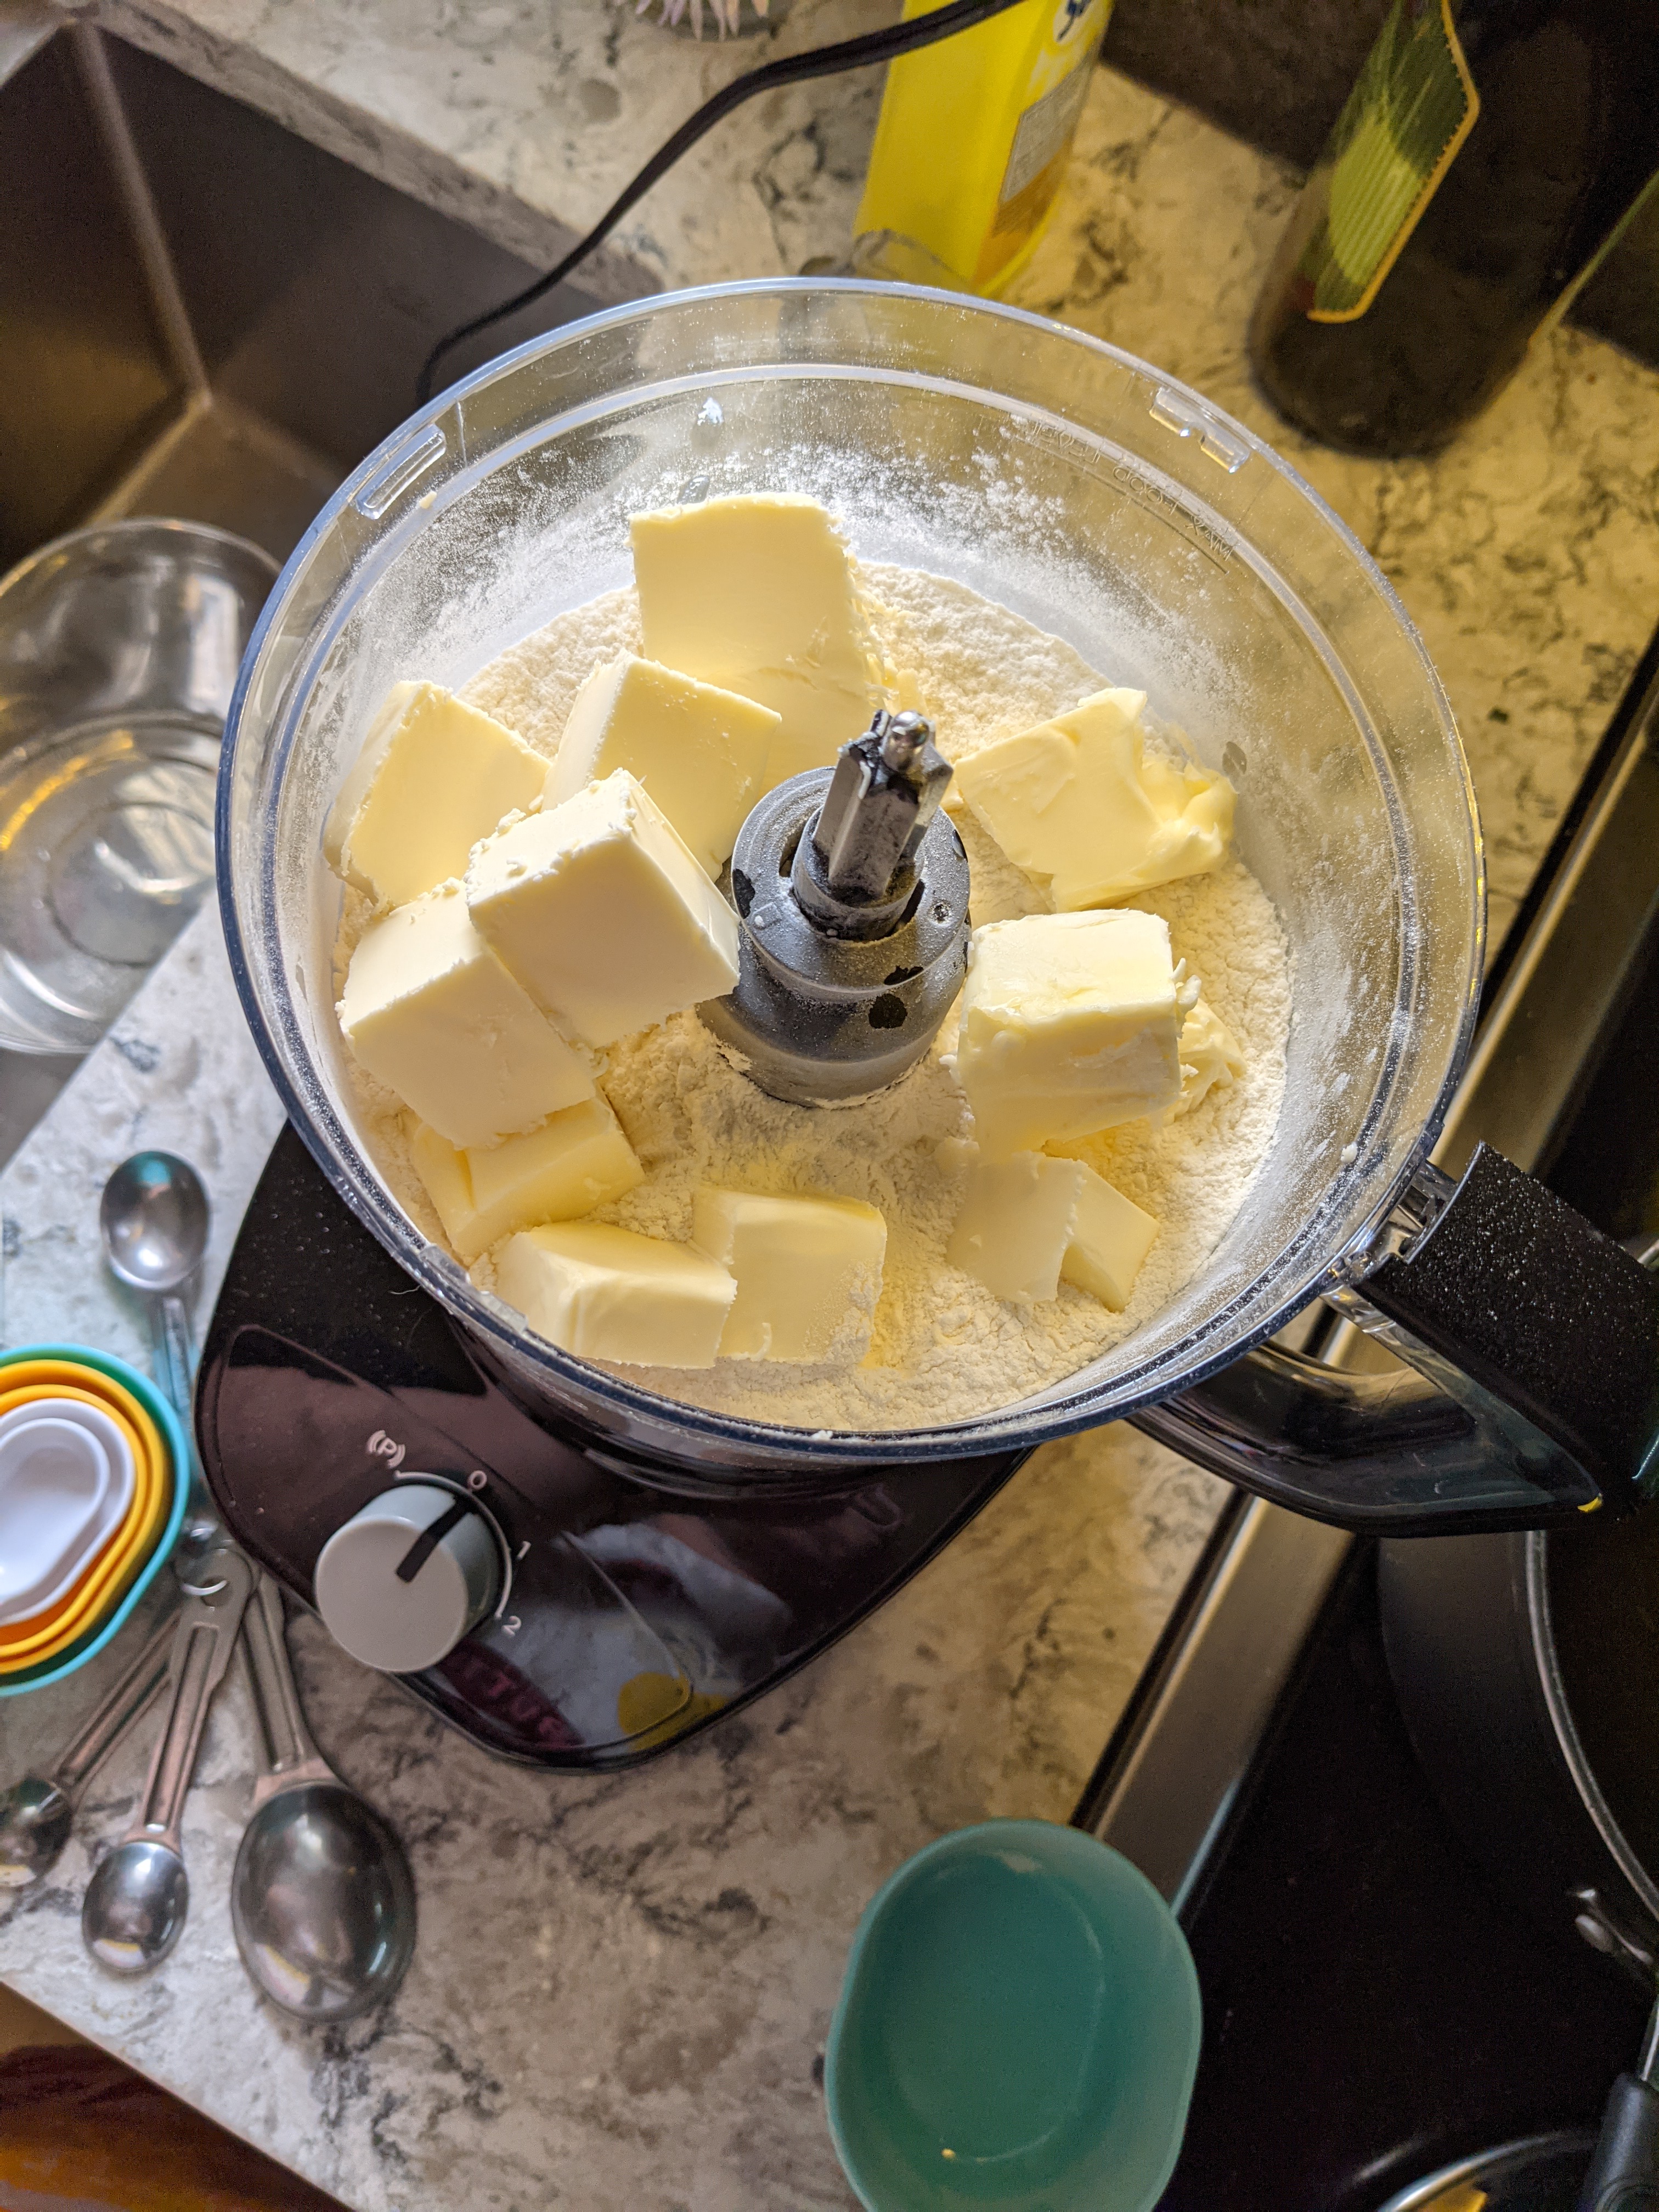
First, butter and flour are blitzed together to coarse crumbs, much the same as a traditional pie dough or short crust. Ice water is added to bring the dough together. There are lots of little hacks people use for this type of pastry, and everyone has their own preference. I have seen people grate the butter into the flour using a cheese grater, and I have seen people use a pastry blender or two knives. My preferred method is the food processor. I also like to measure out the water by filling a glass with ice cubes, then topping it up with water, and then taking the water from the cold glass. It’s the little things!
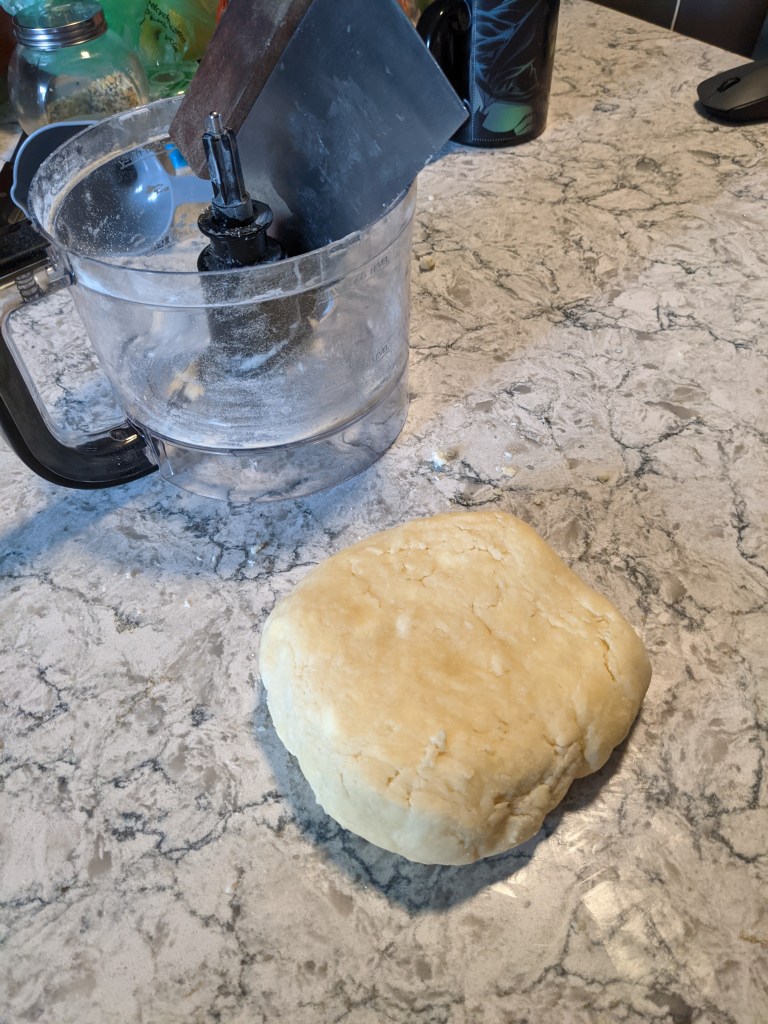
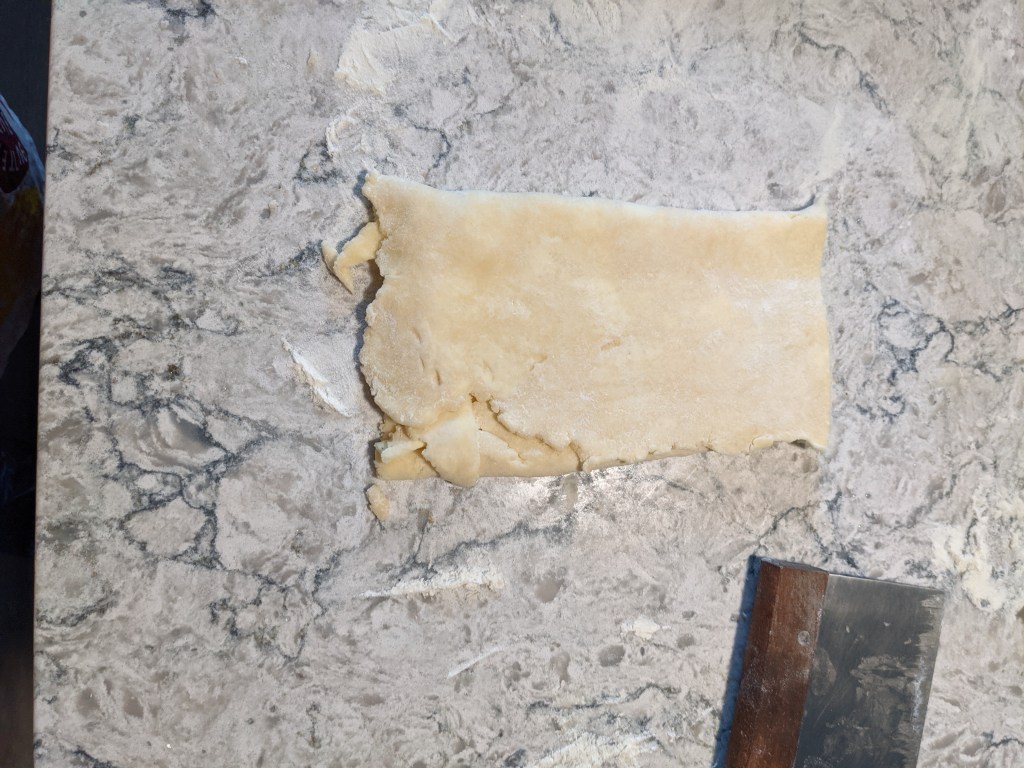
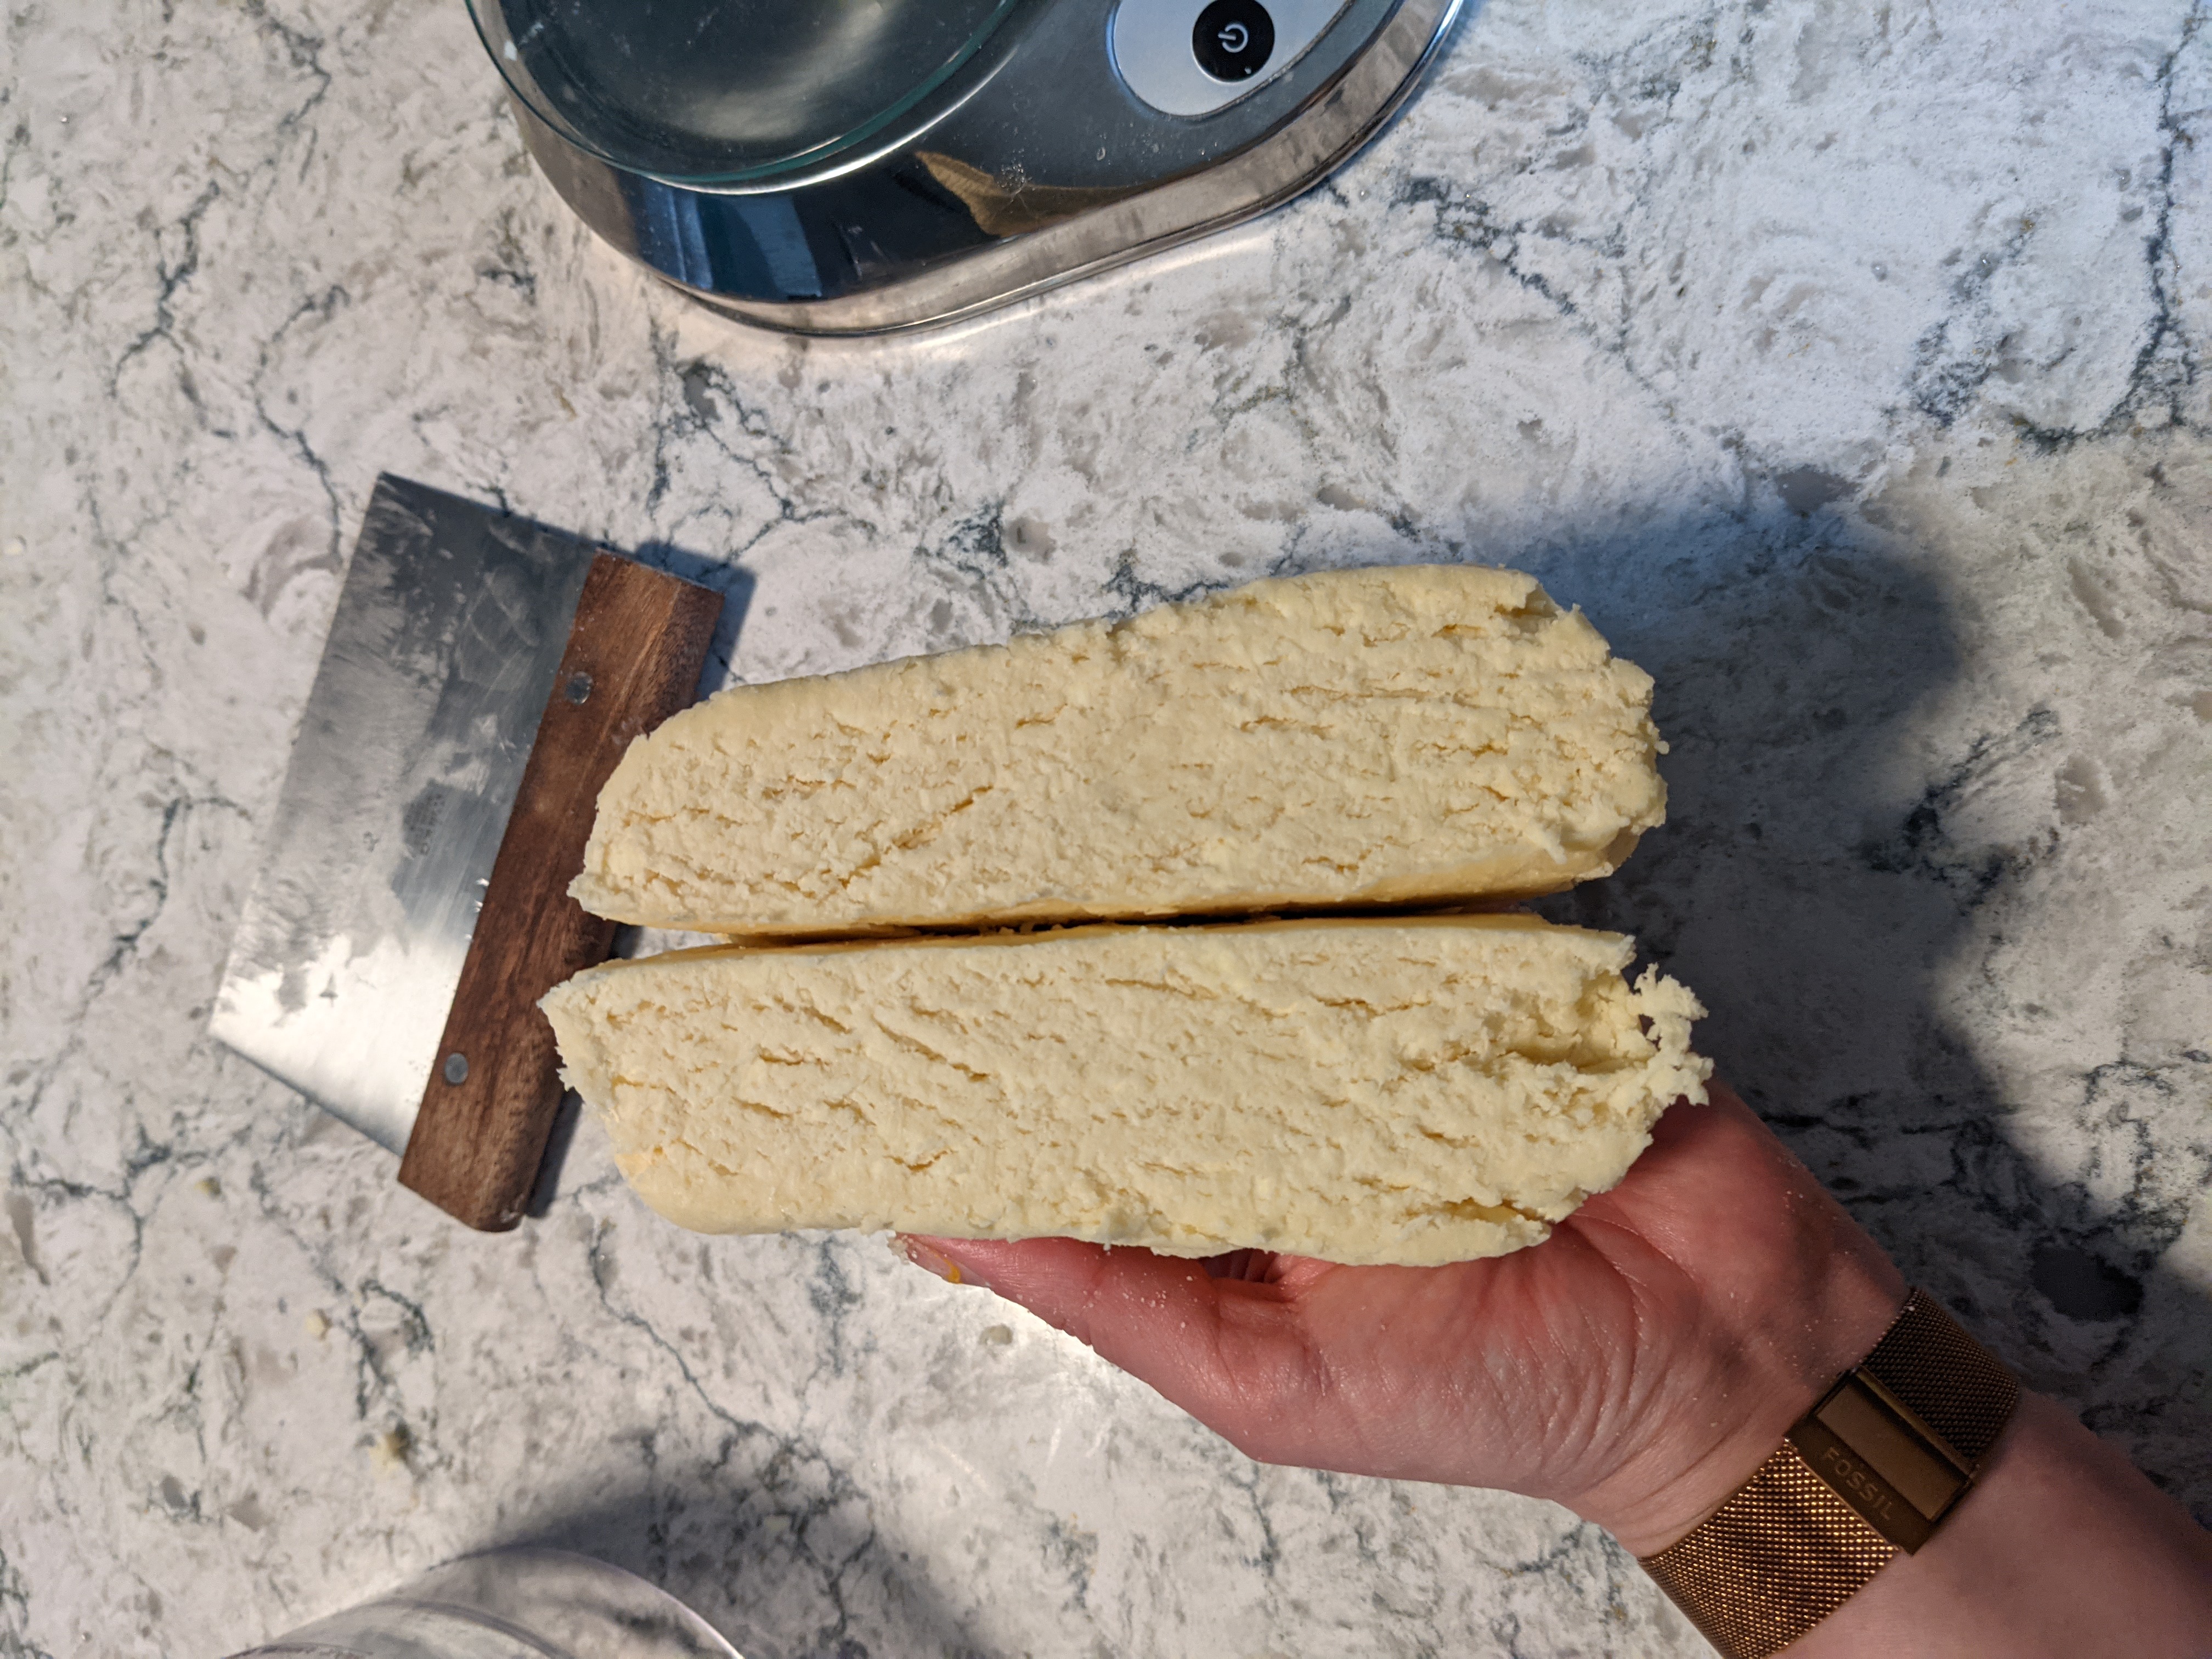
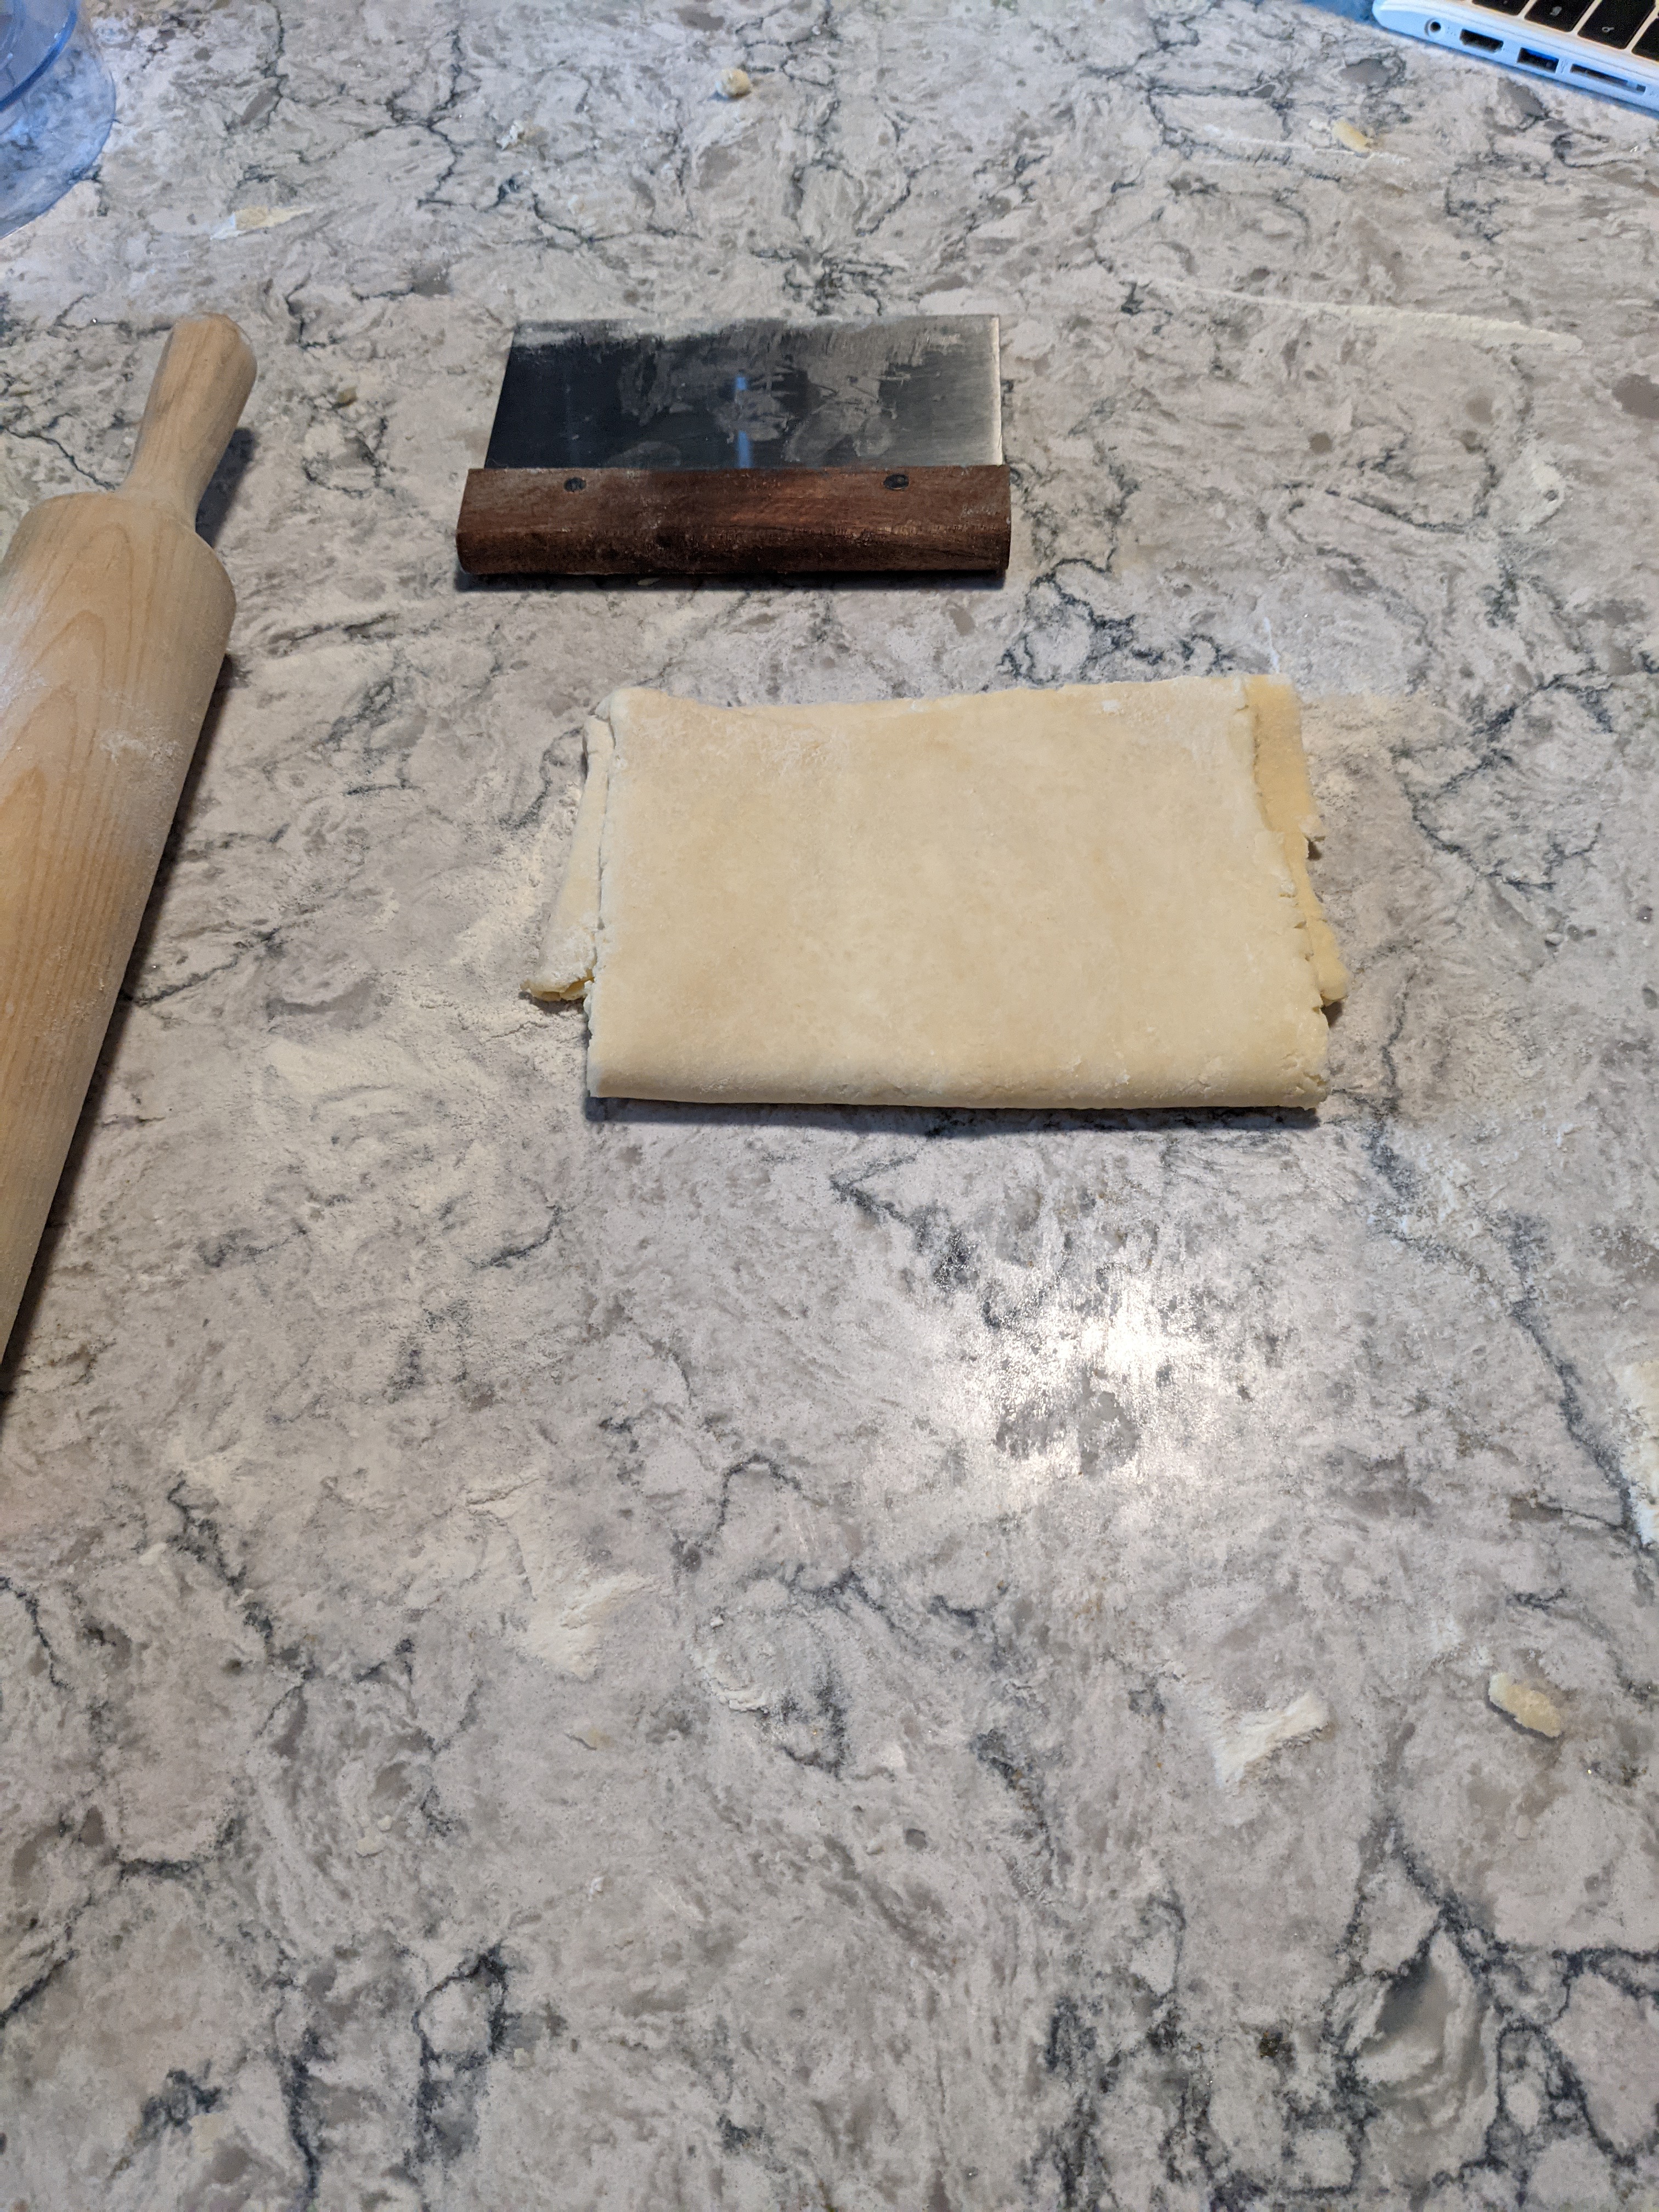
Once the dough is coming together, it gets turned out onto the bench and worked into a solid mass. The recipe used the phrase “knead gently to bring together,” which I think is dangerously misleading if someone is attempting this for the first time ever! A breadmaker like myself might read that and start going to town on this dough and completely ruin it. A more accurate way to explain it is you need to gently squeeze the coarse crumbs together until they form a cohesive mass, manipulating it as little as possible. It should hold together, but still be full of air at this stage (see photo of the cross section of the dough) and it should still be cold. If you overwork the dough, the butter will fully incorporate with the flour and you won’t get any flakes.


Rolling out
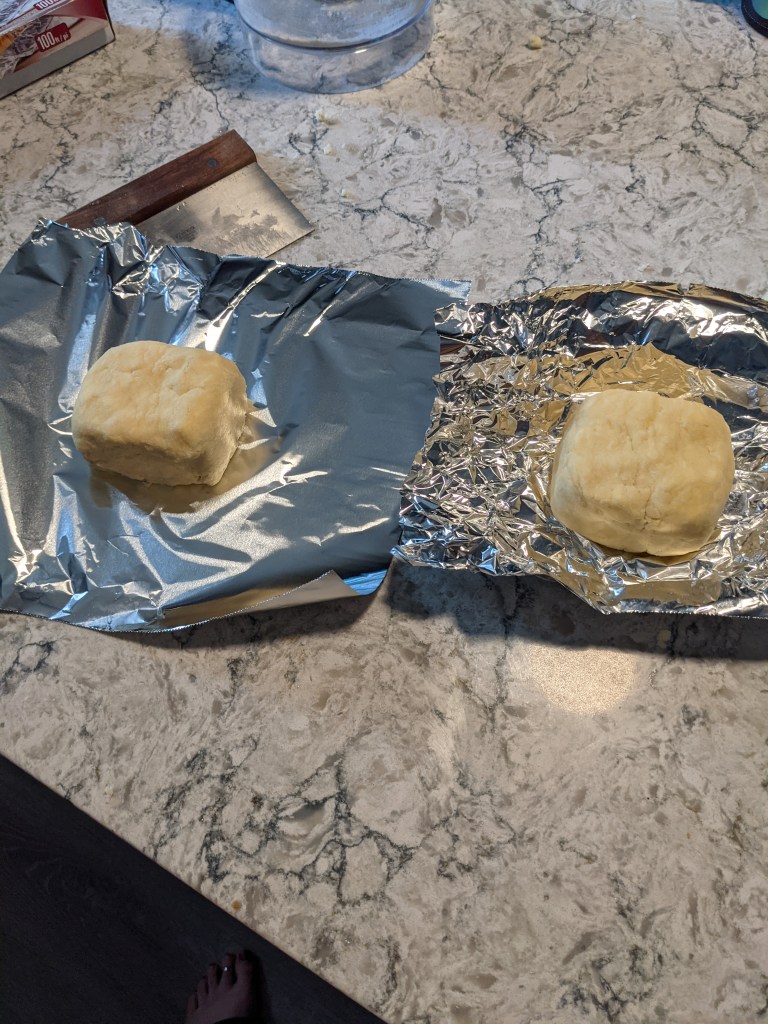
Once the dough is formed, it goes into the fridge for the first rest cycle. As I said above, the key here is keeping it cold. The flour also needs to rest between roll outs so the gluten can relax. Tense gluten means chewy pastry and that is no fun. Even worse, if the gluten is over-worked, the proteins will actually start breaking down as you continue to work the dough and then the flour and butter will incorporate, and you guessed it: NO FLAKES FOR YOU!
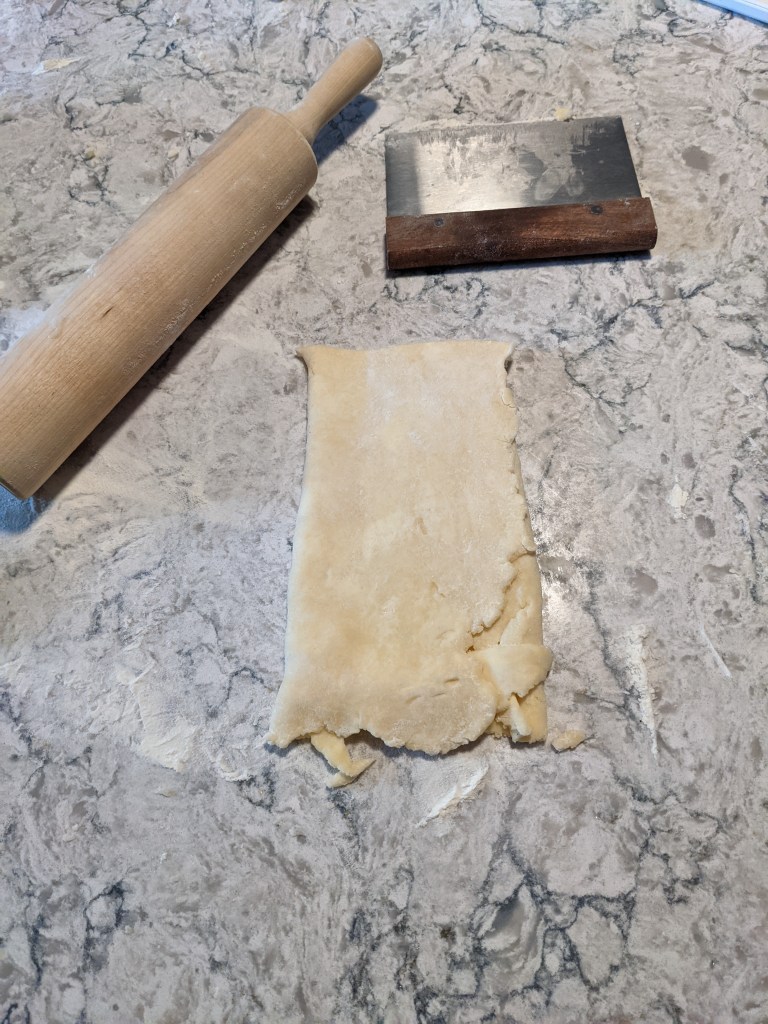
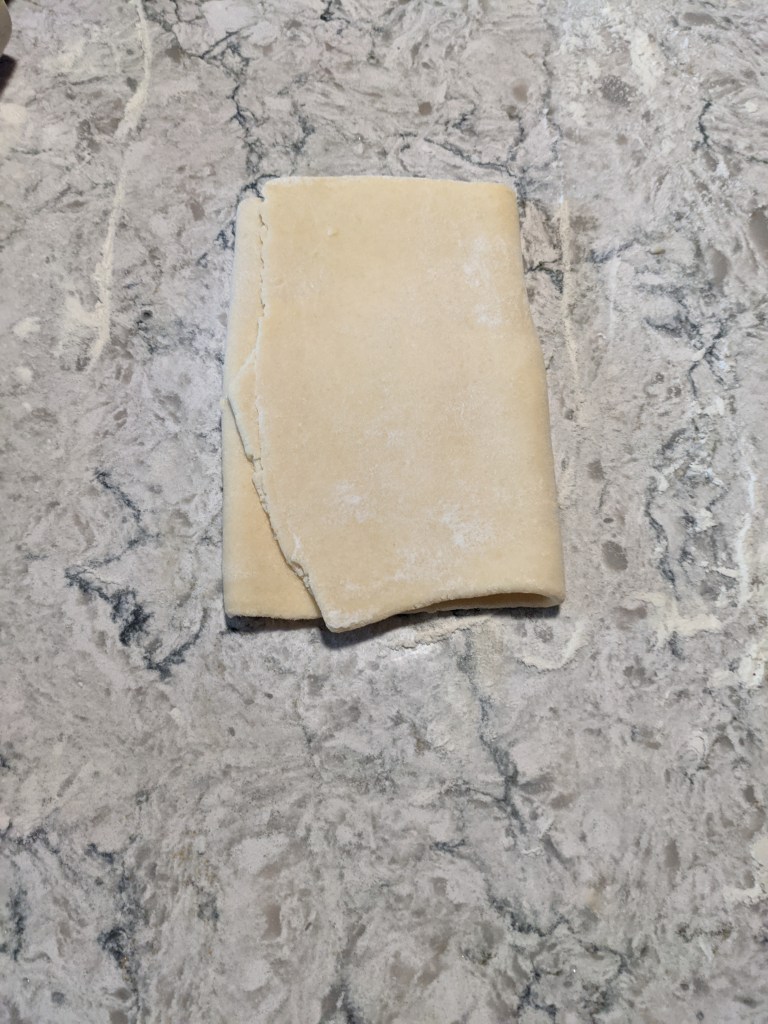
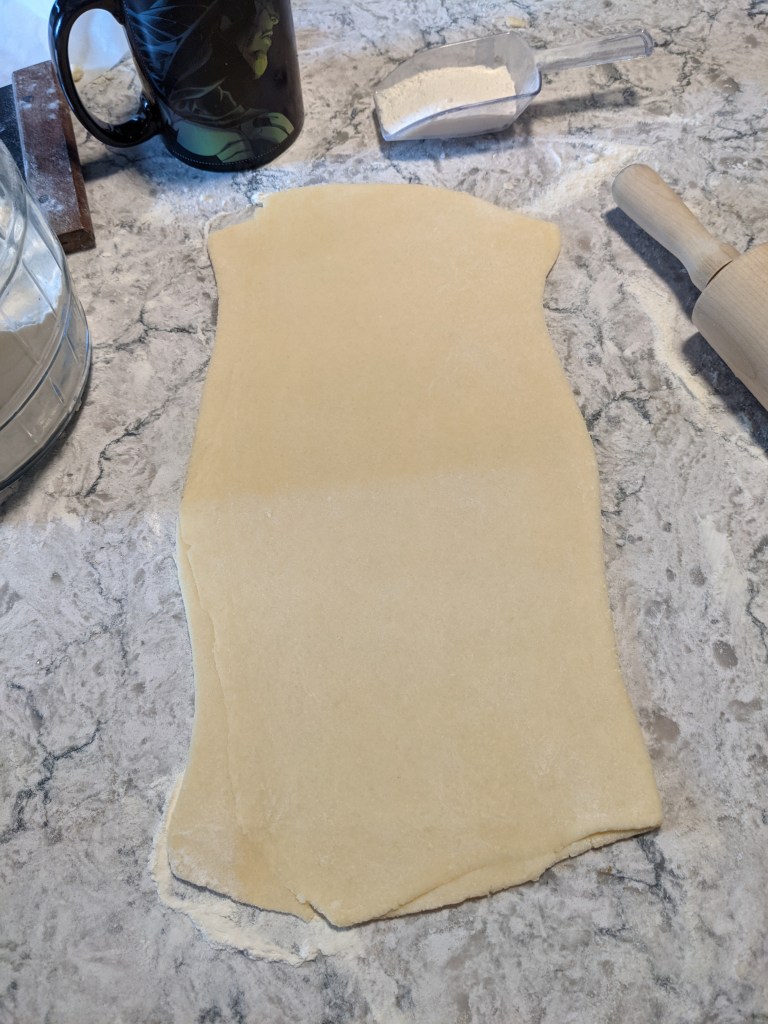
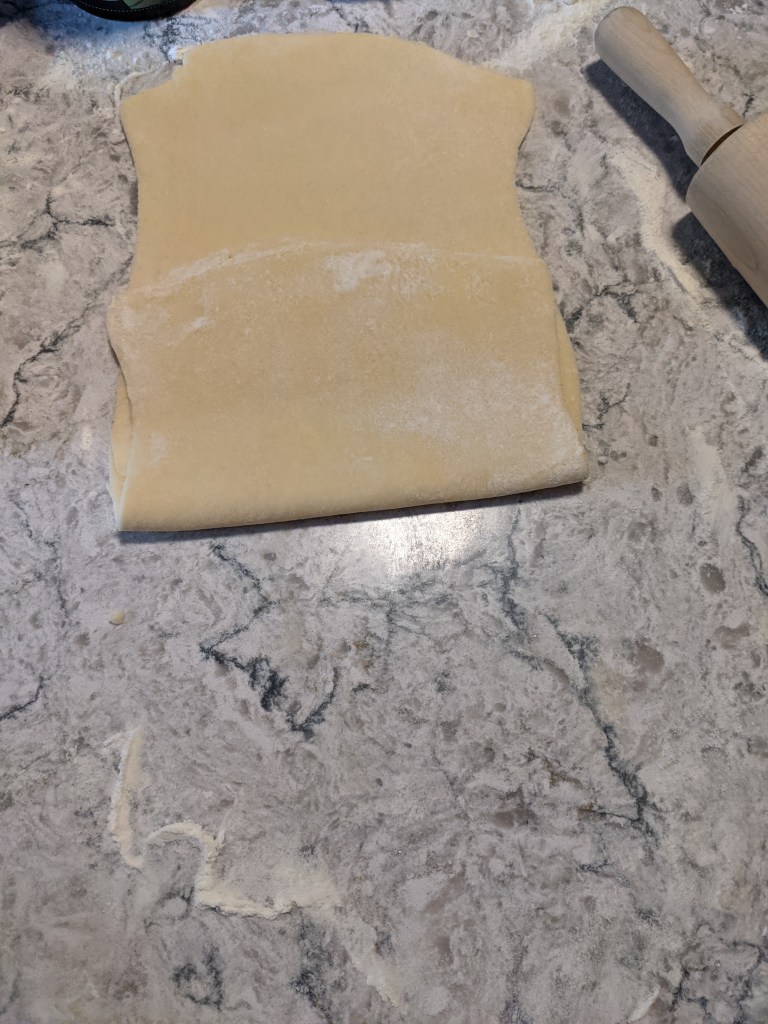
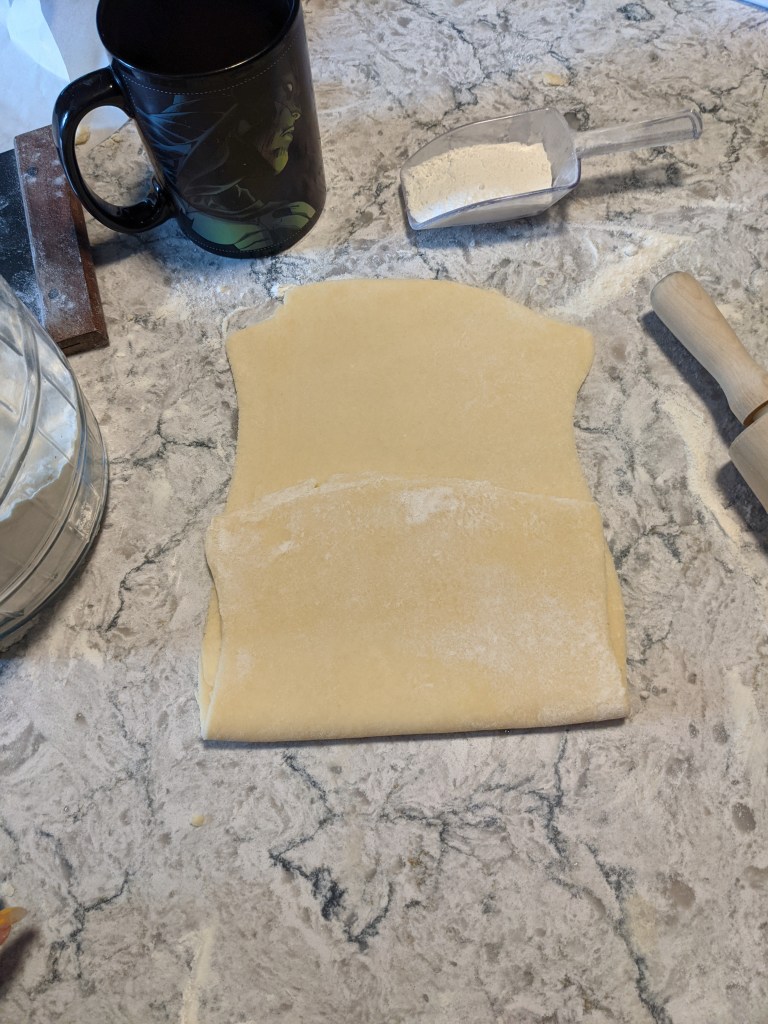
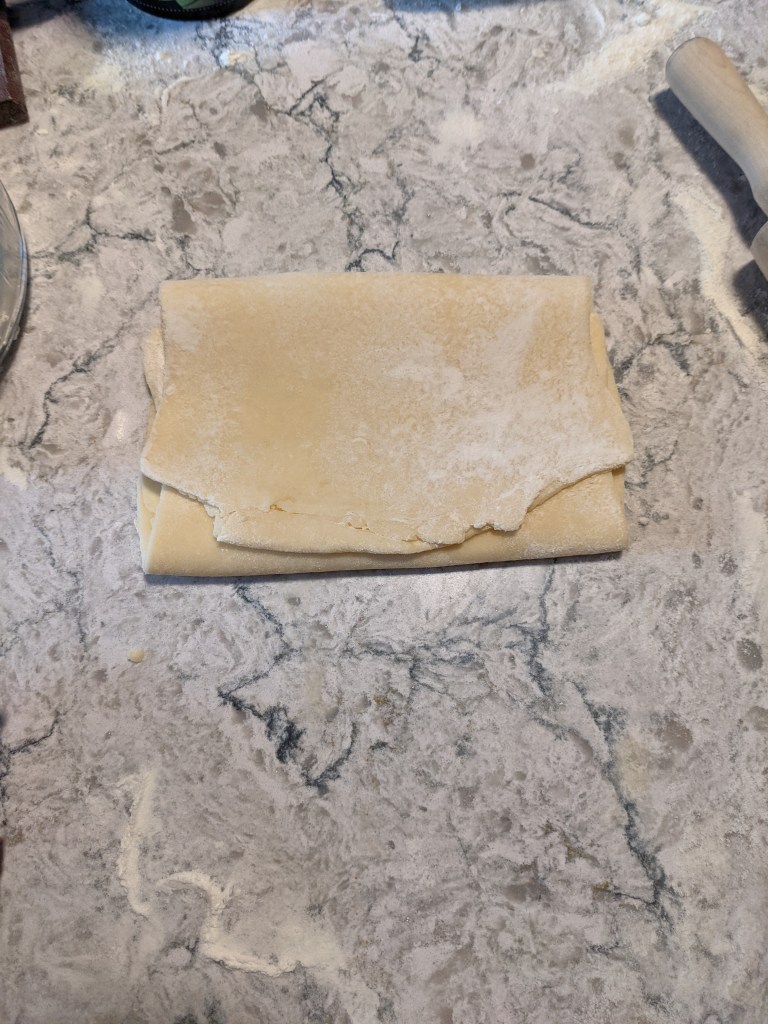
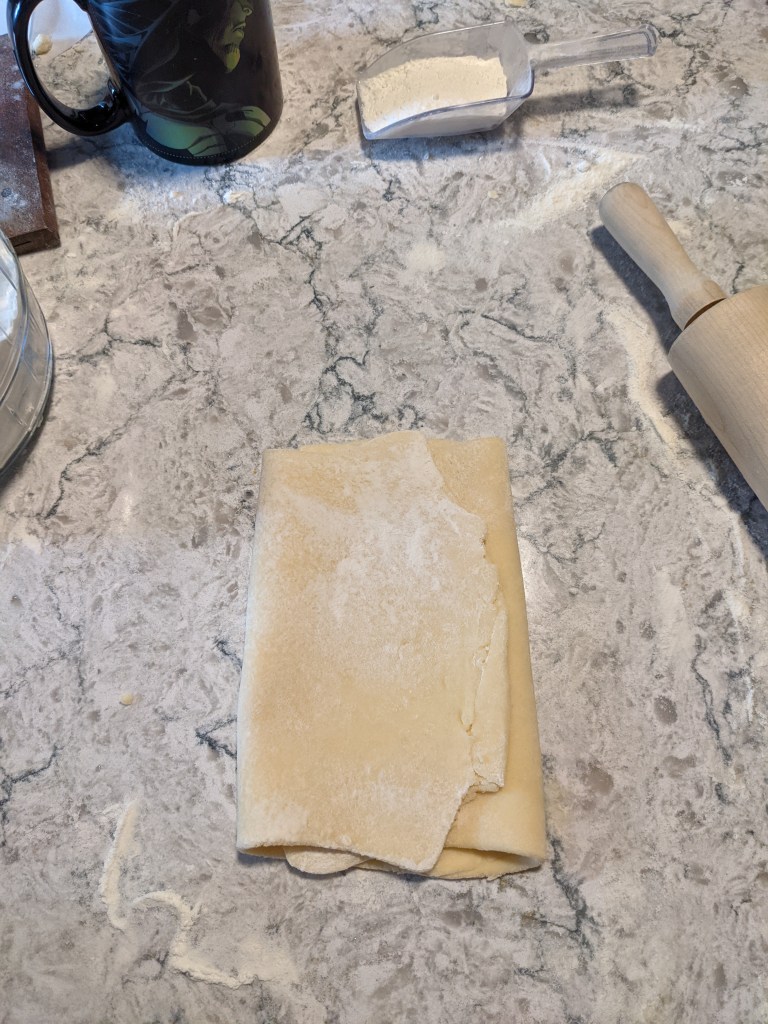
After the first rest, it is time for the first roll out. At this stage the dough will still be marbled with butter: that is what we want to see. For this recipe, the dough is divided into 2 halves, and each gets rolled out individually an equal number of times. The dough gets rolled out and folded into thirds, letter style (bakers sometimes refer to this as an “envelope fold” because we like metaphors, I guess). When rolling, use enough flour on the bench and the rolling pin to keep the dough from sticking, but the flour should be brushed off of the dough in between the folds. After the first roll and fold, the dough is rotated 90 degrees, rolled and folded again (the second folds are made perpendicular in direction to the first ones). The dough goes back into the fridge and then the process is repeated twice more for a total of 18 folds (layers) for each piece of dough.

Step 2: Frangipane
While the dough is resting between roll outs, the filling is pretty straightforward to make. I have never made Frangipane before, and it is FRIGGING DELICIOUS. I have always heard it described as an “almond based custard” and I could never wrap my brain around that description. I would describe it as kind of a gooey, cakey filling, similar to some British style puddings, but it really is a thing unto itself. It reminds me many of the old school pastries I would randomly buy from European vendors at the Farmer’s Market that I never knew the names of. You know, in the days before we were living in an endless hellscape and I was able to go to cute places like the market… but I digress…The point is, Frangipane is a hearty, sweet filling, but not sickly sugary and it has a lot of structural integrity so I can see why it is useful in so many applications. For added fun, it is NOT OVERLY DIFFICULT TO MAKE, and we are fans of working smarter, not harder, around here.
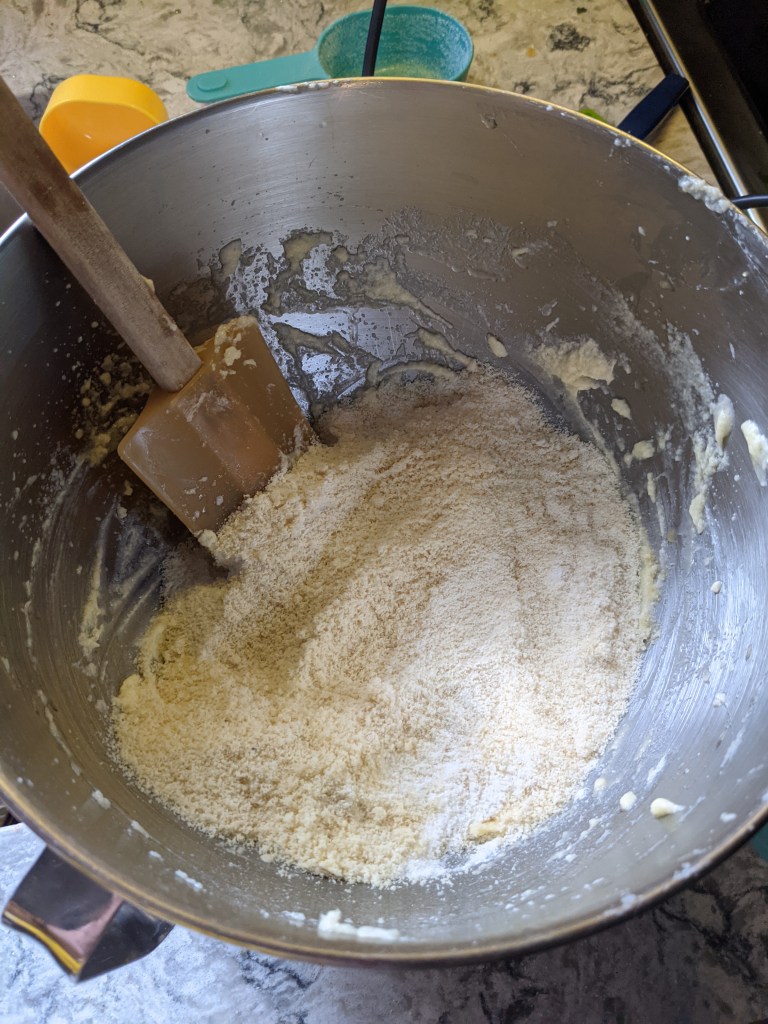
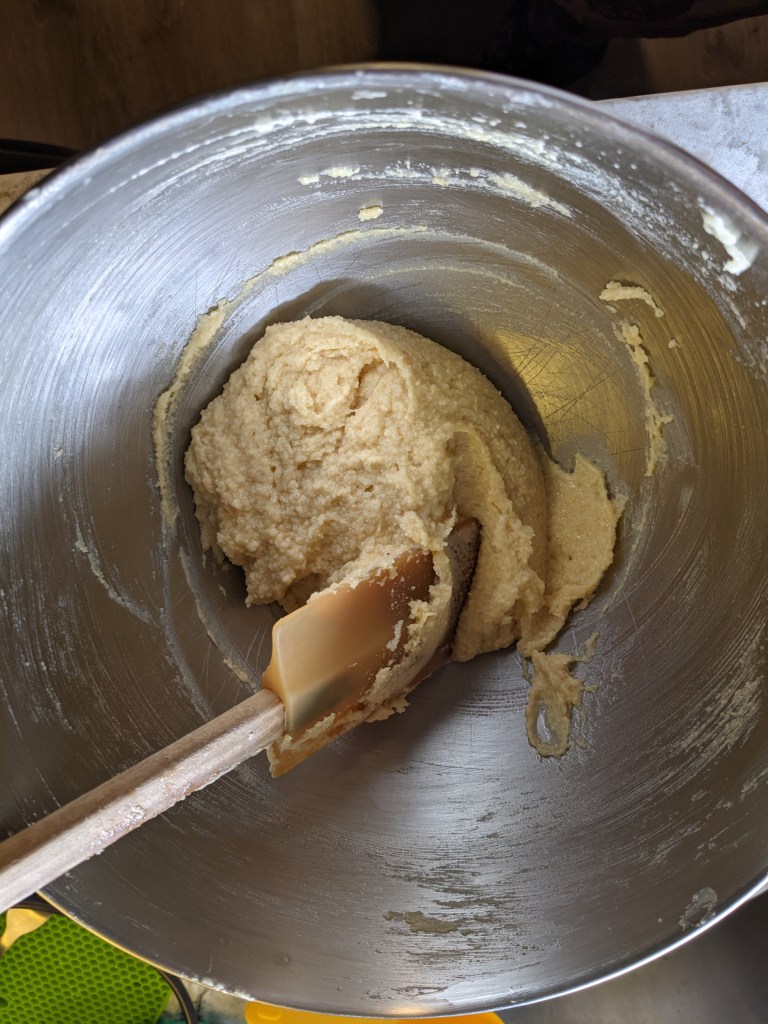
The basic method here is creaming together butter and sugar, then adding eggs: the early steps of hundreds upon thousands of batters. Then ground almonds and a little flour are folded in, and Voila! Frangipane is ready for whatever you want it to do.
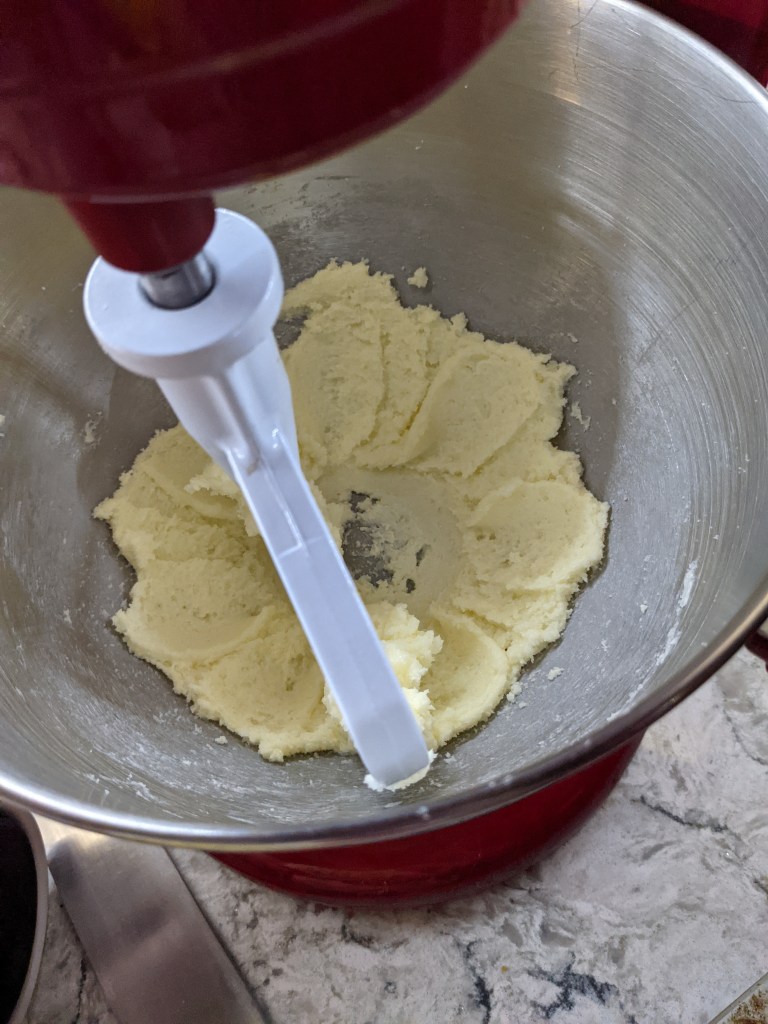
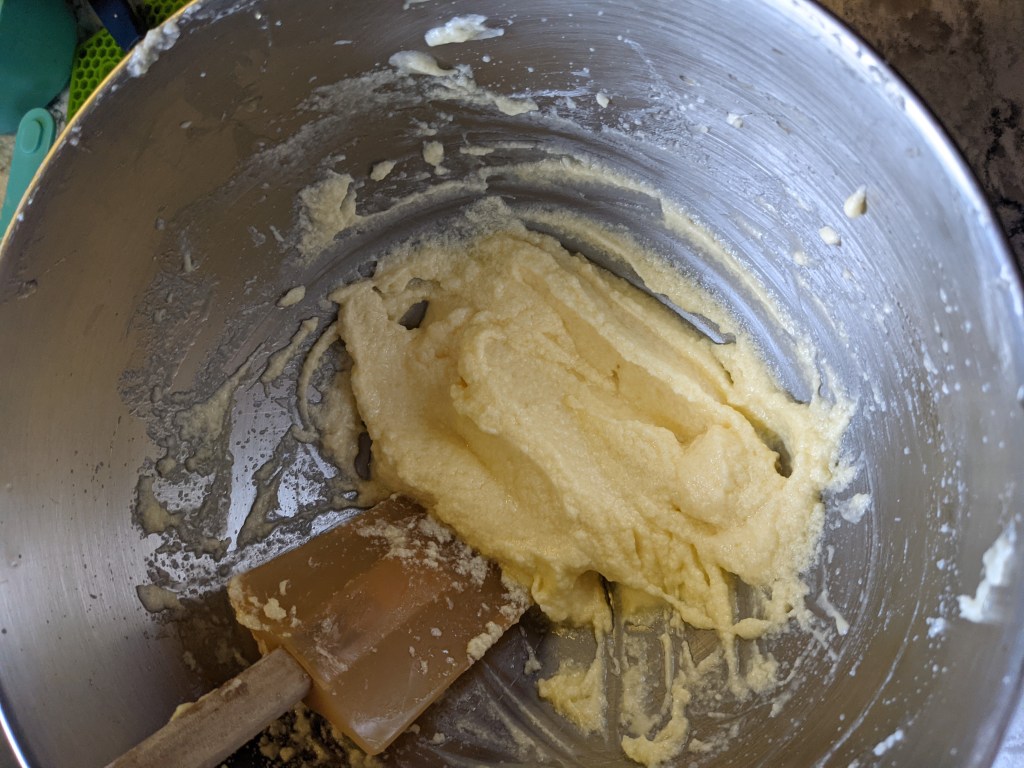
I will add that I have a life lesson for you bakers out there. TWO life lessons, in fact. Lesson one: always work with your eggs at room temp. I didn’t pull mine out the night before because I knew this was just for the frangipane and I was confident I could fix it if the eggs were too cold (EDIT: this is what we call a CALCULATED RISK, kiddies, and you will learn this is a theme in my baking if you keep reading). So I did my usual move of pulling the eggs from the fridge and just running them under hot water for a minute, but it wasn’t long enough and the eggs were still too cold (natch). Fun story: if you cream room temp butter with cold eggs, the butter coagulates and you won’t get the “light and fluffy” mixture you are looking for. It will be a heterogeneous mixture of butter and egg that I have seen referred to as “curdled” but I would say that is a misnomer here.
Not to worry friends and bakers, for this brings me to life lesson number two: get yourself a hand-held immersion blender. You don’t need to spend a bunch of money on one, I had a simple $20 model for many years before Dave bought me a nice upgrade last year. Anyway, a working immersion blender will save your bakes time and again, and this was no exception. Once I saw my eggs and butter were not jiving, I just buzzed the mixture together with the blender real quick and got on with my life like it never happened.
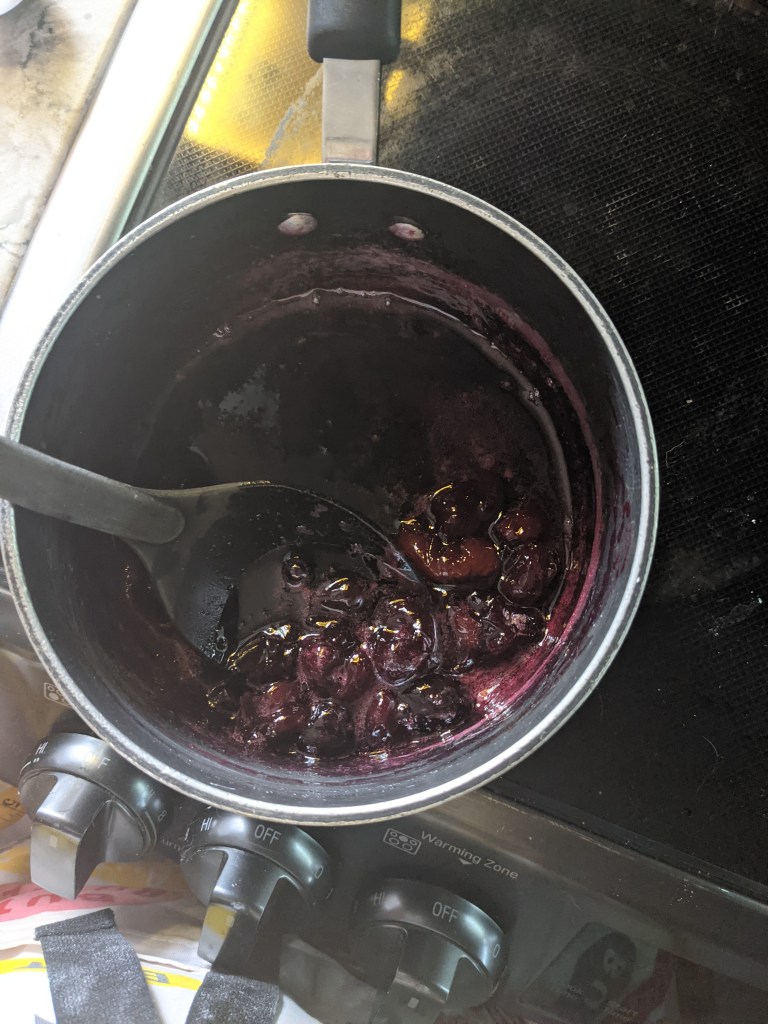
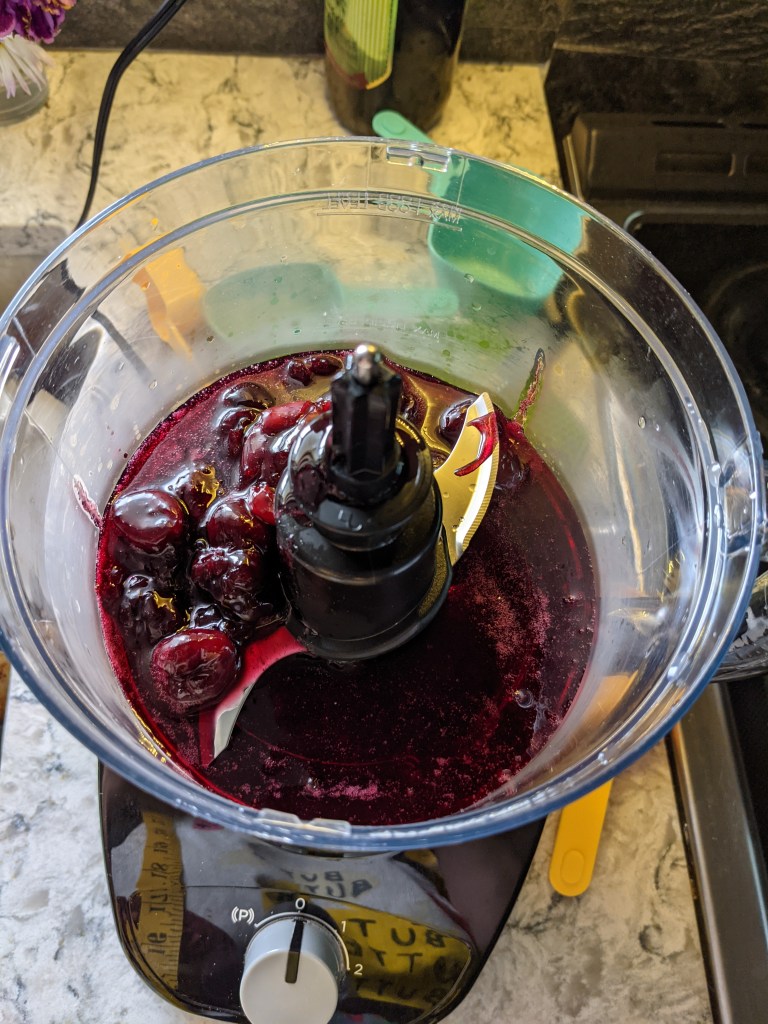
Step 3: Cherry Jam
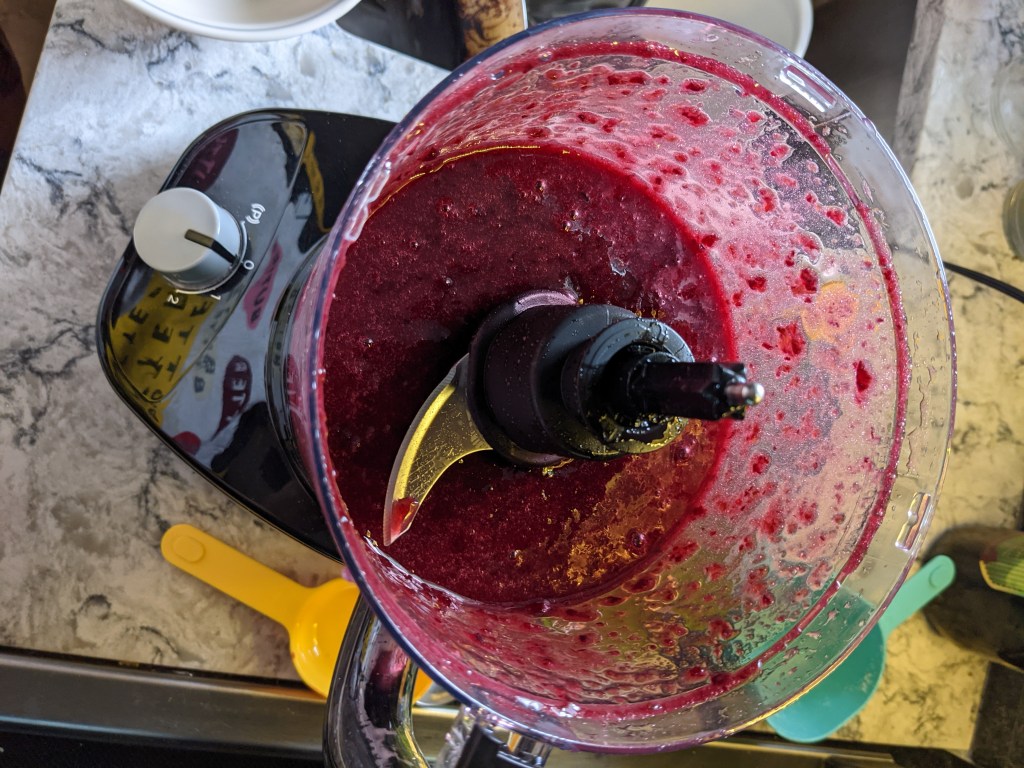
And now for the sad part of this story. The cherry jam should have been the simplest part of this bake, it just required heating and then blending in the food processor. The CBC recipe called for something called “jam sugar” which I had never heard of before. This wasn’t readily available, but I did some research and thought: I don’t want to wait for Amazon to find this and deliver it from god knows where I HAVE SCIENCE ON MY SIDE, and I forged ahead with a head full of ego.
Jam sugar is a pre-mix of sugar, pectin, and citric acid. I already have all of these items separately in the pantry, so I figured I was fine to just wing it. I was right but also made two errors that I paid for later. First, I thought I had apple pectin in the pantry and couldn’t find it. This is the pectin I wanted to use as I was quite confident that is the type that would be present in a commercially made jam sugar. When the time came, I couldn’t find my apple pectin (BUT I FOUND IT LATER AFTER THIS BAKE WAS FINISHED, APPARENTLY I NEED TO CLEAN OUT MY CUPBOARDS), so I used slow-set high methoxyl pectin, which as the name suggests, takes longer to gel than plain-old apple pectin. Second, although I have citric acid powder in the pantry, I was planning to just squeeze some lemon into the jam at the end and this would have had the same effect of catalyzing the pectin to set into a gel. In the end I used a slow set pectin and forgot to add acid to it and it didn’t thicken enough by the time I needed to use it. I will come back to this point in a moment.
Step 4: Assembly
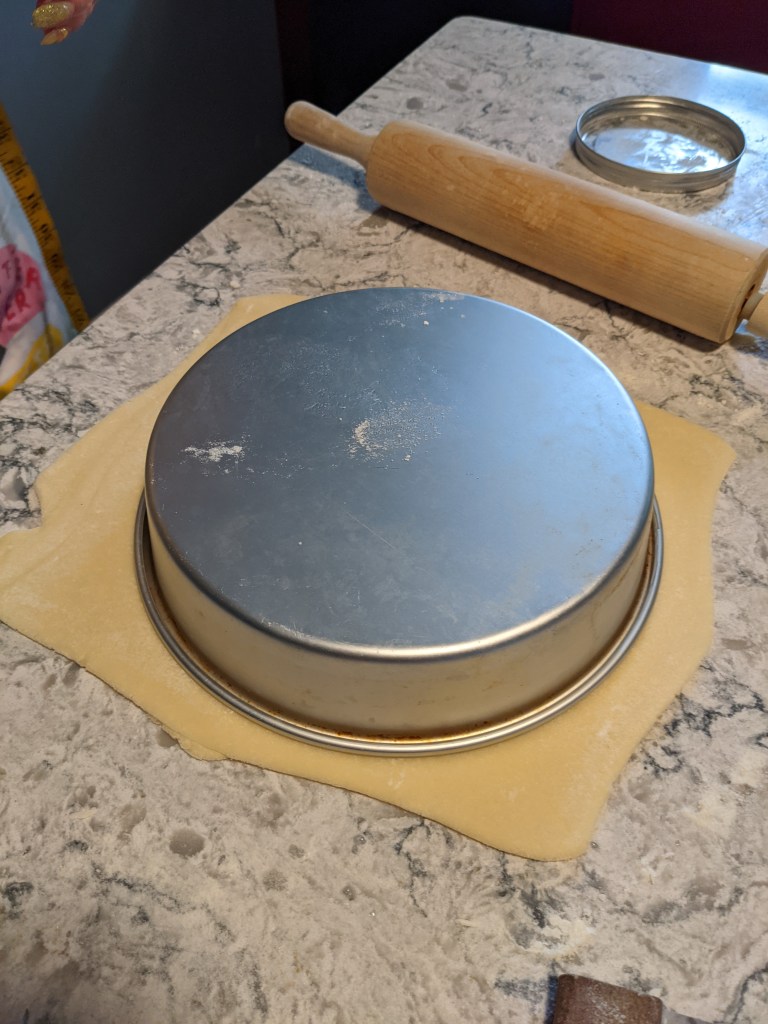
Once all the rolling out is done and the fillings are nicely chilled, it’s time to assemble. I had some hits and misses here: let’s get into it.
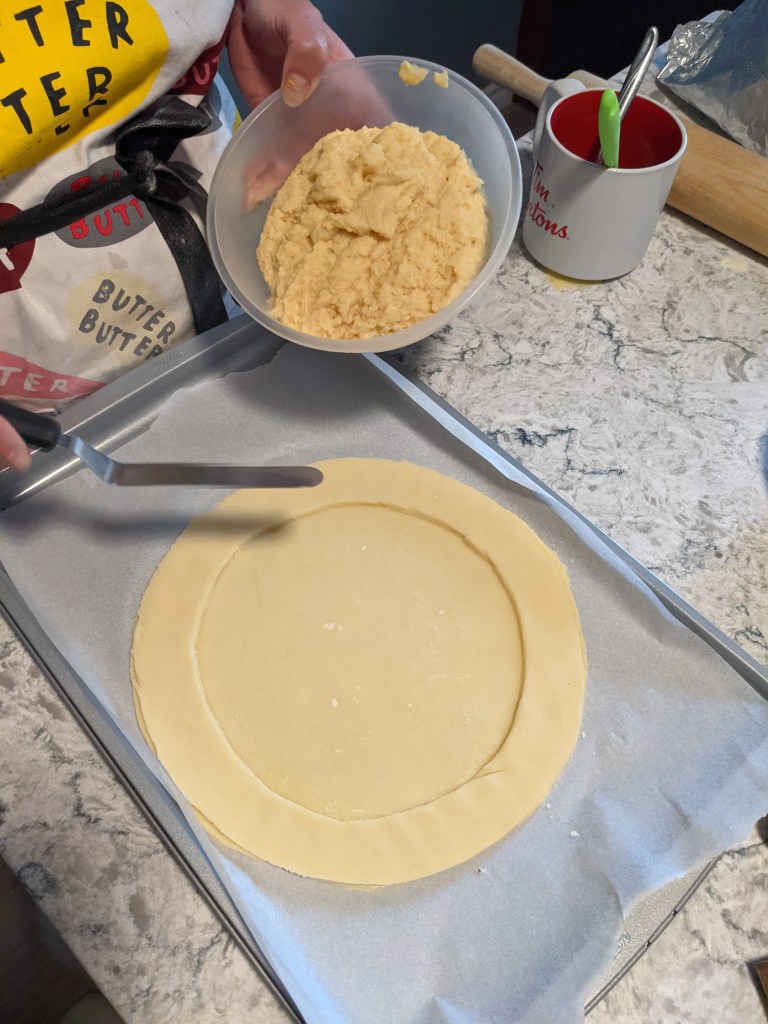
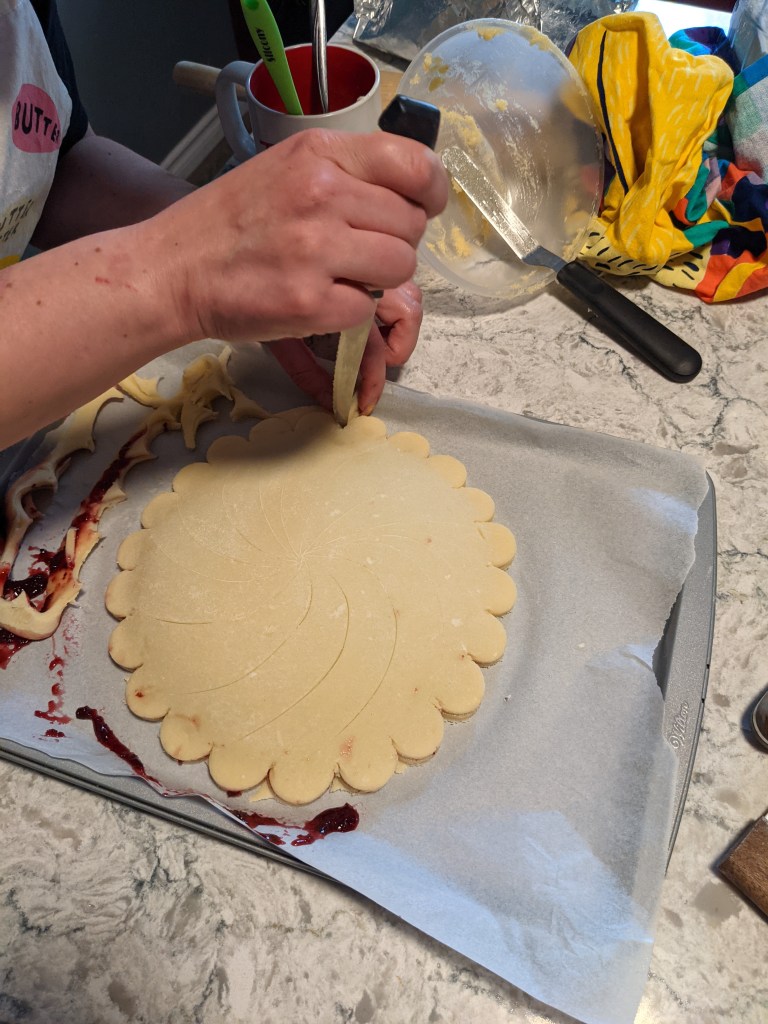
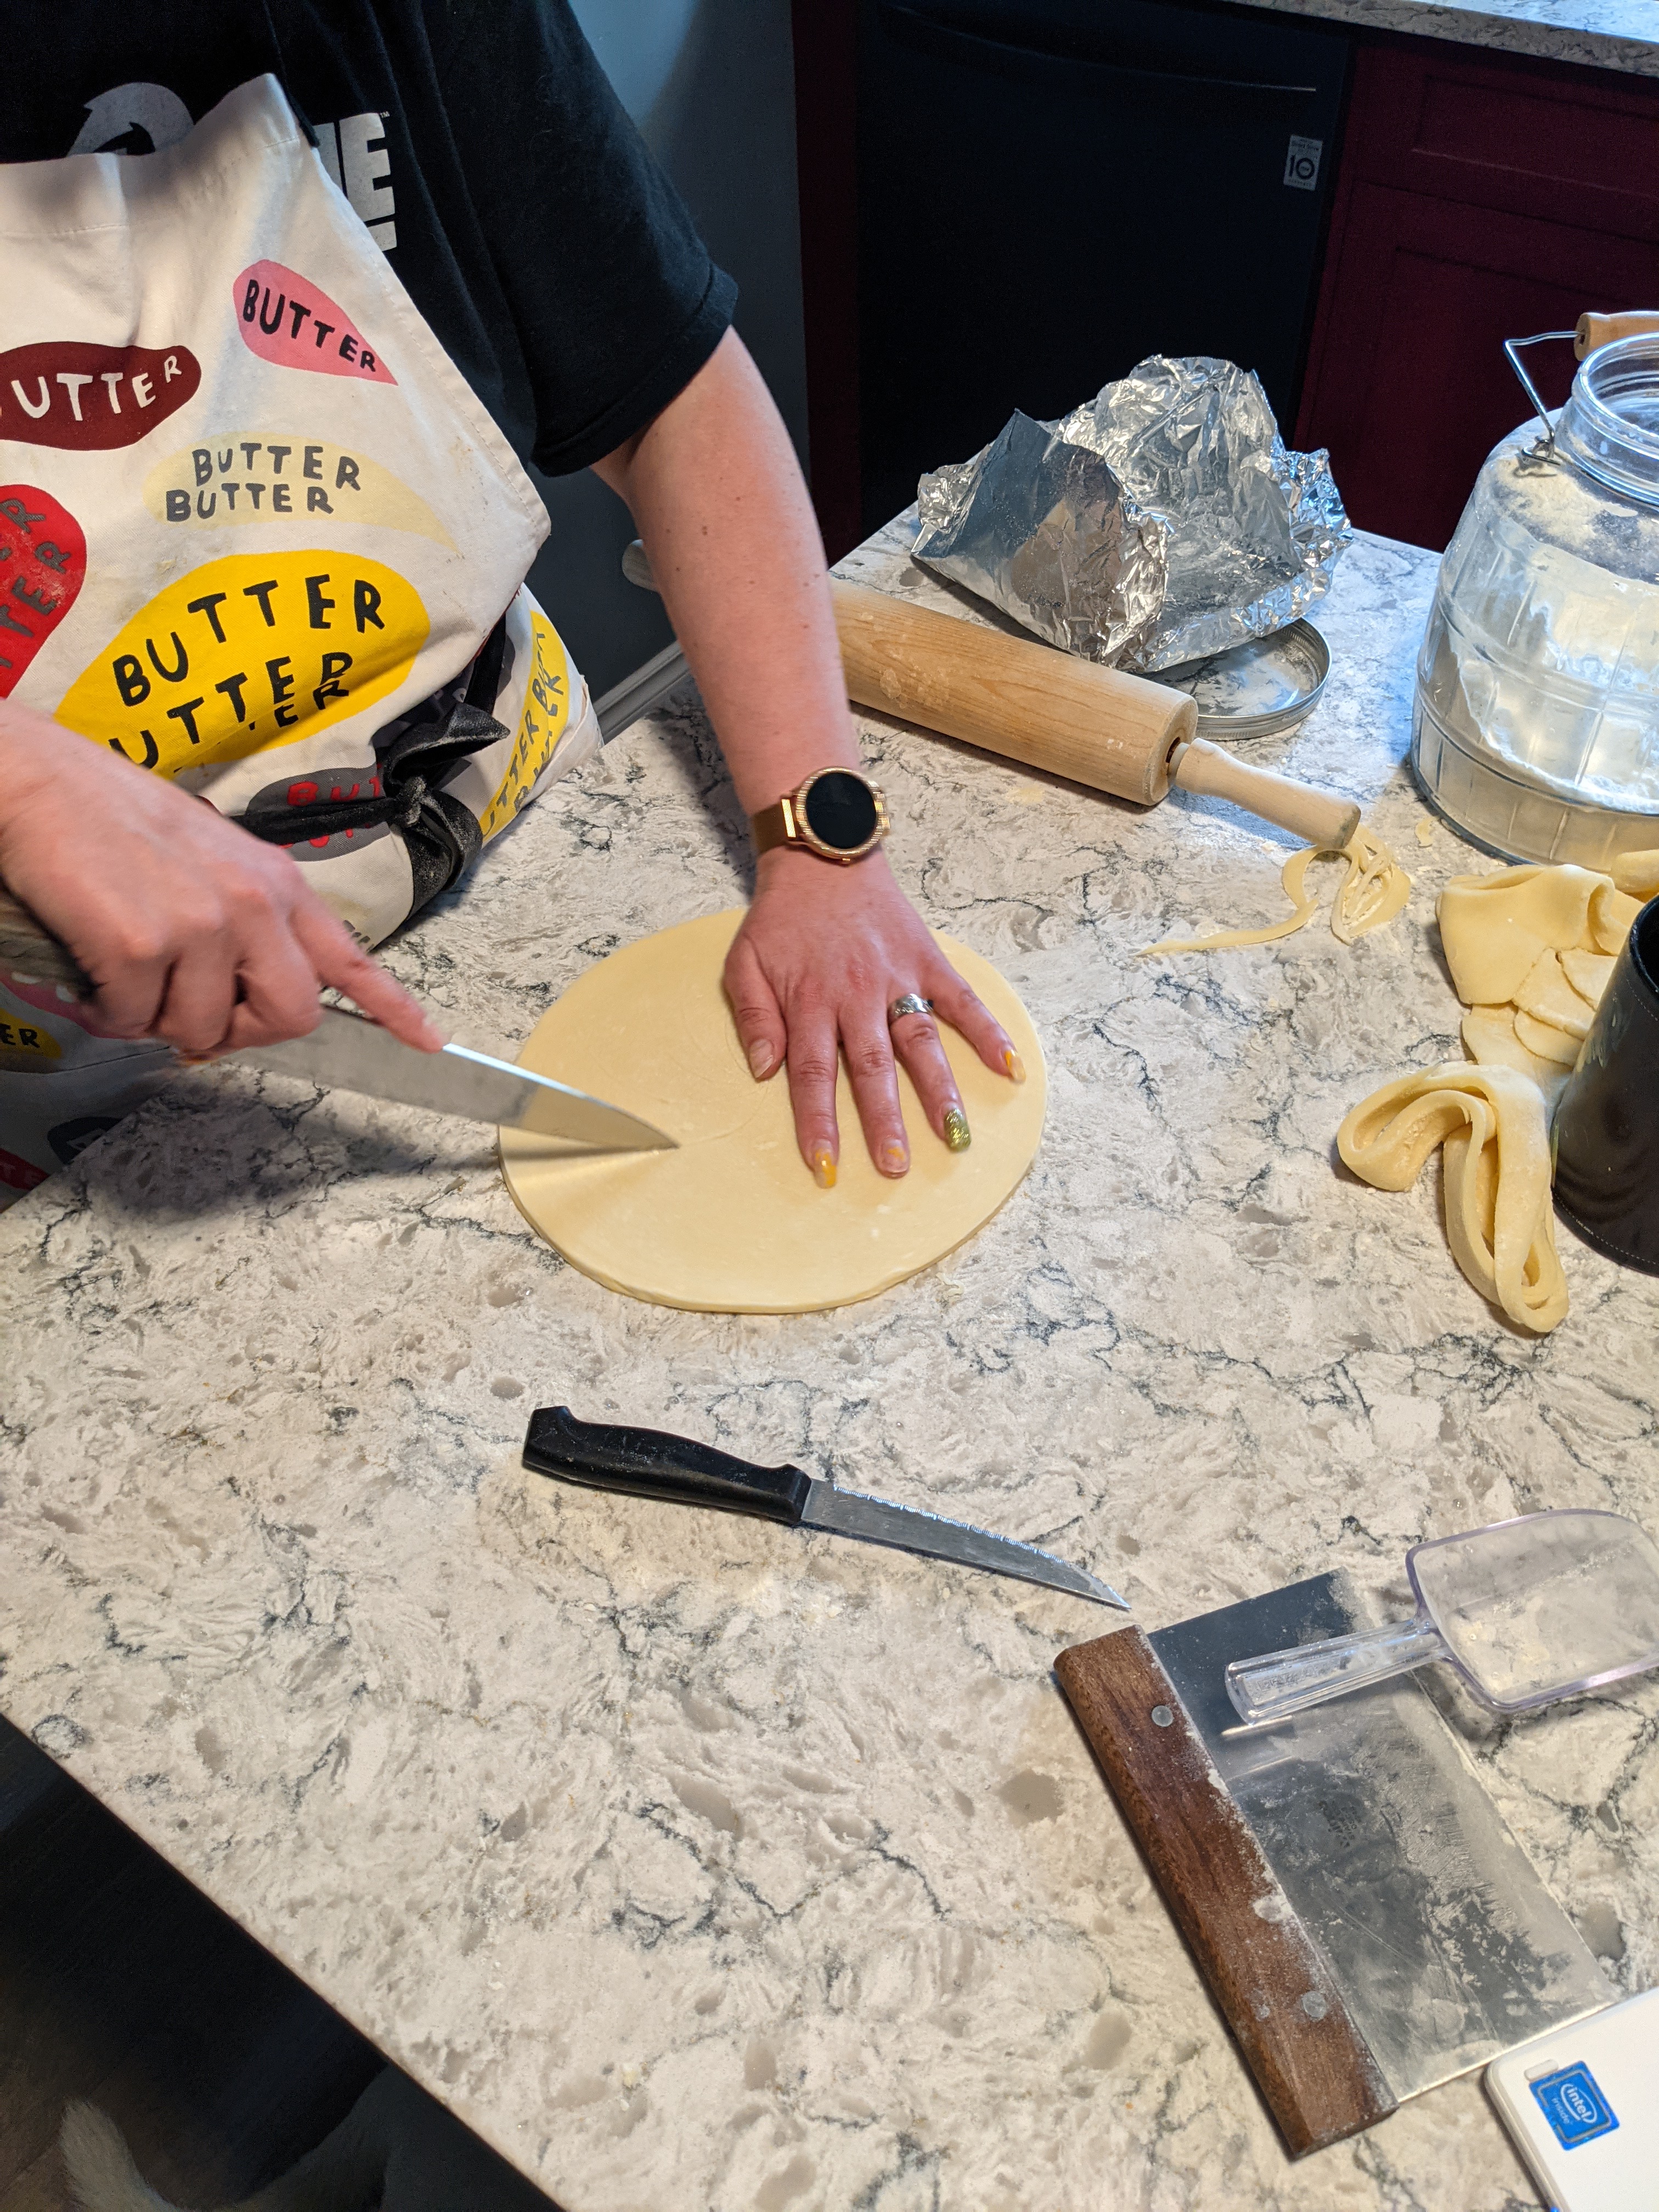
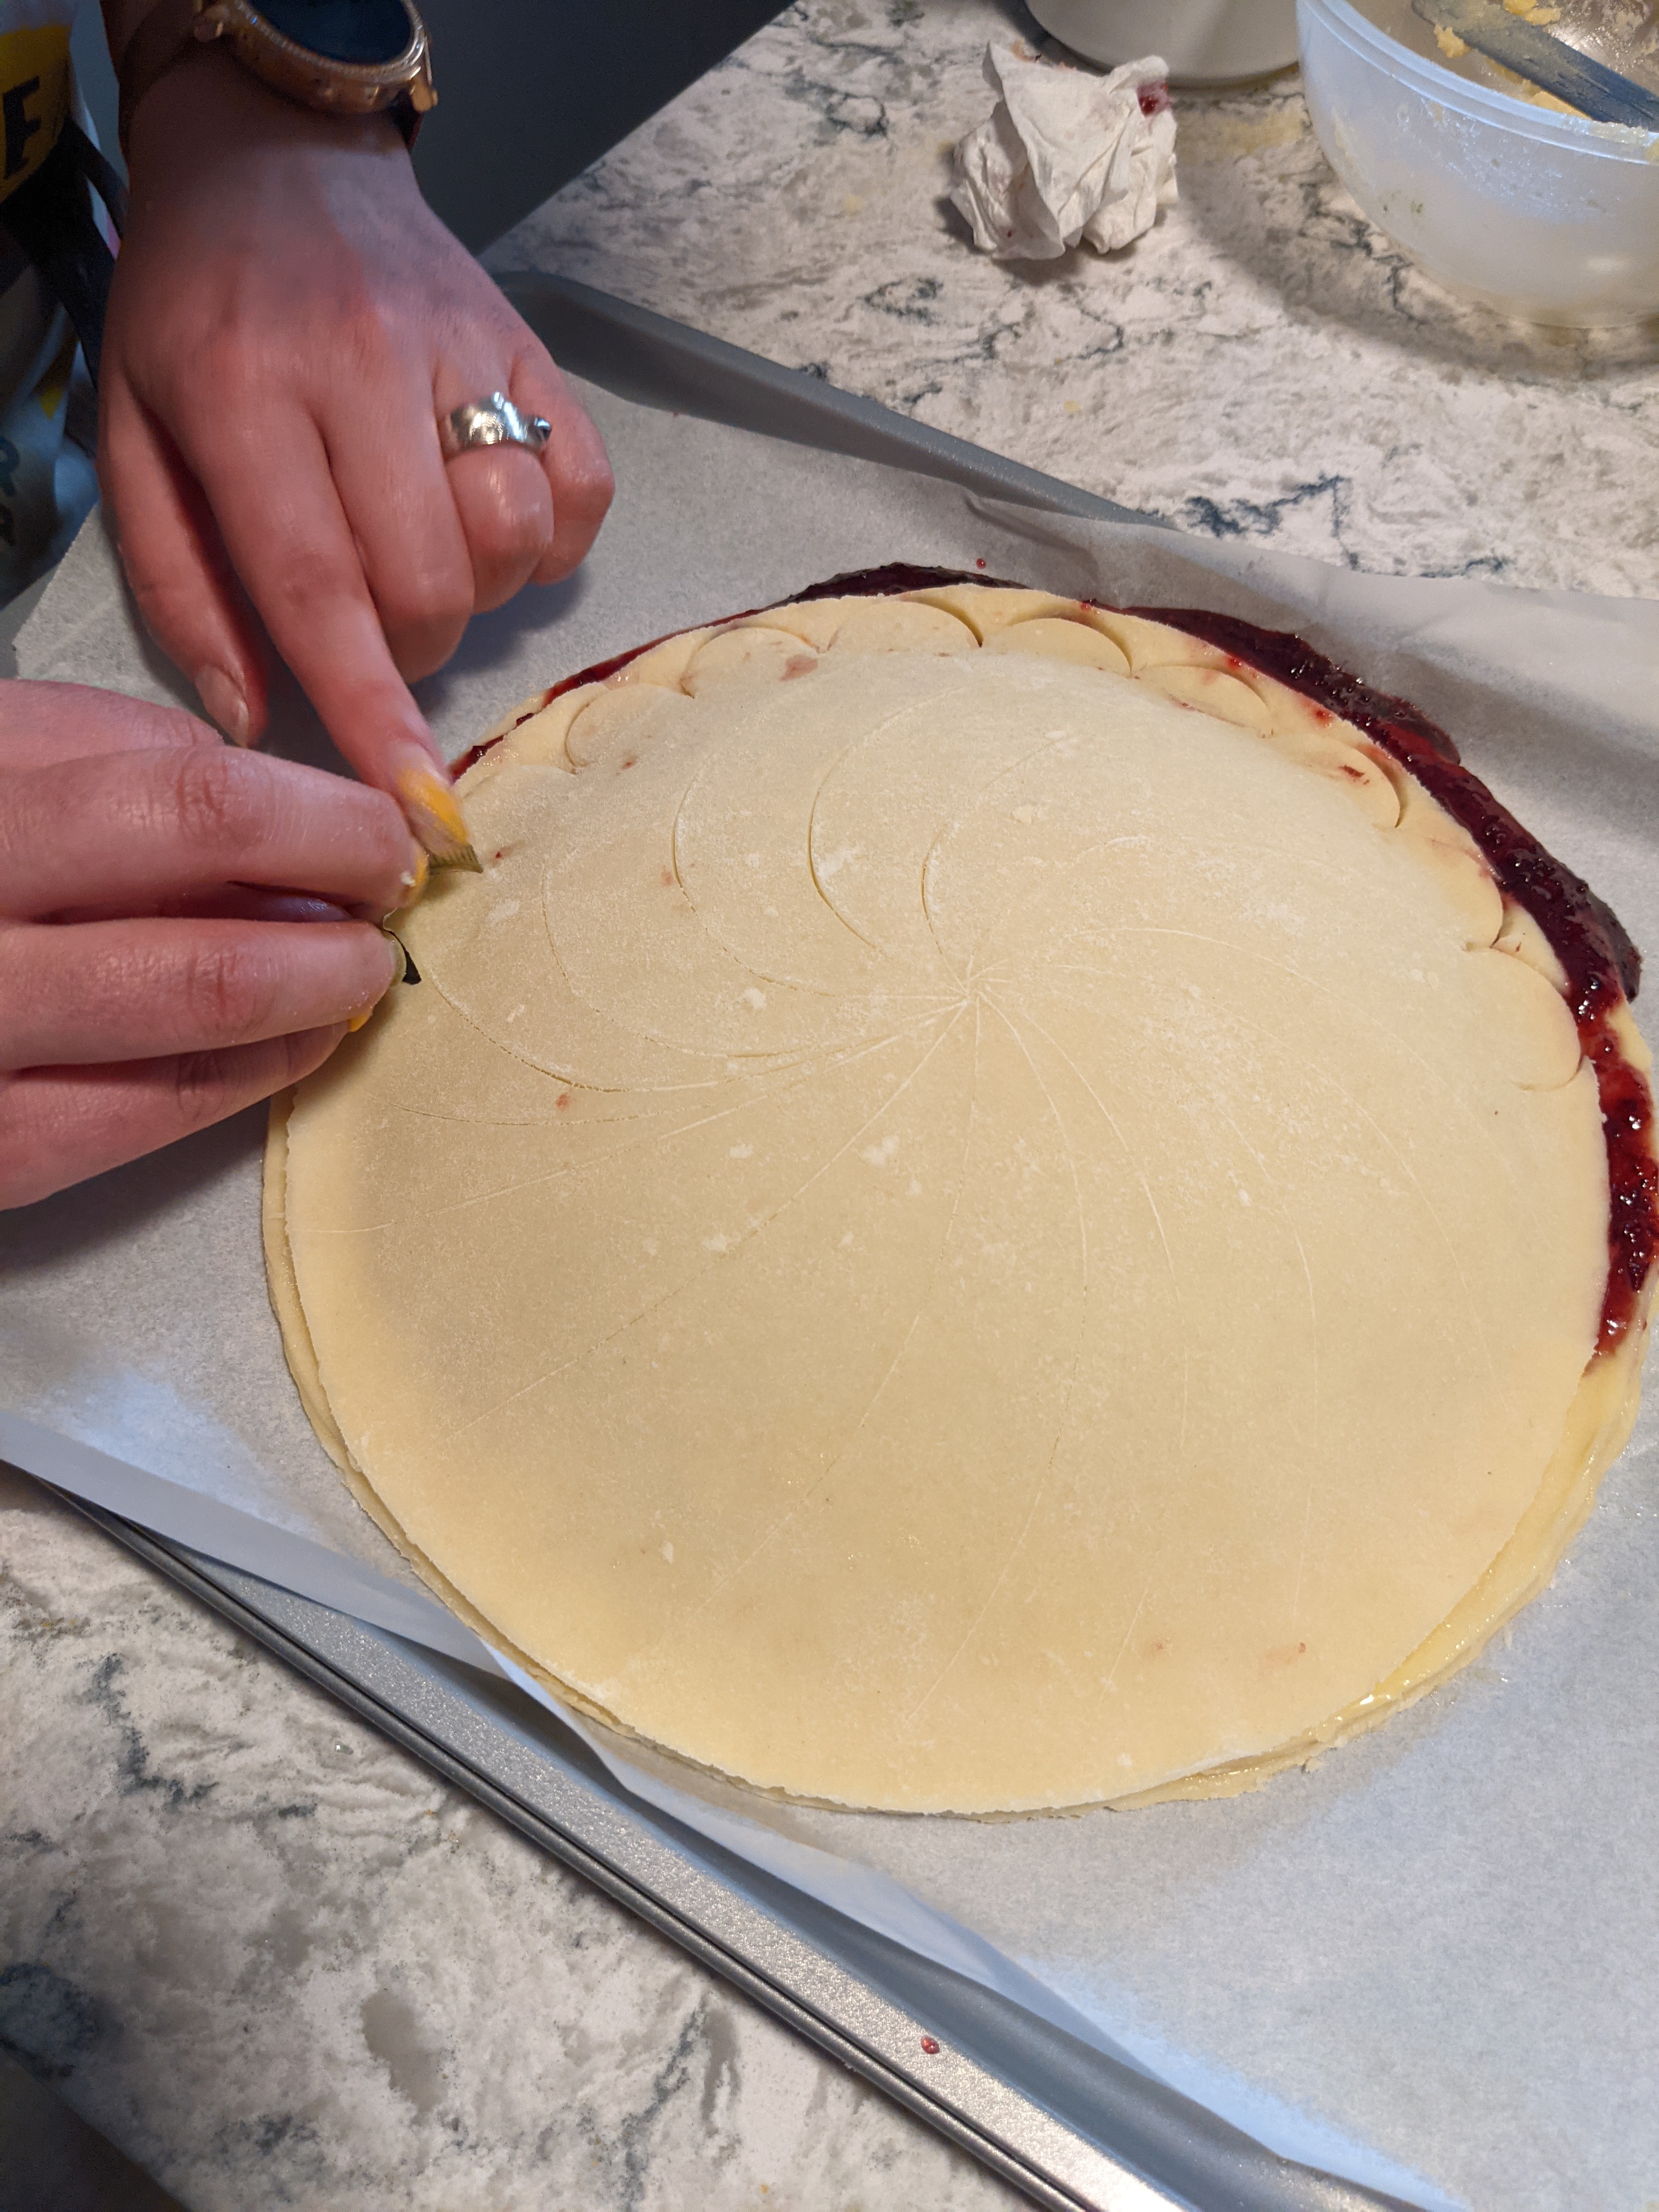
First I had to cut a ten-inch disk of dough. Cool. Then I had to cut another one, and then cut out the outermost edge from that disk. Cool. Then I had to re-roll the now 8 inch disk back out into 10 inches. Cool, cool, cool, cool. The second, thinner disk becomes the top of the pie and now is the time for doing that ever important knife work on top of the pastry (I NAILED this because I am hot shit with a French knife, ngl).


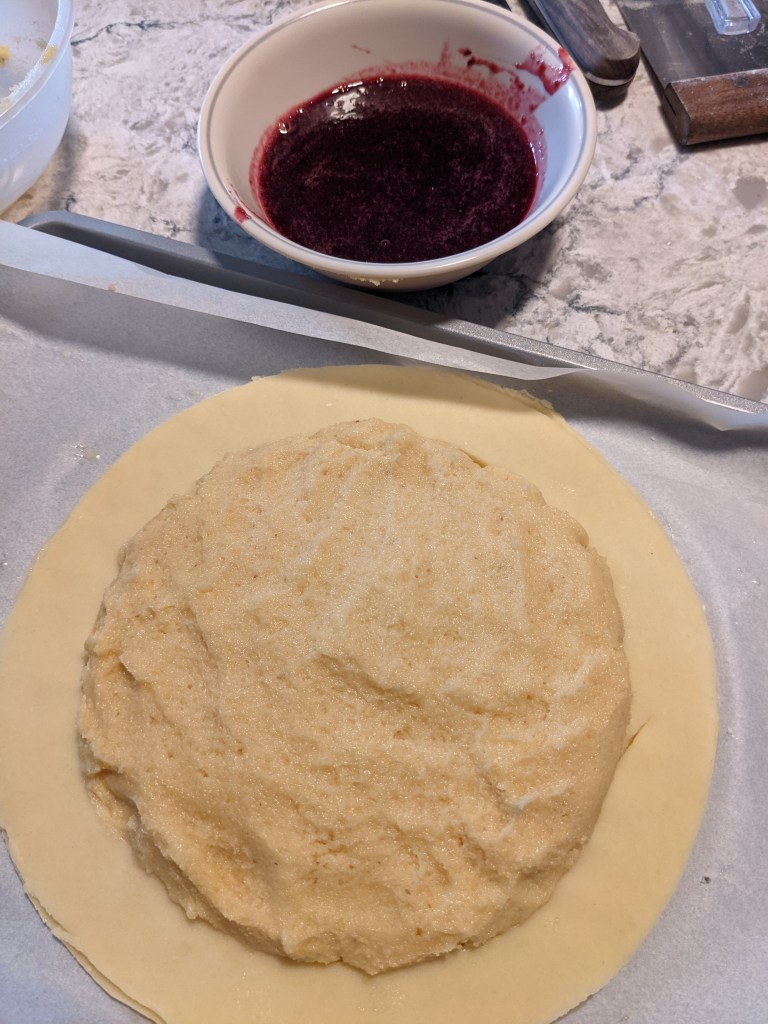
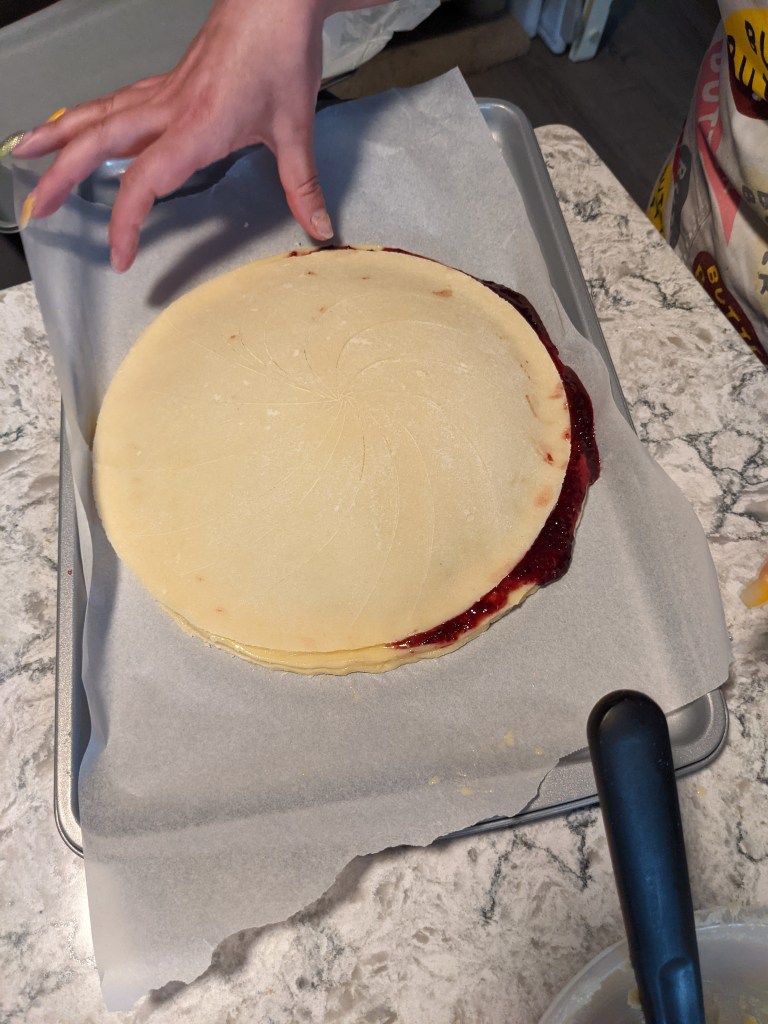
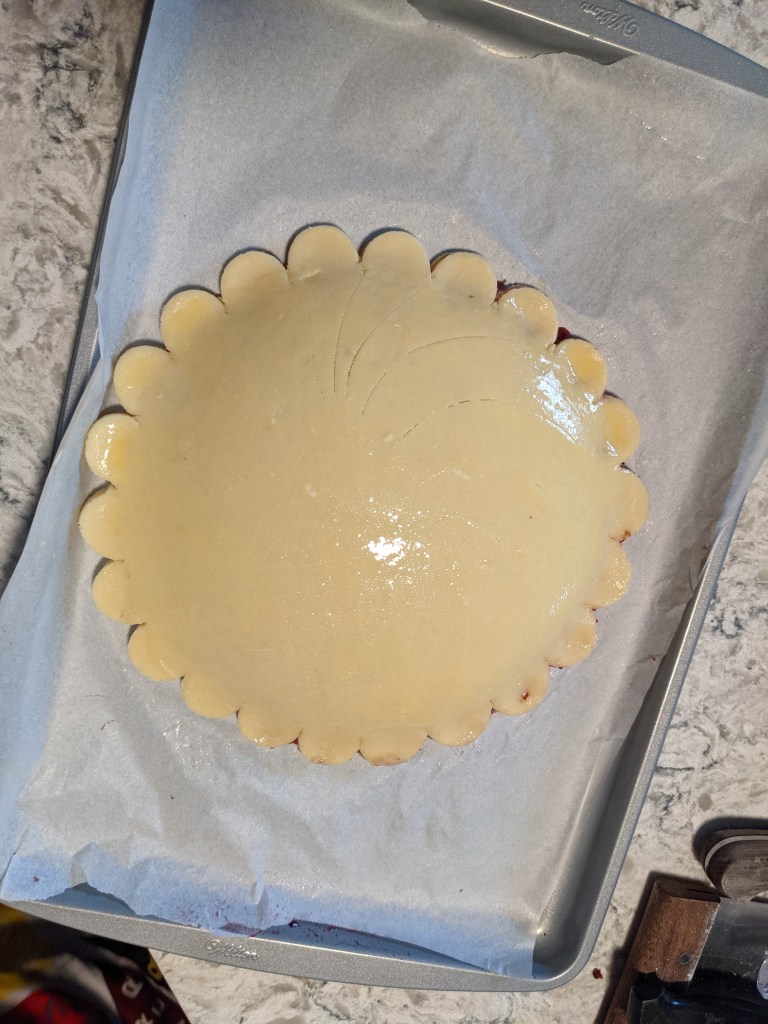
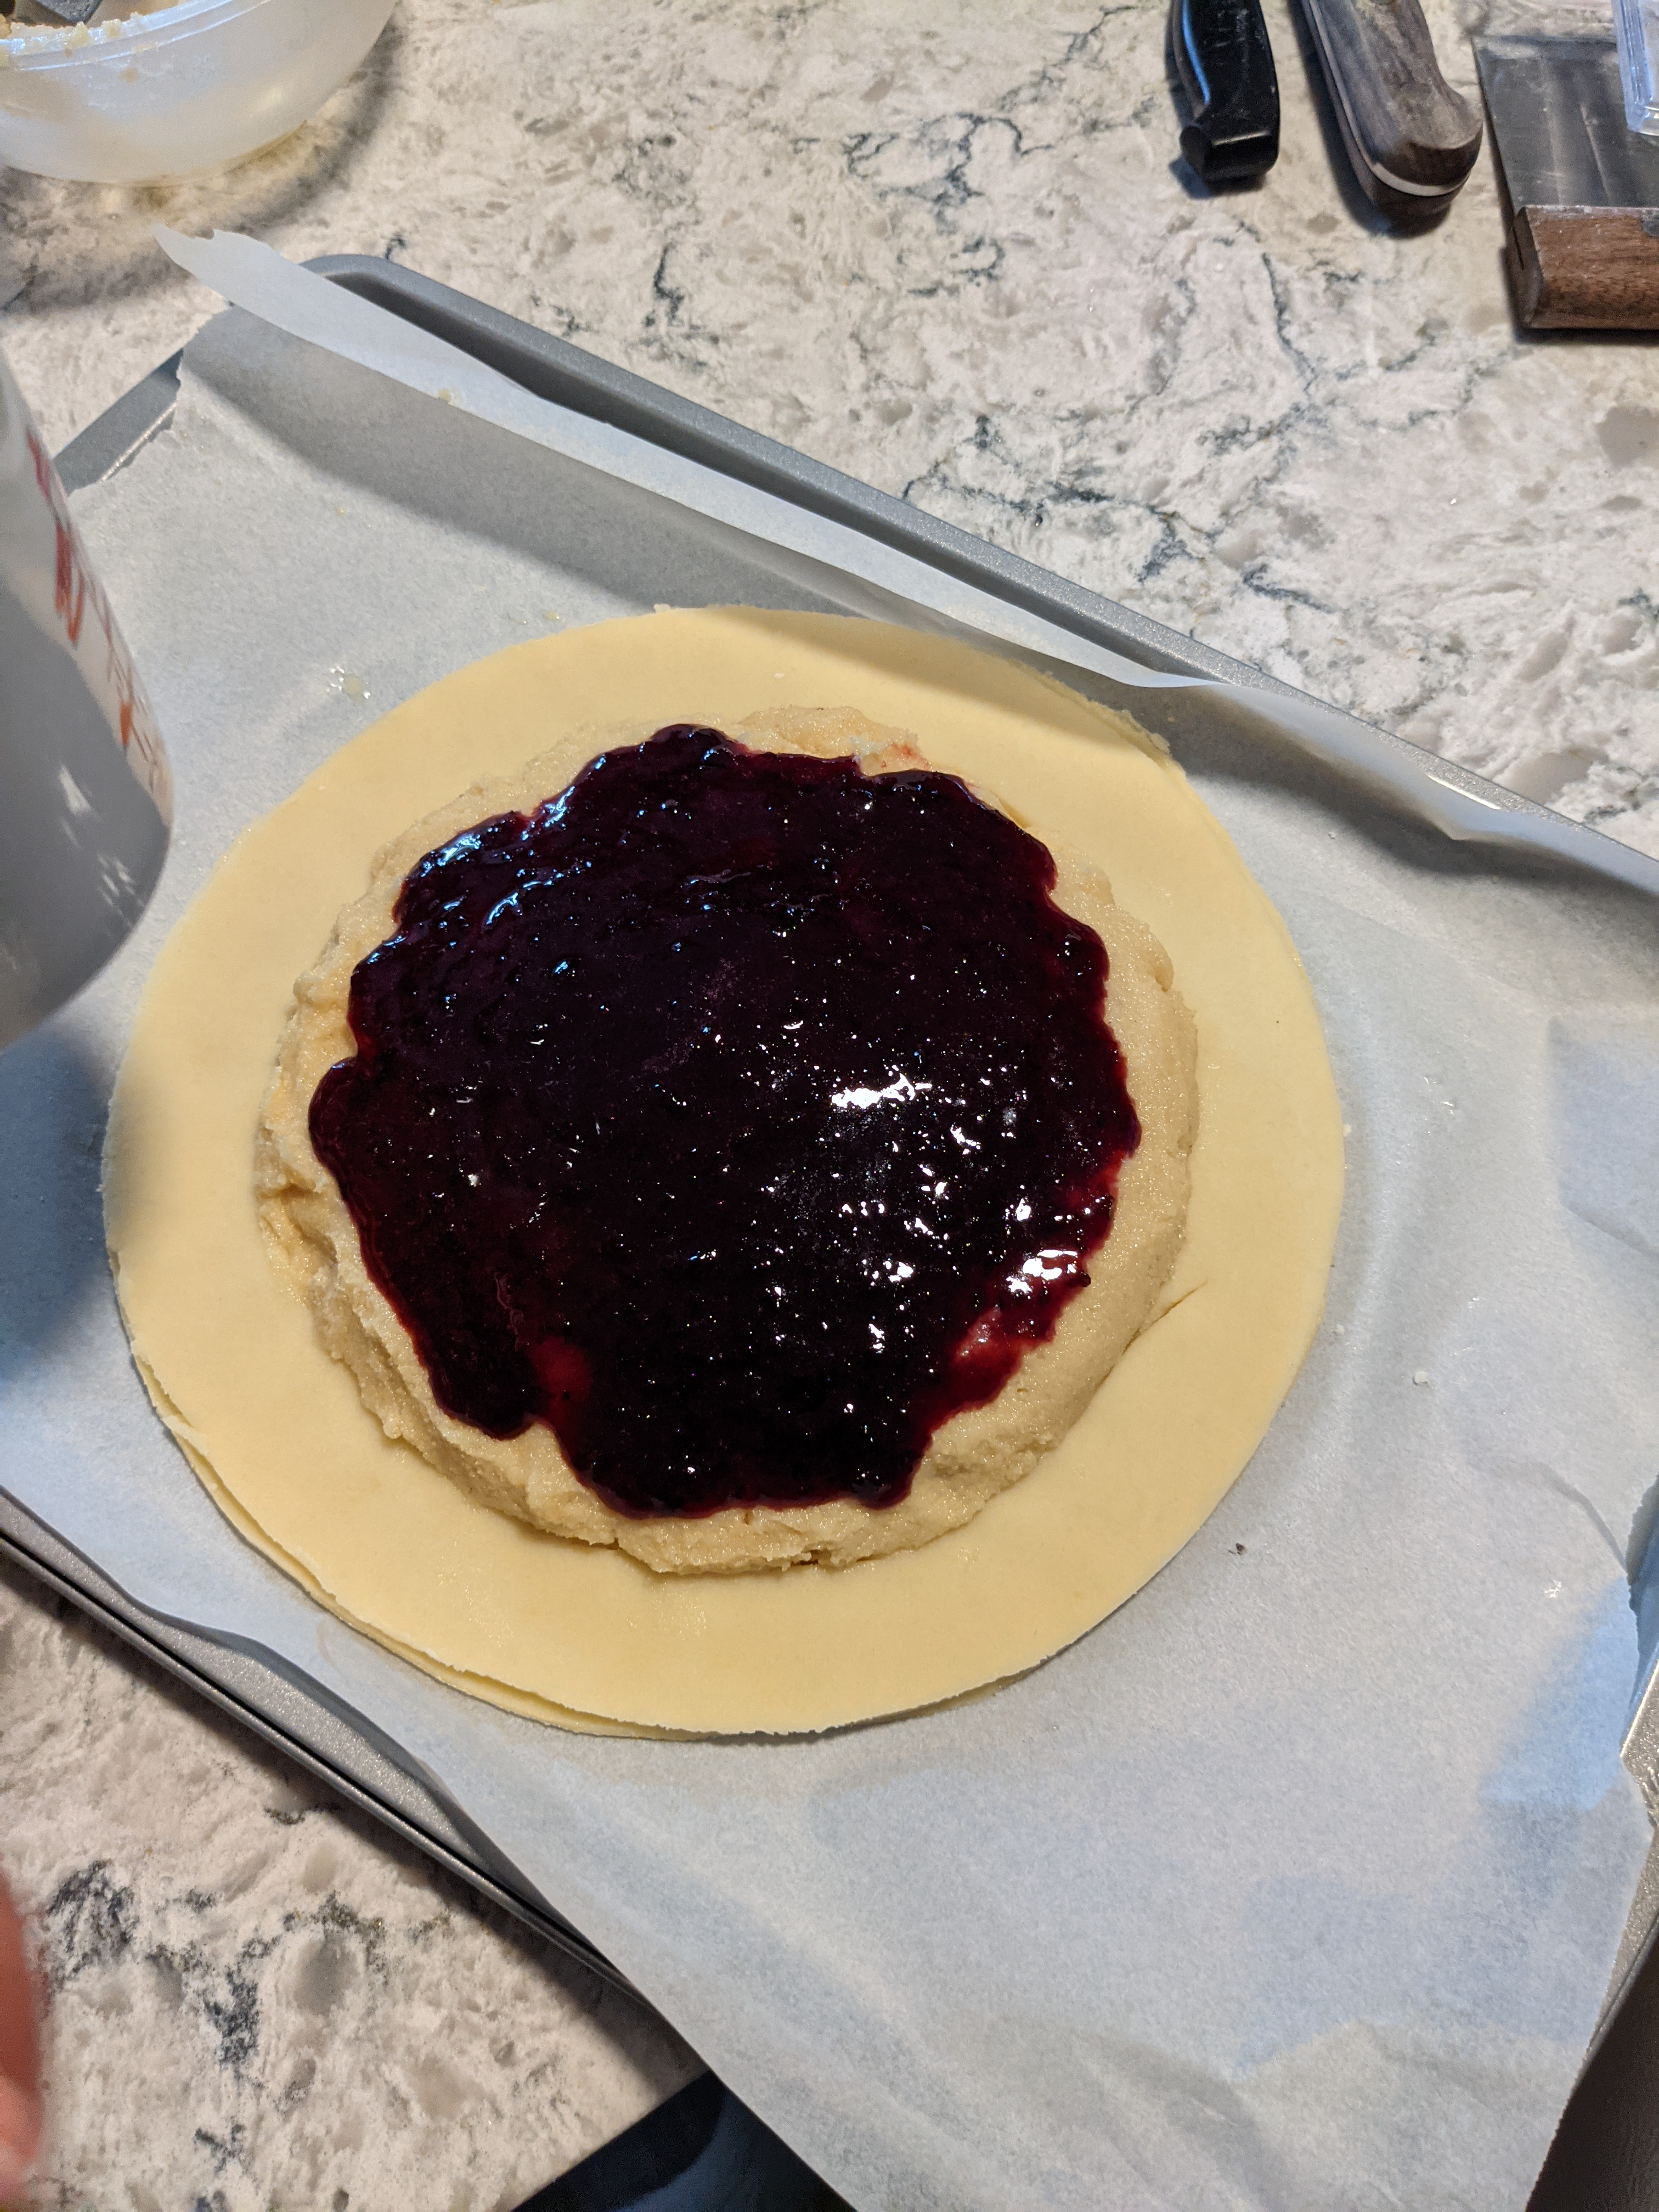
Once we have our two disks and our dough cut-out, egg wash is used to glue the cut-out to the bottom (thicker) disk. The frangipane is spread onto the bottom disk, staying within the edges of the cut-out. The cherry jam is then spread onto the frangipane, and this is where I ran into trouble. Since the cherry jam wasn’t set-up enough, it was still kind of runny. Even though I put it on top of the frangipane neatly and left the half-inch border as per the instructions, as soon as I laid the top layer of dough over top and started sealing it, the cherry jam started leaking out of one side. I did my best to clean it up, but I knew that having the jam in between the layers of pastry was going to leak in the oven, and it did.
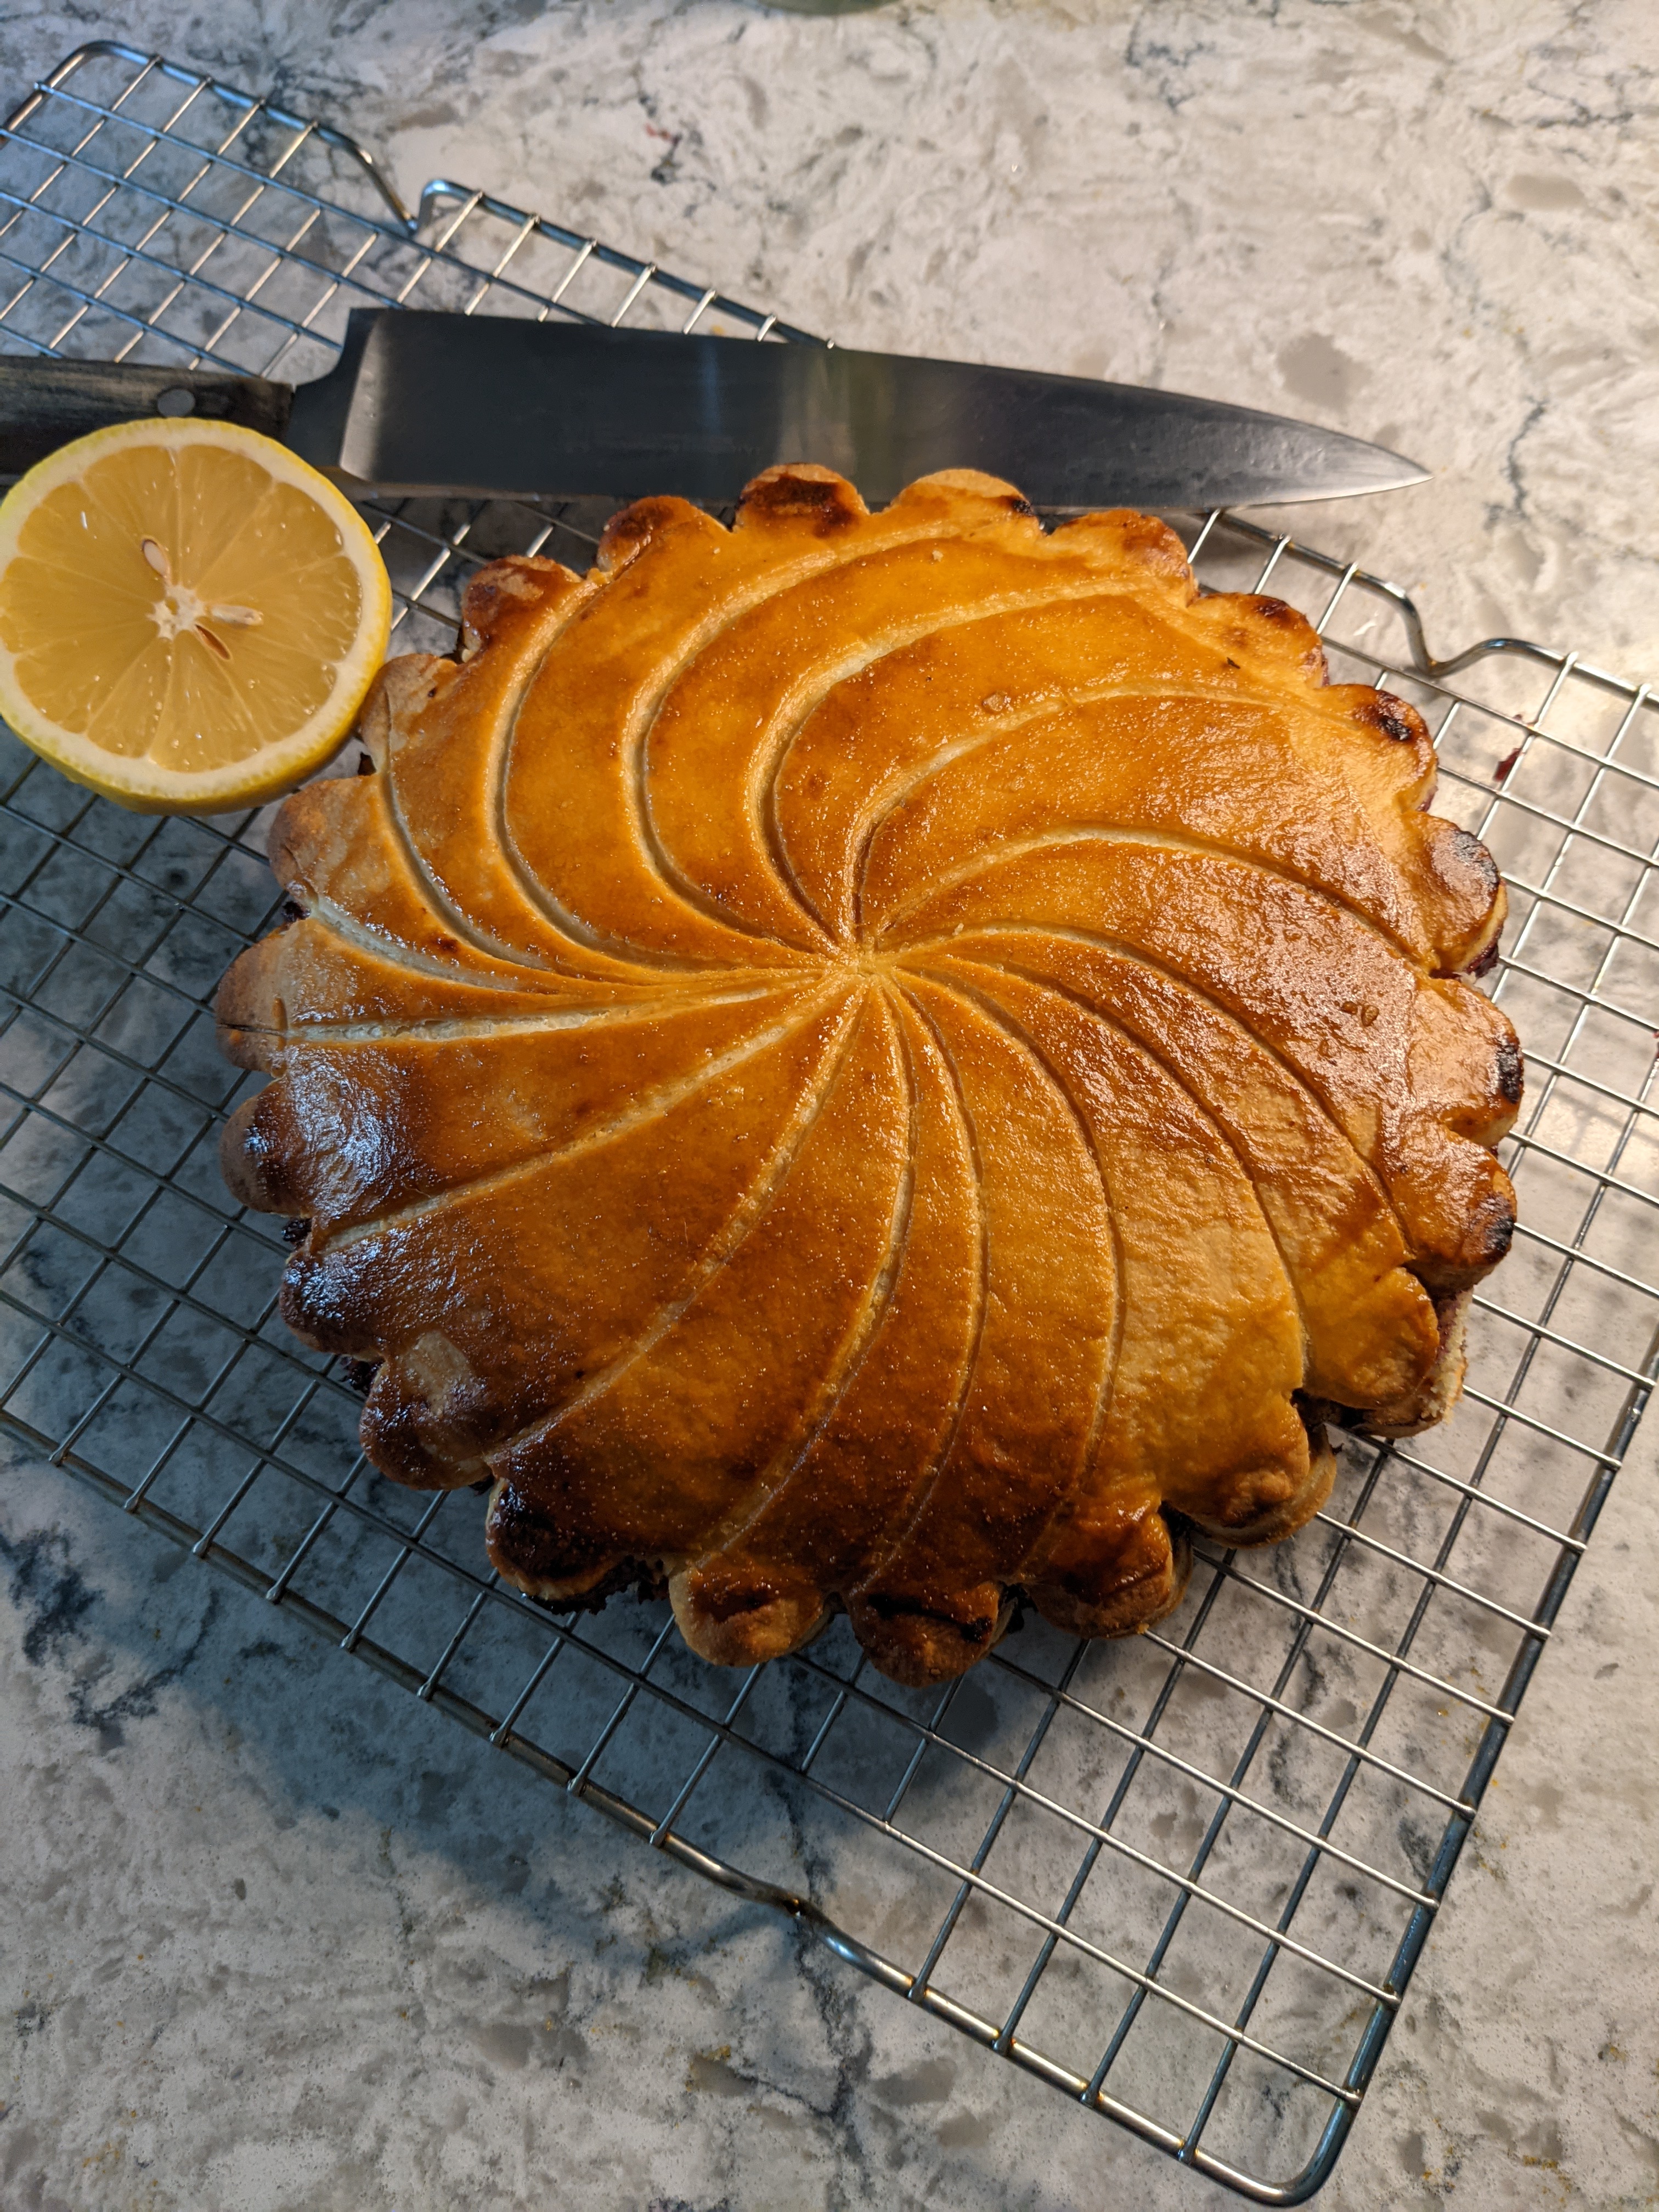
The final touch on the the assembly is to create a lovely scalloped edge, which could be done with a knife but I used a liquor/wine bottle cap cut in half BECAUSE THAT’S WHAT THEY DID ON THE SHOW, and it worked aces.


The good news is, only SOME of the filling leaked and I was able to clean it up pretty nicely once it cooled off. There was a sizable air bubble inside the pie where the filling disappeared, but ⅞ of it was PERFECT, so overall I give myself a ⅞ grade on this project! BETTER THAN A KICK IN THE FACE!
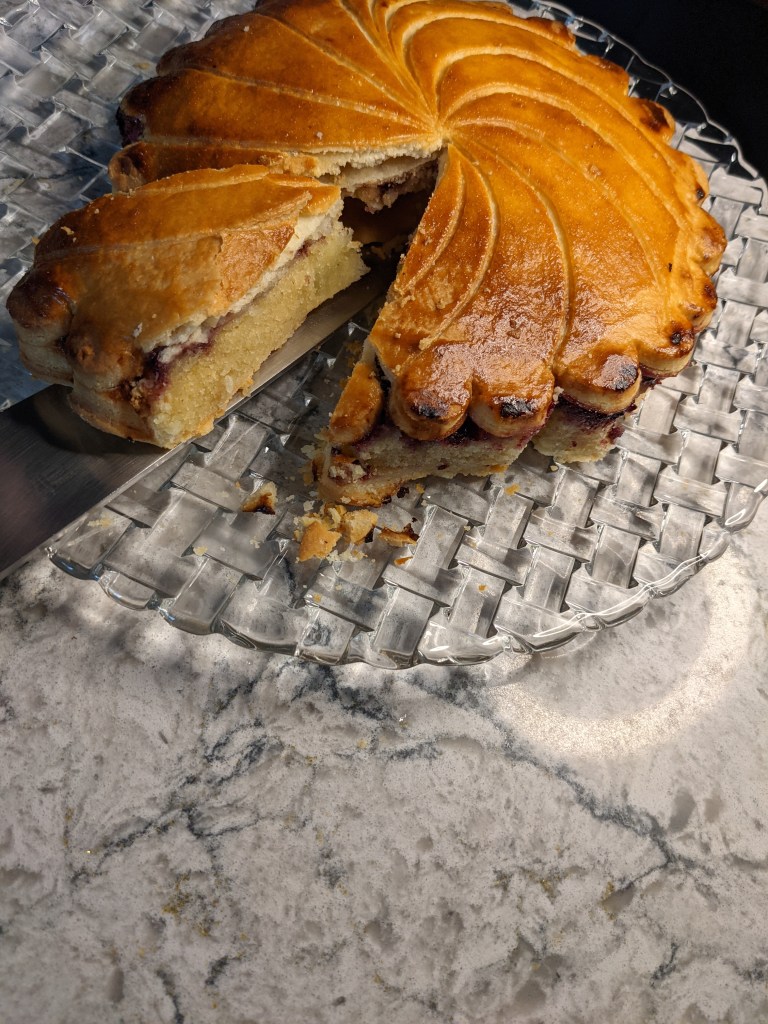
Photo gallery


Hey. bakers! Check out my BAKER’S PANTRY index if you want to deep dive on specific ingredients when attempting this bake for yourself
